
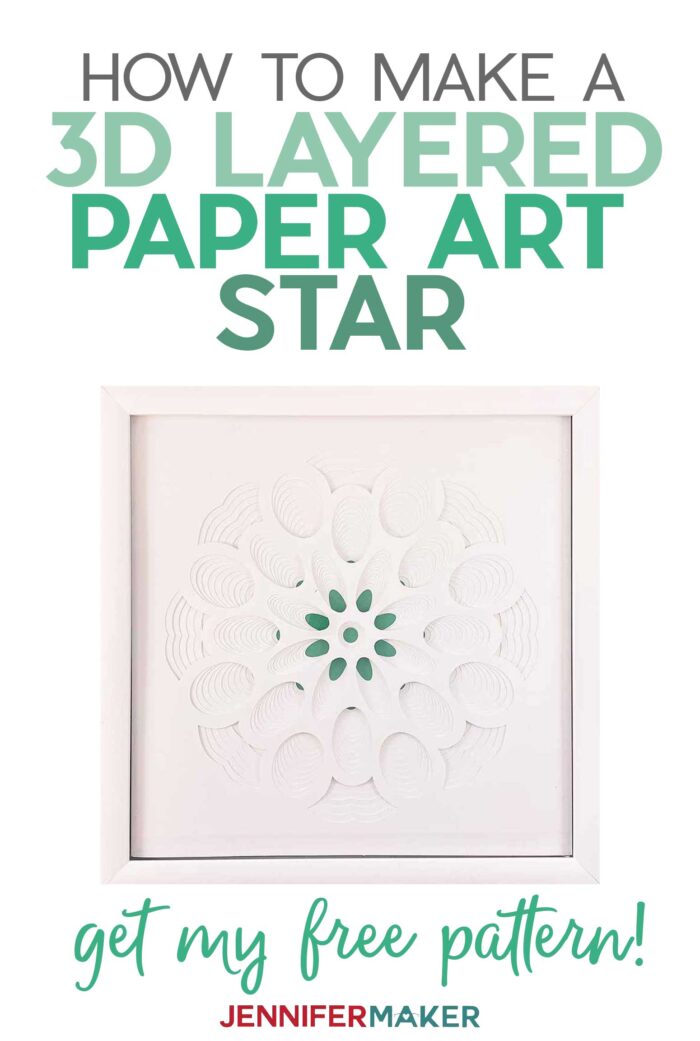
Learn how to make this wonderful 3D paper art design with my easy step-by-step tutorial!
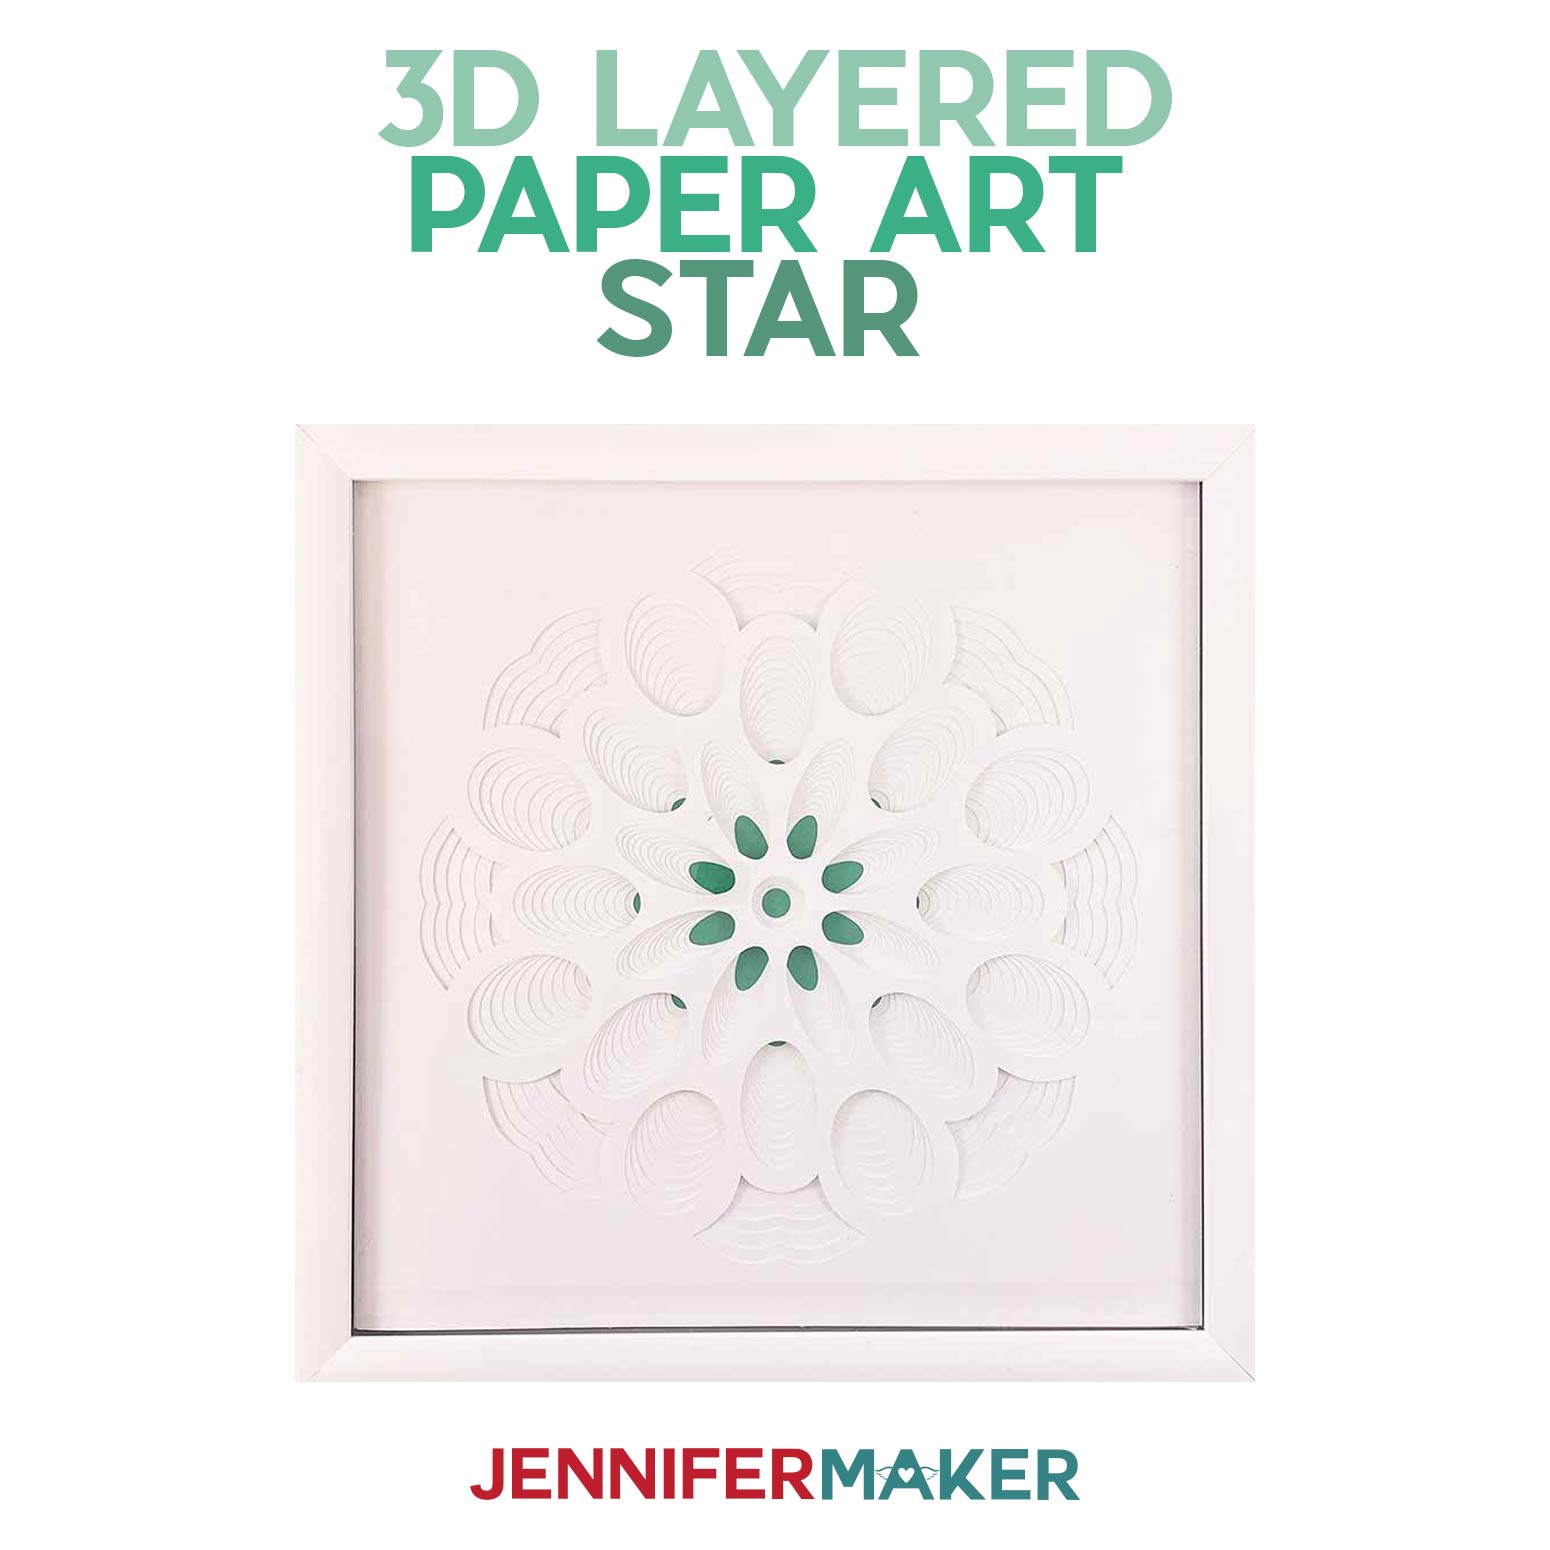
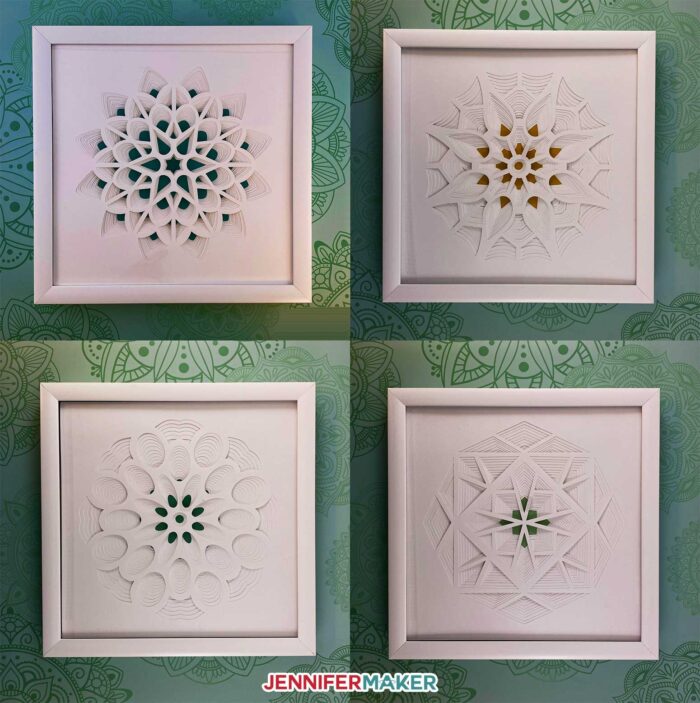
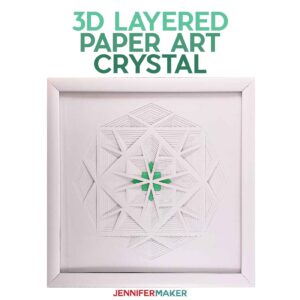
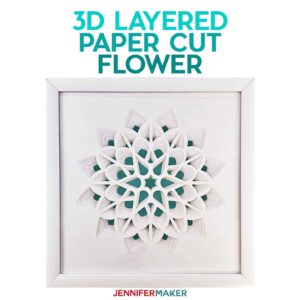
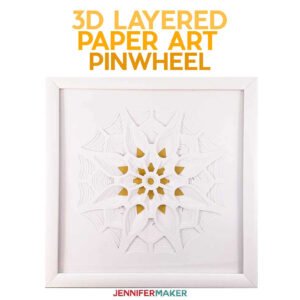
I am thrilled to share the final design in our series of four different FREE 3D paper art designs. It’s always fun to create something amazing and easy! For the 3D layered paper art designs, all you have to do is open the design in Cricut Design Space, load cardstock and start cutting. You can’t get any easier than that! And the finished result is an impressive design that looks impressive on its own or displayed with all four. In case you’ve missed them, I previously released the 3D layered paper cut flower, Layered Crystal Design, Layered Paper Art: The Pinwheel and these great XO letters. The final design in the series is called – The Star!

To make our 3D paper art Star you need 13 sheets of white and 1 sheet of a contrasting color of 12″ x 12″ cardstock. If you want any inspiration for other colorways, you can look in our Cricut Crafters & Makers Facebook group. We have many members making their designs by alternating colored and white cardstock or using a glitter cardstock for the top layer.
Take a look at all four of the designs!
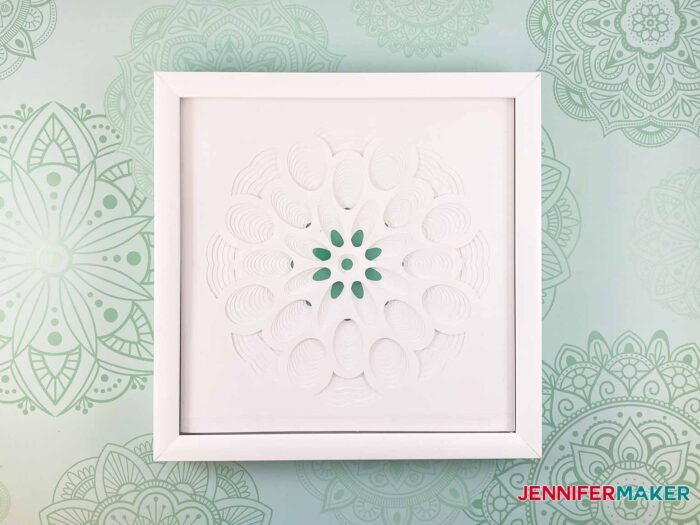
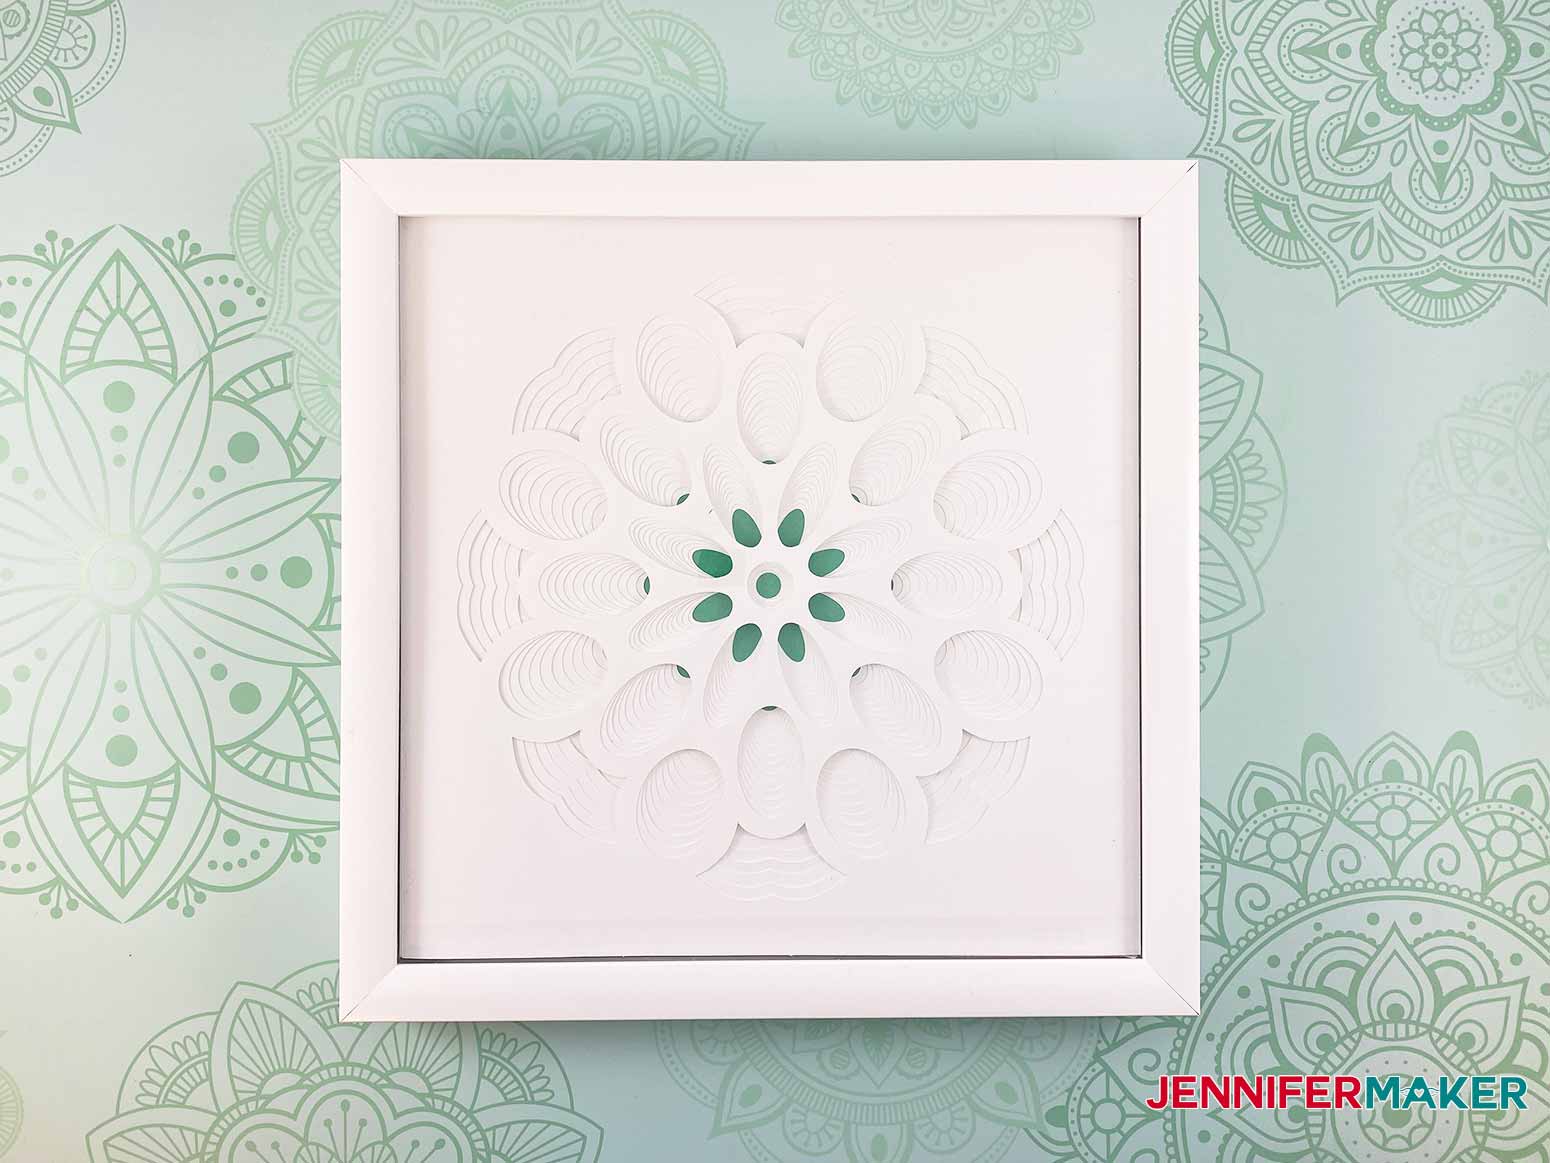
Here is today’s final Paper Art Design – The Star!
Let me show you how easy it is to make this 3D paper art star design! This post contains some affiliate links for your convenience (which means if you make a purchase after clicking a link I will earn a small commission but it won’t cost you a penny more)! Read my full disclosure policy.
Materials to Make a 3D Paper Art Star
View my Amazon shopping list with the exact items we used to make this project!
- 80 lb. 12″ x 12″ cardstock, 14 sheets (I used 13 white and 1 green, but you can use any colors you wish!)
- Foam core (2 pieces of 10″ x 10″)
- 12″x12″ Shadowbox Frame
- XL Scraper (or a plastic store loyalty card)
- A cutting mat for your Cricut (green or blue works, just make sure it’s sticky!)
- Scissors to cut your foam core or foam mounting tape
- A ruler (helpful for lining things up)
- A way to cut your layers (I used the Cricut Maker cutting machine but they can also be cut on a Cricut Explore — you can even do a Cricut Joy if you resize things down)
- Design #232 (My free SVG design file available in my free resource library—get the password by filling out the form at the bottom of this page)
How to Make a 3D Paper Art Star
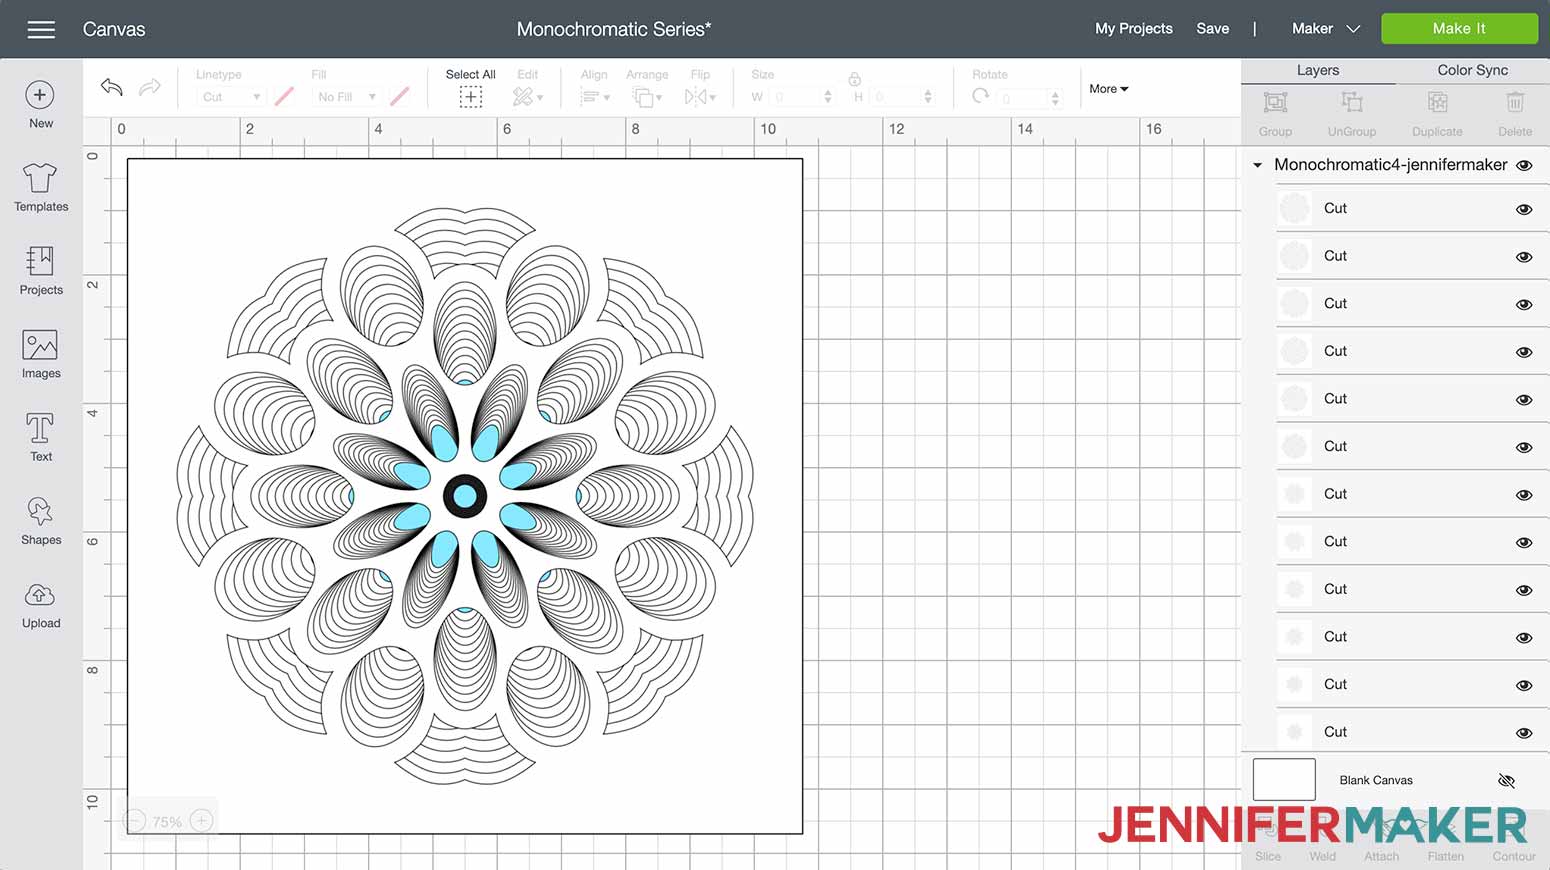
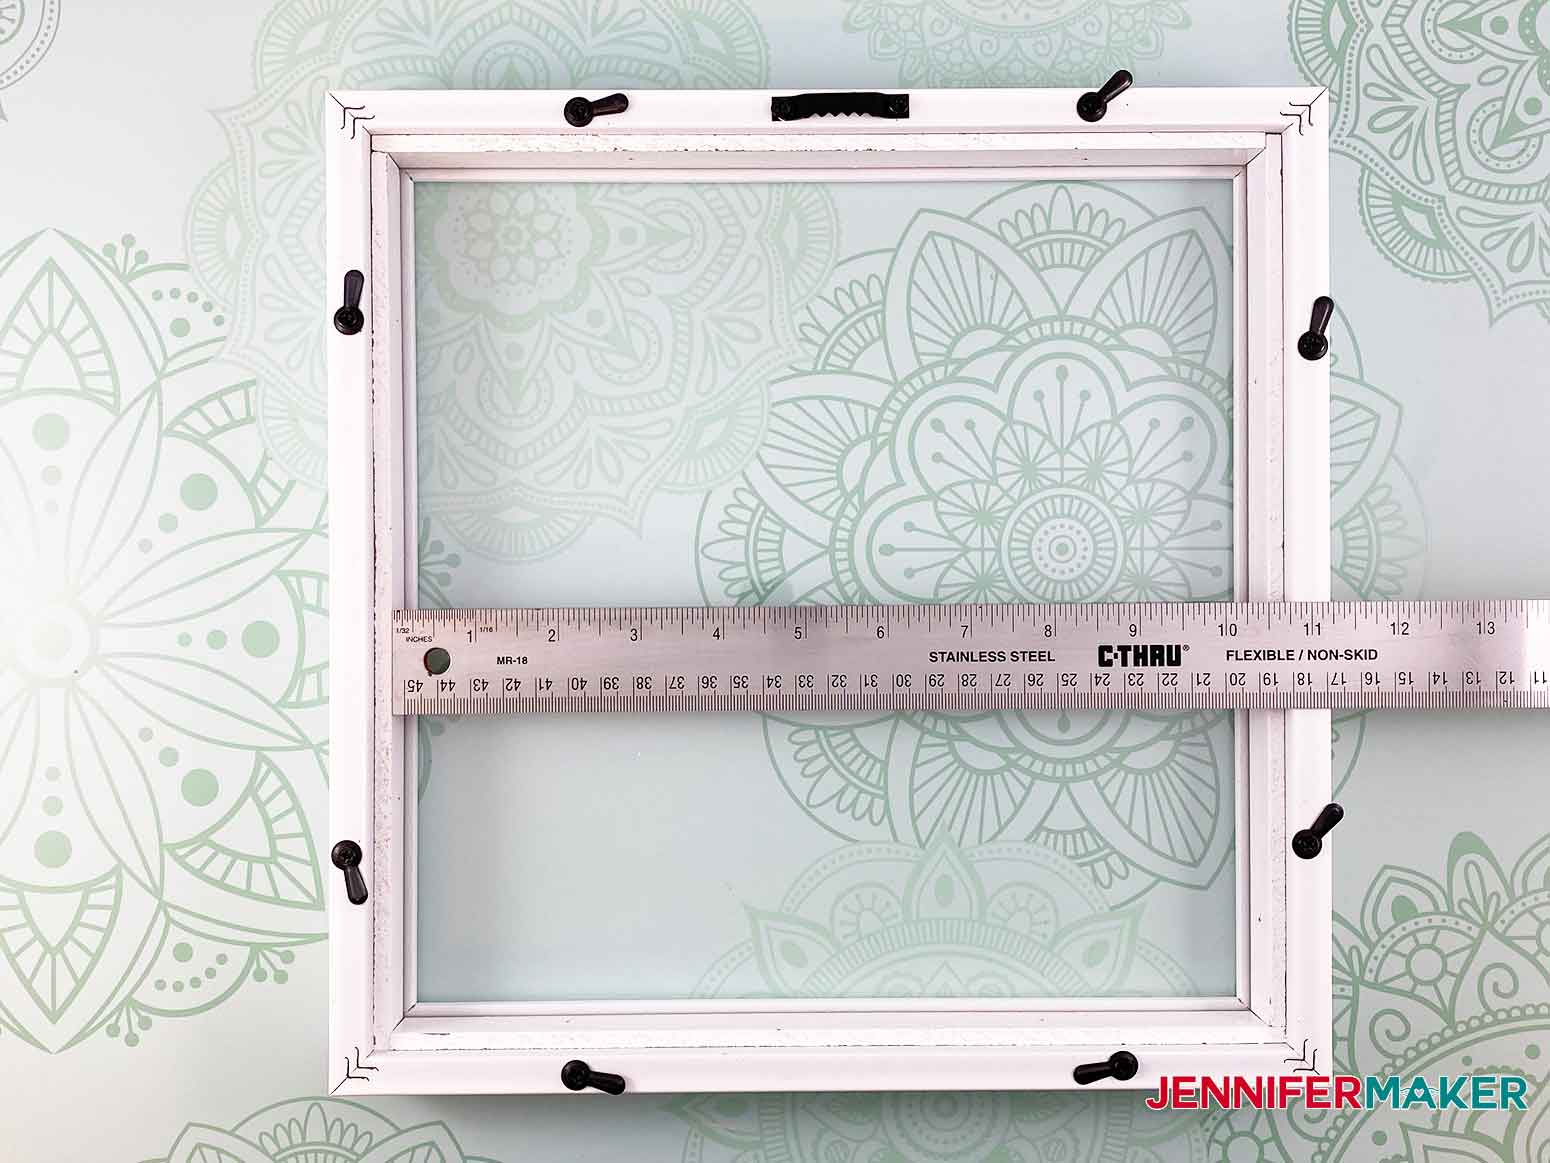
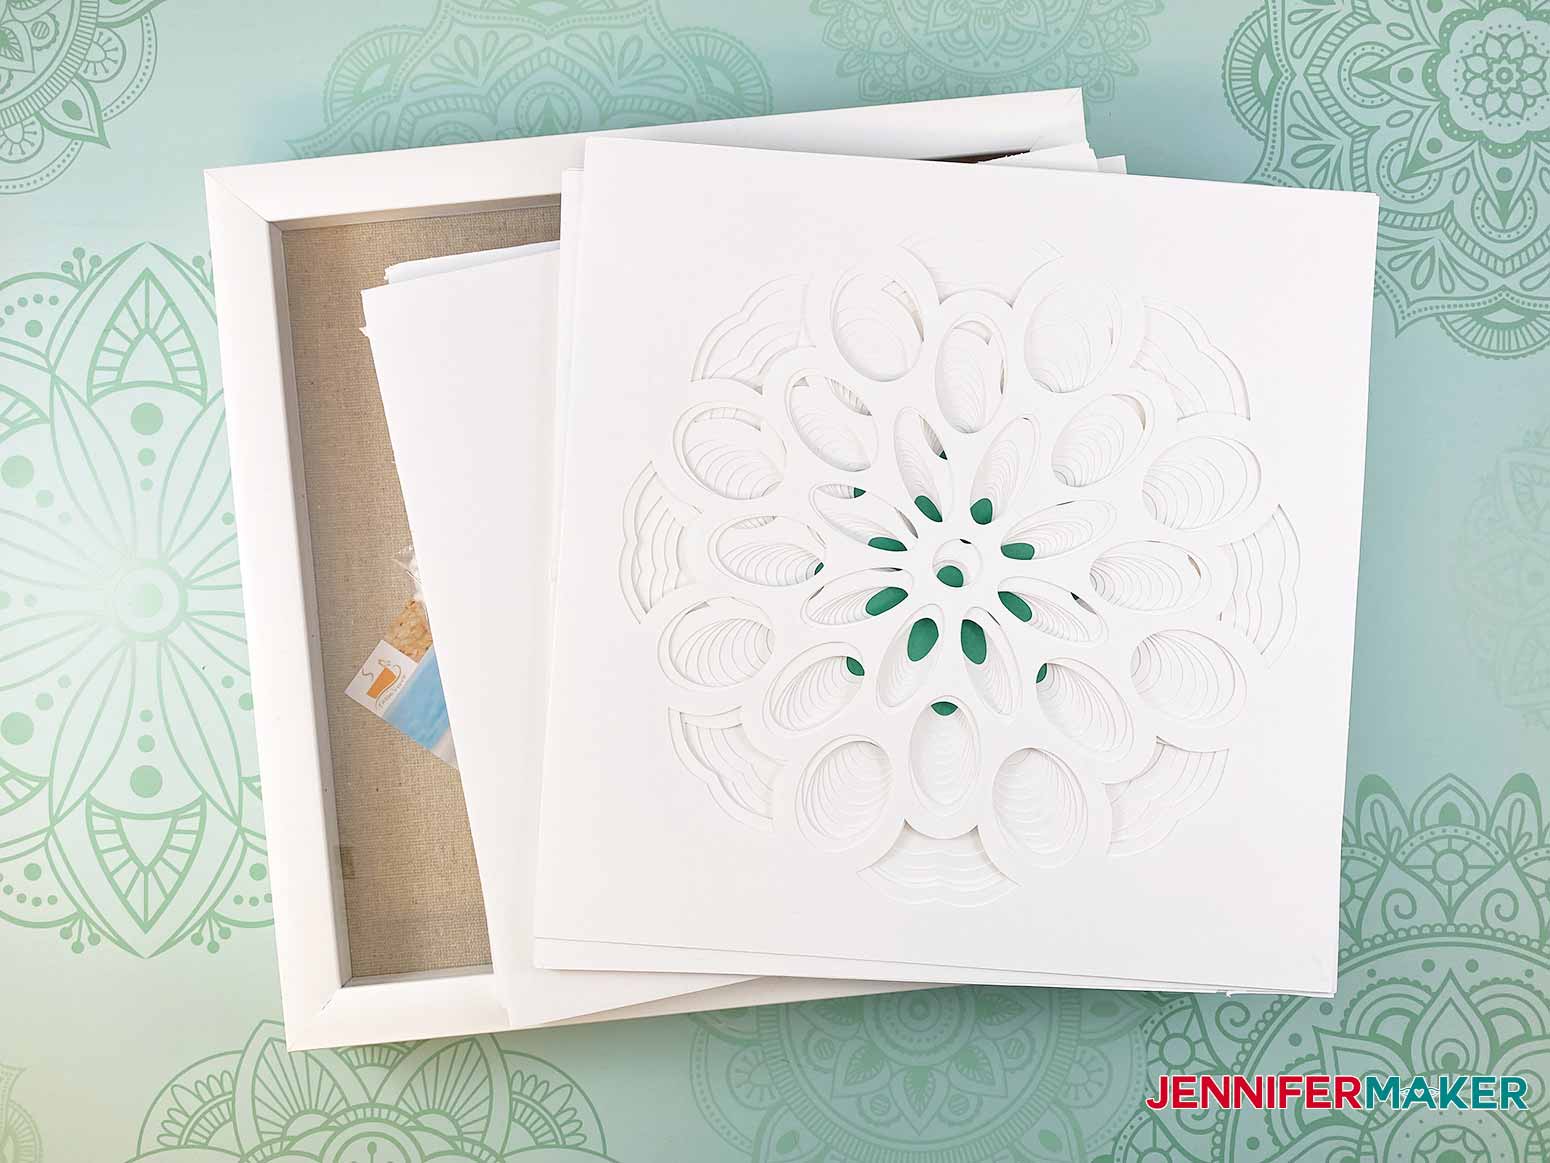
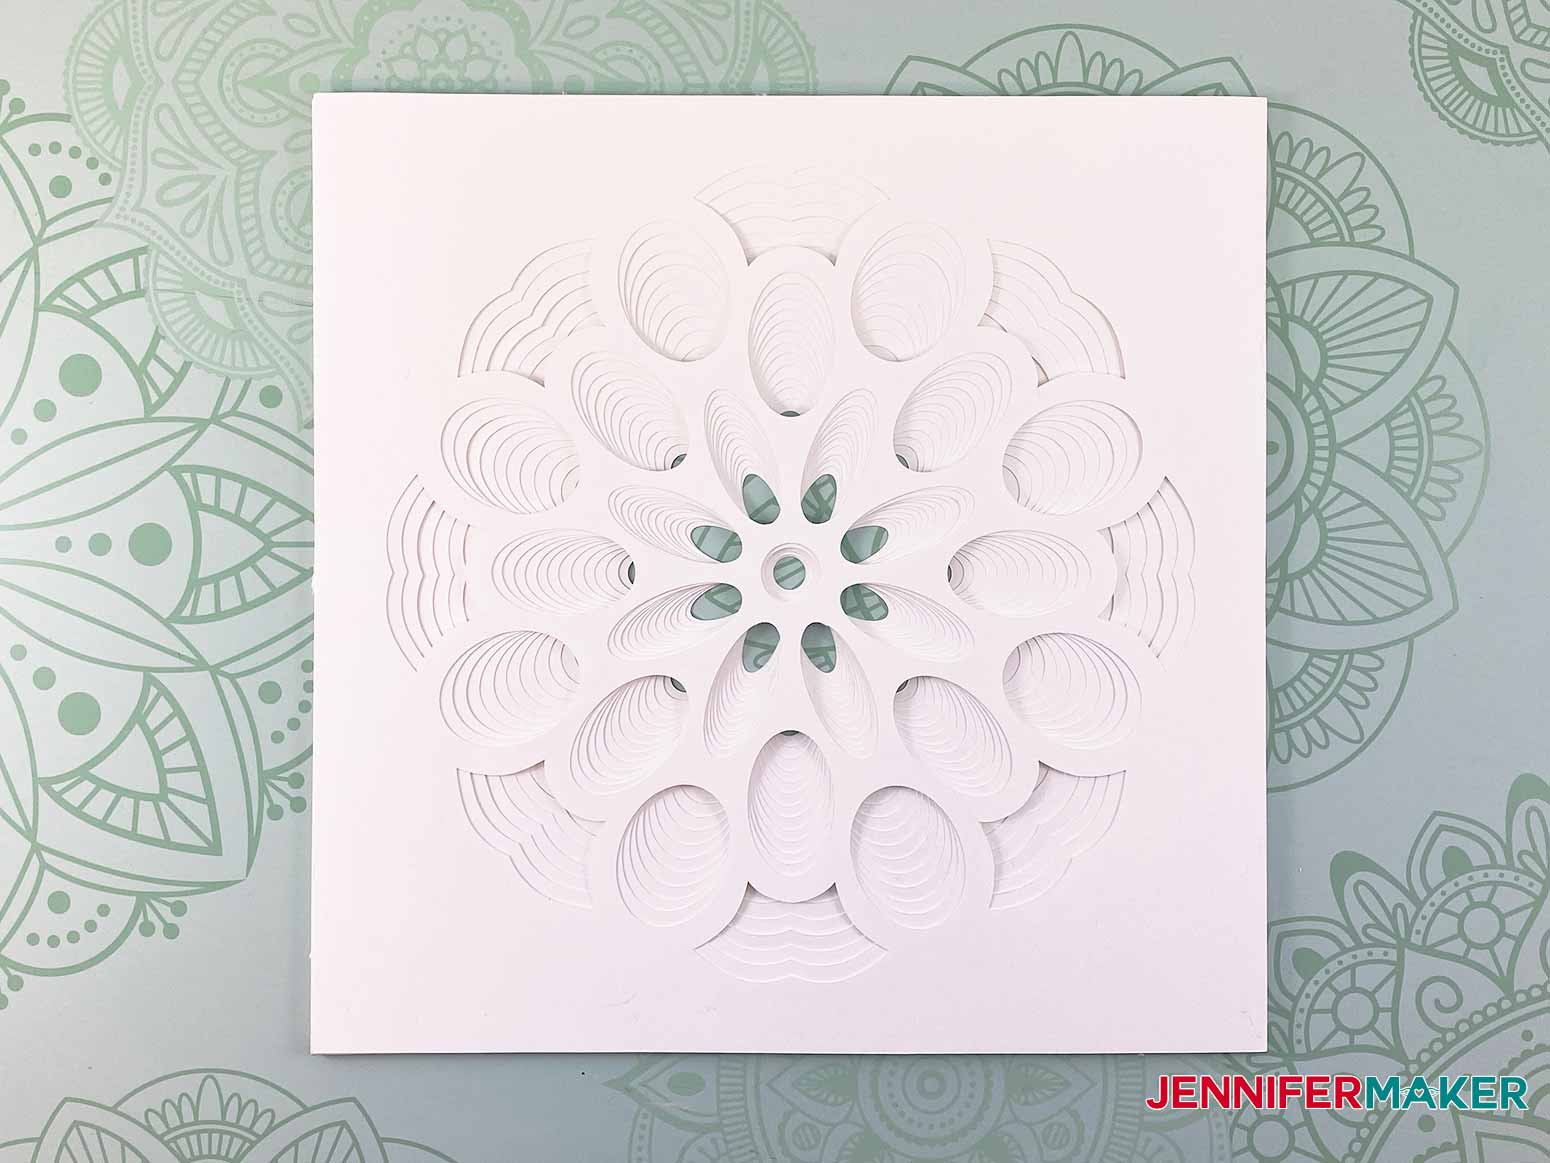
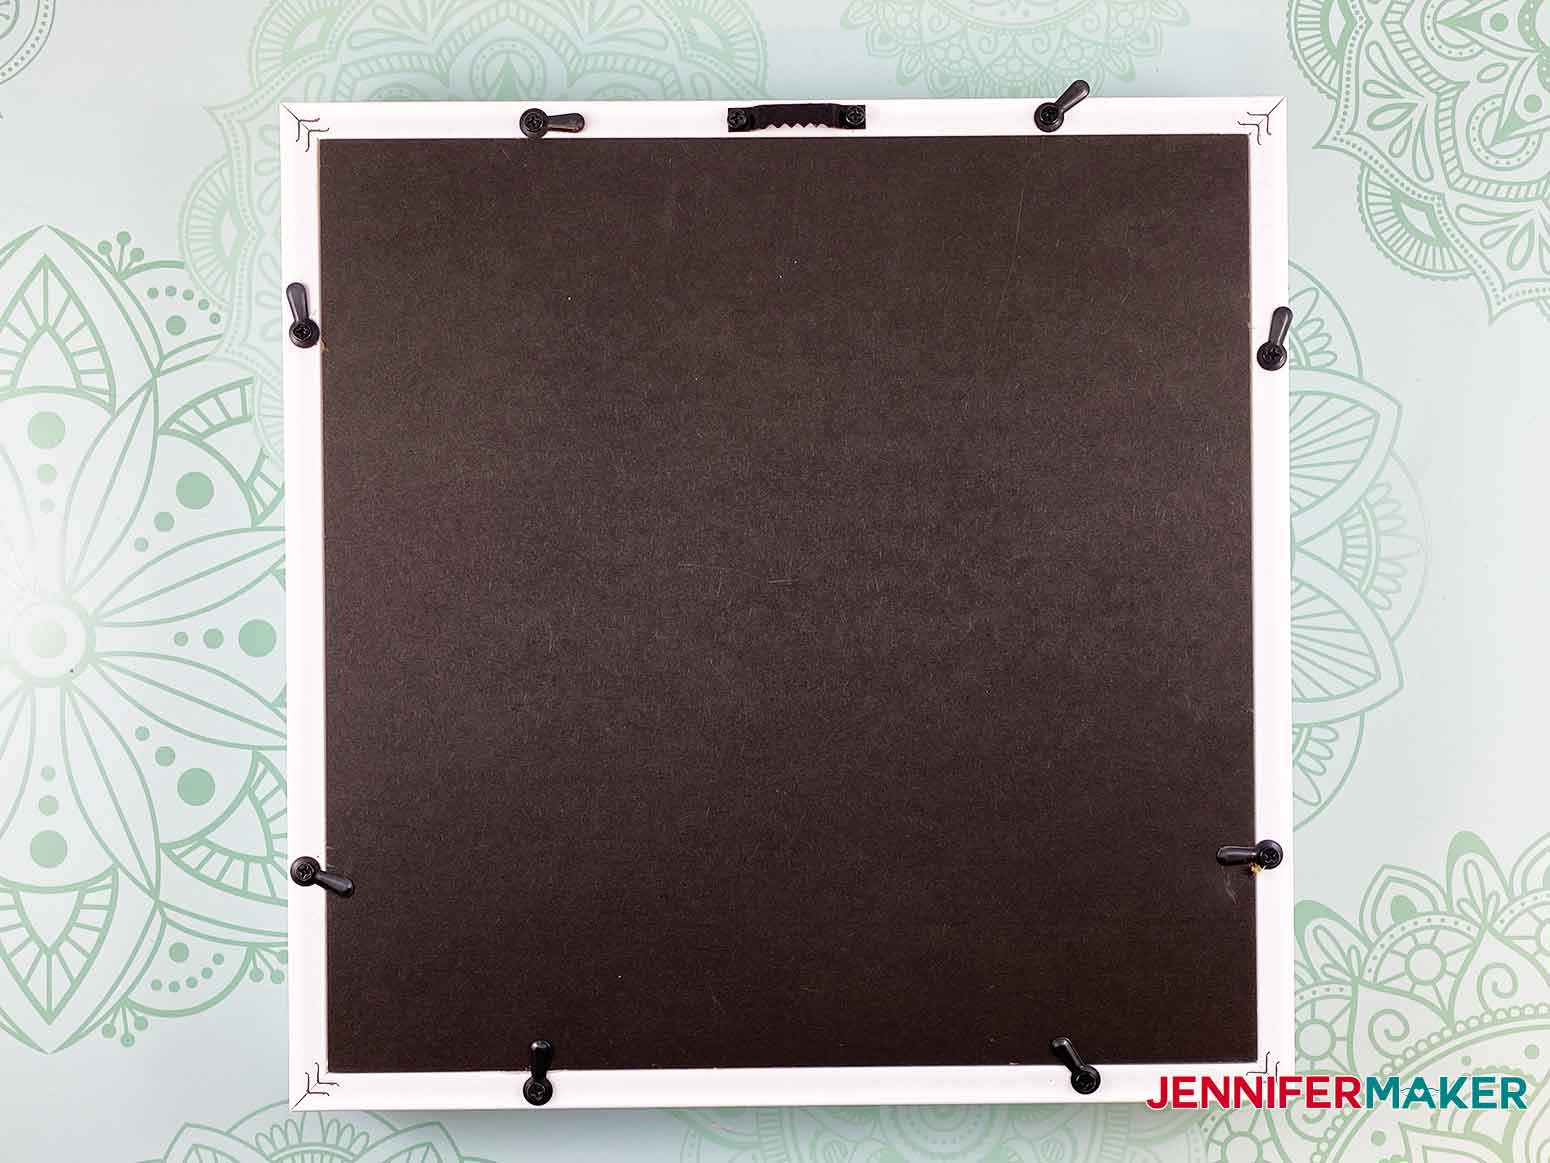
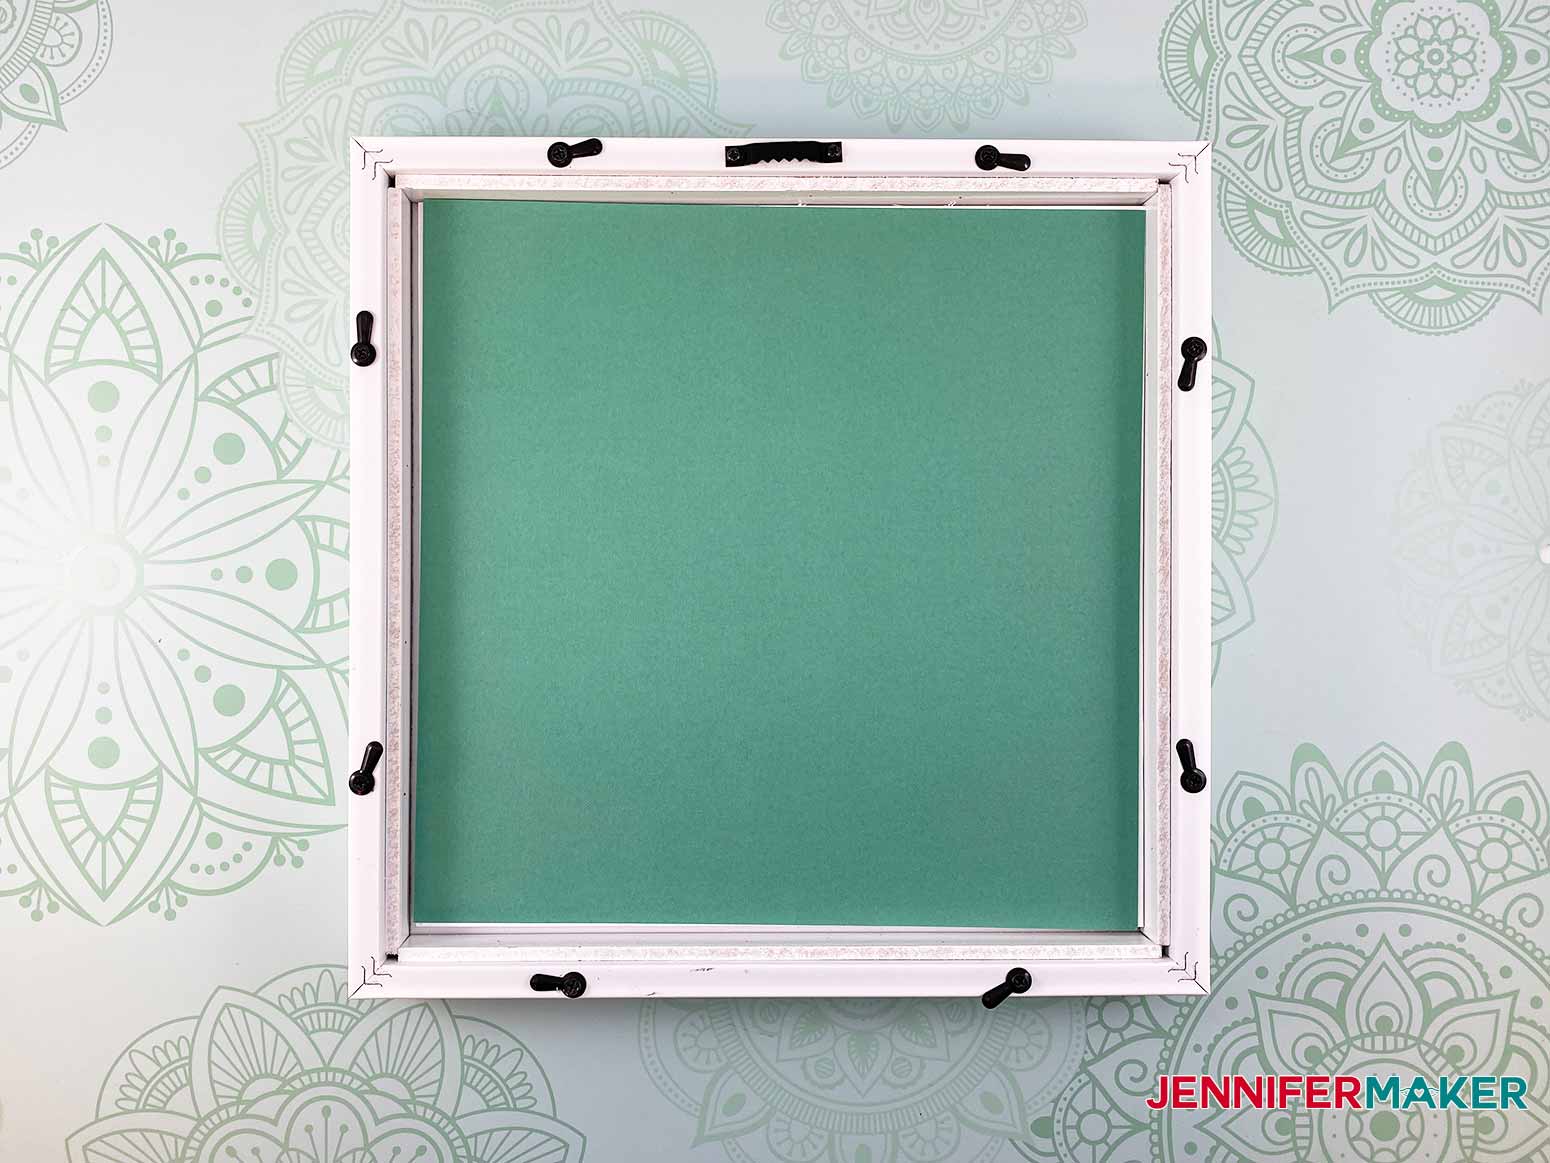
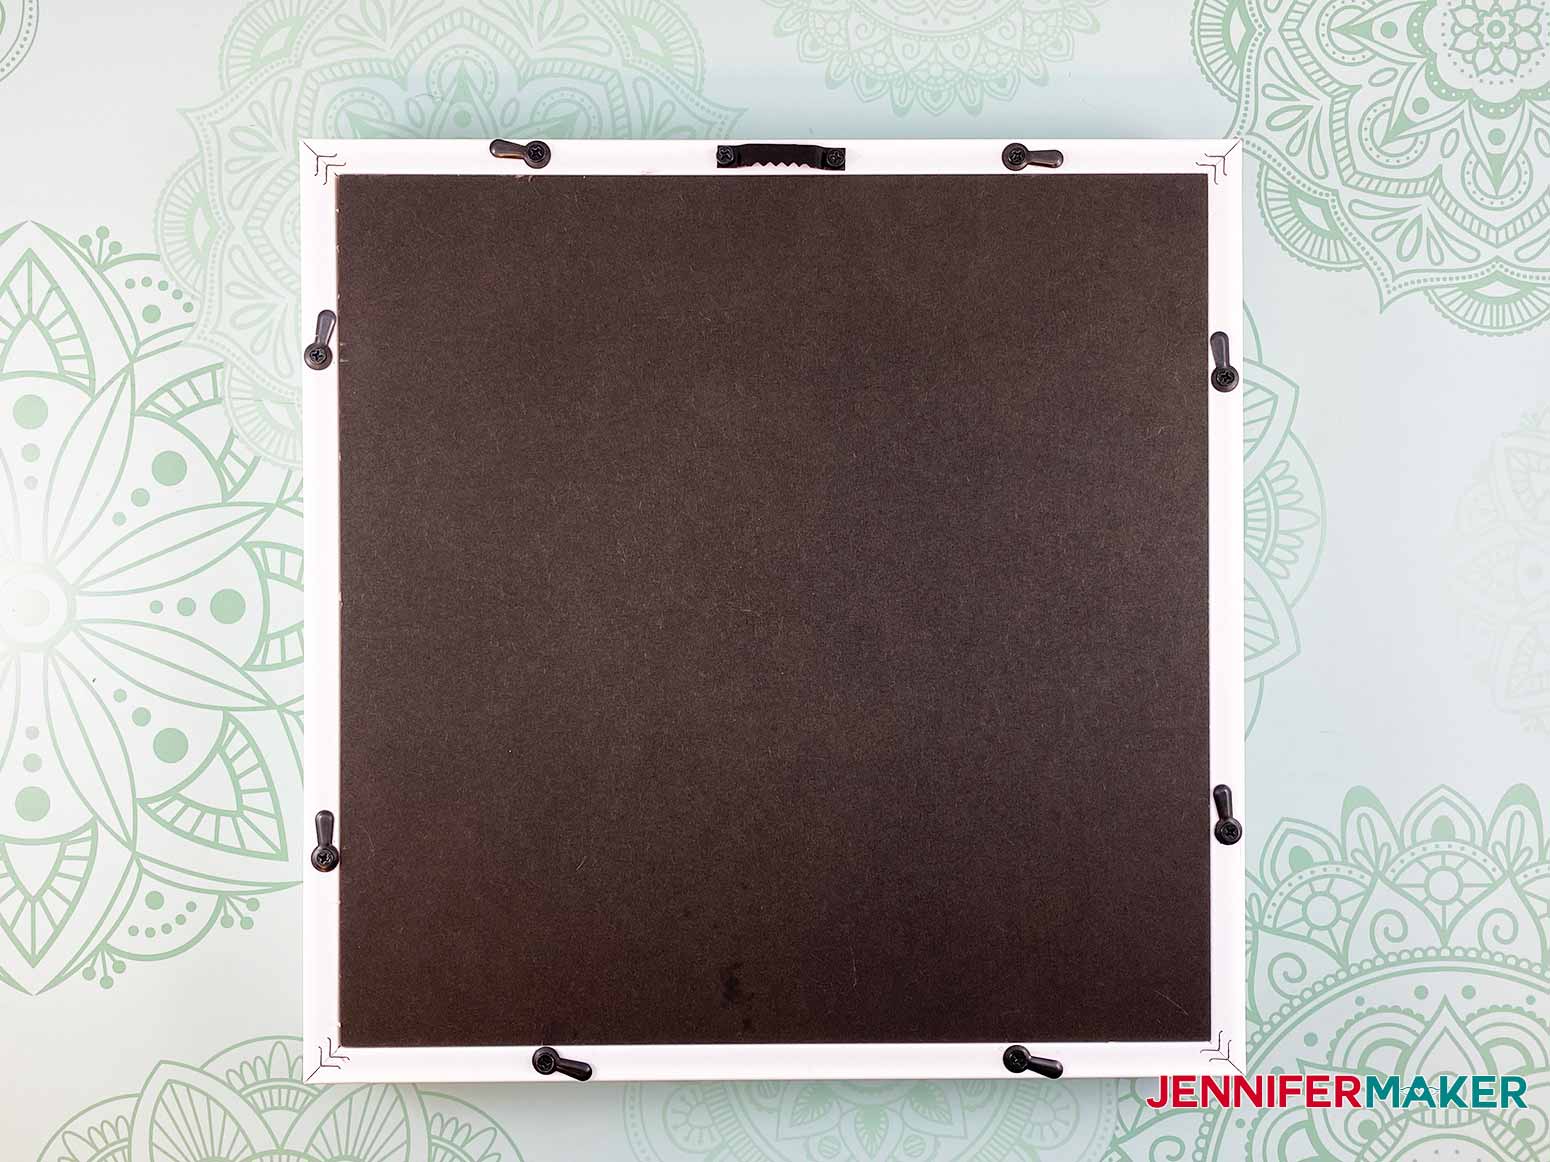
This project is going to show you how to make my 3D Paper Art Project - The Star! First, get Design #232 which is the free 3D Paper Art SVG/DXF/PDF from my free resource library. If you're going to cut it on your cutting machine, upload the file to your design software. This is what my file looks like in Design Space. Tip: If you're not sure how to upload an SVG cut file to Cricut Design Space, watch this helpful video training series I made. If you're on an iPhone or iPad, here's how to download and upload SVG files to the Cricut Design Space app. This Layered Paper Art Star design contains 13 layers for the design plus one contrasting cardstock layer for the back. Each of the 13 layers takes approximately 5 minutes to cut. Measure the inside space of your frame and adjust the measurements of the design file to fit. The file is sized 10.5" x 10.5" which fits my shadowbox frame perfectly. Cut each layer of the design. I found it is helpful to put the finished layers in order as they are cut. I used my extra large scraper to remove paper pieces left on my mat from cutting the design. Once all layers are cut gather your supplies for assembly. Make sure the cut cardstock layers are placed in the correct orientation. This is what your cut layers should look like with proper orientation. Open the back of your frame. Insert the cardstock layers into the frame. Add the one contrast layer of cardstock. Add two layers of foam core cut slightly smaller than the inside of your frame to fill up the empty space so the cardstock does not slide around. If you are not using the same frame I am, make sure you add enough foam core so the stacked layers do not move inside the frame. Place the back on the frame. You are now ready to hang your beautiful piece of artwork. This is what the 3D Paper Art Star design looks like when it is completely assembled. Special thanks to the JenniferMaker Design Fairy Team, specifically Design Fairy Caitlin, for helping me design and assemble this beautiful dragonfly framed art. As an Amazon Associate and member of other affiliate programs, I earn from qualifying purchases.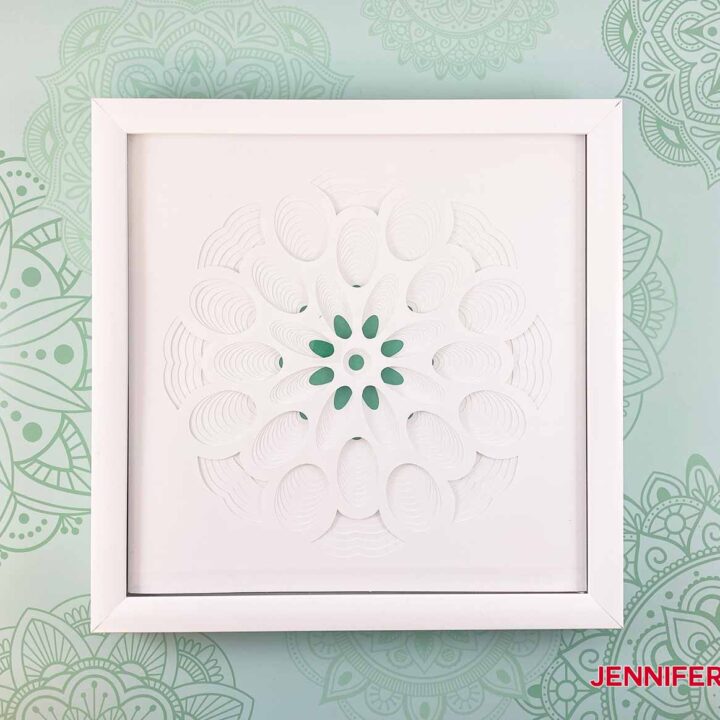
3D Paper Art: The Star (Series 4 of 4)
Materials
Tools
Instructions
STEP 1: Get my 3D Paper Art Star Design
STEP 2: Cut the Design
STEP 3: Assemble the Design


STEP 4: Show it Off
Notes
ACKNOWLEDGMENTS
Recommended Products

Here is a photo of all four hanging up:
Answers to Your Questions About Making 3D Paper Art Designs
Q: Can I cut this design on my Cricut Joy?
A: Yes, it should be able to make it if you reduce it down in size once you upload it to Design Space. Just make sure it is under 4.25″ wide. If you’re unclear on how to resize SVG designs, please see my resizing tutorial.
Q: How do I resize this in Design Space to fit my frame?
A: I have a blog post that explains How to Resize SVG Files in Cricut Design Space.
Q: Do I need to use spacers between the layers?
A: You don’t have to use any spacers between the layers. There are so many layers that the project has a 3D look even without additional spacers.
Q: How do I keep the layers in place inside the frame?
A: I recommend using foam core underneath the last layer to keep the design in place inside your frame.
Q: If I don’t use a frame, how do I keep the layers together?
A: If you aren’t using a frame I suggest using spray adhesive on the back of each layer to attach them.
Q: Can you use 65 lb cardstock? Or a different weight of cardstock?
A: Yes, you can. Just make sure you choose the appropriate setting for your material.
Q: Can I cut this on a Silhouette?
A: Yes, you can. You need to ungroup and separate all the layers. In Silhouette Studio select the object, go to the Object menu and choose ungroup.
Q: My blade gets dull while I’m cutting, is there anything I can do?
A: Your blade might not be getting dull, it might need to be cleaned. Take a look at my Cricut Blade Cutting Tips post for troubleshooting help. Here’s a video that shows how I clean my blade to keep it cutting nicely:
Get my free SVG files to make your own 3D Paper Art Star!
I cannot wait to see your 3D paper art layered design! Please share a photo in our Facebook group or tag me on social media with #jennifermaker. Here are our other three designs that we’ve already released.
Love,

Want to remember this? Save this 3D Paper Art Star tutorial to your favorite Pinterest Board


I LOVE THESE DESIGNS !! Keep up the amazing work !!
I found something on one of the pages that is a little confusing. Thought I’d let you know it was there. (I marked it with asterisks)
https://jennifermaker.com/3d-paper-art-star/
Q: How do I keep the layers in place inside the frame?
A: I recommend using foam core underneath the last ***year*** to keep the design in place inside your frame.
Thank you so much, Tara! I appreciate you catching that!