This is a sponsored post written by me on behalf of Cricut. All opinions are 100% mine.
With four kids under 13 years of age I’m often looking for ways to make it clearer for them to help with putting items where they need to be. I was excited to put the new Cricut Joy to work for adding organization to my often chaotic home!

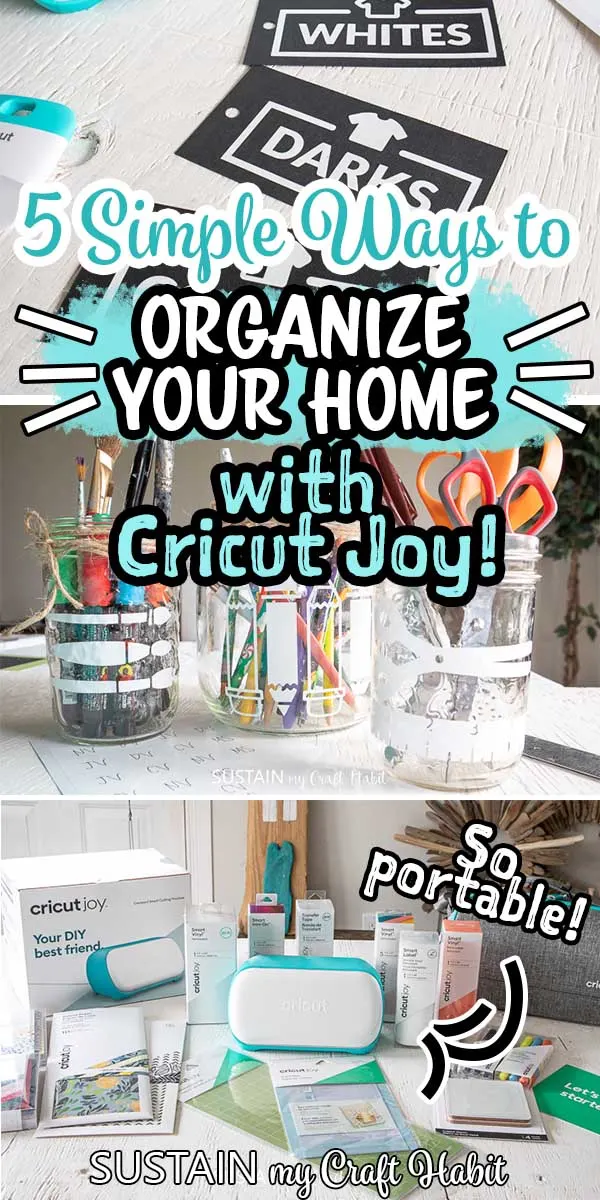
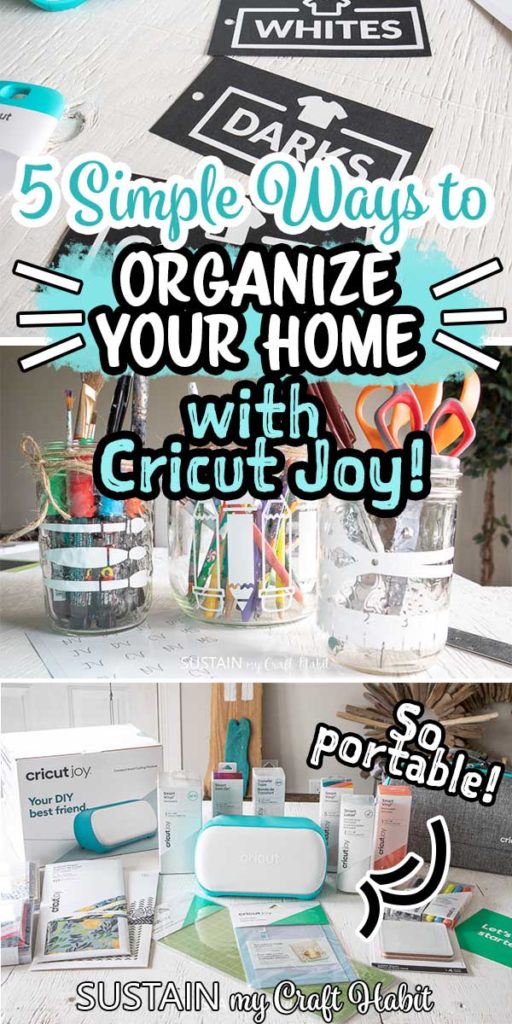
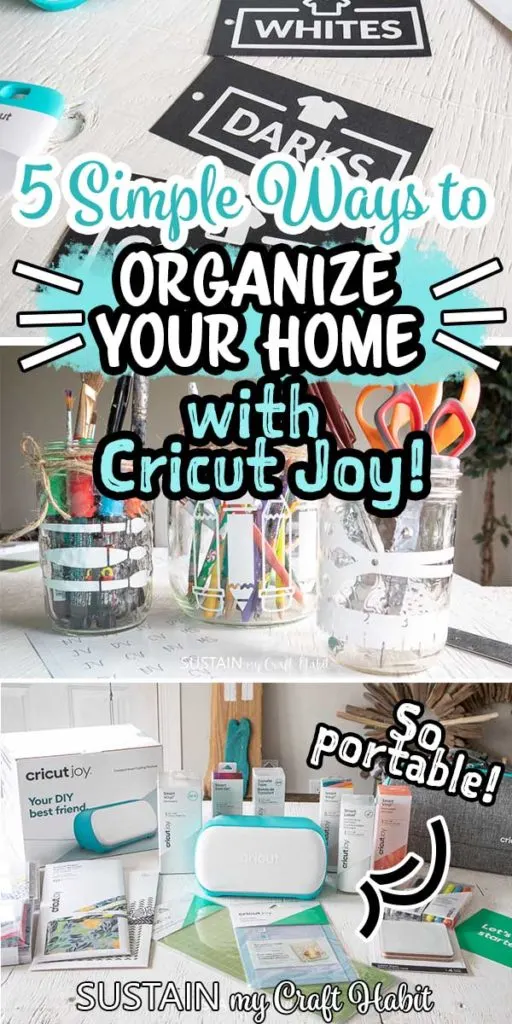
Easily Adding Organization to Your Home
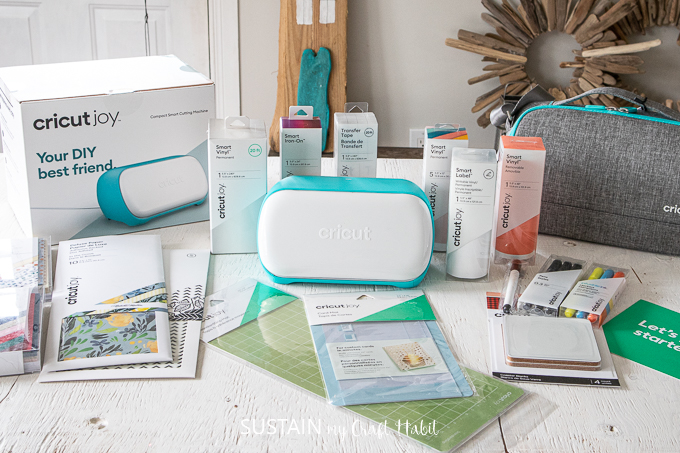
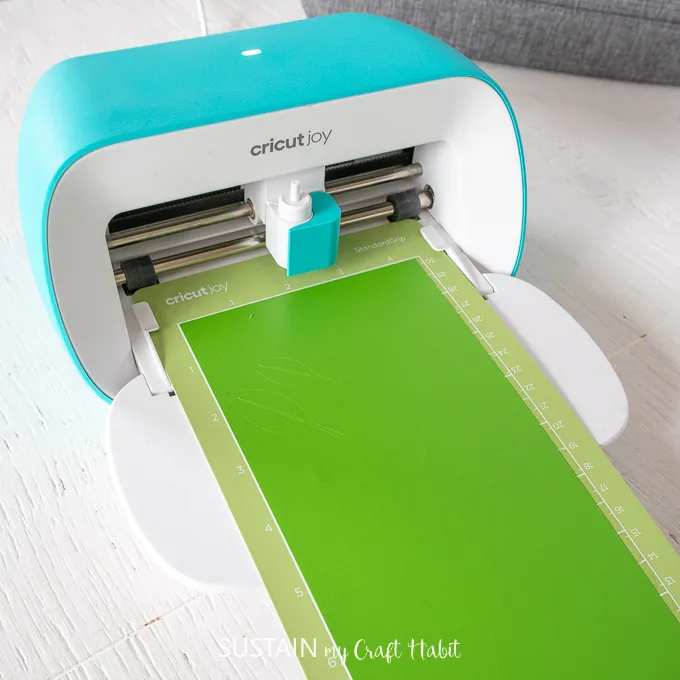
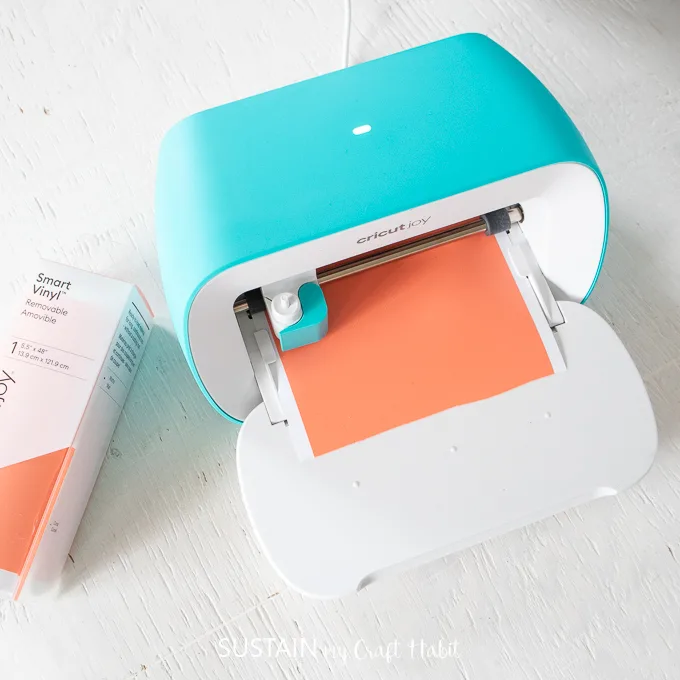
Cricut Joy is the latest (and possibly cutest) innovation from Cricut. It’s Cricut’s smallest cutting machine ever made: compact and portable, making it easy to pull out and use whenever inspiration strikes. Since this cutting machine takes up so little space, it’s ideal for using pretty much anywhere (I keep mine in my dining room).

With the kids at home these days, Cricut Joy has allowed me to watch over them while still accomplishing craft projects (for my sanity) without having to head to the craft room.
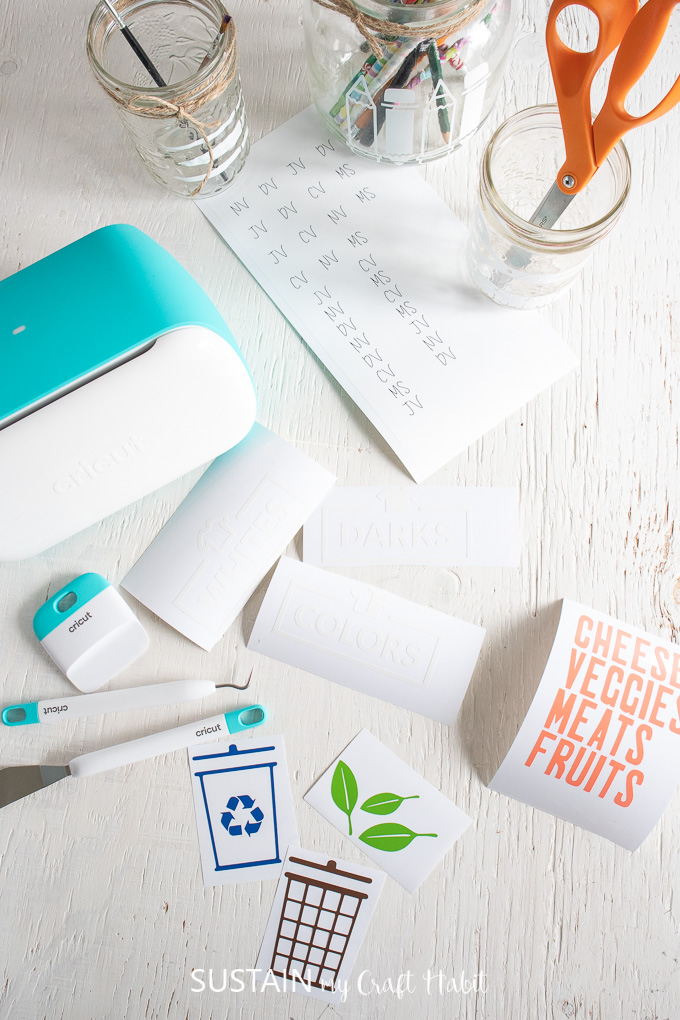
Using Cricut Joy I was able to quickly create easy-to-read labels for many of the trouble spaces in our home. Starting with the kitchen, laundry and a few spots in between, read on below for the DIY projects that have improved my home’s organization.
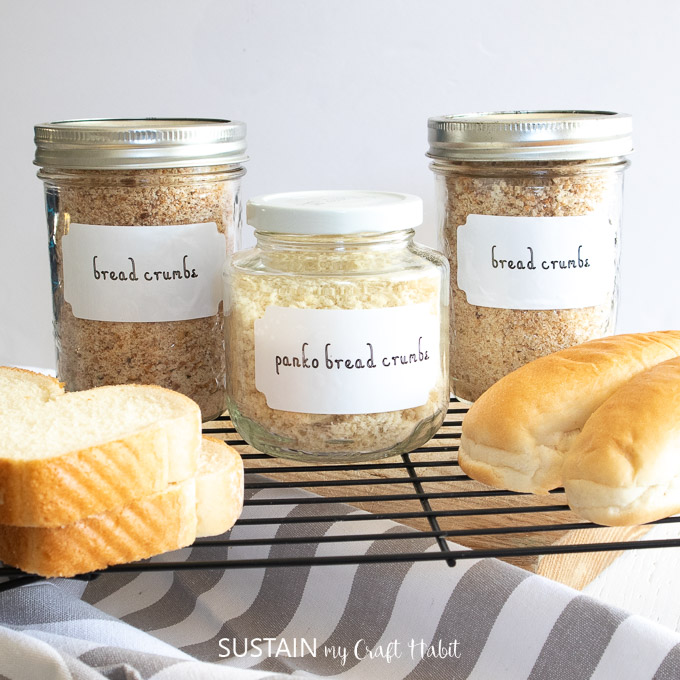
As an added bonus, there is no need for cutting mats when using Cricut Joy Smart Vinyl, reducing the need for extra craft supplies. Furthermore, Cricut Joy has a whole collection of compatible pen types and line weights to draw and write customized text. In fact, I was also able to make these bread crumb jar labels for my kitchen in less than 10 minutes!

Home Organization Ideas with Cricut Joy
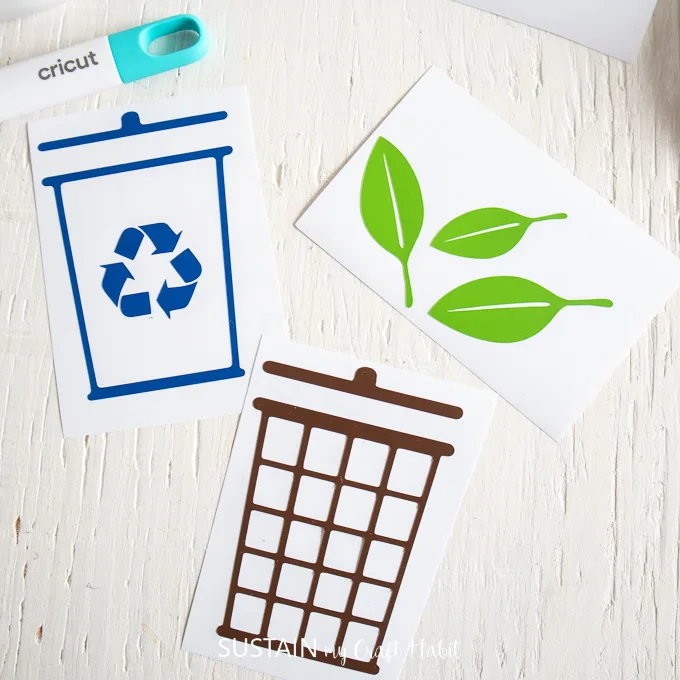
1. Labels for Garbage, Recycling and Compost Bins
The kids are always asking me “Mama, where does this go?” as they are tossing away their garbage, recyclables and biodegradables. Understandably the bins all look the same, most especially the garbage and recycling bins, so it can be hard for them to distinguish.
Adding these simple color coded icons on the fronts of the bins will help them identify the correct bin to use. Using removable premium vinyl in green, brown and blue, we uploaded the available garbage images in Design Space and adjusted the sizes for cutting.
Materials Needed:
- Cricut Joy
- Cricut Joy Standard Grip Mat with fine point blade
- Premium Vinyl, Removable in green, blue and brown from the Value Pack
- Design Space Images (Recycling Bin #M8944E9B; Garbage Bin #M8944F1B; Compost Symbol #M8EAB4E9)
- Weeder, Scissors
- Cricut Transfer Tape
How to Make Garbage Bin Labels:
- Open Cricut Design Space.
- Click on the “+” sign to start a new project, opening up a blank canvas.
- Click on the Images button from the toolbar.
- Search recycling and garbage bin images (#M8944E9B and #M8944F1B) and leaf images (#M8AE8FB3) and then click on the images to insert the patterns on the canvas.

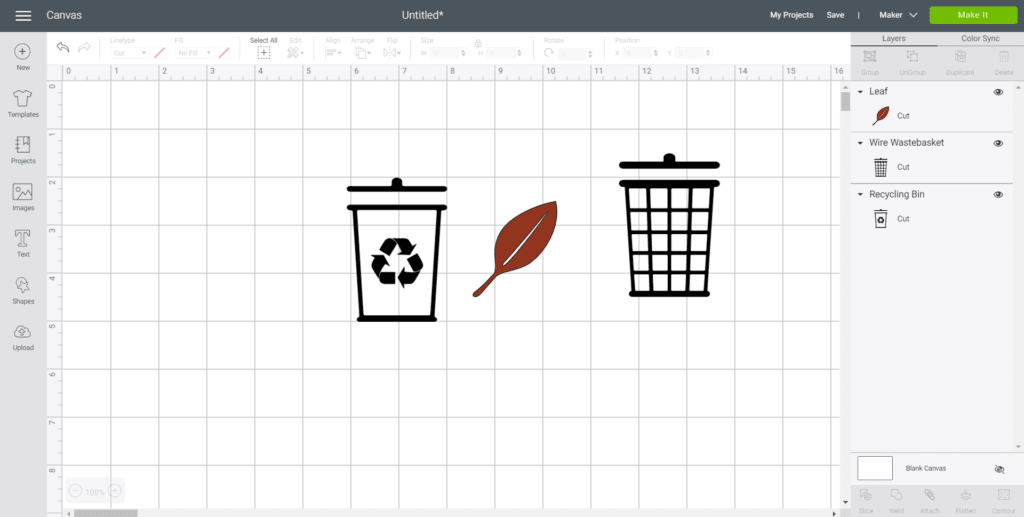
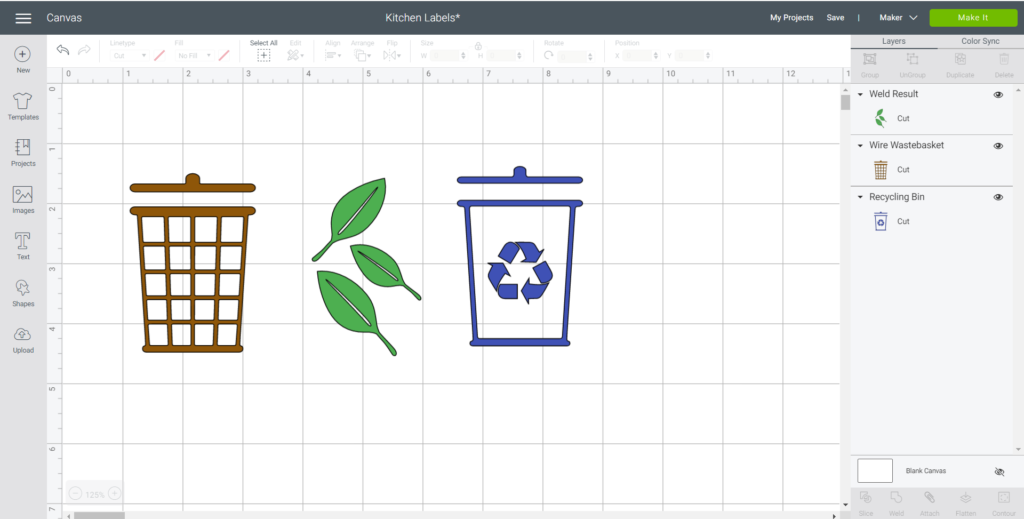
- Resize each icon as needed. Duplicate the leaf image 2 times, resize, flip and then weld the leaf images together.
- Adjust the color of the images to match the Premium Vinyl color.

- Select “Make It” in the upper right corner to proceed with cutting.
- Choose the Smart Vinyl, Permanent from the list of options in the drop down menu.
- Following the instructions prompted on the screen, cut out the vinyl and then peel off the vinyl from the cutting mat.


- Cut around the image with a pair of scissors and using the weeding tool, peel away the excess vinyl around the cut images and discard.

- Cut a piece of transfer tape a bit larger than the size of the image. Peel away the transfer tape backing and place the transfer tape overtop of the cut image. Gently rub the vinyl to help it stick to the transfer tape.
- Peel away the vinyl backing, leaving just the image adhered to the transfer tape.
- Position the image with the transfer tape on to the bin and press in place.
- Slowly remove the transfer tape leaving the vinyl image on the bin.
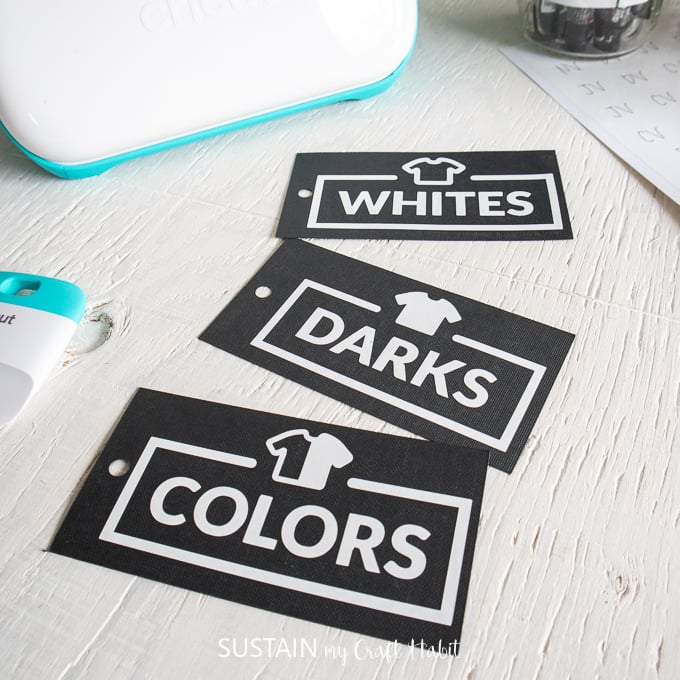
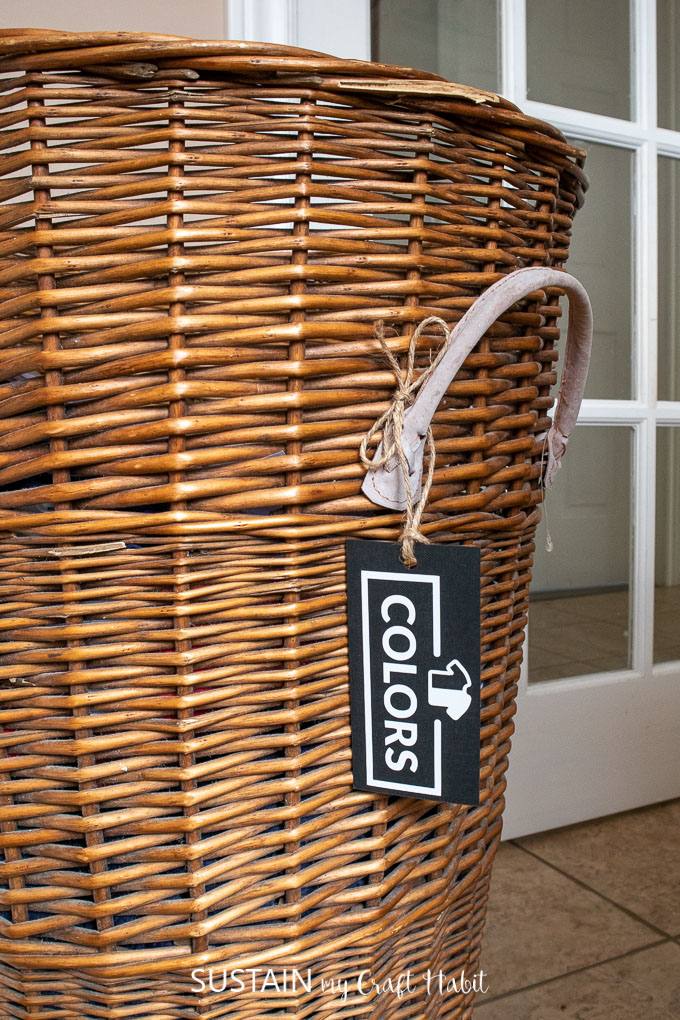
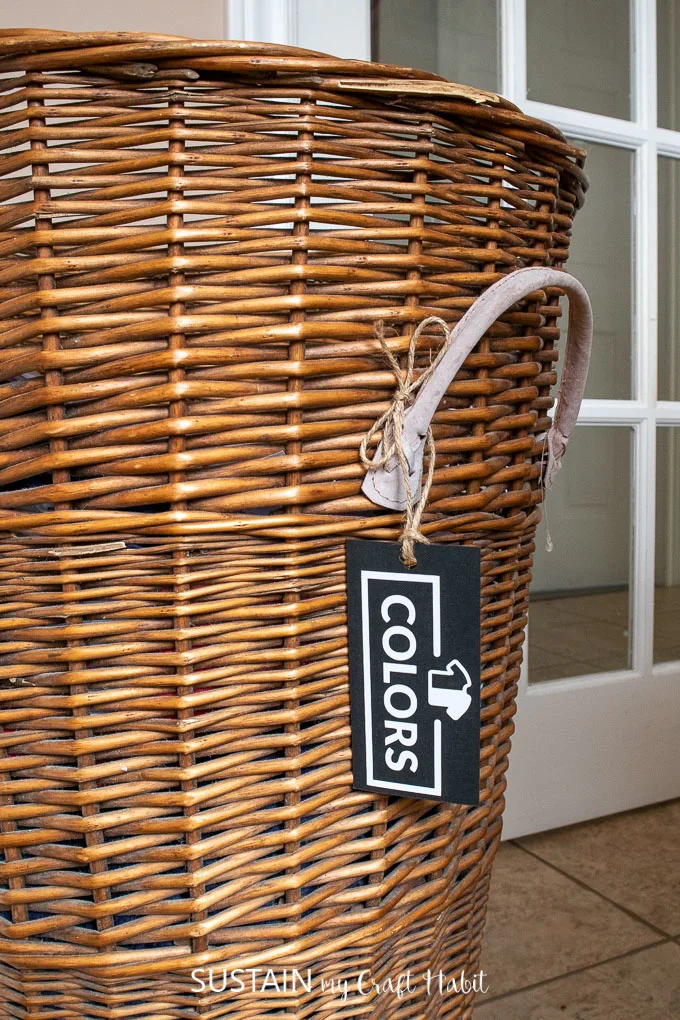
2. Sorting Laundry with Labels
Making sure the kids know where to put their dirty laundry will make my life a whole lot easier, cutting down on the sorting time. Made simply using Permanent Smart Vinyl in white with available “colors”, “darks” and “whites” laundry labels in Design Space.

All I need to do next is make a custom label that reads “too lazy to put away”;)
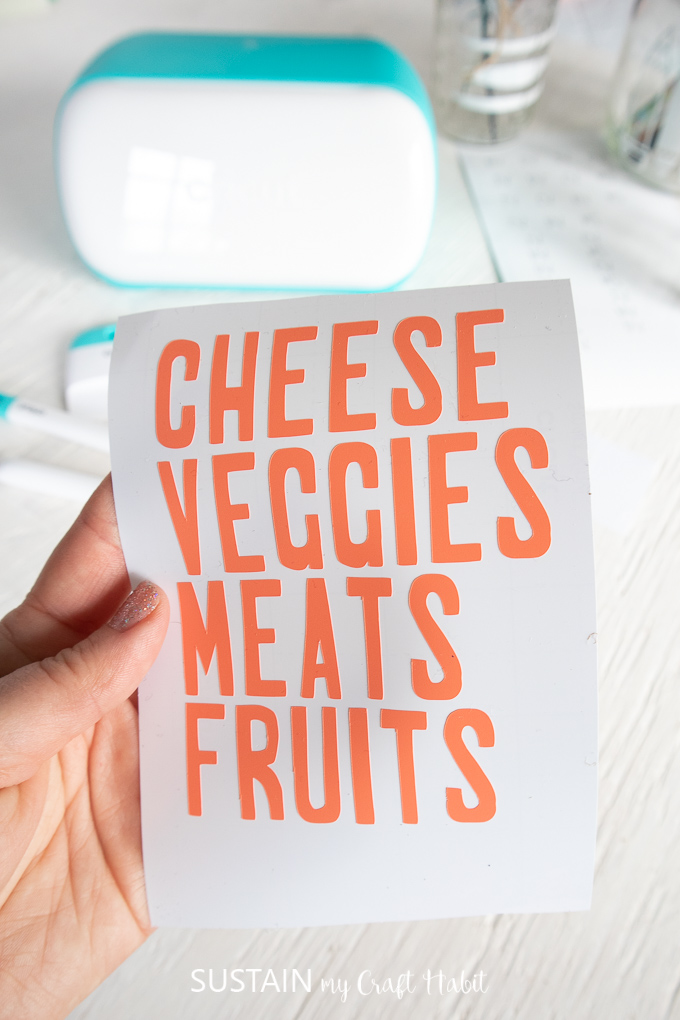
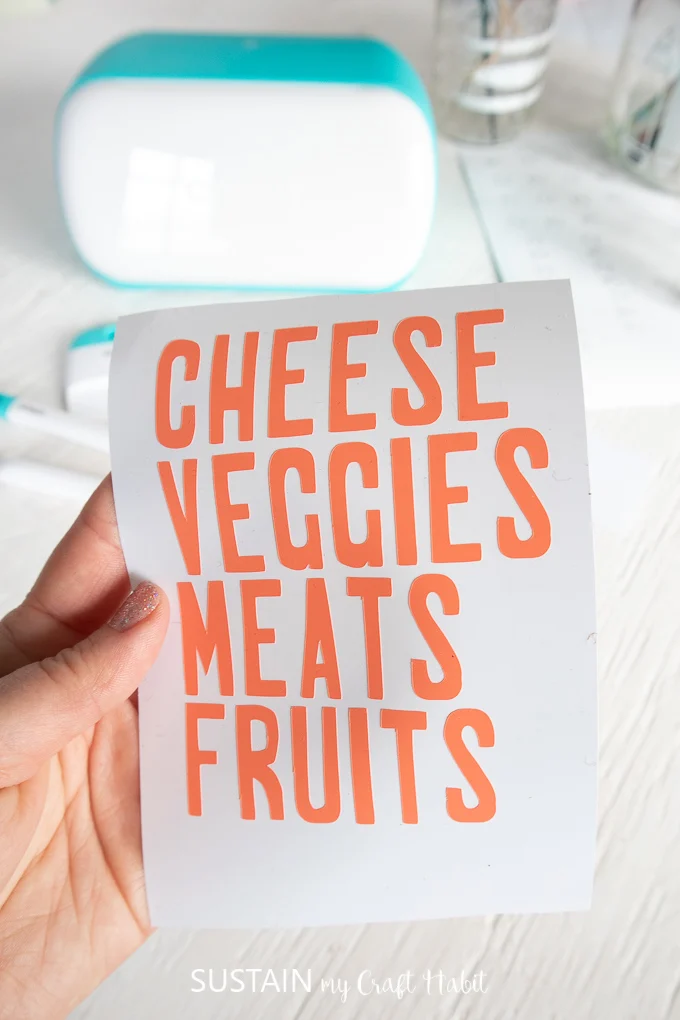
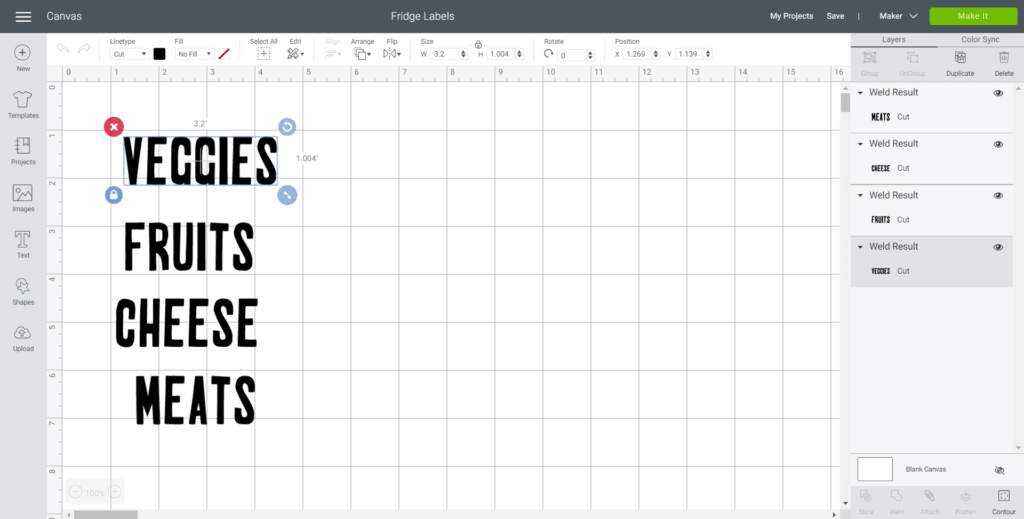
3. Labelling the Fridge Drawers
Keeping the fridge organized and tidy makes meal prep simpler and quicker. With four hungry kids in the house, I need to know where things are…and fast. I love the look of these coral colored fridge drawer labels!
Materials Needed:
- Cricut Joy
- Cricut Smart Vinyl, Permanent; Coral from Beachside Sampler
- Weeder, Scissors
- Cricut Transfer Tape
How to Make Fridge Drawer Labels
- Open Cricut Design Space.
- Click on the “+” sign to start a new project, opening up a blank canvas.
- Select Text from the toolbar and type out the fridge labels: FRUITS, VEGGIES, CHEESE, MEATS. Use the font “A Fruitful Affair”.
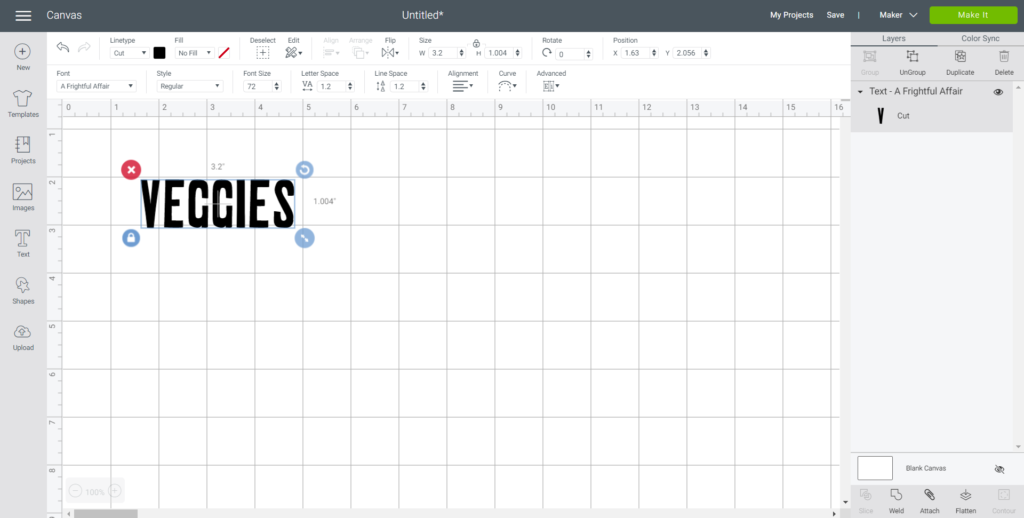

- Adjust text size to 1” high.

- Select “Make It” in the upper right corner to proceed with cutting.
- Choose the Smart Vinyl, Permanent from the list of options in the drop down menu.
- Following the instructions prompted on the screen, cut out the vinyl and then unload the vinyl from the machine when complete.

- Cut around the text with a pair of scissors and using the weeding tool, peel away the excess vinyl around the cut text and discard.
- Cut a piece of transfer tape a bit larger than the size of the text. Peel away the transfer tape backing and place the transfer tape overtop of the cut text. Gently rub the vinyl to help it stick to the transfer tape.
- Peel away the vinyl backing, leaving just the image adhered to the transfer tape.
- Position the image with the transfer tape on to the fridge drawer and press in place.
- Slowly remove the transfer tape leaving the vinyl image on the drawer.
4. Organizing the Kid’s School Supplies
With trying to do learning from home, we were getting frustrated constantly tyring to find the school supplies. Keeping the kids focused is by far the biggest challenge so ensuring they have pencils, sharpeners and rulers handy has been critical in getting their assignments done on time.

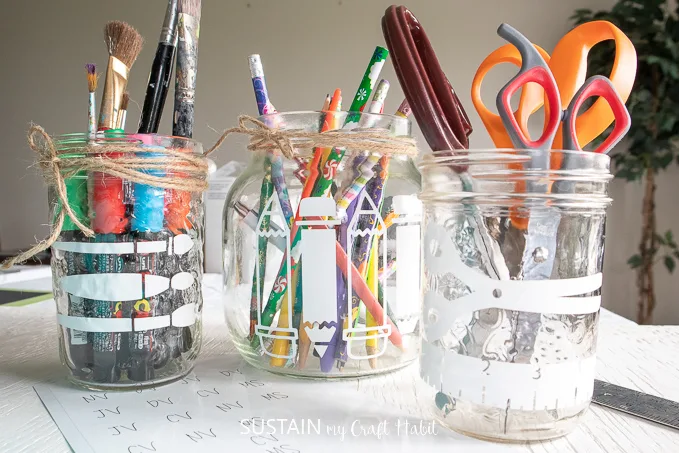
I cut these crafting images in Permanent Smart Vinyl and added them to mason jars for holding their supplies.

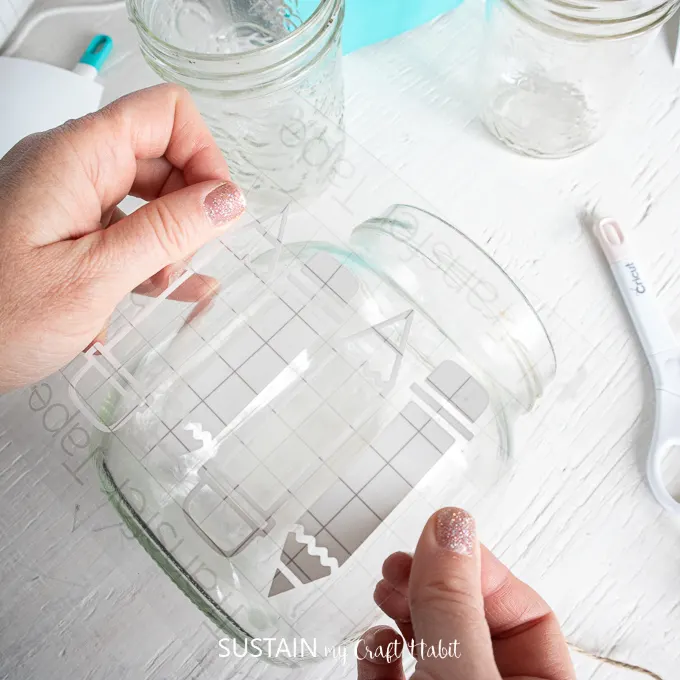
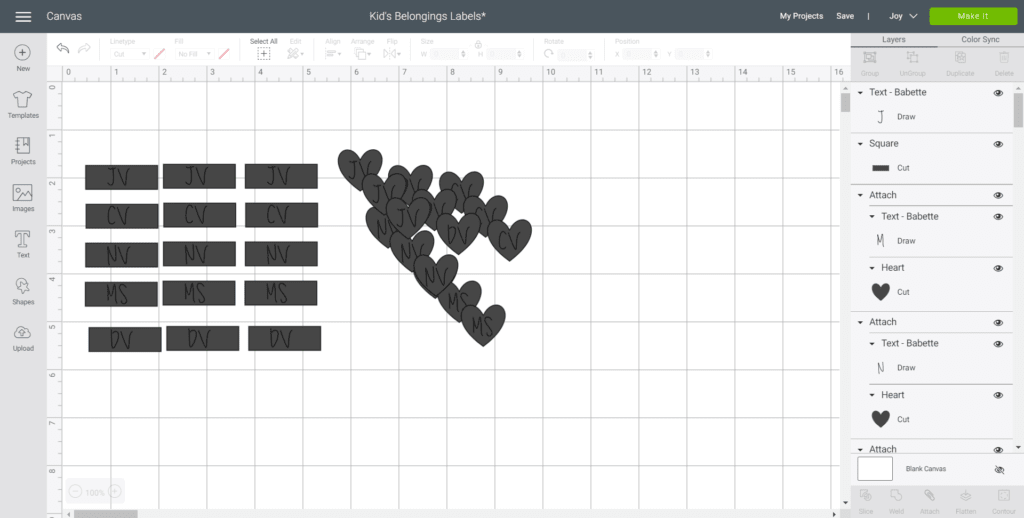
5. Personalized Mini Labels for Kid’s Belongings
Lastly, I made these simple personalized labels for the kids to use in labeling their own belongings. Hopefully, this will limit the number of times I hear them complaining that someone’s taken their things!


Materials Needed:
- Cricut Joy
- Cricut Smart Vinyl, Permanent; White
- Weeder, Scissors
How to Make Personalized Mini Labels:
- Open Cricut Design Space.
- Click on the “+” sign to start a new project, opening up a blank canvas.
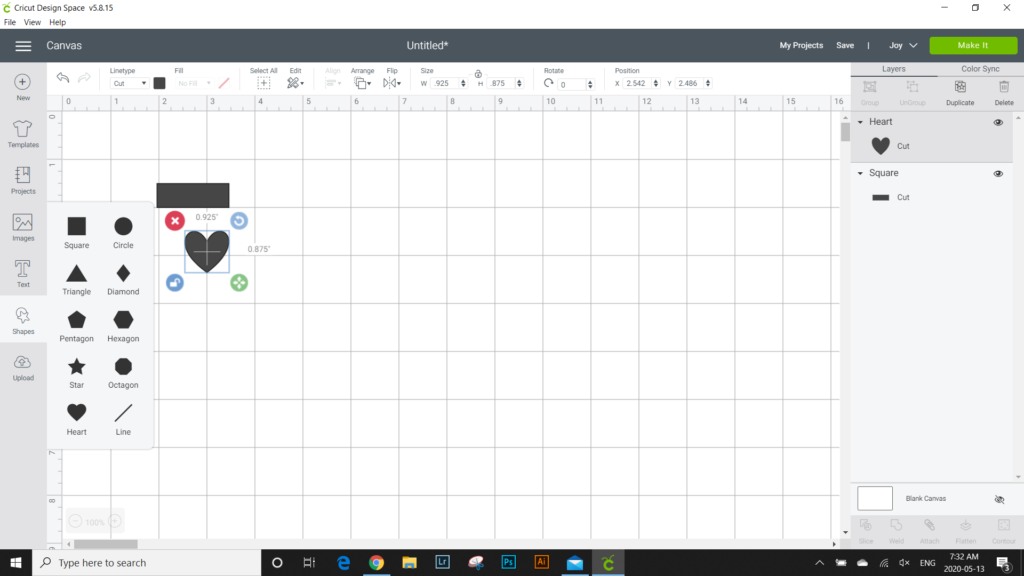
- Select the Shape Icon from the toolbar and click on the square.
- Adjust the size and shape to a rectangle measuring 1.5″ wide by 0.5″ high.
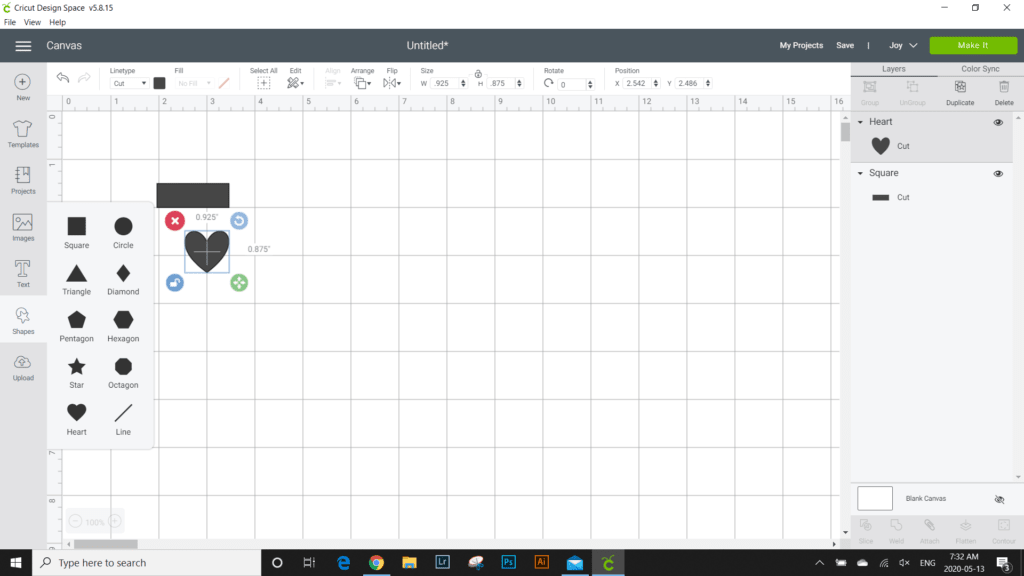
- Next, select the Shape Icon from the toolbar and click on the heart.
- Adjust the size to 0.925″ wide by 0.875″ high.
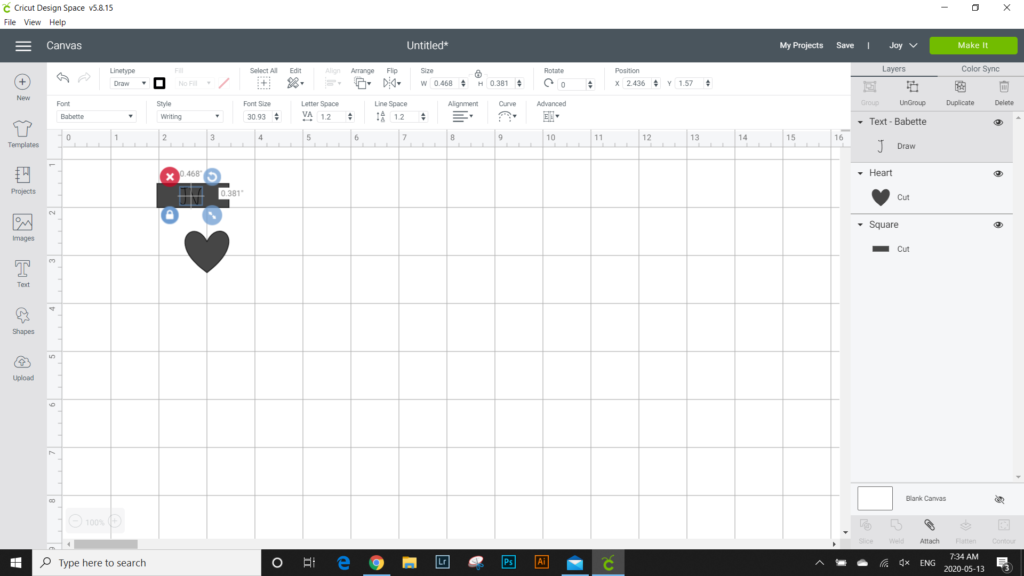
- Then select the text icon from the toolbar and type out the kid’s initials.
- Change the font to Babette and the style to writing. Reduce the size of the initials to fit inside the shapes: 0.4″ high at most.
- Change the Cut Type to Draw and adjust the pen tool to Extra-Fine Point 0.3mm.

- Place the initial inside the shape and attach them together.
- Duplicate the labels as desired.
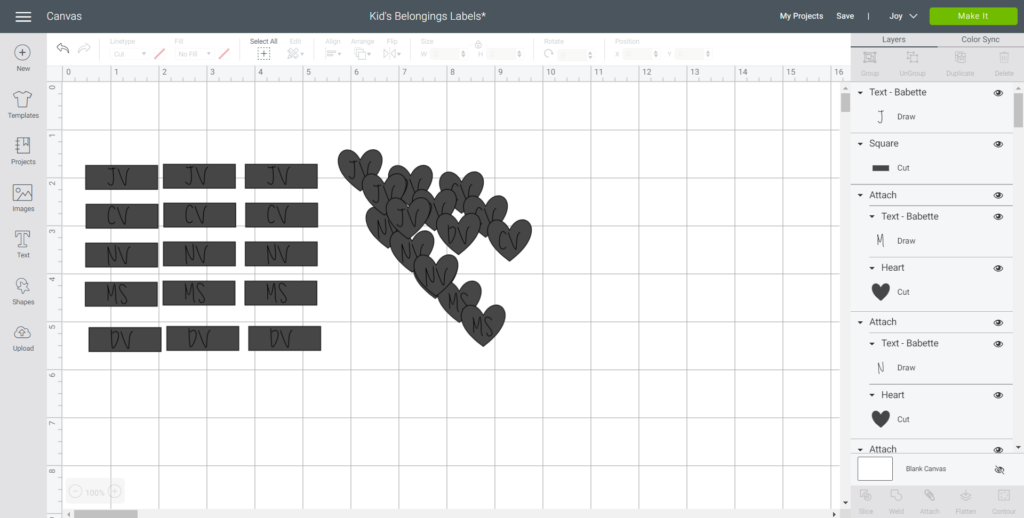
- Select “Make It” in the upper right corner to proceed with cutting.
- Choose the Smart Vinyl, Permanent from the list of options in the drop down menu.
- Follow the instructions prompted on the screen, insert the pen tool and fine point blade as directed for making these labels.
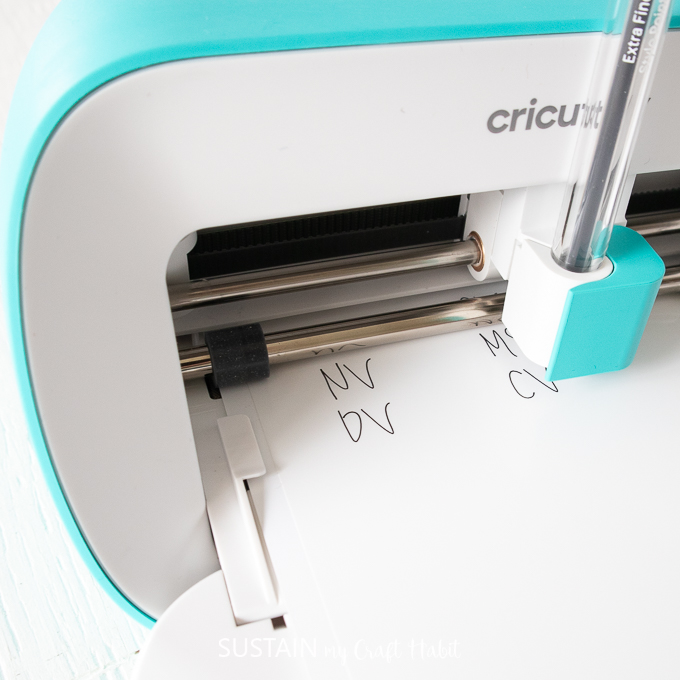
- When complete, give the personalized labels to the kids and have them place them on to their favourite things!
I’m completely addicted to Cricut Joy and may just have to personalize everything in my home! It’s so practical yet fun and makes a great companion to our Cricut Maker for quick, mat-free projects and longer cuts. I’m looking forward to trying out Cricut Joy’s exclusive blank insert card sets. I can only imagine the amazing and professional looking results I’ll be able to create.
Cricut Joy is available online and in-store and if you want to learn more, check out Cricut.com.
Like it? Pin it for later!