“Berry Best” Felt Strawberry Gift
Let’s create a sweet little handmade gift to let mom (or another special person in your life) know that she’s the “berry best”! This felt strawberry is fun and easy to make; take a look.

How to Make a Felt Strawberry
This project only requires a few basic supplies, and some simple hand sewing. However, if you don’t sew, never fear, you can glue your strawberry together using hot glue or liquid craft glue instead. To make your crafting even easier, I’ve created a free pattern you can download and use for cutting the felt pieces. Ready to craft? Grab the materials below, and let’s get started!

Materials
- red, green, and pink felt
- scissors
- craft eyes
- red, green, pink, and black thread or embroidery floss
- sewing needle
- hot glue gun/glue sticks or craft glue
- free strawberry pattern
- optional: printable tag
Instructions
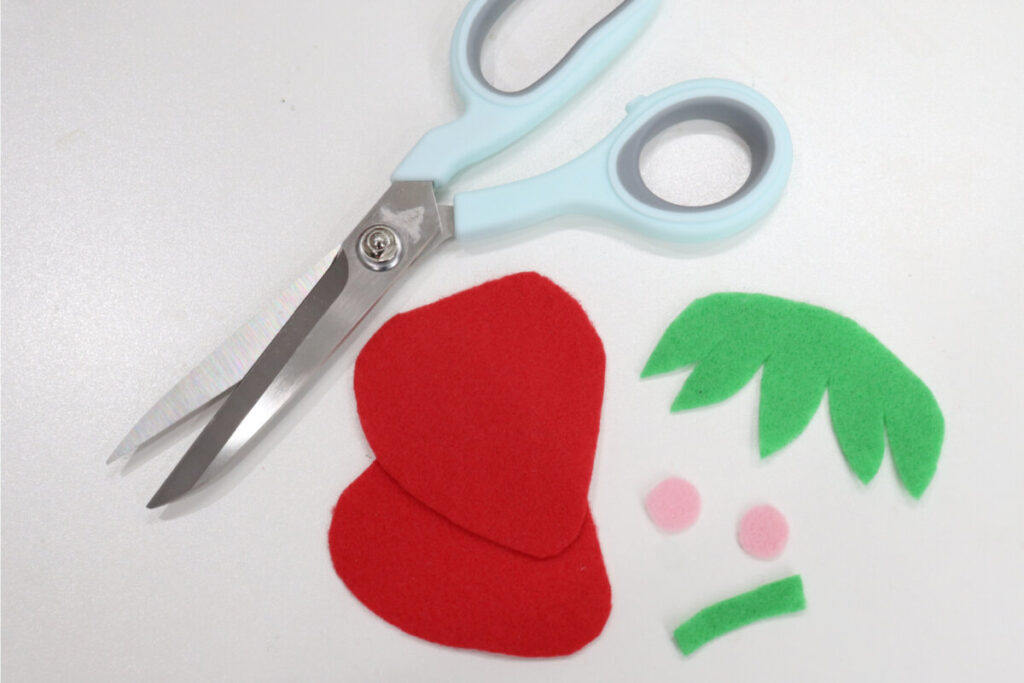
Cut felt pieces using the free strawberry pattern download.
You’ll need two strawberries, one topper, one stem, and two cheeks. I recommend printing the pattern onto cardstock, but you can also use regular printer paper if that’s what you have on hand.
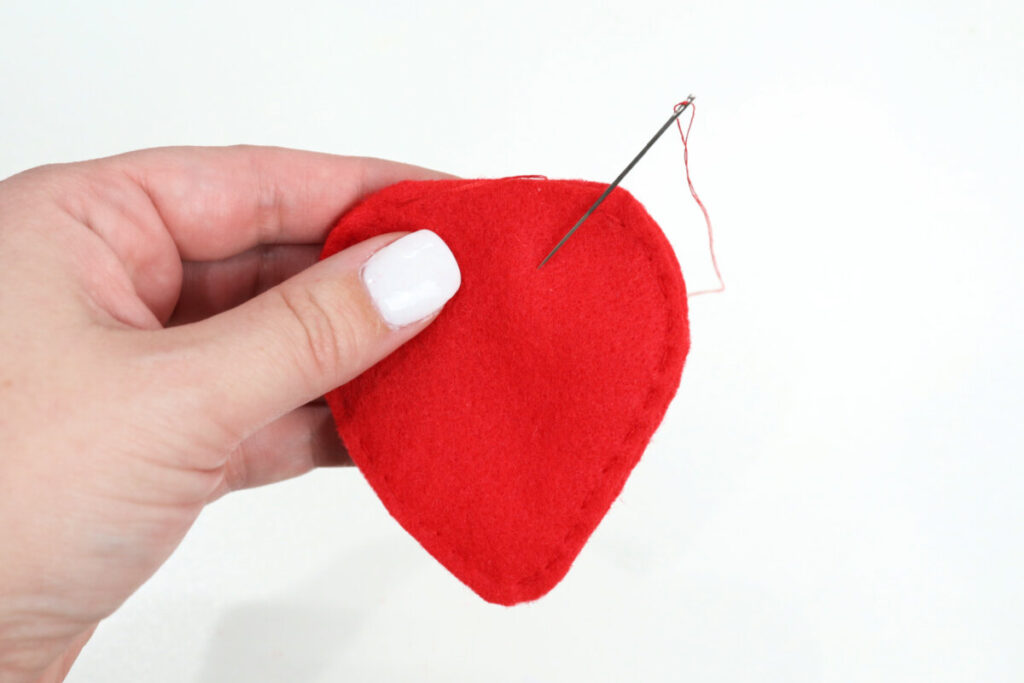
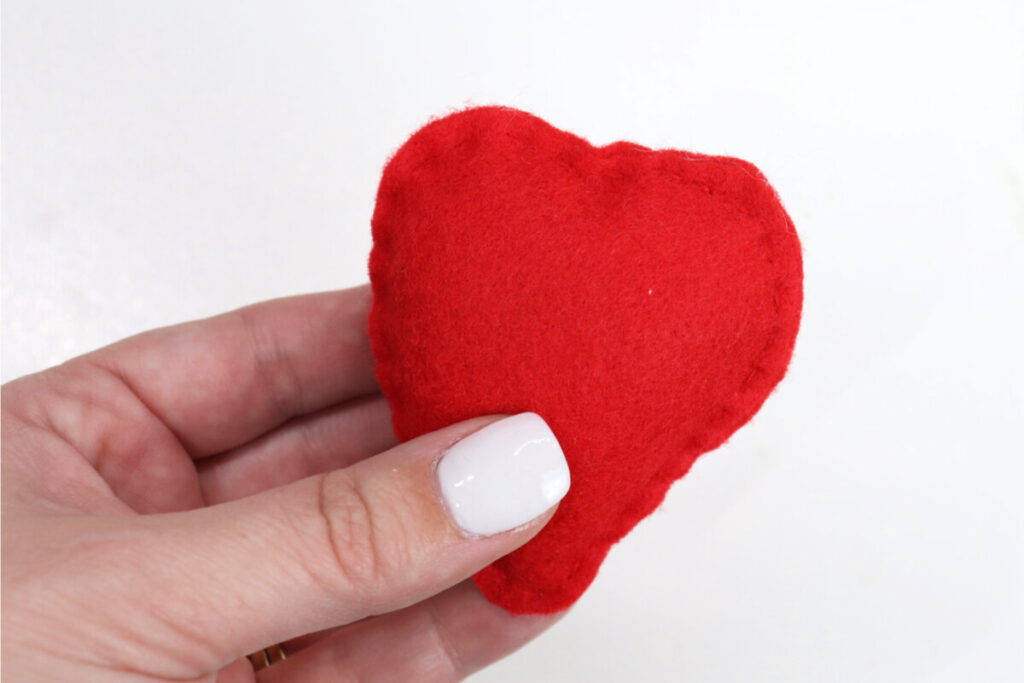
Hand sew around the sides and bottom of the two felt strawberry pieces.
Leave an opening at the top for stuffing the berry. If you’re using glue instead, make sure to only apply it around the outer edges so that there’s plenty of room for the Poly-Fil inside.
Add Poly-Fil, then sew the top shut.
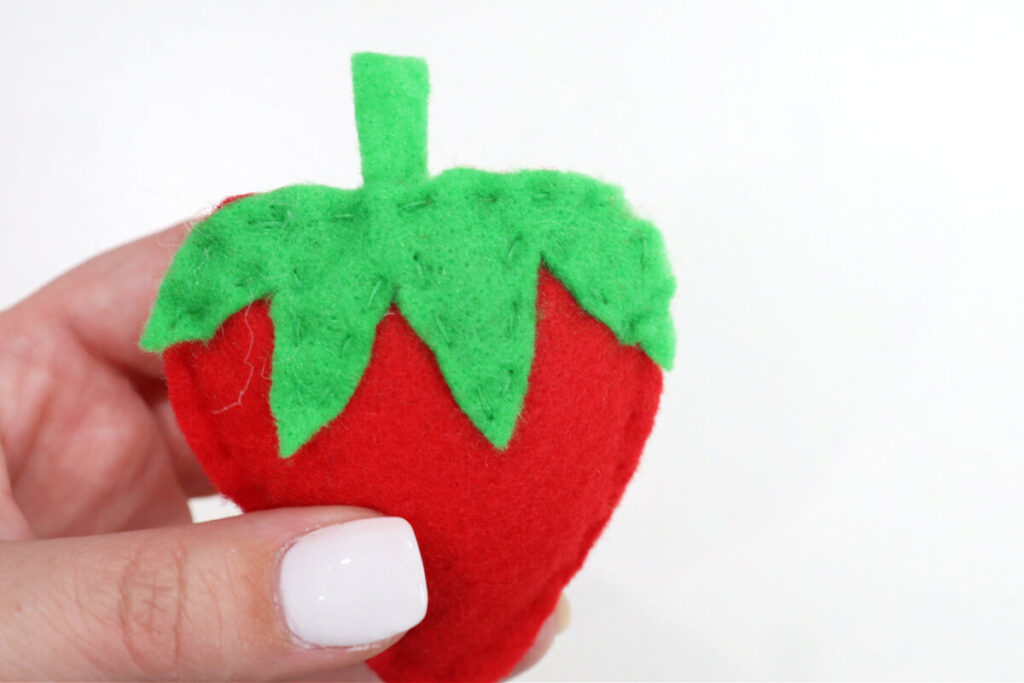
Stitch (or glue) the topper and stem in place.
Position the stem on top of the berry, then add the topper, overlapping the stem. It’s very likely that once the berry is stuffed, the topper may not match up with it exactly, so feel free to trim the topper however you need to in order for it to fit well. I stitched around the entire outline of the topper, but if you want your leaves to be able to move a bit, you can just sew across the top.
Attach eyes with hot glue.
I used 10mm flat back black eyes, but you can use whatever size/style eyes you like best.
Sew (or glue) on cheeks.
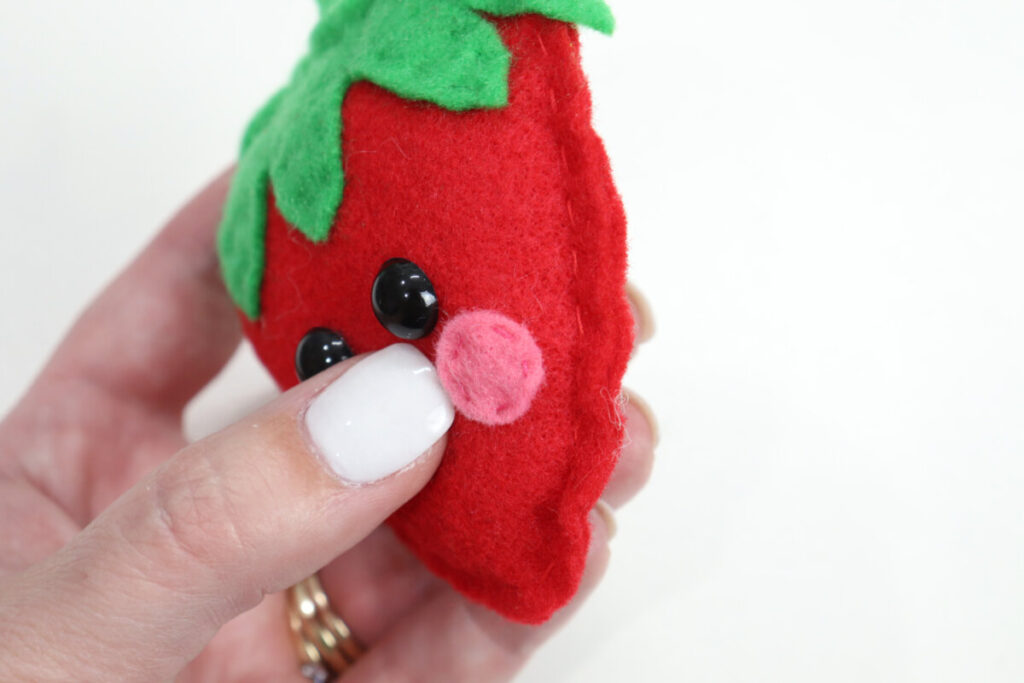
Embroider a smile.
I used a backstitch and two strands of black embroidery floss to create a “u” shape for the mouth.

All that’s left to do is package and share your handmade gift! One option is to use the free printable tag at the bottom of the pattern page. Just cut along the outline, punch out the hole, and attach it to the berry using twine, ribbon, and/or a safety pin.
Another option is to use a berry box! You can create a little DIY box using chipboard and scrapbook paper, or use a real berry box from the market. However you choose to package it, this little gift is sure to bring a huge smile.

Crafting Tips
- Try using google eyes to give your berry a different look!
- Make some smaller berries to go along with your large one. Just cut smaller versions of the felt shapes, then stitch “seeds” using white thread instead of adding a face.
- Add a ribbon loop to allow you to hang the berry from a hook or knob.
Frequently Asked Questions
One sheet of each color (red, green, pink) is plenty to make more than one strawberry!
You can cut a smile from black felt instead, or glue a piece of string onto the berry in a “u” shape.
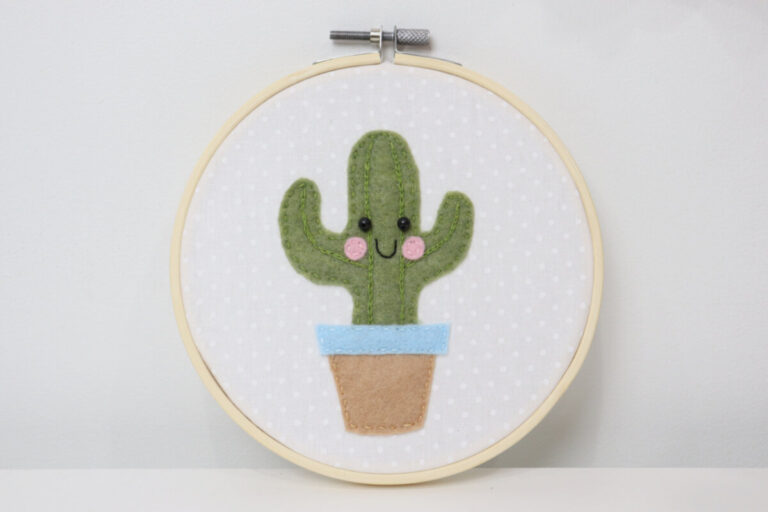
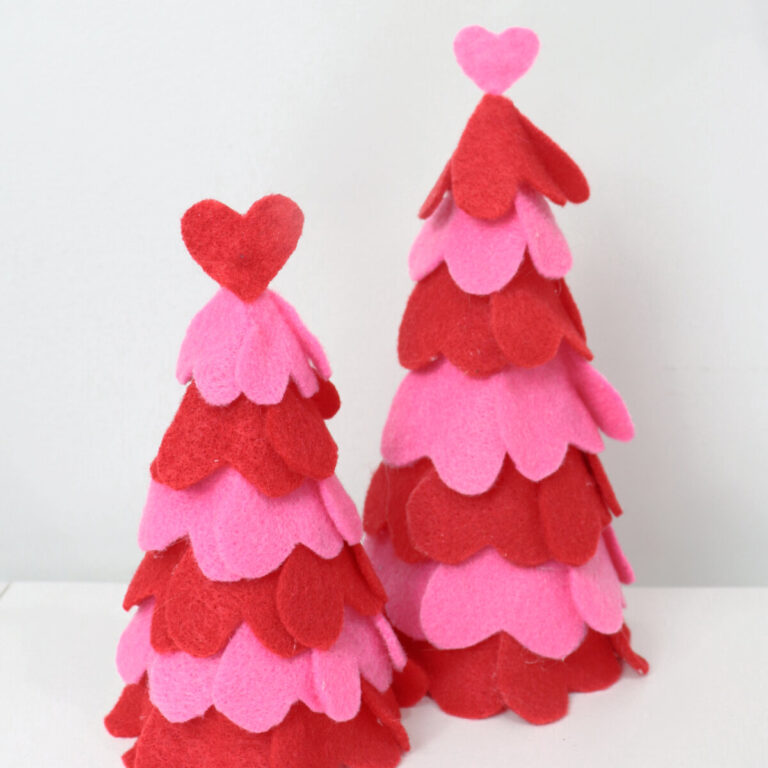
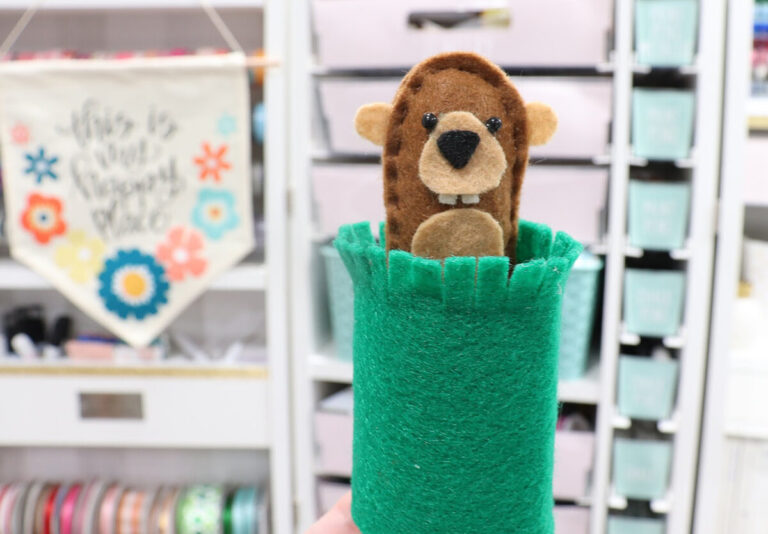
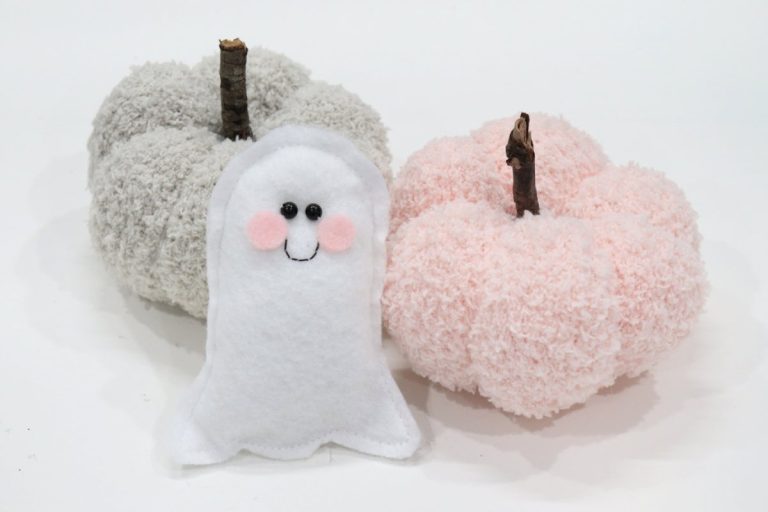
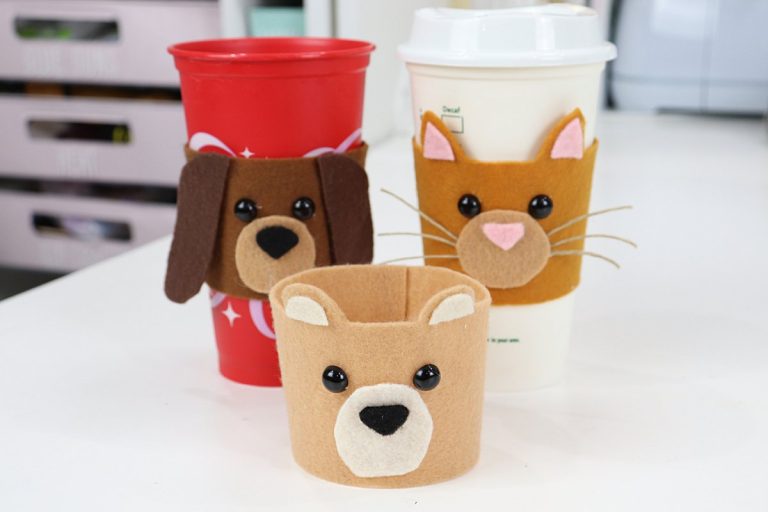
More Felt Crafts
If you enjoyed this project, here are some other crafts to try that are made from felt!

If you create a felt strawberry of your own, I’d love to see how it turns out! Make sure you’re part of the Amy Latta & Friends Facebook Group so you can share your latest project photos and we can all inspire one another. I hope to see you there! You can also tag me @amylattacreations in any social shares of your project.

“Berry Best” Felt Strawberry
Equipment
- scissors
- embroidery needle
- hot glue gun
Materials
- felt: red, pink, green
- embroidery or sewing thread: red, pink, green, black
- pair of craft eyes
- Poly-Fil
- hot glue sticks
- free printable pattern and tag
Instructions
- Cut felt pieces using the free strawberry pattern download.
- Hand sew around the sides and bottom of the two strawberry pieces.
- Add Poly-Fil, then sew the top shut.
- Stitch (or glue) the topper and stem in place.
- Attach eyes with hot glue.
- Sew (or glue) on cheeks.
- Embroider a smile.
- Optional: Attach free printable tag.