
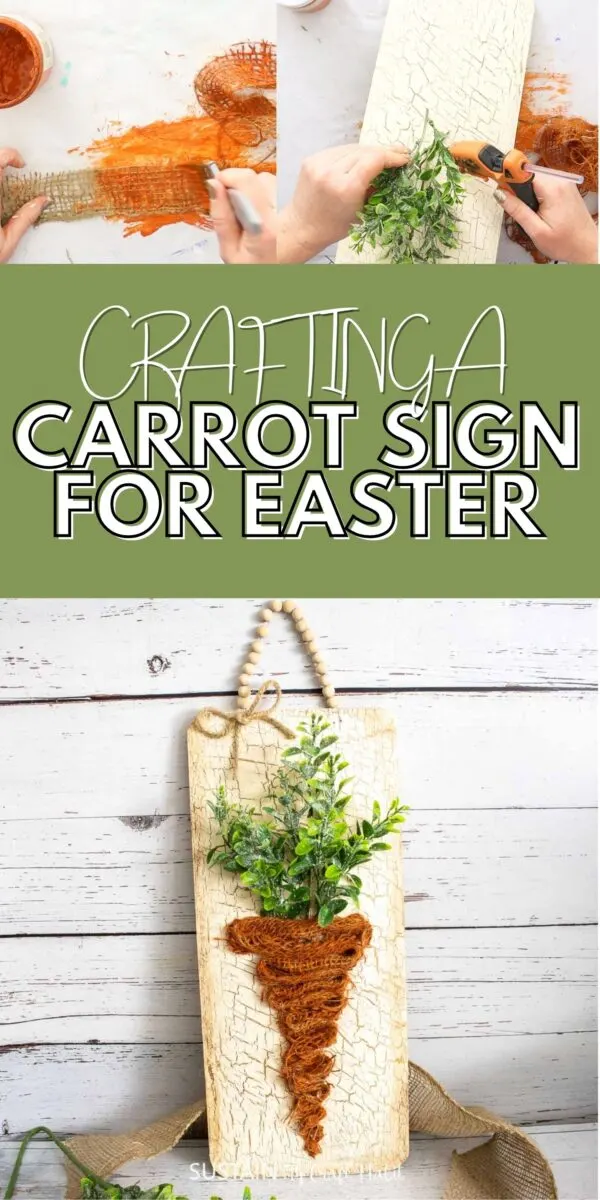
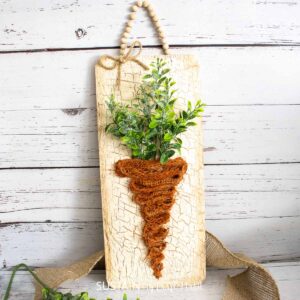
Hop on the carrot decor trend with this creative carrot sign for Easter using burlap ribbon and some faux greenery!

A Simple Burlap Craft Carrot Sign for Easter
With Easter just around the corner, it seems “carrot crafts” are everywhere I turn. Of course I don’t mean crafting with actual carrots but rather crafts inspired by carrots that the Easter bunny would munch on. I thought this trend was too cute to pass up so I came up with this simple DIY decorative sign for Easter.
Want to receive a ton of inspiration and money saving ideas for decorating, gift-giving and crafting? Join HERE!

Materials Needed
Disclosure: This post contains affiliate links for your shopping convenience. Should you choose to purchase through them, we will make a small commission at no extra cost to you. You can read our full disclosure policy here.
- Cedar planks
- Elmer’s craft glue
- Paintbrush
- DecoArt Chalky Finish in Whisper
- Acrylic Paint in orange (we used DecoArt Chalky Finish in Heritage)
- Burlap cut into 2” wide strips, about 3 feet long
- Scissors
- Hot Glue Gun
- Wood beads, 1/4”
- Twine or wire
- Faux greenery (for the top of the carrot)
How to Make a Cute Carrot Sign for Easter
You can catch the step-by-step video of the making of this cute carrot sign on our Facebook page here. Or if you prefer the photo tutorial, continue reading below.
Preparing the Base of the Sign
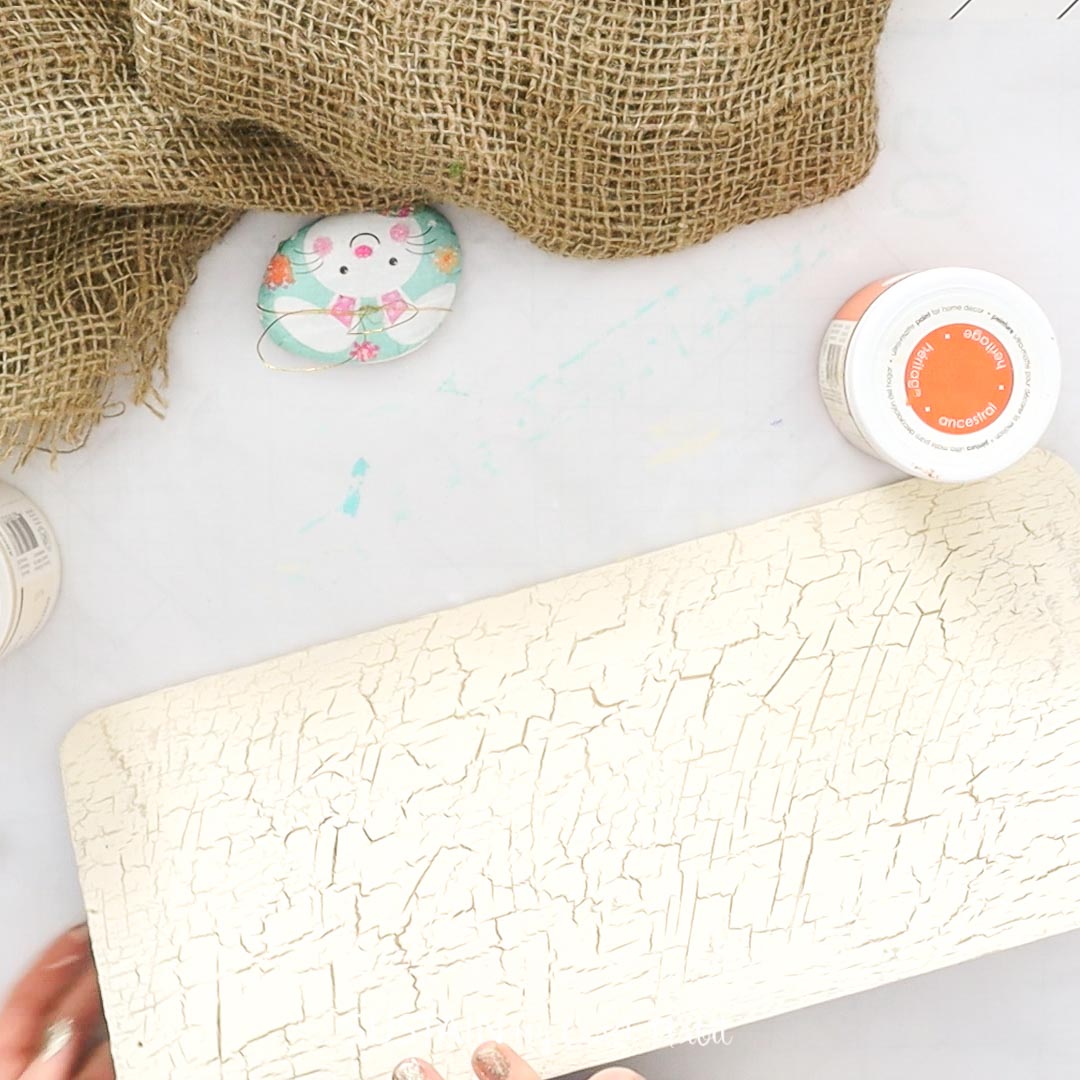
To make the crackle effect on the wood board, apply a coat of school glue on top of the unfinished cedar plank. Let it dry fully.

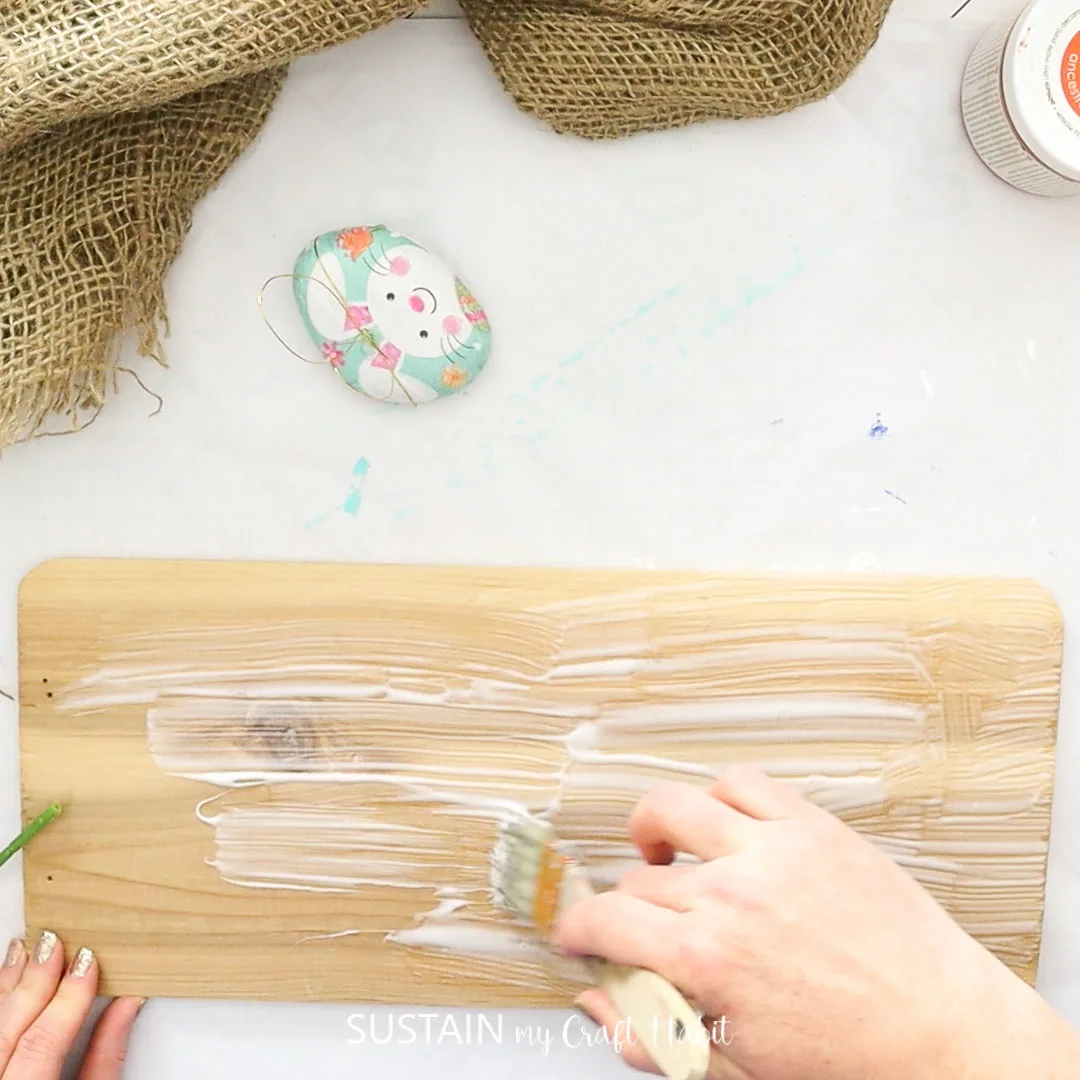
Next, paint the cedar plank in Whisper (or any color of your choosing) and leave it to dry. As it dries, the surface will appear to crackle! If you want more info on how to make a crackle effect using school glue, check out this post.

Crafting the Decorative Carrot
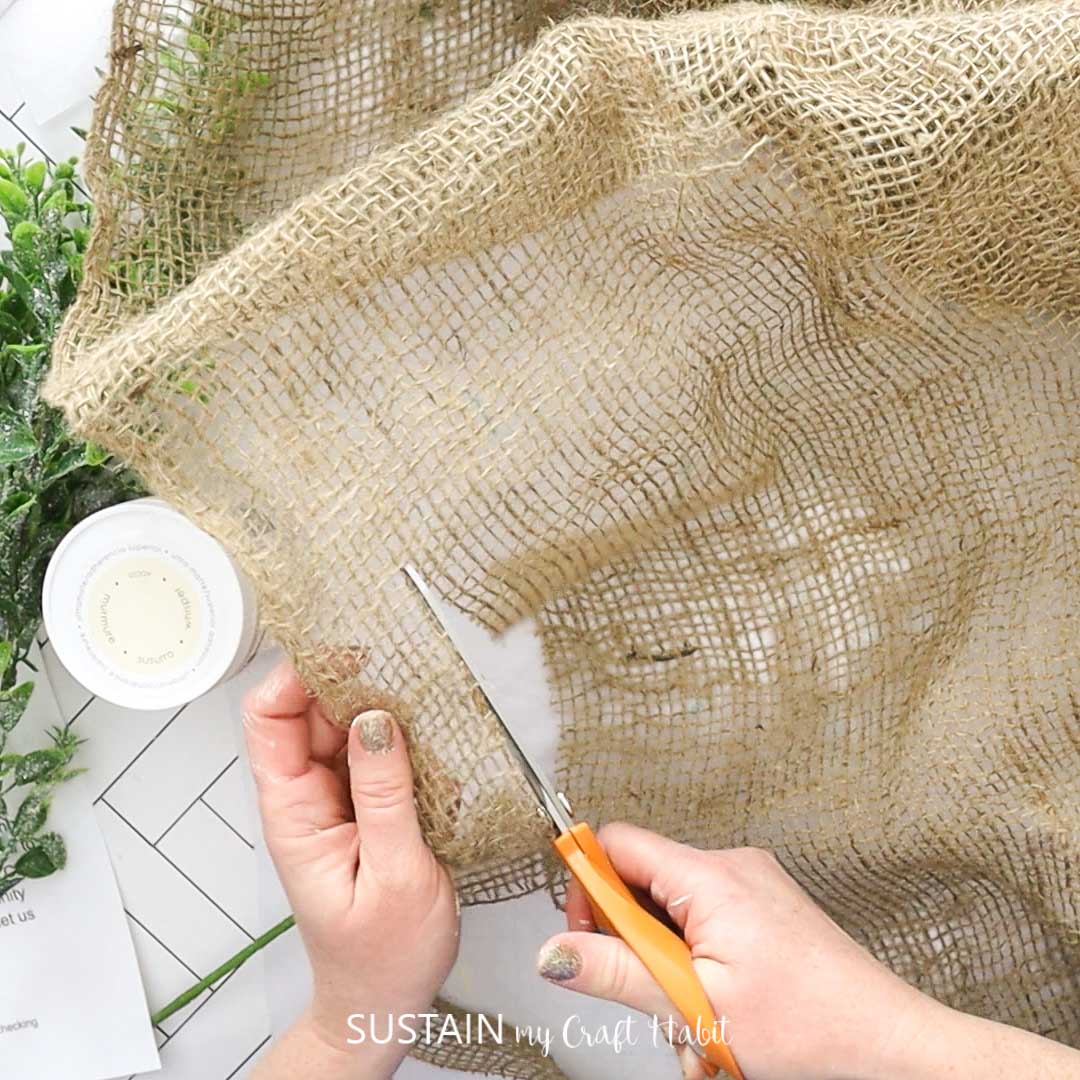
Cut burlap into wide strips about 2-3” wide or use a roll of burlap ribbon.

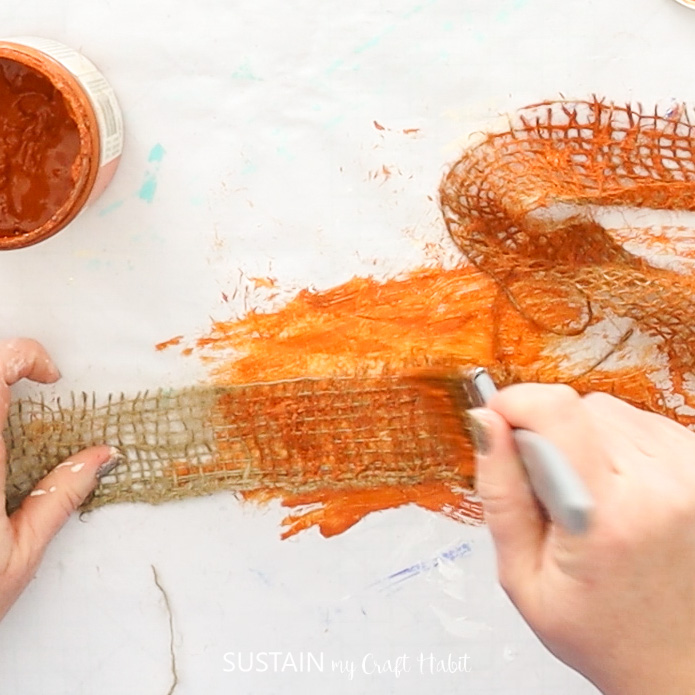
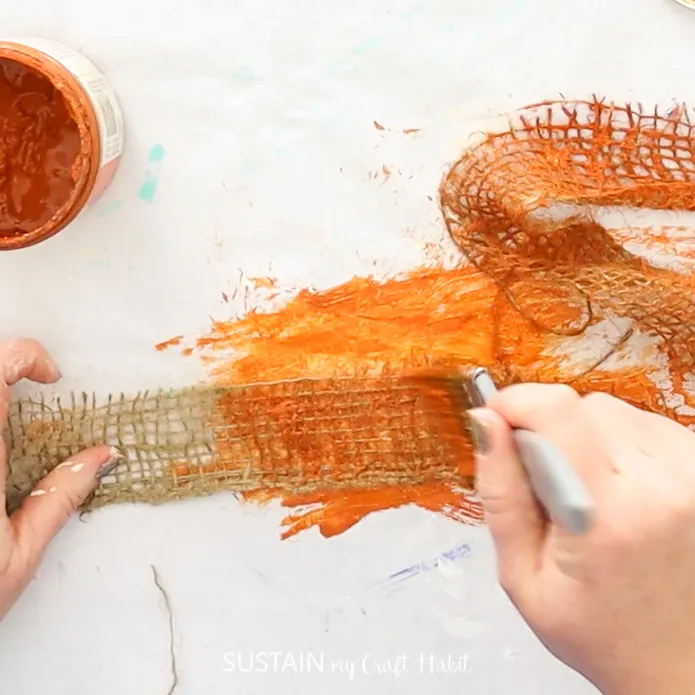
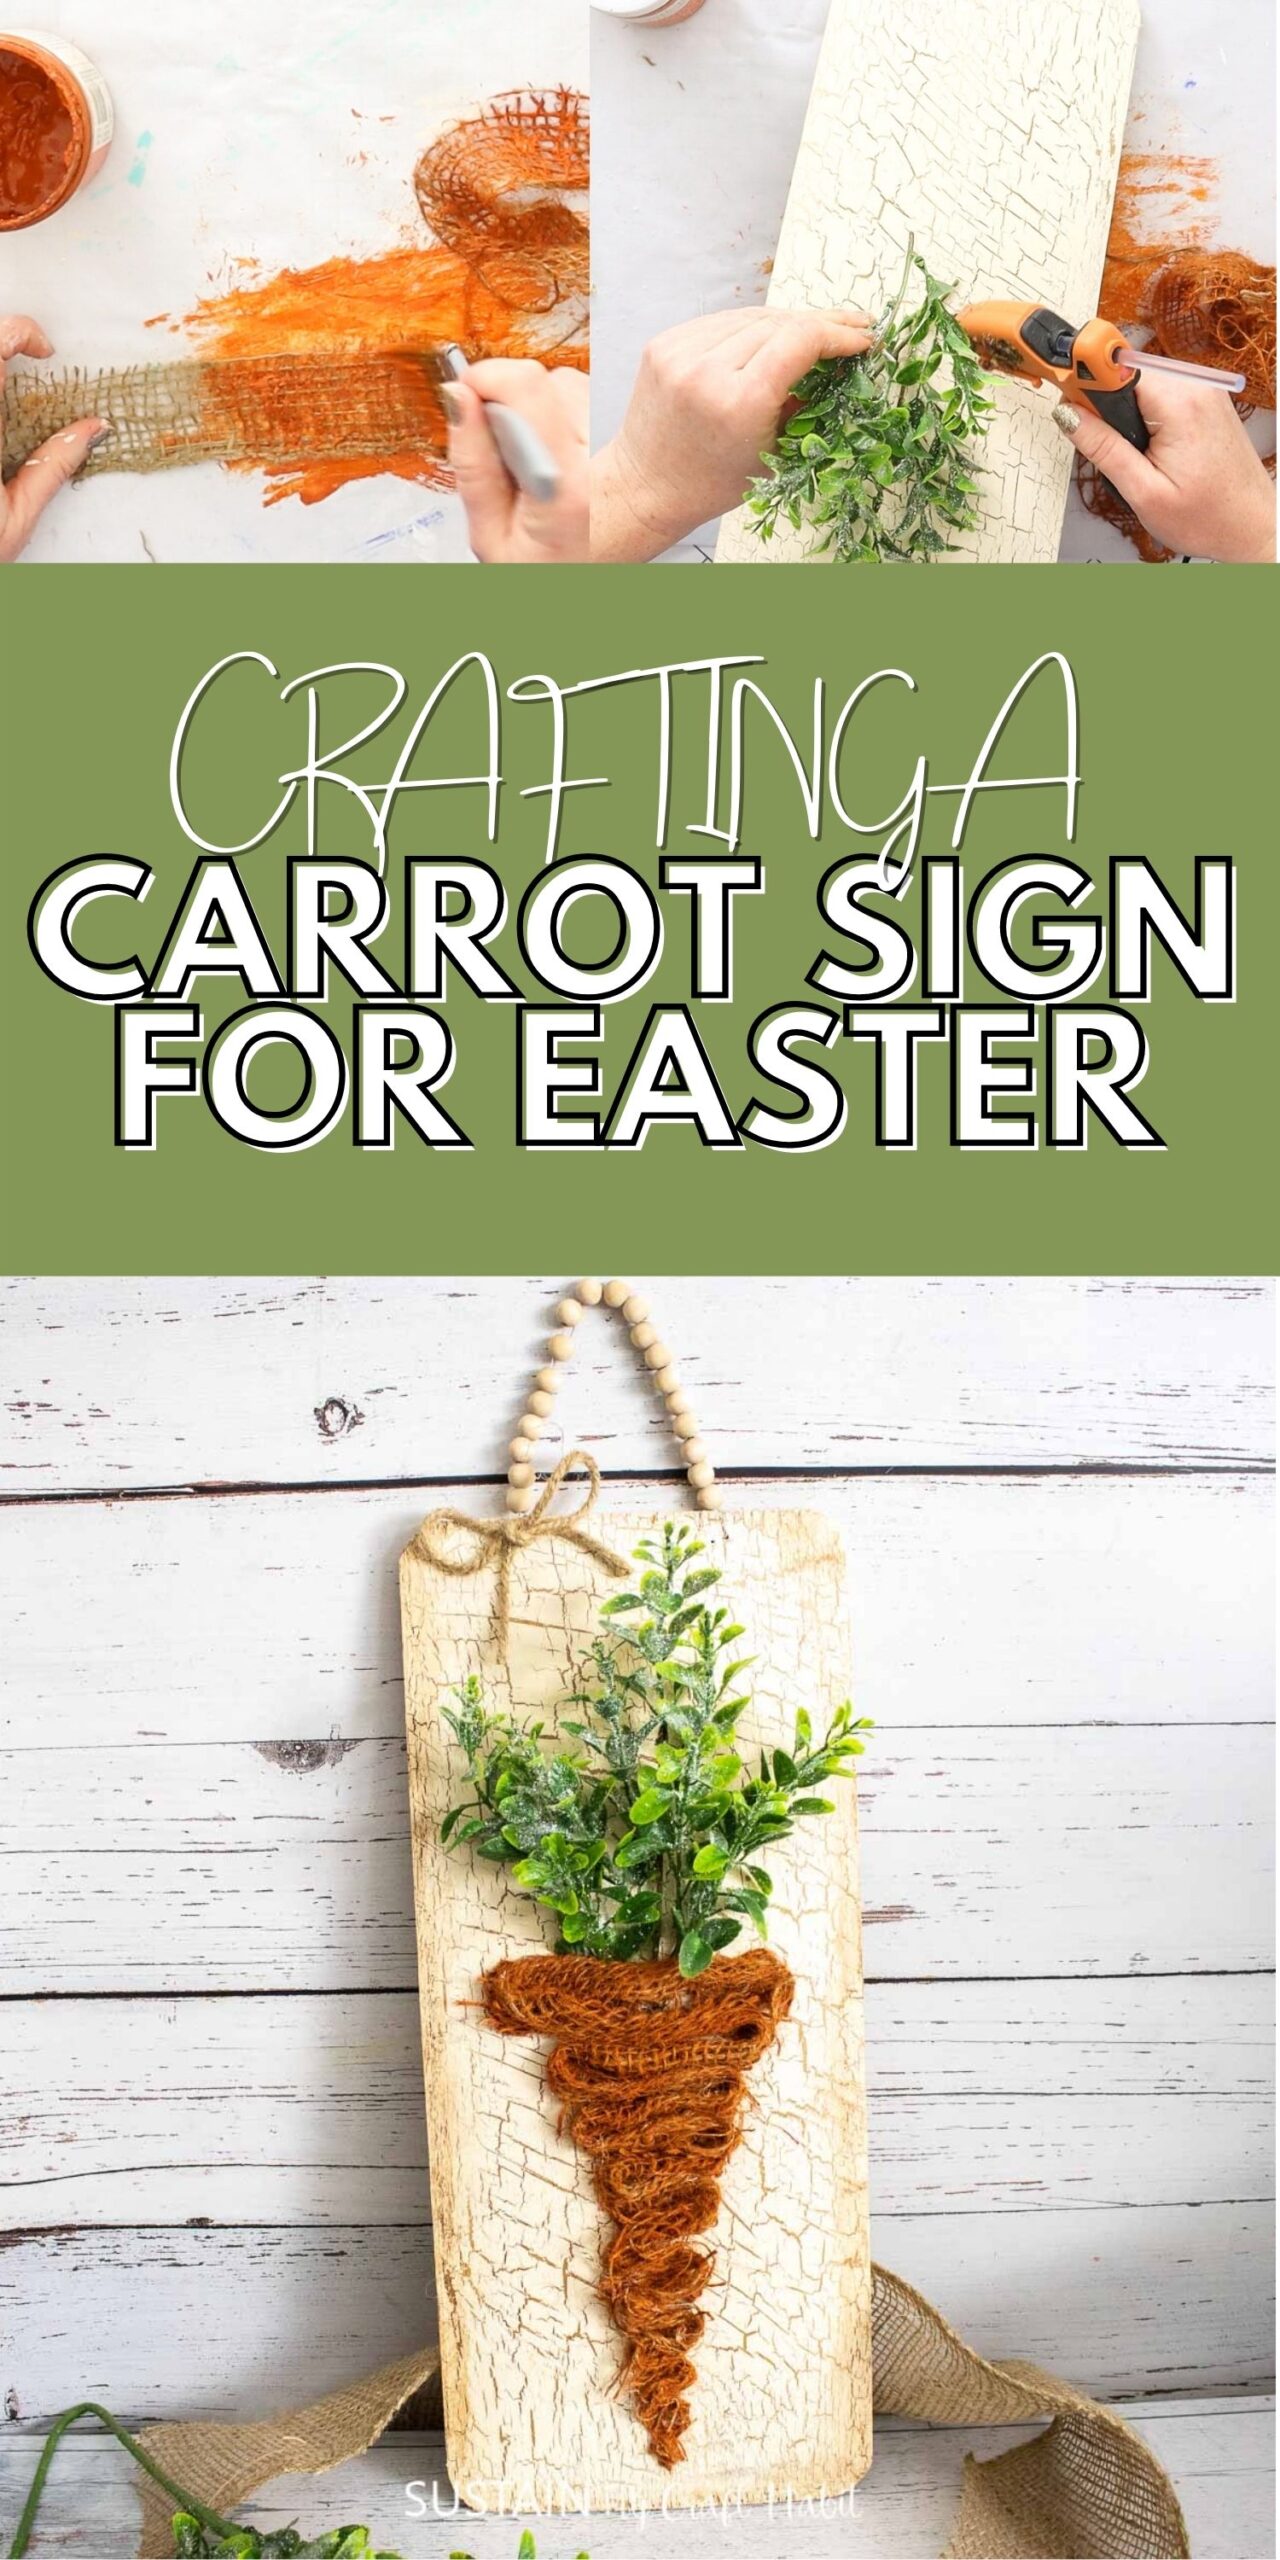
Paint the burlap in orange. Make sure the surface is protected as the paint will seep through the burlap holes. Leave the paint to dry.
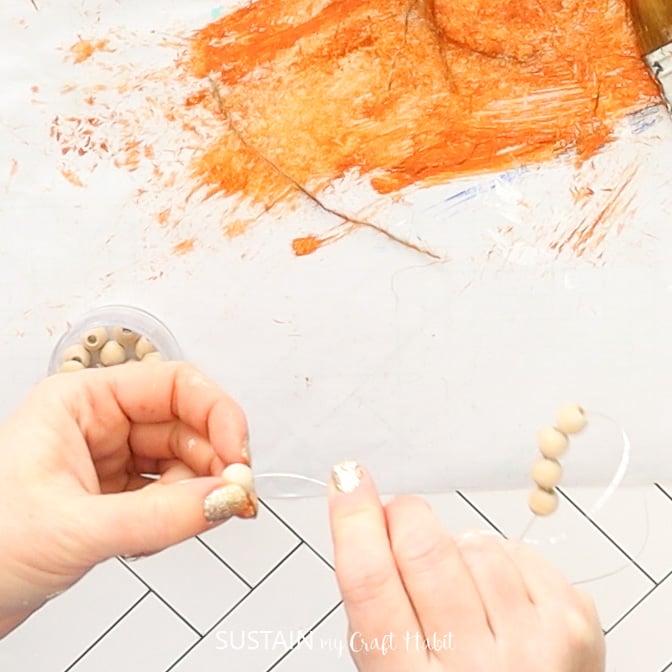
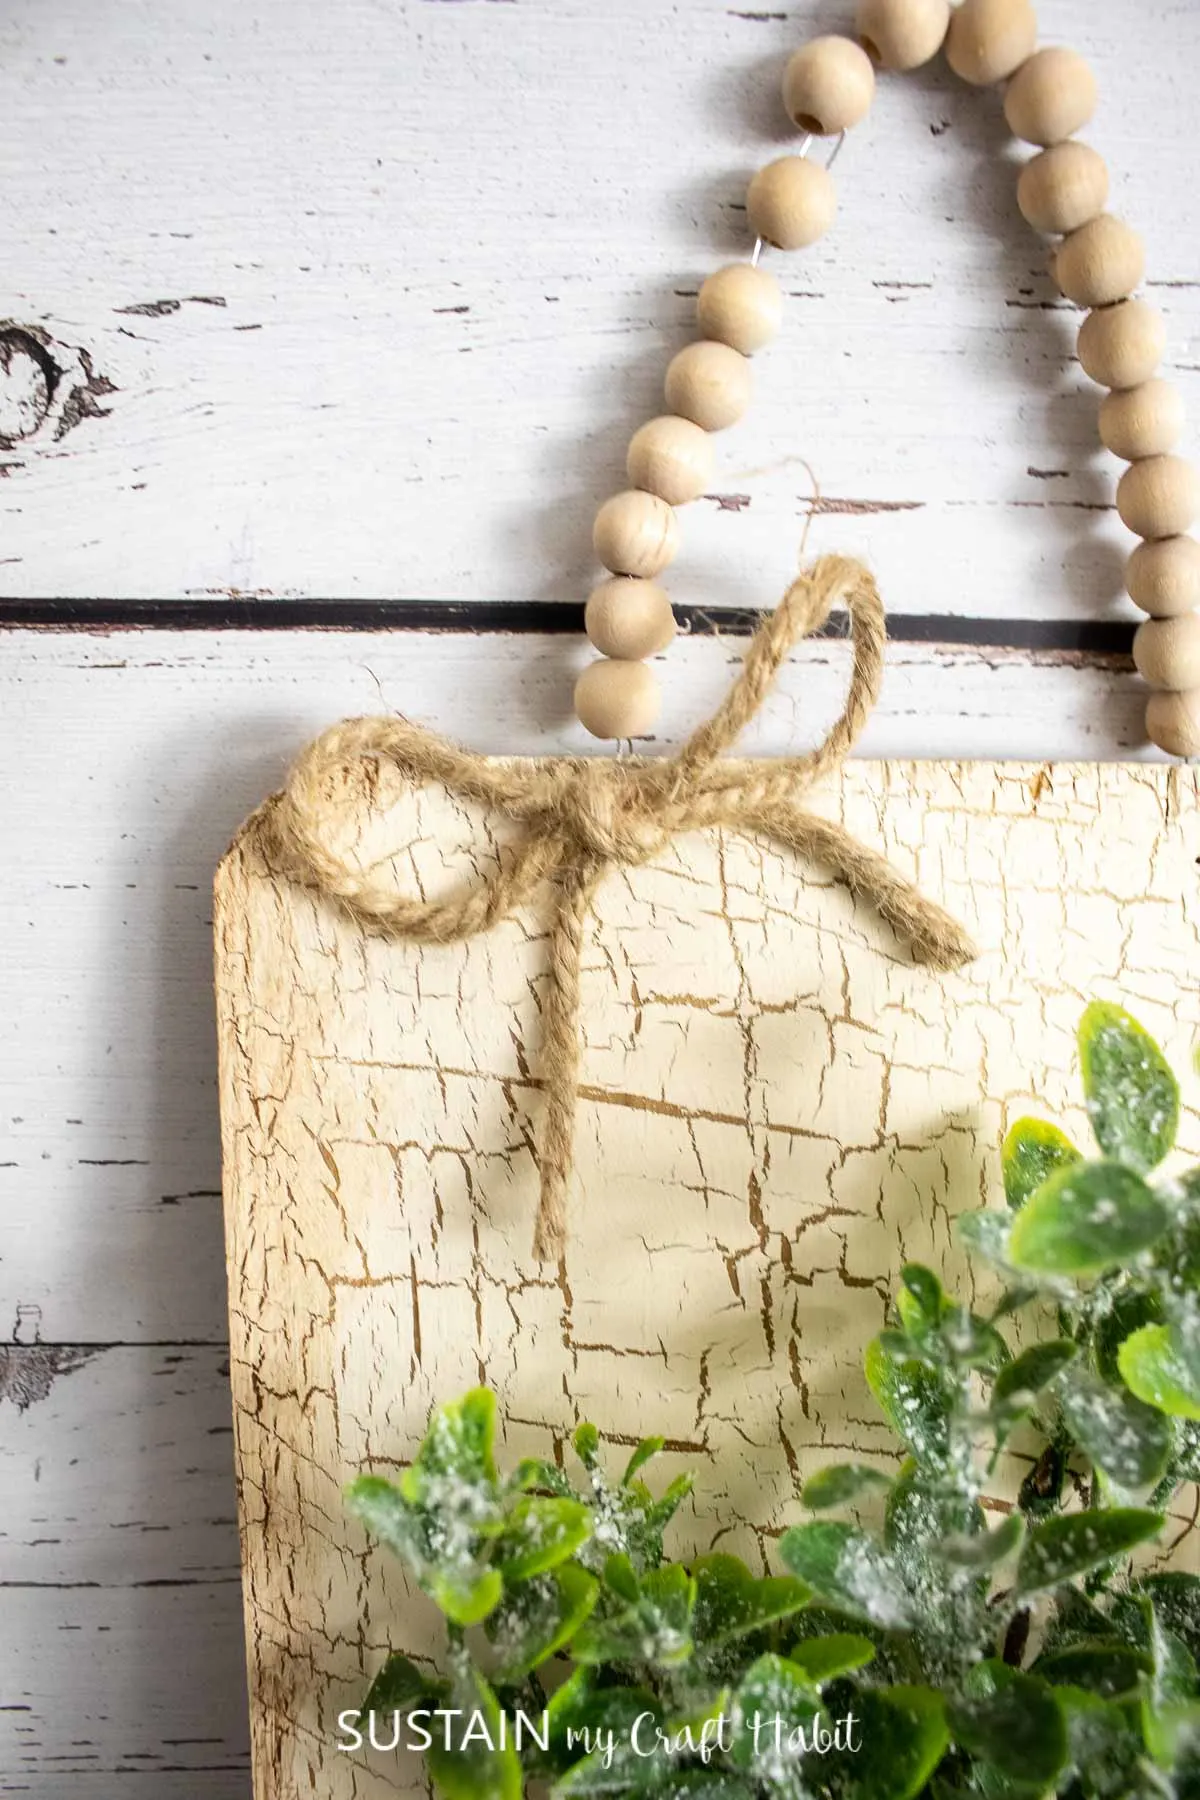
In the meantime, thread a piece of twine or wire about 8” long with wooden beads. This will be the hanger for the top of the carrot sign. Secure the ends to the top of the cedar plank.

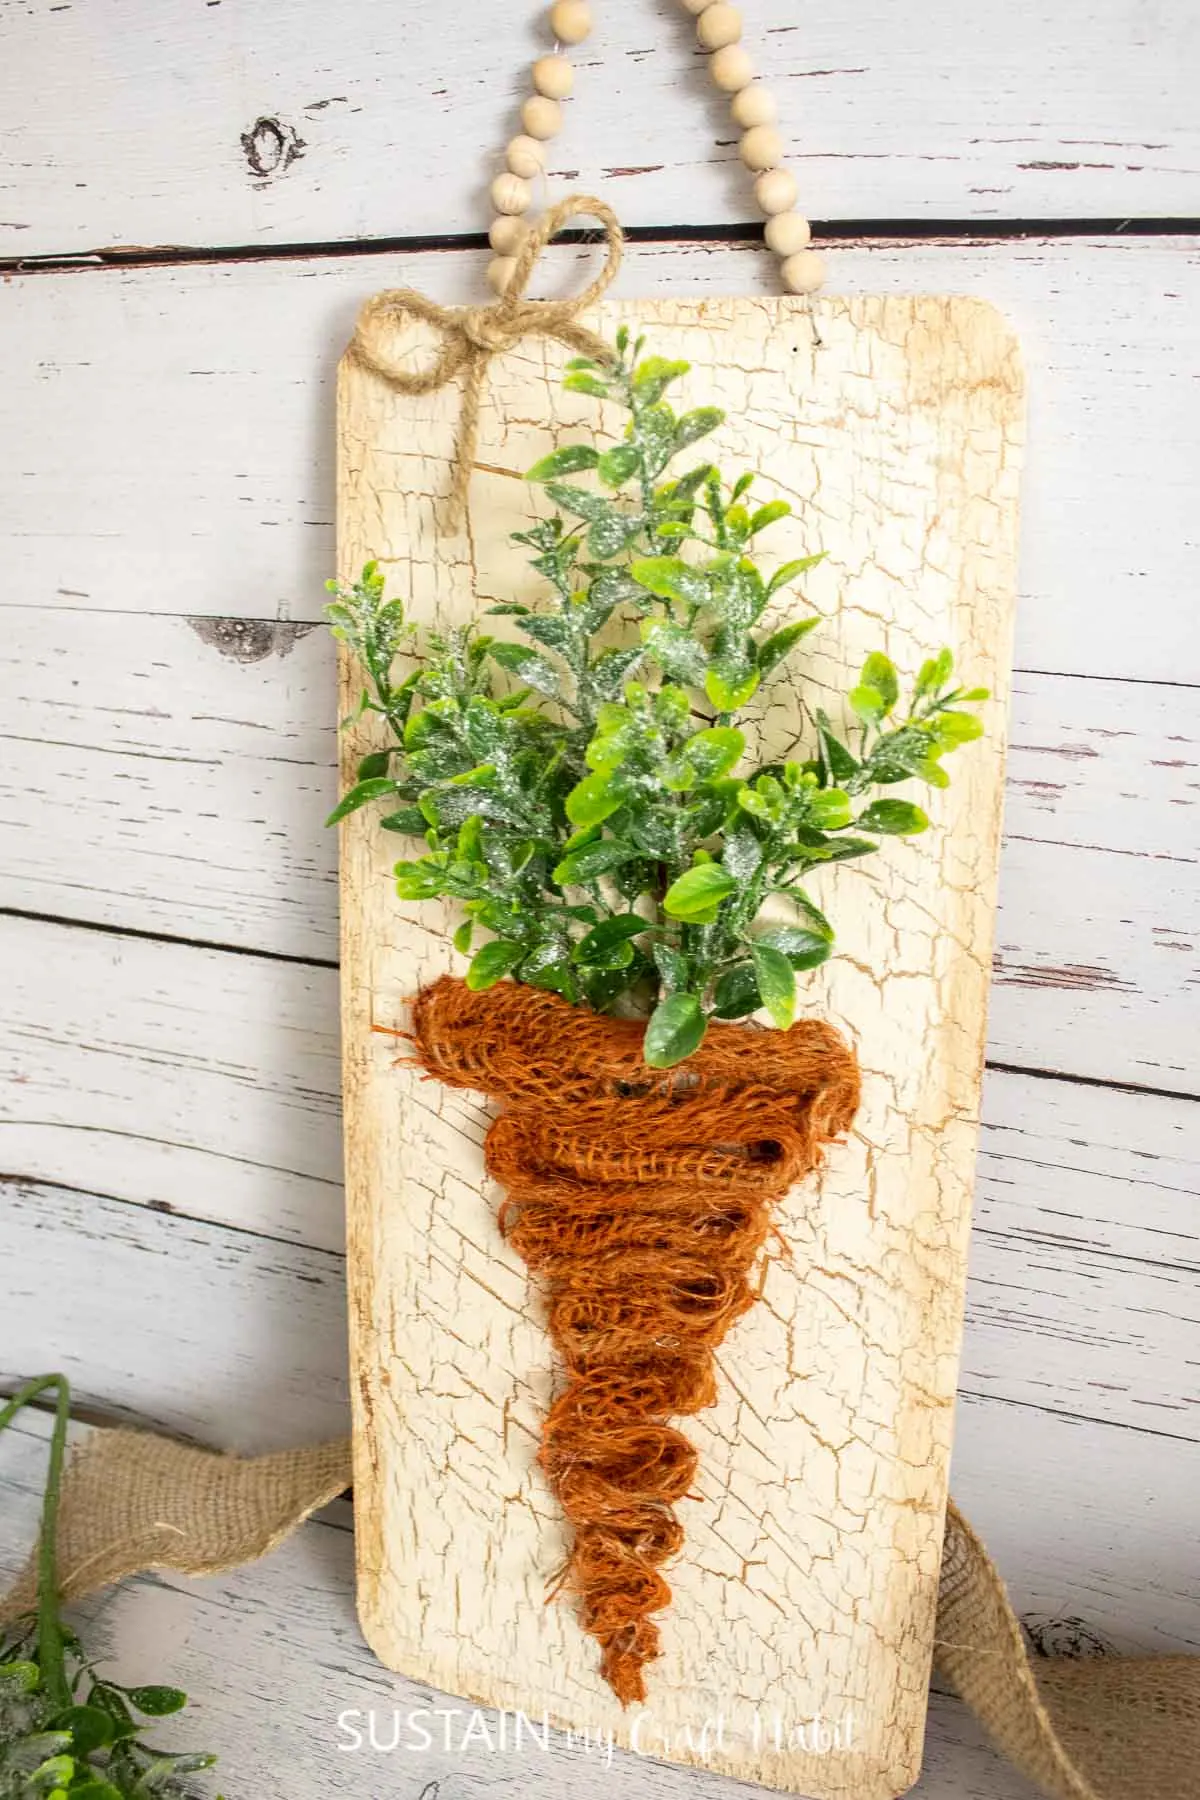
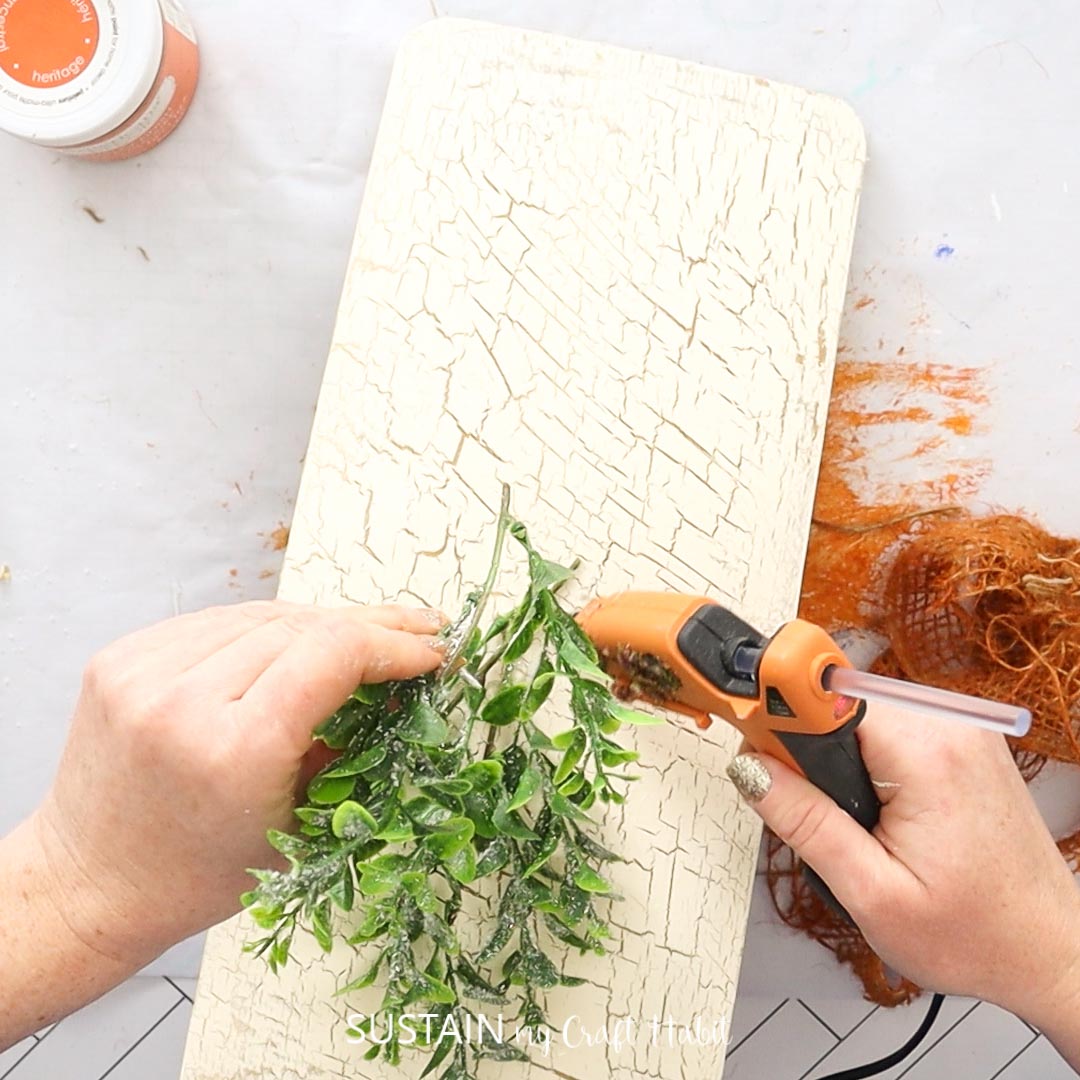
Cut bunches of faux greenery for the top of the carrot. Place and glue the greenery to the upper half of the cedar plank, with the stems facing down.

Assembling the Carrot Sign
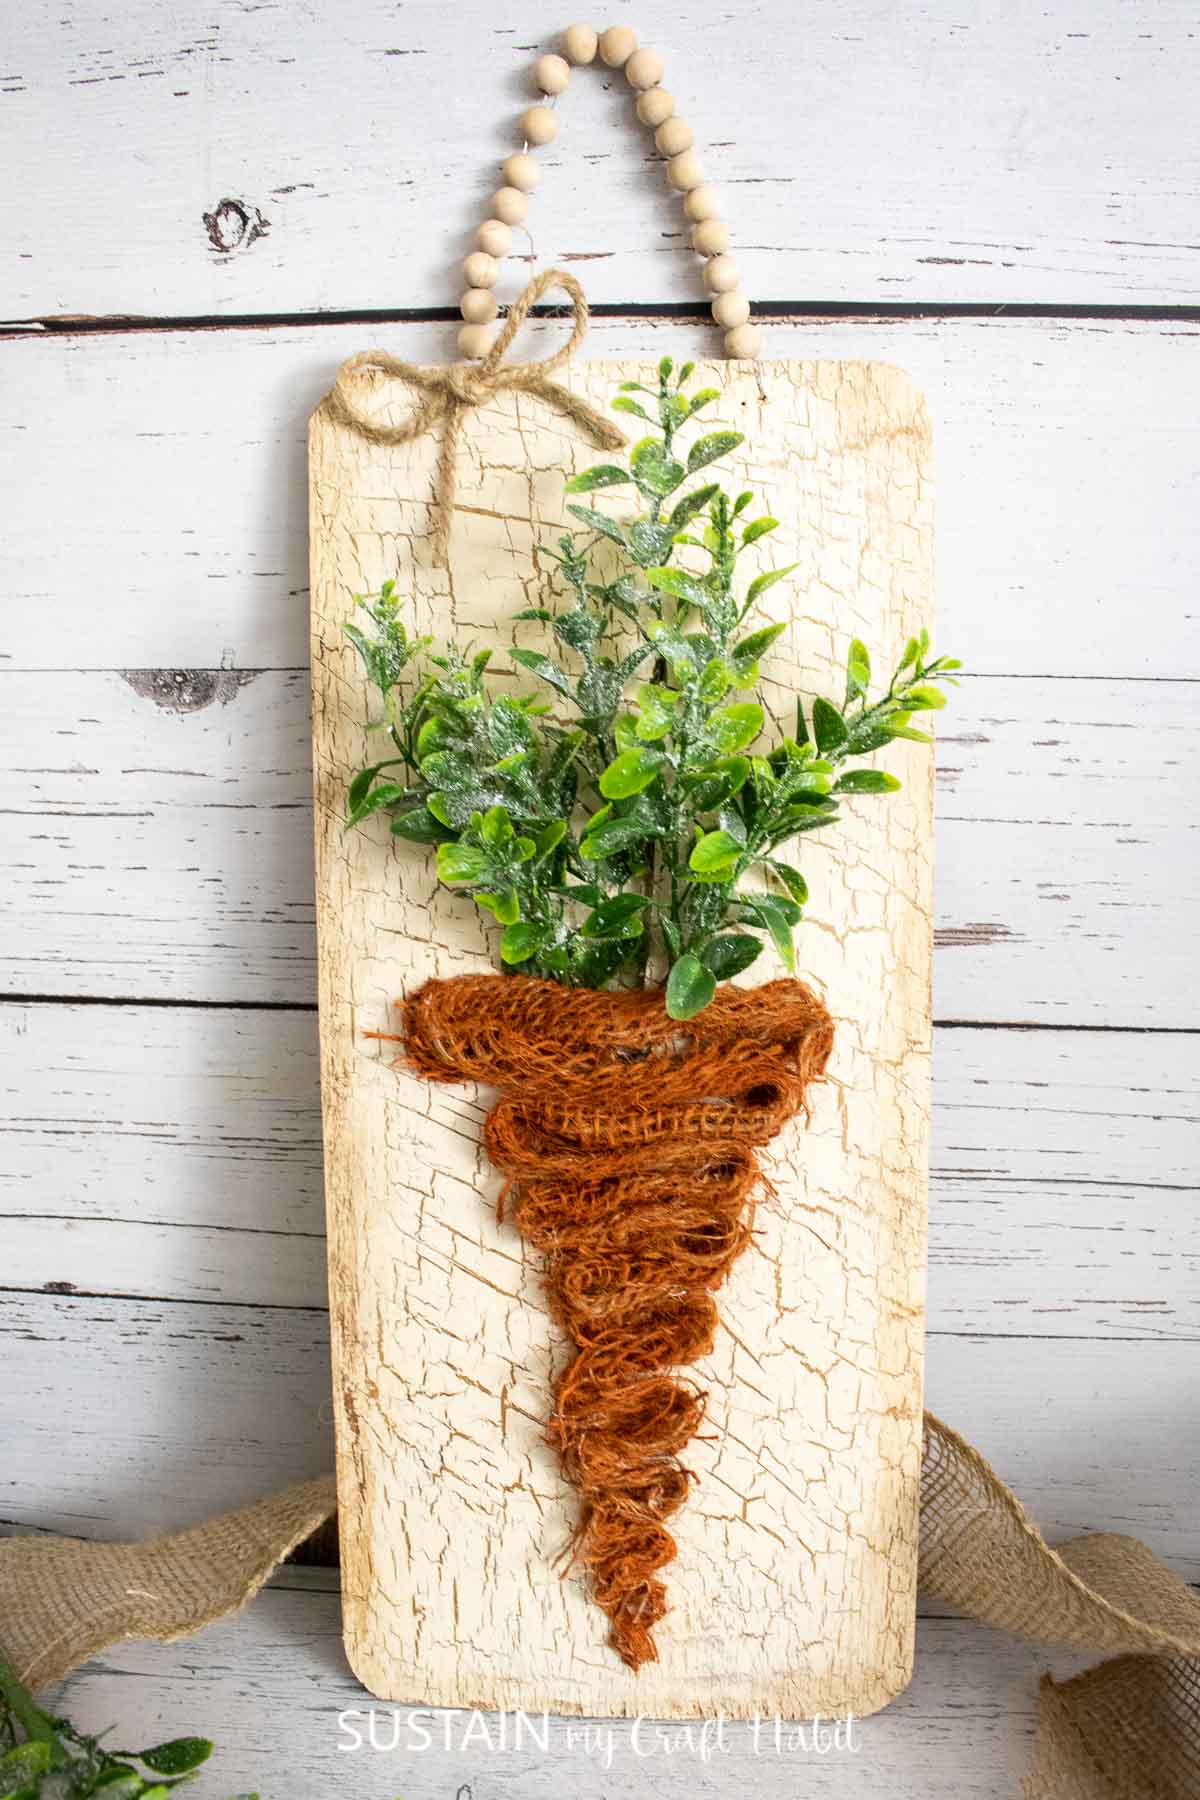
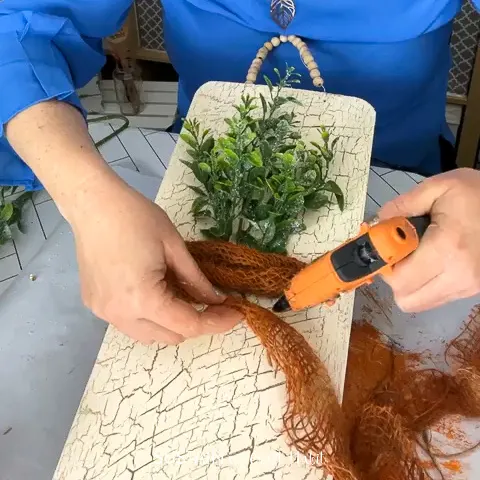
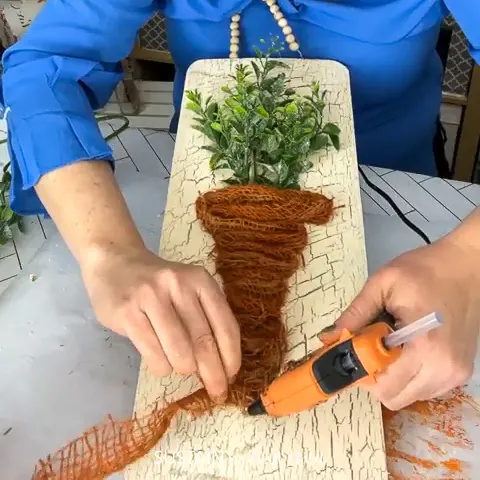
Next, begin to apply the orange burlap on to the cedar plank, covering the greenery stems. Working from right to left, work the burlap in a tight curve starting wider and then narrowing towards the bottom, creating a triangular carrot shape.


Lastly, add a small pre tied bow in twine to the top of the sign.

More DIY Easter Decor and Craft Ideas
If you’re in the Easter crafting mood, check out these fun DIYs for making wreaths, banners, framed art and more!
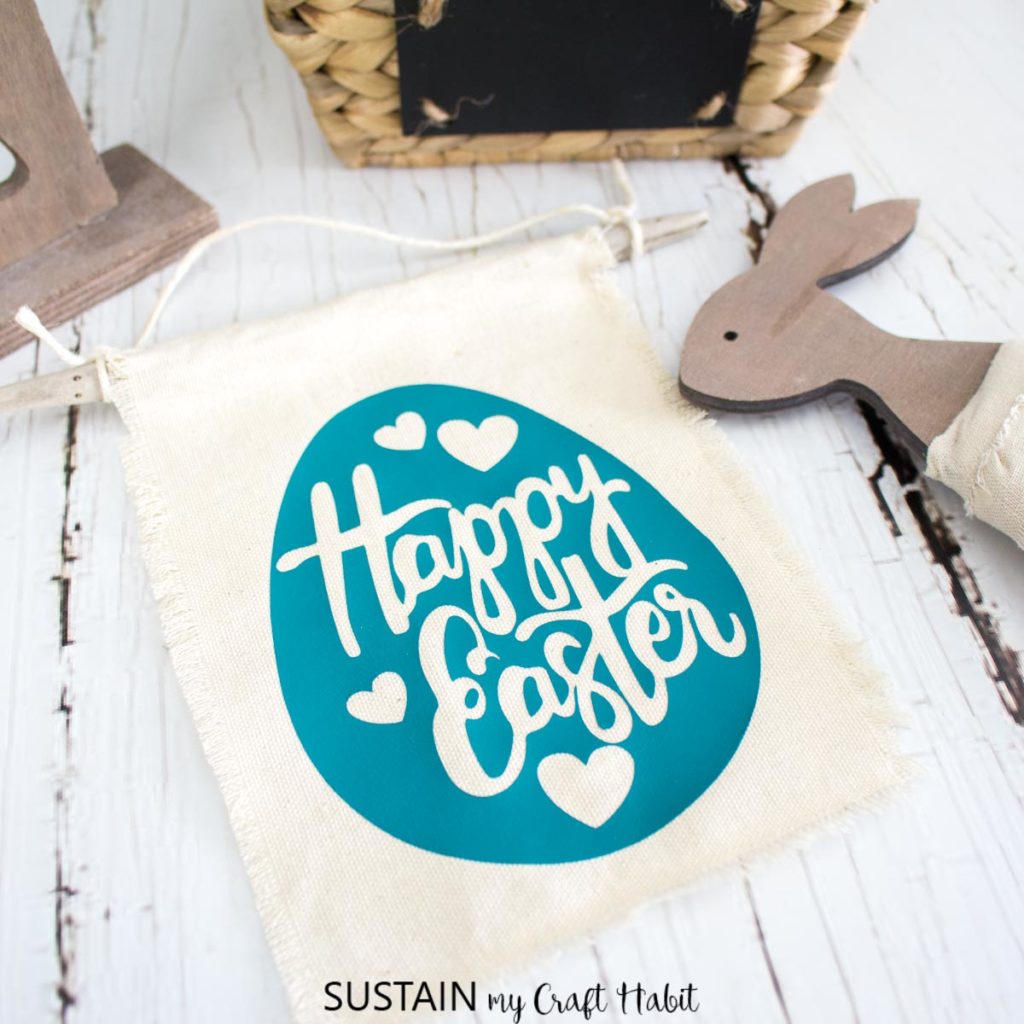
- Happy Easter Banner
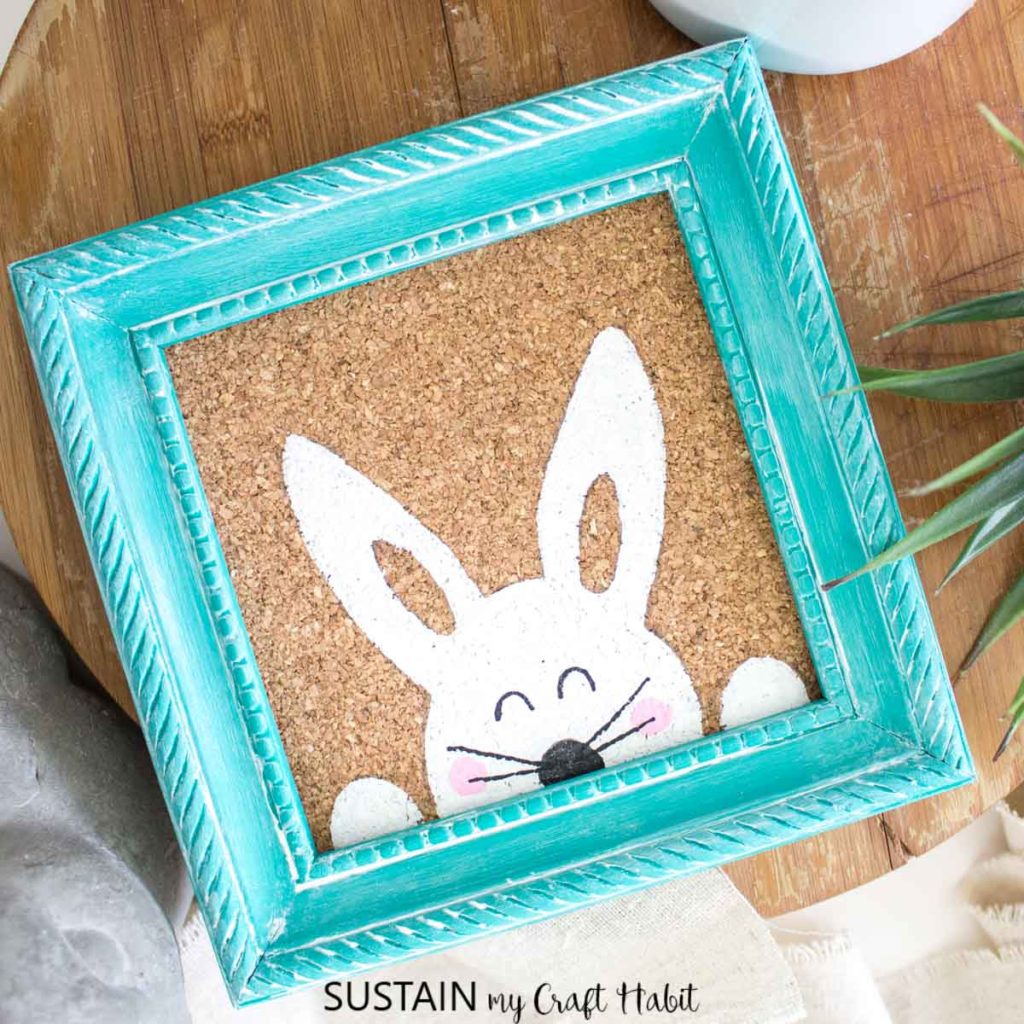
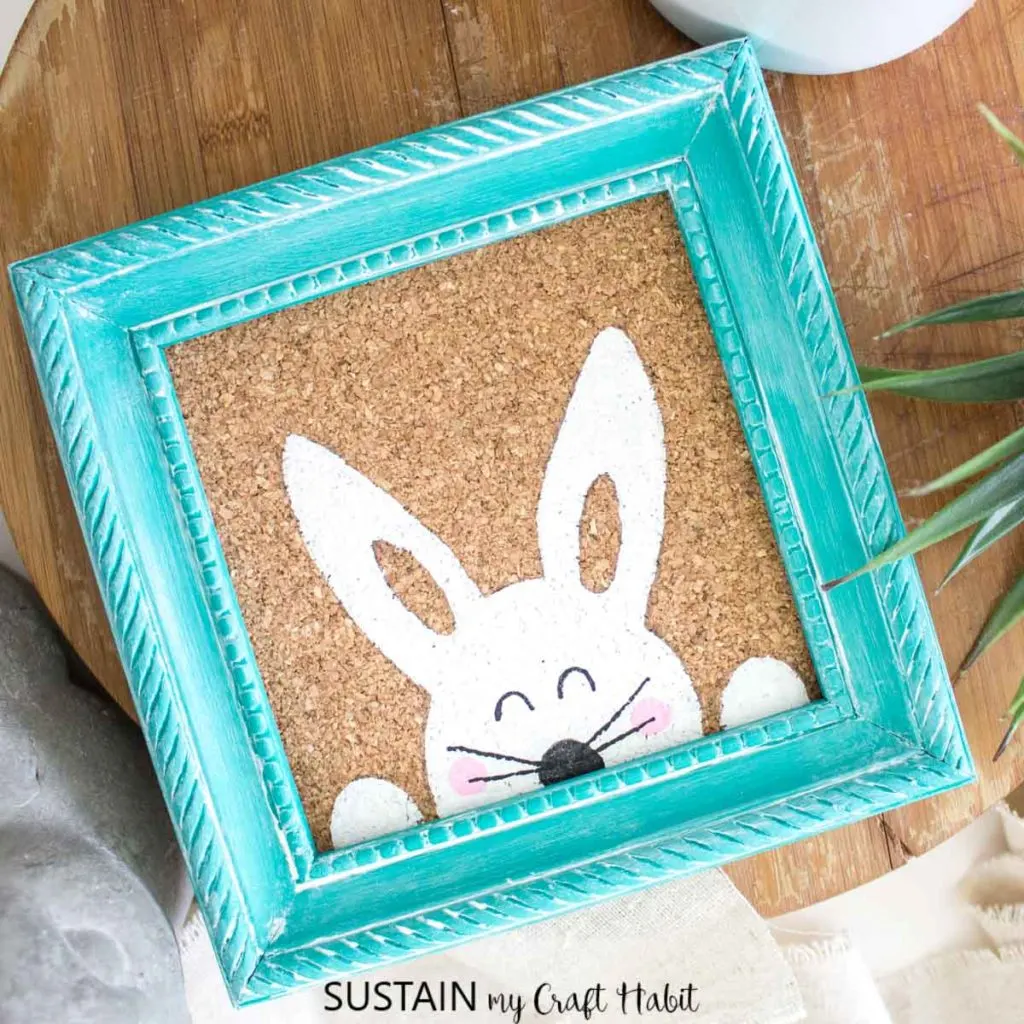
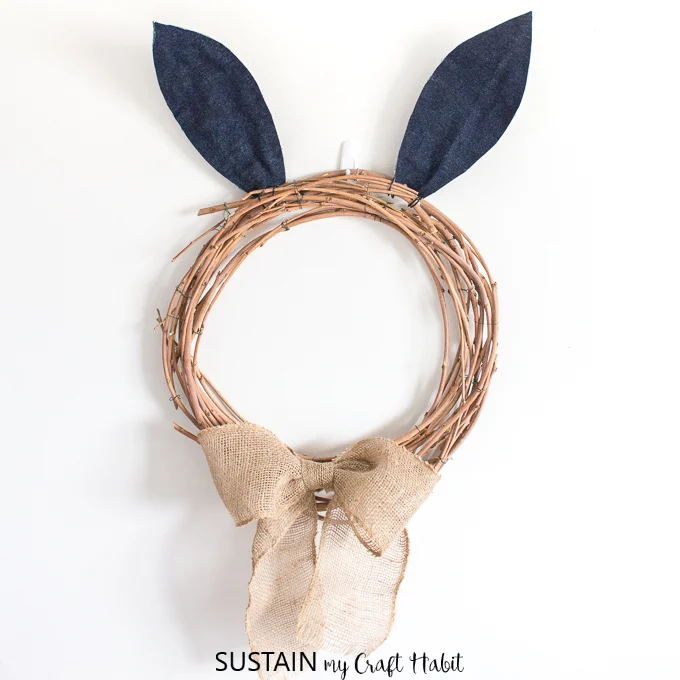
- Framed Easter Bunny
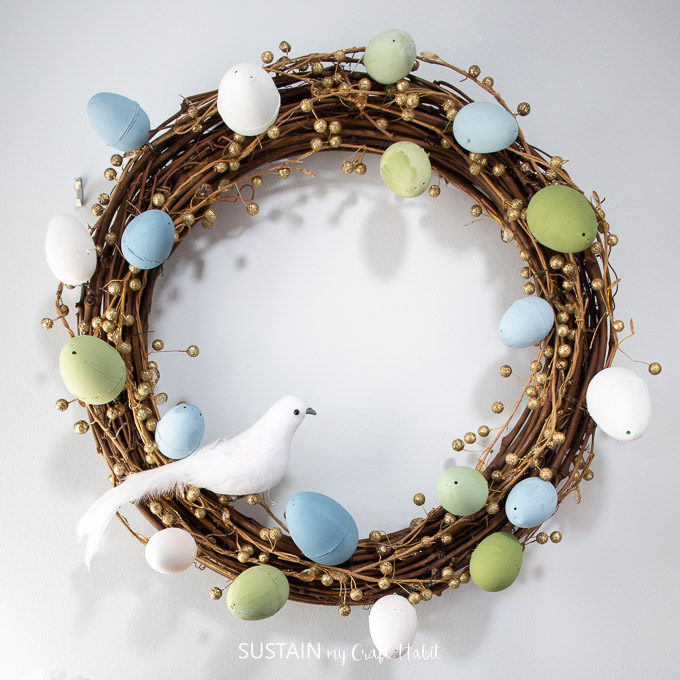
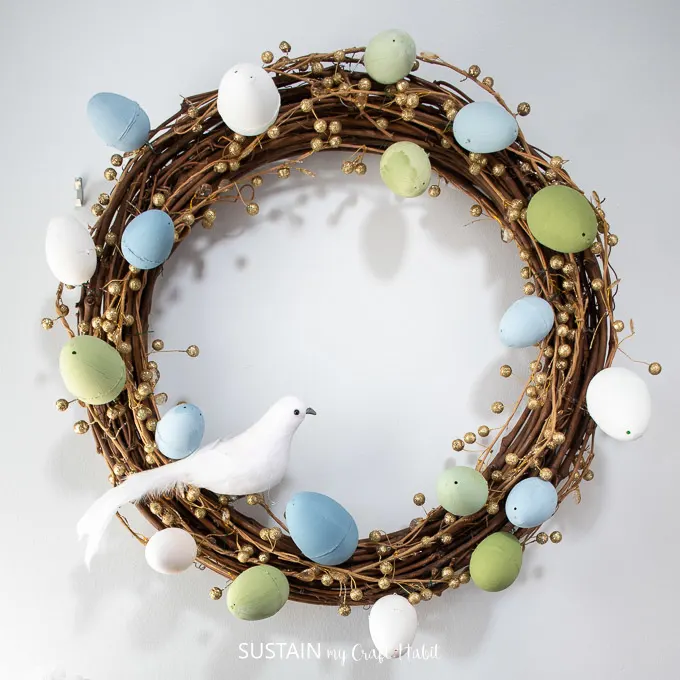
- Simple Easter Wreath
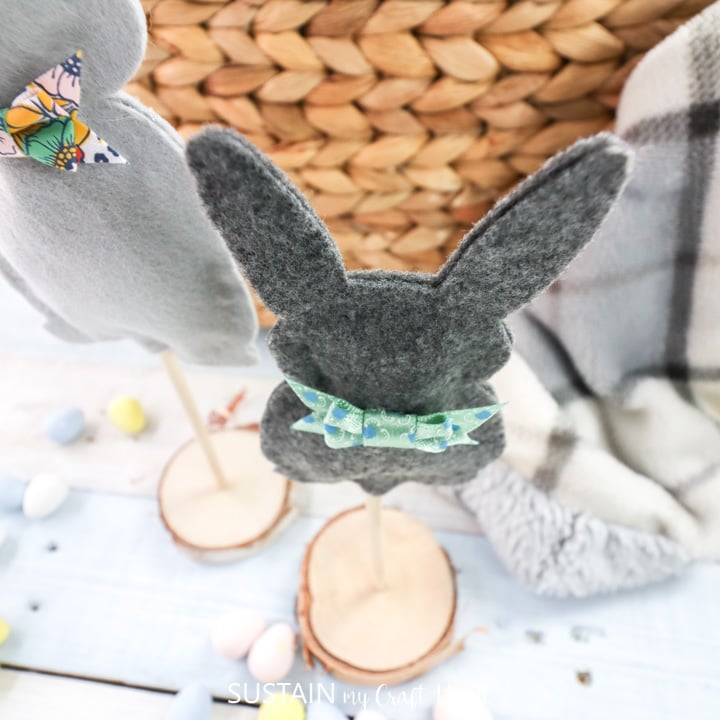
- Felt Bunny Easter Decor
- No-Sew Felt Easter Basket
- Easter Wreath with Upcycled Plastic Eggs


Thank you so much for stopping by to visit! What do you think about this carrot sign for Easter?
If you’d like to get updates on the latest posts and more from Sustain My Craft Habit straight to your inbox, join our weekly newsletter. We promise to send you only the good stuff!
Like it? Pin it for later!


Crafting a Cute Carrot Sign for Easter
Materials
- Cedar planks
- Elmer’s craft glue
- Paintbrush
- DecoArt Chalky Finish in Whisper
- Acrylic Paint in orange we used DecoArt Chalky Finish in Heritage
- Burlap cut into 2” wide strips about 3 feet long
- Scissors
- Hot Glue Gun
- 1/4” Wood beads
- Twine or wire
- Faux greenery for the top of the carrot
Instructions
- Apply a coat of school glue on top of the unfinished cedar plank. Let it dry fully.
- Next, paint the cedar plank in Whisper and leave it to dry. As it dries, the surface will appear to crackle.
- Cut burlap into wide strips about 2-3” wide or use a roll of burlap ribbon.
- Paint the burlap in orange. Leave the paint to dry.
- In the meantime, thread a piece of twine or wire about 8” long with wooden beads. Secure the ends to the top of the cedar plank.
- Cut bunches of faux greenery for the top of the carrot. Place and glue the greenery to the upper half of the cedar plank, with the stems facing down.
- Next, begin to apply the orange burlap on to the cedar plank, covering the greenery stems. Working from right to left, work the burlap in a tight curve starting wider and then narrowing towards the bottom, creating a carrot shape.
- Lastly, add a small pre tied bow in twine to the top of the sign.