This post contains affiliate links
In an effort to reduce our plastic usage, I thought it was time to make myself a bundle of beeswax food wraps, and cut down our use of clingfilm and ziploc bags wherever I can.
Admittedly I’m quite late to the Beeswax wrap party, it seems the whole internet is a-buzz with DIY Beeswax wrap tutorials of all shapes and sizes.
Of course I’ve been tempted to buy some ready made wax wraps. But being ‘super crafty’, and having an endless supply of fabric, I couldn’t really justify it.
Turns out I have a terrible case of ‘I-can-make-it-myself-itis‘. It’s often crippling!

Luckily beeswax wraps are quite easy to make, and if you use fabric from your stash, (or even upcycle some unwanted fabric from old garments or a pillowcase), you can make several reusable beeswax food wraps for only a few dollars.
In this step-by-step tutorial, I’ll show you the easiest, most mess-free way for making your own beeswax wraps. I’ve even included tips on how to use beeswax wraps, and how to care for them too.
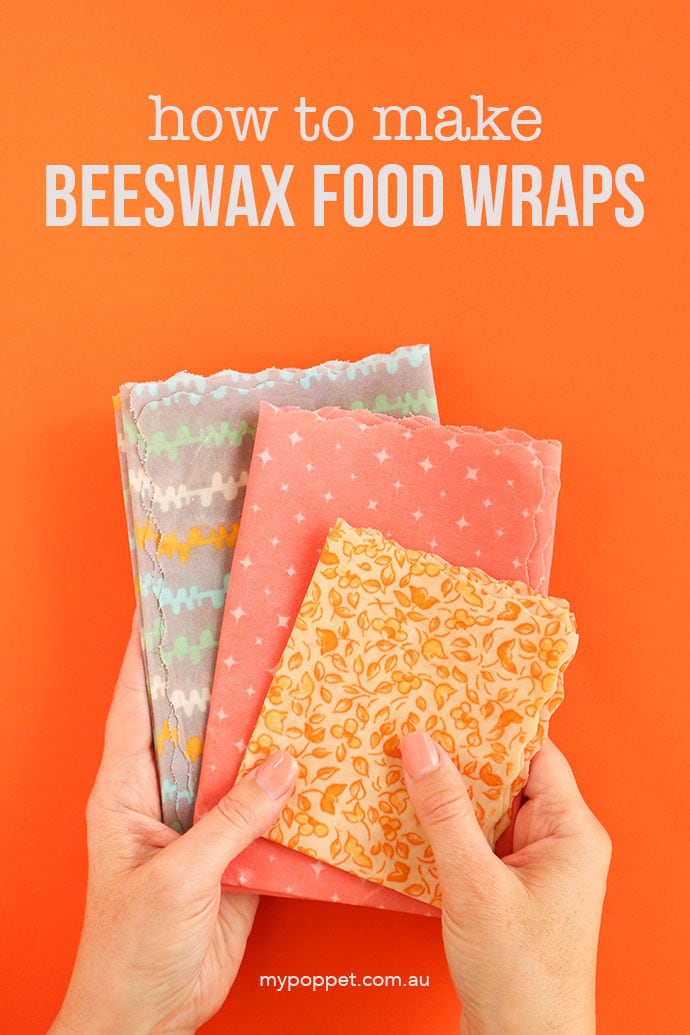
I’m very pleased at how well my beeswax wraps turned out. The fabrics I’ve used are so cheerful, and the beeswax makes them smell delicious. I made several in assorted sizes, and so far the largest ones are getting the most use as bread wraps.
I’ll be taking them along to my next market shop to bundle up bread, cheese and loose produce in, along with my reusable crochet produce bags.
These eco-friendly reusable food wraps also make great gifts. Add them to a housewarming gift hamper, or use them to wrap up some baked treats for a friendly neighbour. They are sure to be well received.
You may also enjoy:
- Reusable Produce Bag Crochet Pattern
- Zero-waste Mesh Produce Bag
- Crochet Market Bag Pattern
- Homemade Laundry Powder Recipe
How to make Beeswax Wraps
There are many methods for making beeswax wraps. Some involve melting a mixture of pine resin and oil into the wax before painting fabric with a brush or heating fabric in an oven.
That all sounded too arduous for me, so I’m going to show you how to make beeswax wraps with an iron.
It’s really very easy, and I found it makes hardly any mess at all.

These DIY beeswax wraps don’t contain anything else other than pure beeswax and the cotton fabric.
I’ve seen many good tutorials that include recipes with Jojoba oil, Coconut oil, and Natural Pine Resin. These produce a slightly stickier waxed fabric wrap, but are a bit trickier to get right.
If you are keen to try making wax wraps that include pine resin, try using this DIY Beeswax Wrap Kit.
With only a few basic supplies you can make several reusable food wraps in no time at all.
Lets get started!
You will need:

- 100% woven Cotton Fabric (pre-washed and cut to desired size)
- Pure Beeswax in block (or beeswax pellets)
- Grater
- Iron
- An old towel
- Non-stick baking paper
Where to I buy Beeswax for making Reusable Food Wraps?

Pure beeswax is a magical thing. Did you know beeswax is something the bees make themselves, from their own bodies?
It smells gorgeous, like fragrant honey (I could sniff it all day)! And has so many practical uses.
Not only is it handy for making these beeswax fabric wraps, but it can also be used in homemade skin care products (like lip balm), to waterproof and condition wood and leather, rubbed over sewing thread to stop it tangling, and is even useful as a surfboard wax!
I bought my beeswax block at a farmers market from a local honey supplier. The blocks came in various sizes and I think this one was 100g for about $5. I’ve also seen them at the Beechworth Honey store in the city.
Try and find a local bee keeper (ideally with chemical free hives) with to source your wax from if possible.
You can also buy blocks of beeswax at hardware stores like Bunnings (I’m assuming in the woodworking section), just make sure it’s pure and doesn’t have any extra additives.
Otherwise there are many online stores that sell pure organic beeswax, both in blocks and pellets.
Try these suppliers:
Australia
USA
Europe
How to make Beeswax Food Wraps:
1. Cut your pre-washed cotton fabric to desired size. To prevent fraying trim edges with pinking shears or a wavy edge rotary cutter.
Lay an old towel down to protect your table and then a sheet of backing paper with fabric piece on top.
As a guide the sizes I cut were approx: Small 20cmx20cm (8″x8″), Medium 25cmx30cm (10″x12″), Large 35cmx35cm (14″x14″)
You can cut the fabric into squares, rectangles or even circular. I used fabric remnants so the sizes were dictated by leftover fabric pieces I had available.

2. Sprinkle grated beeswax (or pellets) evenly over fabric. You don’t need very much as the wax will spread as it melts. It’s better to start with less, then add more if required.

3. Cover with another sheet of baking paper and iron (without steam). You’ll see the wax melting and soaking into the fabric. The fabric will darken and appear translucent. Take care not to get any wax on your iron.

4. Carefully lift the baking paper (it’s hot), and add more grated wax to any dry un-waxed areas. Cover with paper and iron again as required.

5. For larger wraps, work on half the fabric between the baking paper sheets at a time, taking care not to get any wax on your iron. I also found that folding the larger pieces in half with wax sprinkled in the middle of the folded fabric worked well also.

6. Once all your fabric is soaked through with melted wax, hang it to cool and dry. It will stiffen up on cooling.

Handy tips for making Beeswax wraps:
- Any thin cotton fabric can be used for making beeswax wraps. Why not recycle and old pillowcase, fabric from a shirt or dress, or even make them from vintage hankies.
- Beeswax is very sticky, try not to get it on surrounding surfaces or on the floor (especially carpet) while you are working. Protect your work are with paper or old towels
- Don’t add too much wax to your fabric or it may crack and peel off. If you add too much, just place another piece of fabric over and iron. The excess wax will be absorbed into the other fabric piece.
- Make sure you keep the waxy side of the baking paper facing in when ironing, so as not to get melted wax on surfaces or your iron.
- Keep any leftover wax wrapped up in your used baking paper so you can re-wax your fabric wraps later, with no extra waste.
Now your homemade beeswax food wraps are ready to use!

Beeswax wraps care instructions:
- Roll or gently fold the wraps and store in a cool dry place when not in use.
- Clean with cold water and mild soap. Leave to air dry. If you’ve just stored dry products in them, a rinse with water should be enough.
- Do not use with hot food or raw meat.
- The wax coating will eventually wear off with use, folding, and washing. You can re-wax your cloths by following the previous instructions.
- Worn out beeswax wraps can be composted at the end of their useful life.
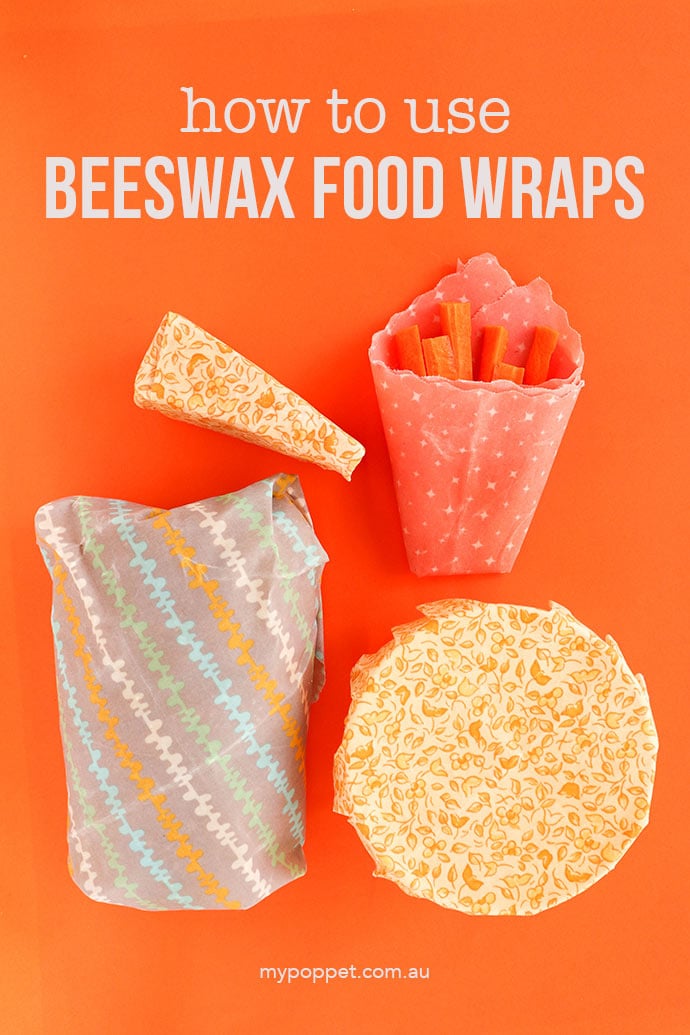
How to use beeswax Wraps
Beeswax wraps have a multitude of uses. They are especial handy as a plastic free replacement for cling film.
These beeswax wraps aren’t super sticky (like cling film or resin containing wraps) but they do stick to themselves when you gently warm the waxy fabric in your hands and press it together.

Beeswax wraps are moisture resistant (water will bead off them), but not airtight, so be aware that they will not totally seal a bowl or container. You can add a rubber band or string if you want them to stay more firmly in place.

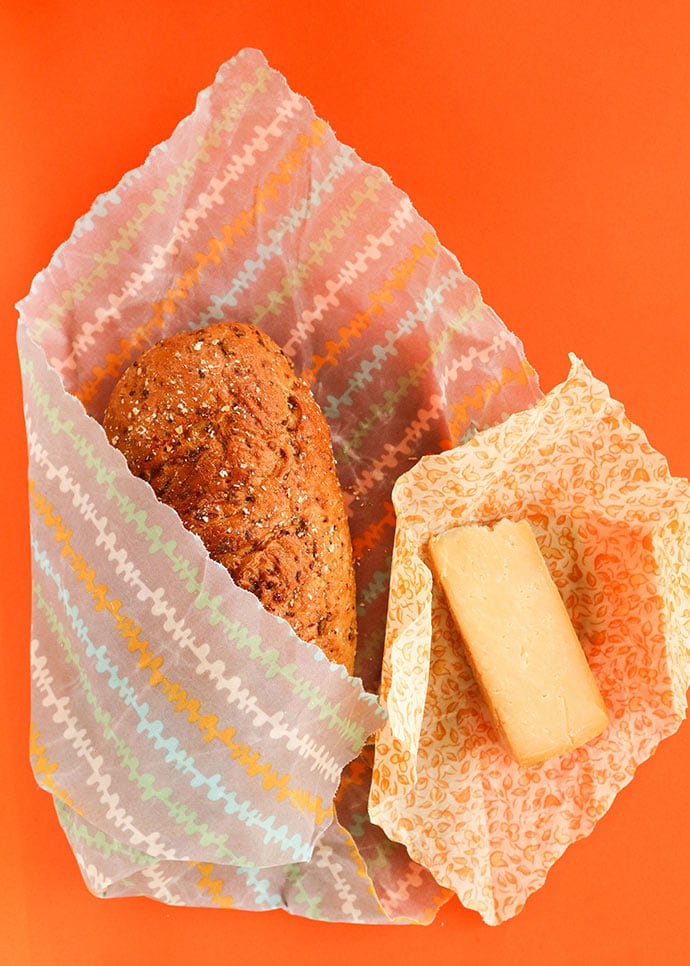
Large beeswax wraps are perfect for wrapping up loaves of bread. The wax wrap is breathable so it keep bread fresher longer.
Use them to:
- Wrap your bread loaves at the bakery instead of plastic or paper bags.
- Use them to wrap up baked goods and cakes.
- Cover bowls of cold leftovers. Just warm up the edges and pinch down over the sides of the bowl.

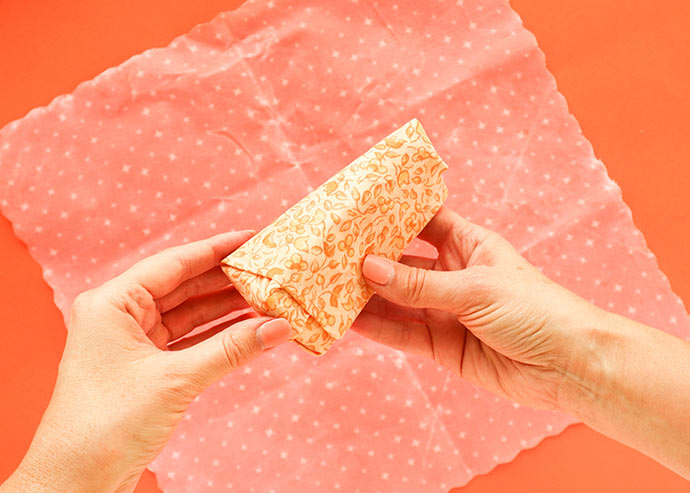
Wrap up leftover produce and fruit with small beeswax wraps. Fold the wax wrap over the item and crimp the edges like a little dumpling.
- Wrap up leftover produce or fruit pieces for later use.
- Use them instead of plastic zip lock bags for sandwiches and snacks. Medium sized wraps are perfect for wrapping sandwiches and lunch rolls.
- Fold them into snack pockets for kids to snack on the move. They pack away much more neatly than empty plastic snack containers.
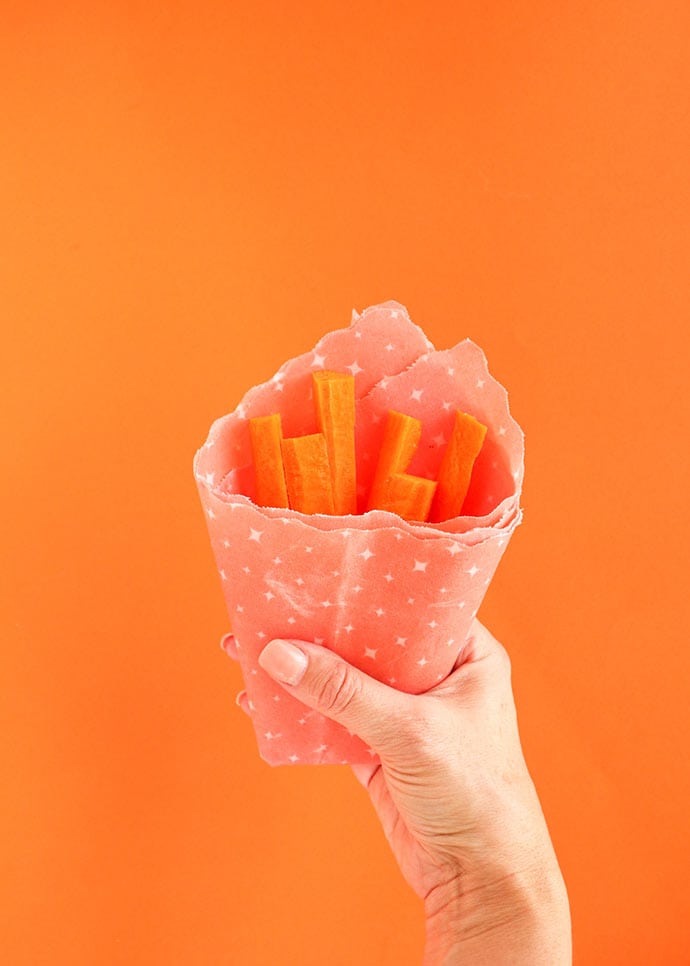
Kids will love eating healthy snacks out of a cute little beeswax wrap snack cup.
- Ideal for wrapping up cheese. Lets the cheese breathe, and keeps it fresh without drying up or sweating.
- Wrap up baked goods or pizza dough for freezer storage. Be sure to exclude as much air as possible before freezing. Can be used in freezer for up to one month.

Wrap your cheese carefully making sure it has no air or moisture trapped inside.
- Wrap herbs and greens to prevent wilting in veggie drawer.
- Take large wraps to the florist to wrap flower bunches instead of plastic.
- Use them as an alternative to glass or plastic when buying loose nuts or small produce like grapes. Just fold a large wrap into a pouch shape.
There’s really no end of practical uses for these handy homemade beeswax wraps. Have I piqued your interest, or are you already a convert?
Tell me how you use your beeswax wraps in the comments below. I’m sure other readers will find it very interesting.


I love this so much! Thank you for tips…your fabric is so cute and I’m
Sure it makes you smile every time you use one!
I make wraps, in this no faff way, also. Grating the wax is difficult and I have found using a potato peeler! Is much easier!
Thanks for the tip. Will try that next time.
To import bees and bee products requires a person to be registered as a food importer with the MPI and to comply with a number of regulations. It is therefore irresponsible of you to recommend Aus US & UK suppliers of beeswax without qualification.
I have readers from all over the world so I expect readers will buy from their most local supplier. Also I’m in Australia, not NZ, so unaware of your local regulations. Thanks for bringing them to my attention.
Is there a standard amount of beeswax you used on each wrap? (I’m wondering how much I’ll need to order for a batch)
It was a fairly small amount, I think I used about half a small block for the whole lot. Whatever the minimum quantity the store sells should be enough for several wraps.
This is great! Thank you for this tutorial, advice, and resources. I live in the US and will happily order beeswax from the US Etsy — except I probably already have a big chunk on-hand. I love beeswax! I only learned about beeswax wraps while learning how to make sourdough bread.