Using actual egg shells as molds for making decorative cement eggs is so very satisfying, it’s no wonder we love using natural materials for crafting.

Decorative DIY Cement Eggs
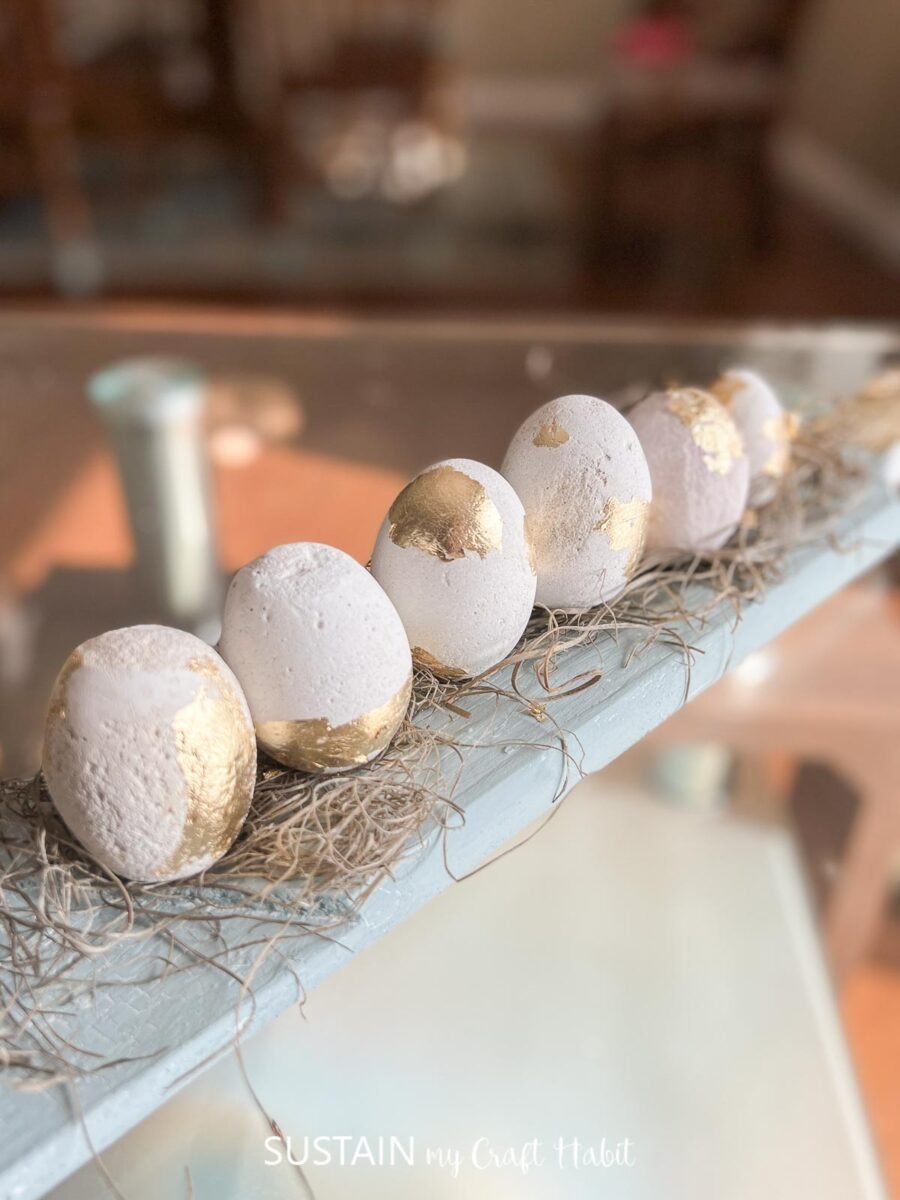
We’re trying something a bit different with this latest Easter craft by using actual egg shells as molds. Unlike plastic or silicone molds, these egg shells are completly biodegradable and eco-friendly. Talk about crafting with nature! We love the rustic and raw beauty of these finished cement eggs so much that we decided to put them on display with a simple nature-inspired Easter centerpiece. Does it remind you of a bird’s nest?
Join our crafting community to find more nature-inspired DIYs and upcycled craft ideas. It feels good to repurpose, upcycle and create with nature!

Materials Needed for Making a Cement Egg Easter Centerpiece
Disclosure: This post contains affiliate links for your shopping convenience. Should you choose to purchase through them, we will make a small commission at no extra cost to you. You can read our full disclosure policy here.
- Wooden Paddle
- White Chalky Paint
- Paint Brushes
- Egg and vegetable oil
- Ceramic Tile Mortar
- Elmer’s Glue
- Gold Foil Wrap
- Greenery/moss for embellishment
Instructions for making a Cement Egg Centerpiece
Here is a step-by-step video of these cement eggs or for the written instructions, continue reading below.
How to Make Cement Eggs
Take the egg and carefully open the top of the shell just enough to remove/strain the egg and yolk.
Next, clean the egg shell and cover the shell in oil. This is an important step so don’t skip it or the egg shell will be difficult to peel off the cement.
Take the prepared ceramic tile mortar and carefully spoon it into the shell. Place the filled egg in an egg carton with the opening side up and allow the mortar to set up for 24 hours.
Once the mortar is dry and set, use a spoon to peel the egg shell off and you will be left with a ceramic egg. IF any edges are rough or too uneven, use a piece of sandpaper to gently sand down and smooth the edges.
Assembling the Centerpiece
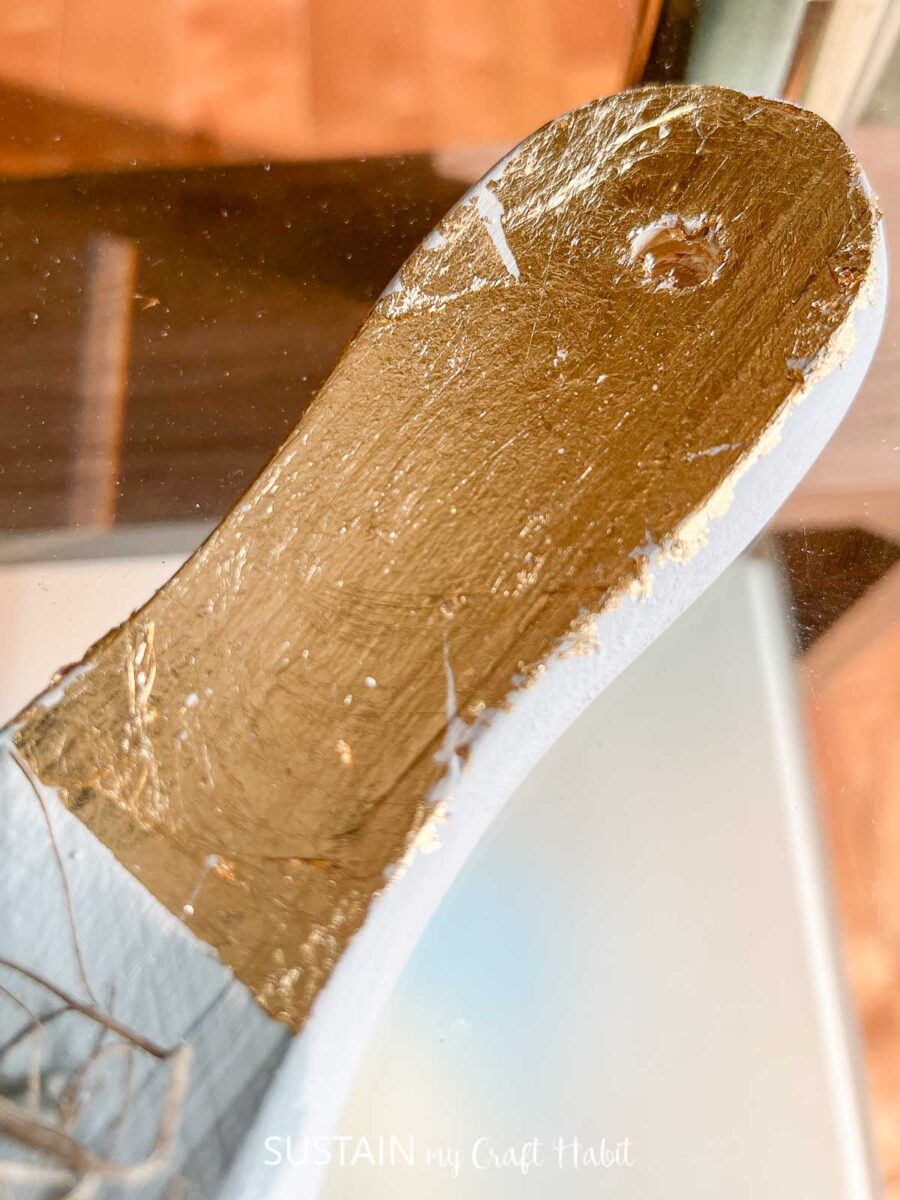
For a crackle effect on the wooden paddle, paint a layer of school glue over top and allow it to dry fully. Next, apply some paint over the paddle and let it dry completely. As the paint dries, the crackle effect will appear.
Additionally, brush on some more glue and then some gold foil pieces to the handle for an added touch!

Add some gold foil on to the cement eggs as well in the same way. Brush on some school glue on to the egg and then place scap pieces of foil over top. Brush over the foil with a clean, dry brush to remove the excess foil. Add as much or as little gold foil as you like!
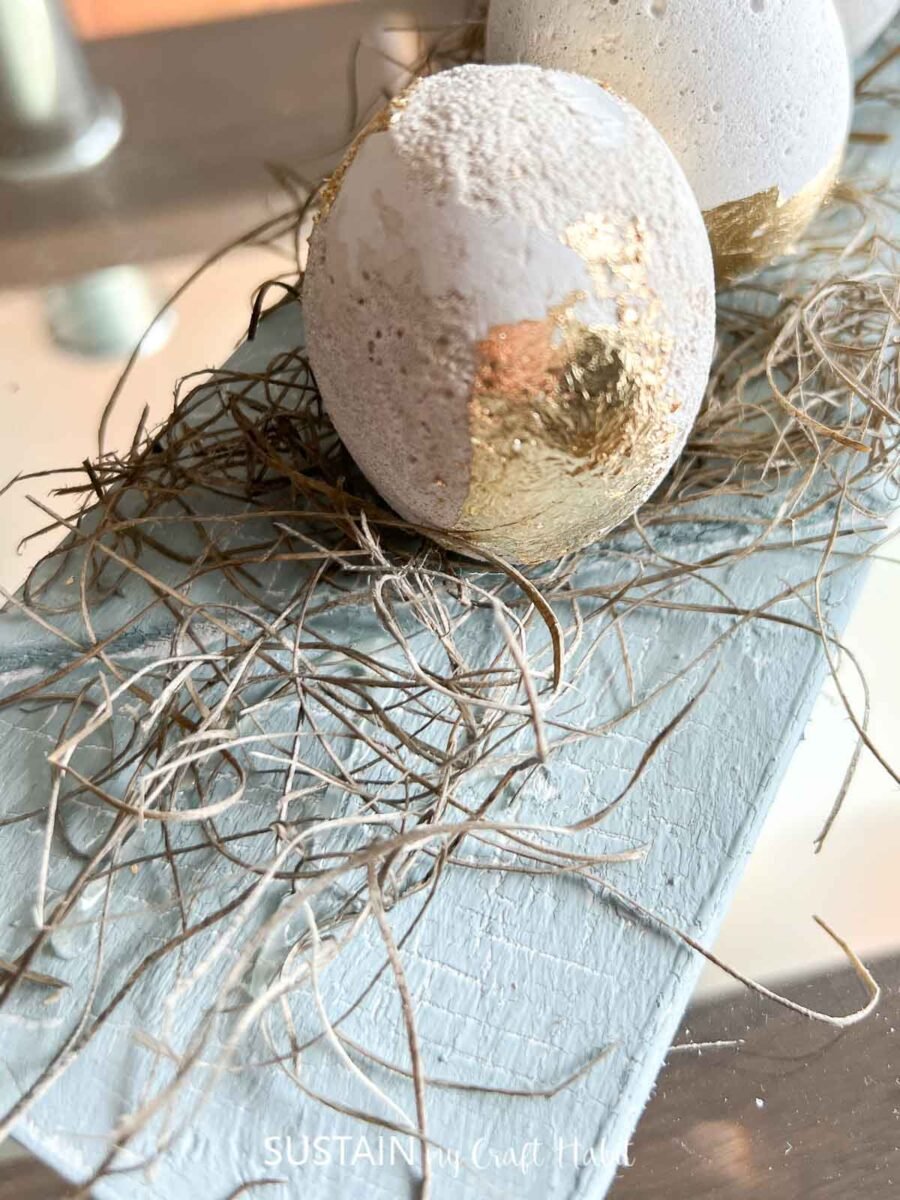

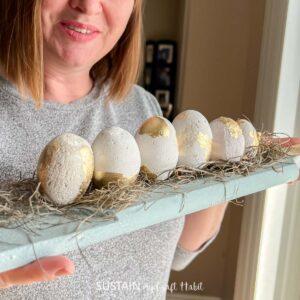
Place some decortaive moss on to the paddle and then glue the cement eggs to help hold them in place.
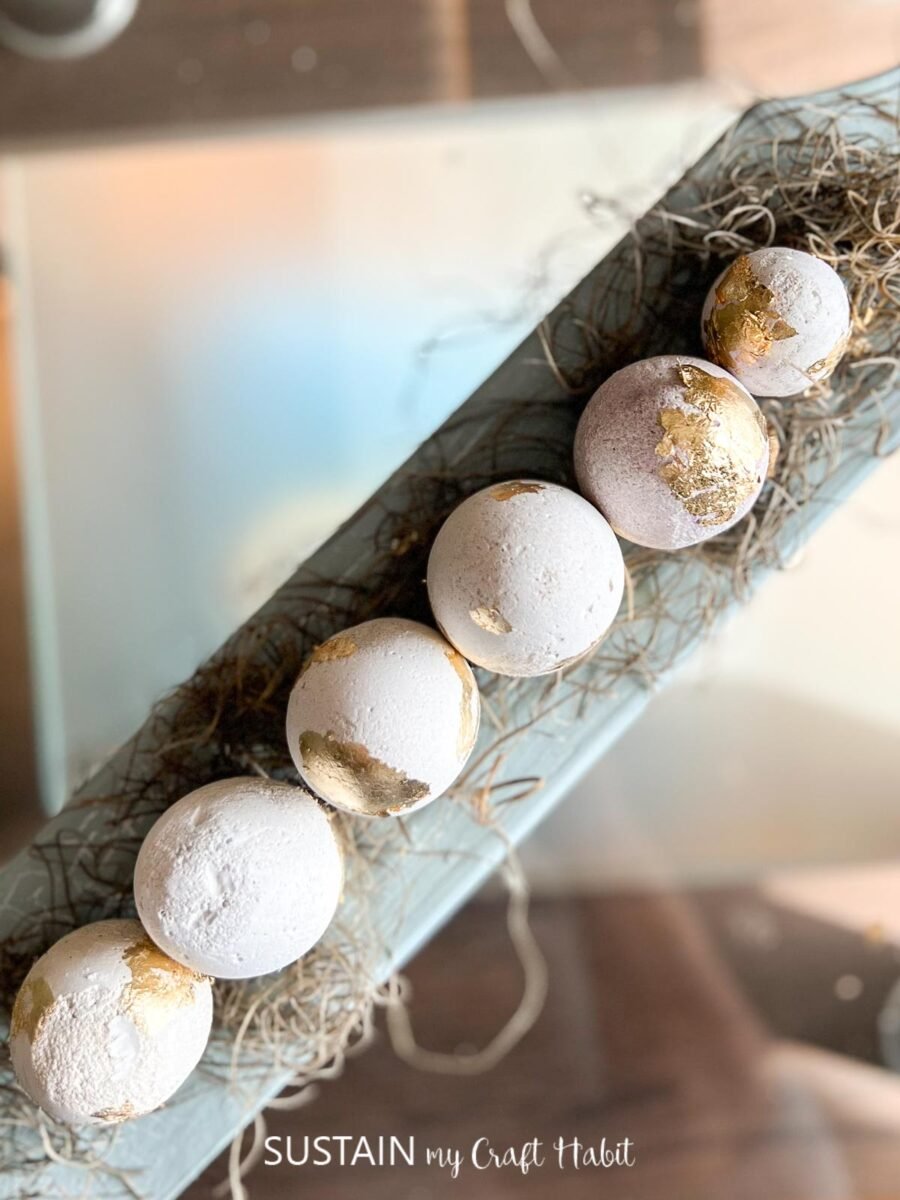

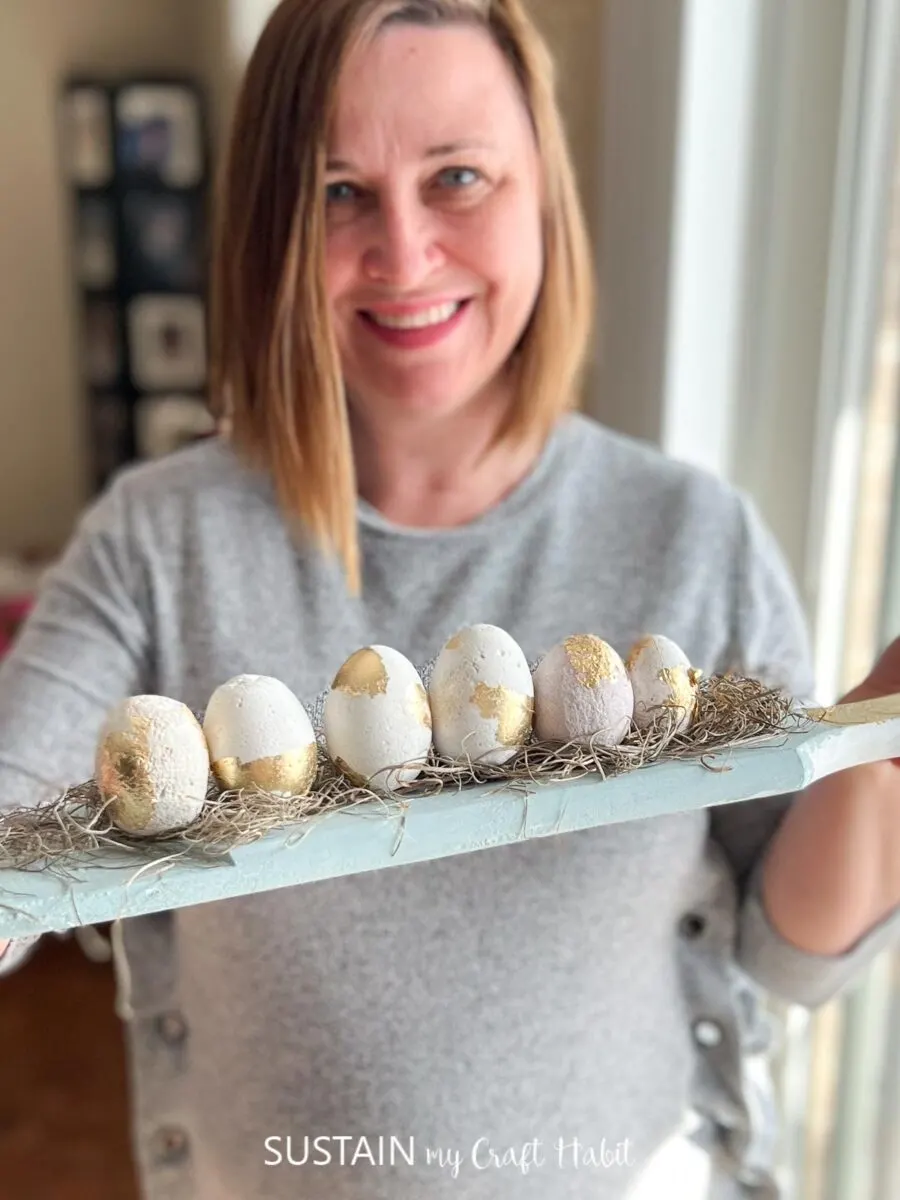
Line the eggs up on the paddle and enjoy your newly made cement egg centerpiece for Easter and beyond! It’s actually quite lovely for the whole Spring season.
More DIY Easter Decor
- Cute Carrot Sign
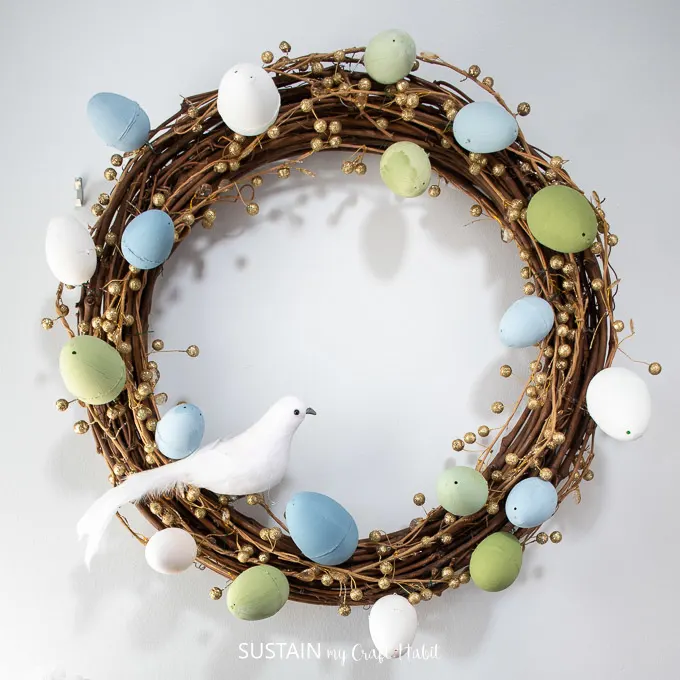
- DIY Easter Wreath
- Twine Wrapped Easter Eggs
- Felt Bunny Decor
- Easter Candy Jars
- Mini DIY Happy Easter Banner
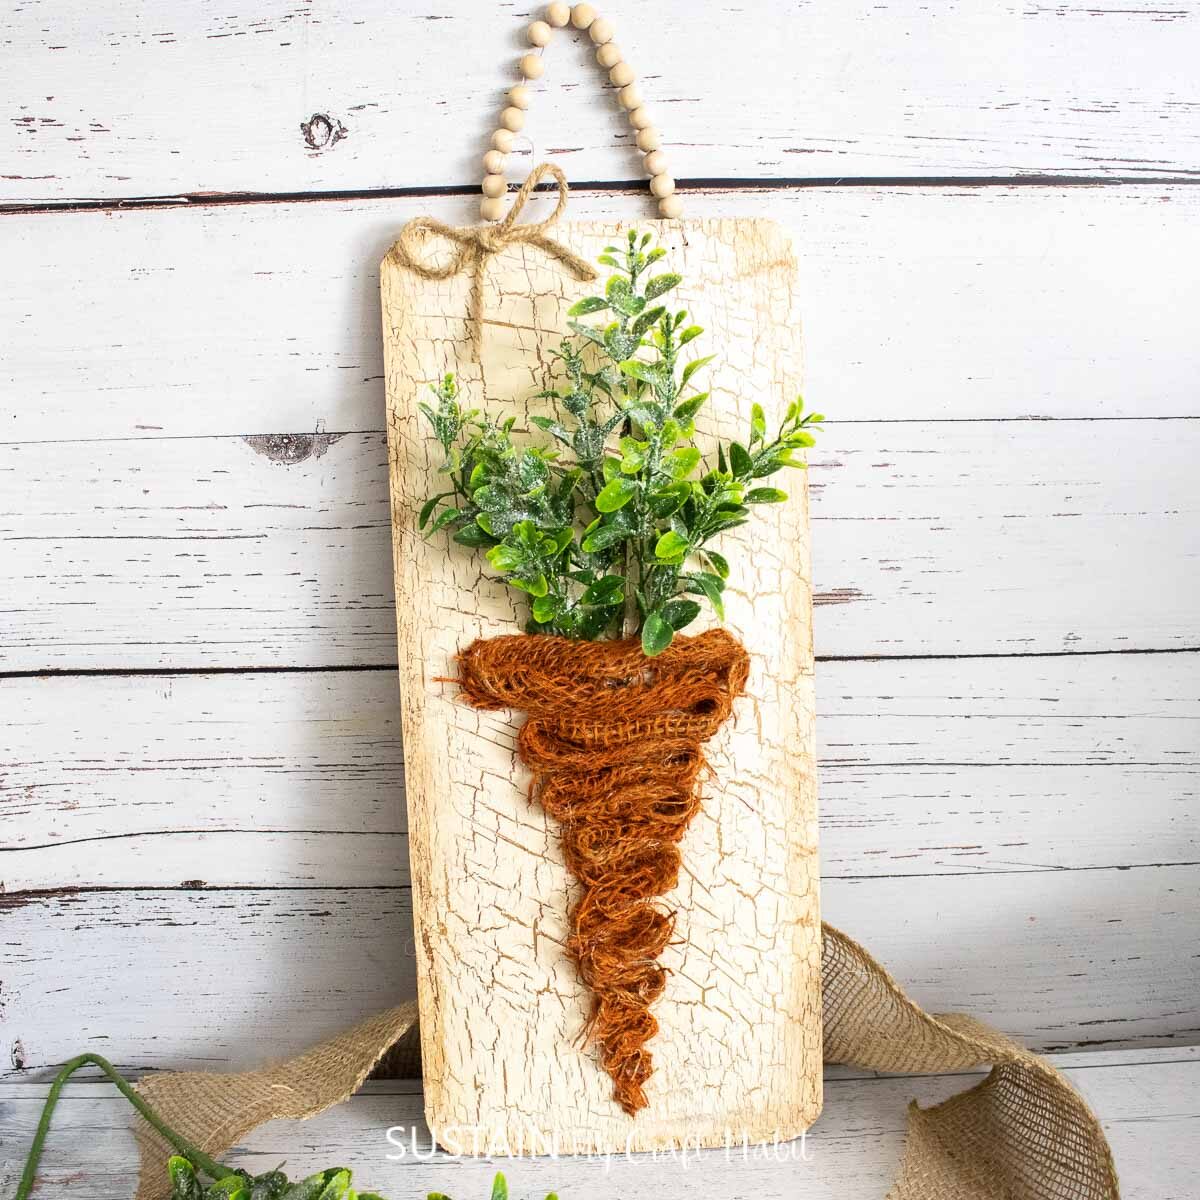

Carrot Sign 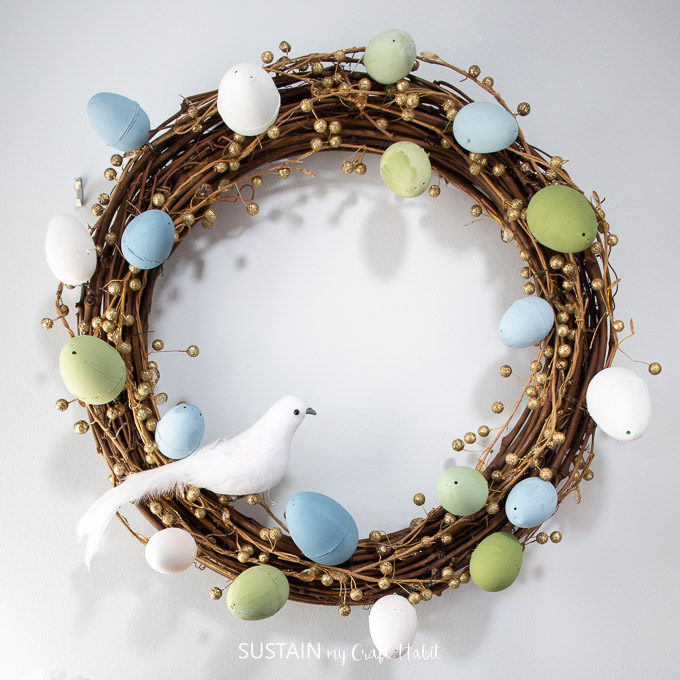

DIY Easter Wreath 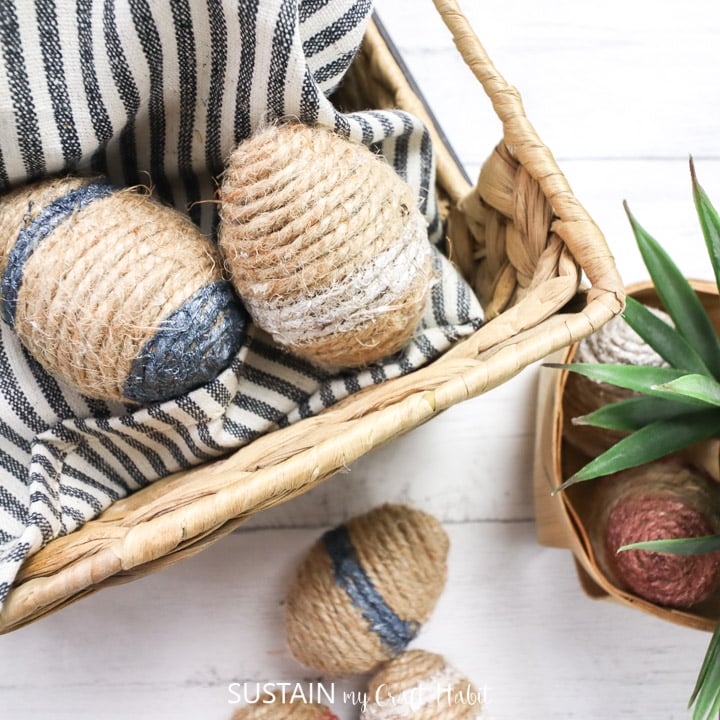

Twine Wrapped Plastic Eggs 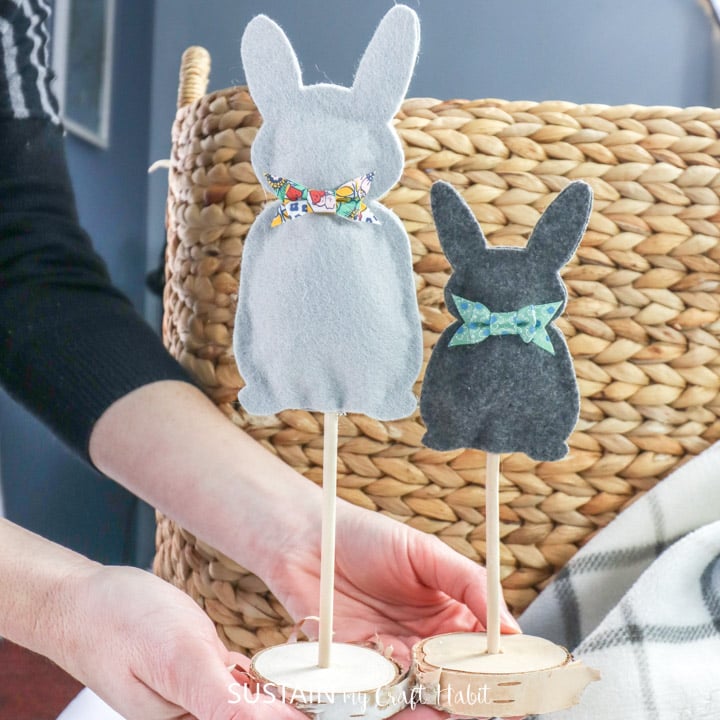
Felt Bunnies 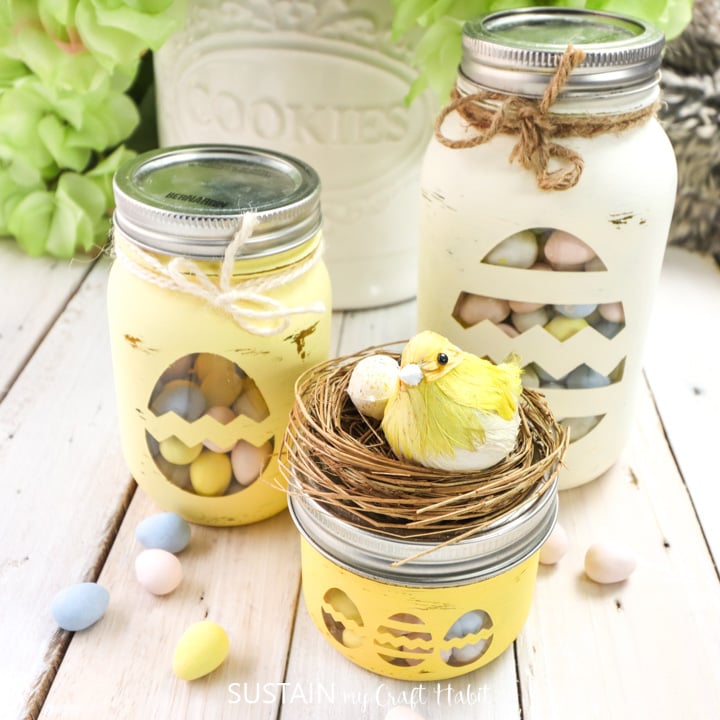
Easter Candy Jars 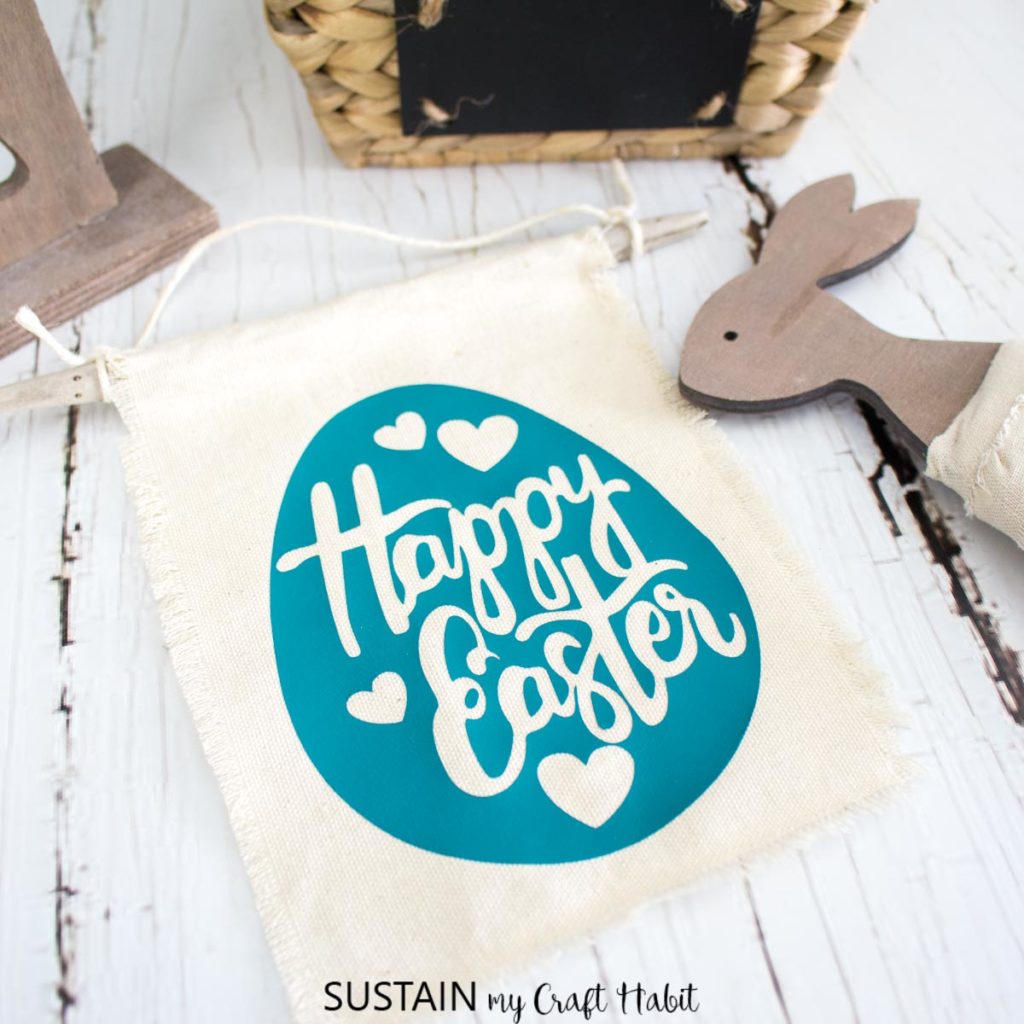

Mini Banner


Thankyou for visiting us here on the blog. If you wish to receive a ton of inspiration and money saving ideas for decorating, gift-giving and crafting? Join HERE!
Like it? Pin it for later!
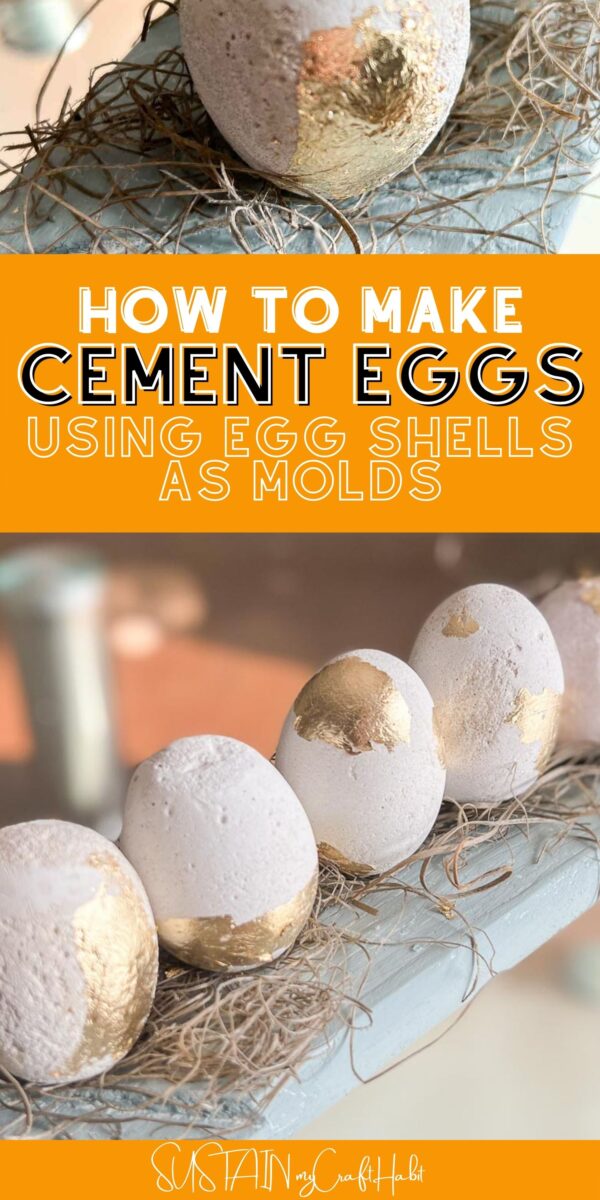


Making Cement Eggs using Egg Shells as Molds
Materials
- Wooden Paddle
- White Chalky Paint
- Paint Brushes
- Eggs and vegetable oil
- Ceramic Tile Mortar
- Elmer’s Glue
- Gold Foil Wrap
- Greenery/moss for embellishment
Instructions
Making Cement Eggs
- Take egg and carefully open the top of the shell and remove the egg and yolk.
- Next, clean the egg shell and cover the shell in oil. Be gentle!
- Take the mortar and carefully spoon it into the shell and let the mortar set up for 24 hours.
- Once the mortar is dry and set, use a spoon to peel the egg shell off and you will be left with a ceramic egg.
Preparing the Centerpiece
- For a crackle effect spread the glue over the wood paddle and let it dry. Then apply some paint over the dried glue and let it dry completely.
- Take the cement egg and apply some glue. Next add the gold foil to the area coated with the glue and apply and let dry. Remove any excess foil with a dry brush.
- Glue the cement eggs and moss to the paddle.