


This post, DIY Disney Themed Picture Frames, is sponsored by Brother and the new Brother ScanNCut DX SDX230Di Electronic Cutting Machine. Thank you for supporting the brands that keep the crafts coming!
I don’t talk about it much, but our family is definitely a Disney family. My husband and kids are obsessed with all things Disney and we have visited both parks in the US. That means that we have a plethora of photos from our trips that are just begging to be displayed. So I was so excited when Brother reached out about their new ScanNCut DX SDX230Di Electronic Cutting Machine with 152 built-in Disney designs! Not to mention over 1000+ other designs like fonts, quilt patterns, and general shapes.
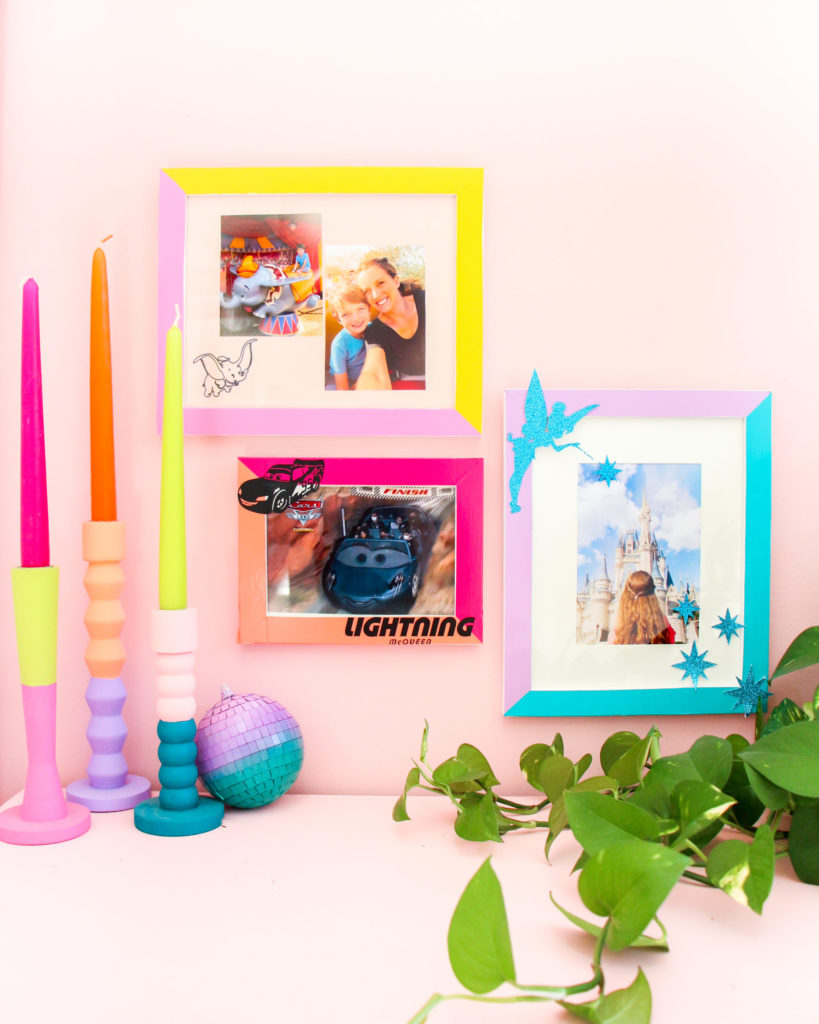
I knew that I just needed to create some fun and colorful Disney inspired photo frames to house all my Disney trip photos. So I set up my new Brother ScanNCut and got cutting! I used three different techniques to create the Disney frames. Cut vinyl on the frame, cut glittered card stock glued to the outside of the frame, and I used the drawing pen and feature to have the Brother ScanNCut draw on the mat of one of the photos.
DIY Disney Themed Picture Frames Supplies:
–Brother ScanNCut DX SDX230Di Electronic Cutting Machine
-Adhesive vinyl in your choice of color
-Turquoise Glitter card stock
-Picture frames
-Hot glue
-Picture frame matting
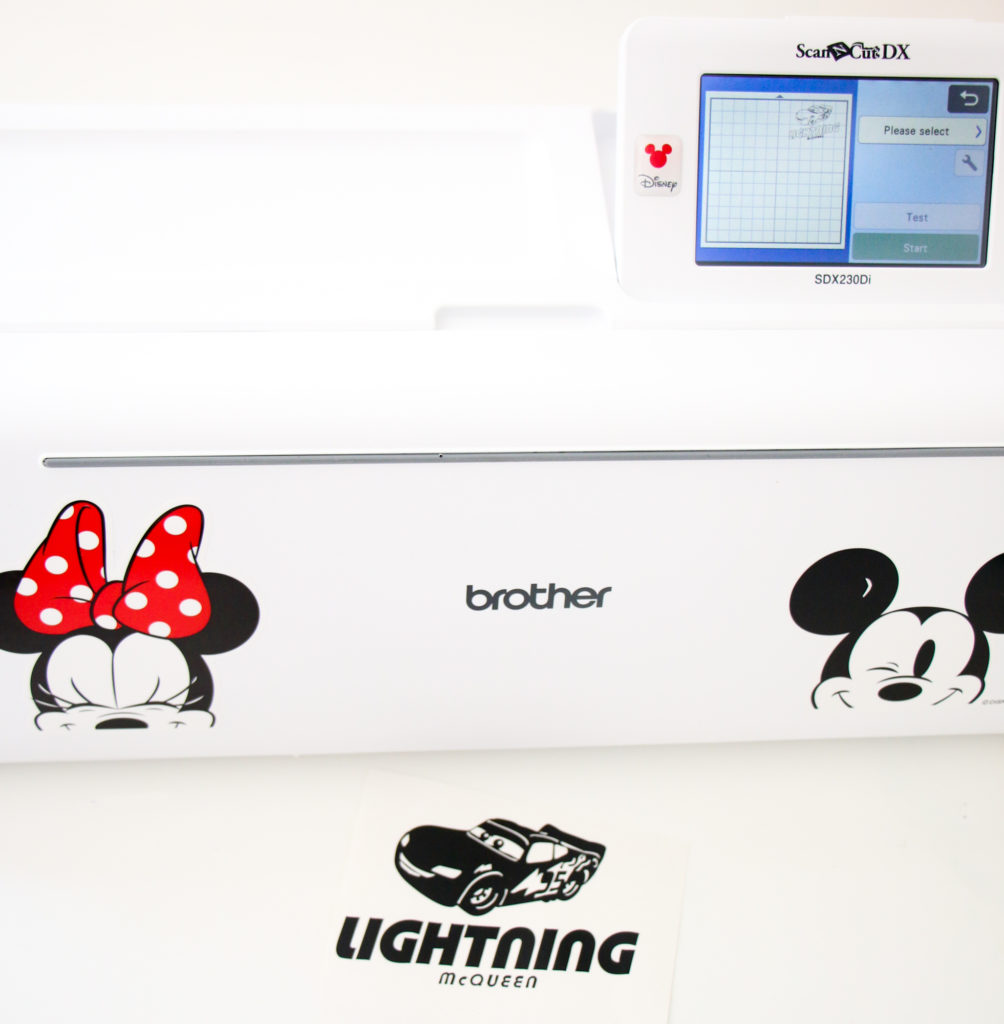
Begin by choosing your designs from the huge amount of built-in designs. I chose tinker bell and stars for the photo of my daughter at Cinderella’s castle, Lighting McQueen for our photo in the Cars ride, and Dumbo for the photos of my son and I on the ride.
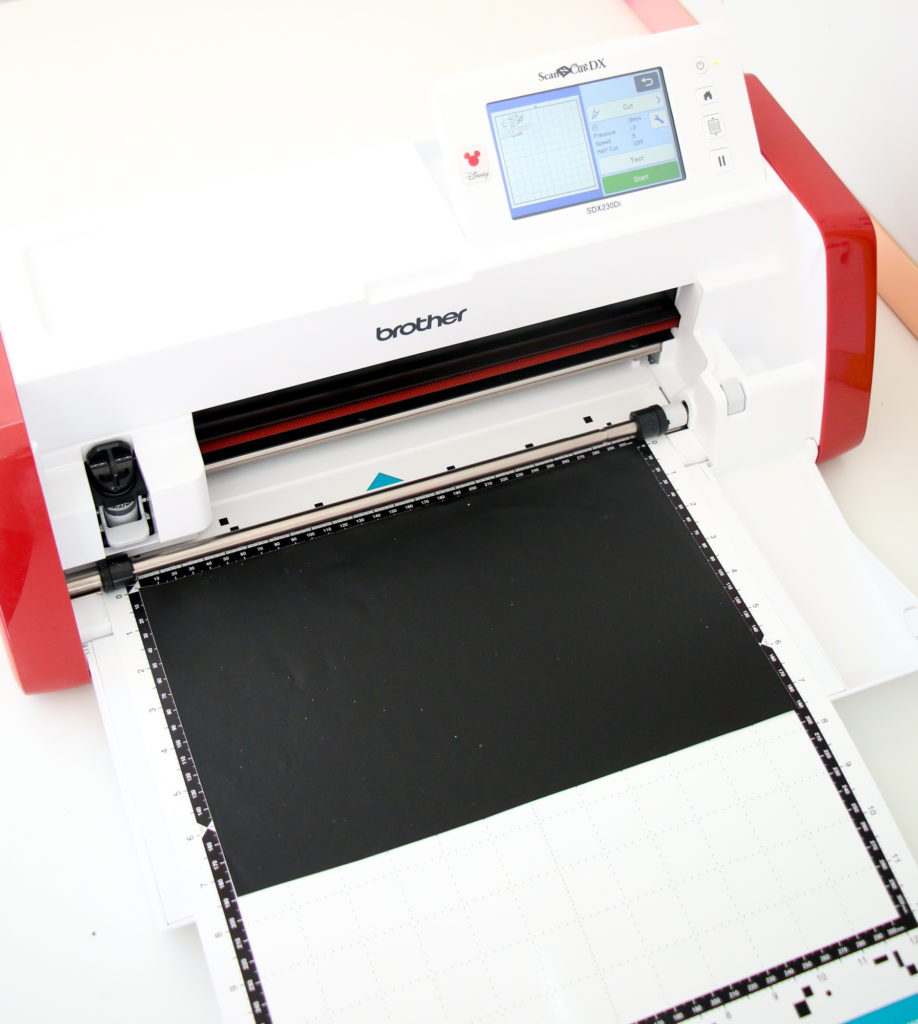
For Lighting McQueen I used black adhesive vinyl on the included light hold cutting mat. I loaded in the mat and following the on screen prompts to resize the built-in image to a size that would fit the frame surround and cut it out with a -9 pressure. Then I simply weeded the negative space and used transfer masking tape to transfer the design to the picture frame.
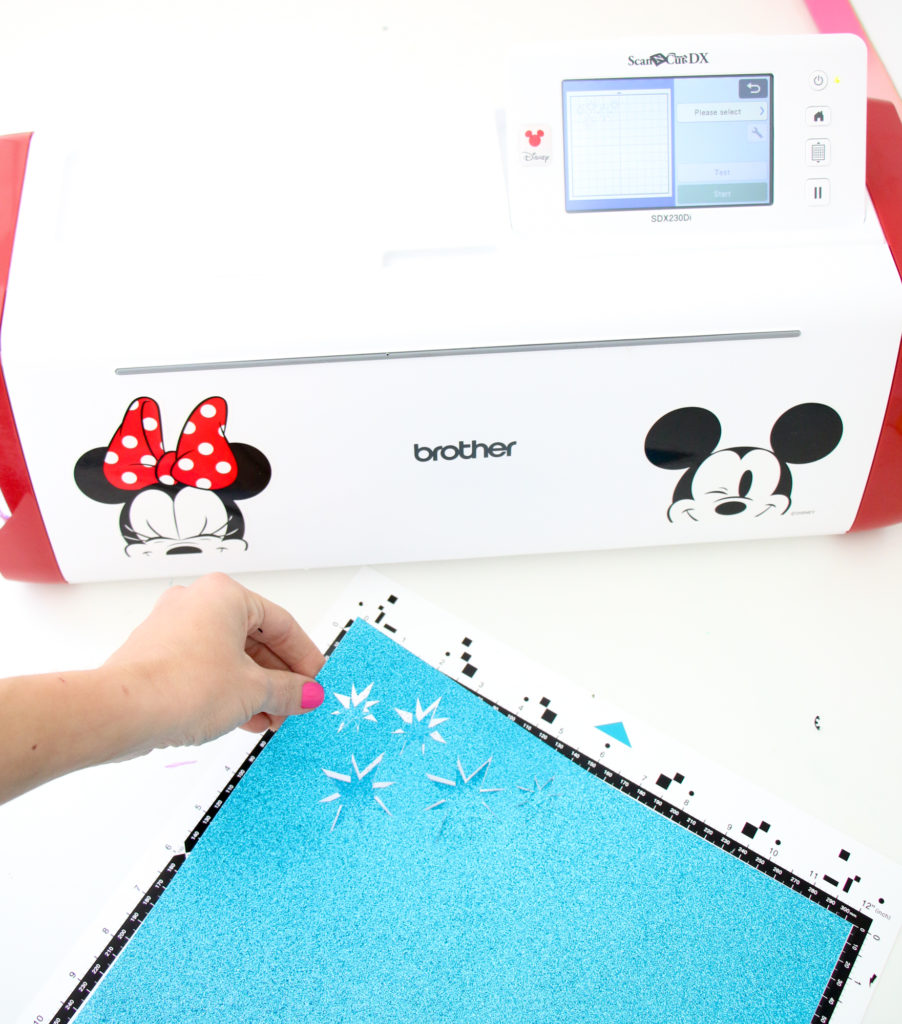
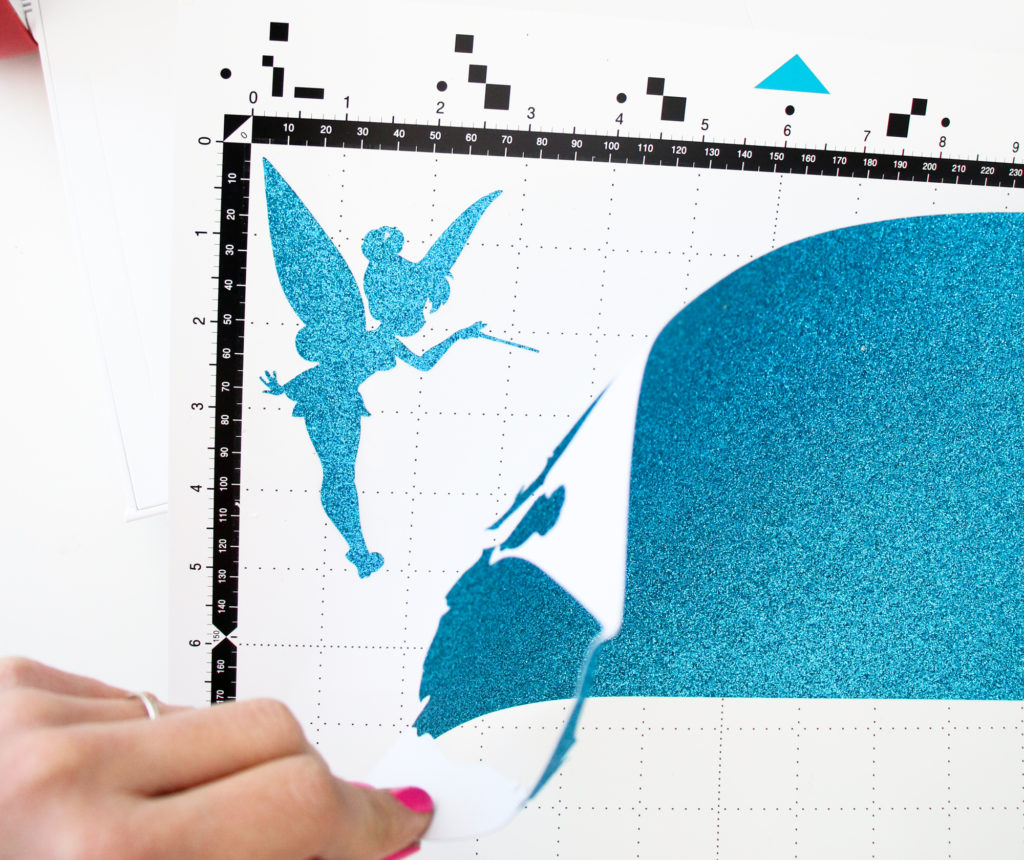
For Tinkerbell, I used turquoise glitter card stock on the light grip mat to cut out stars on a pressure setting of -5. Then I hot glued Tinkerbell and the stars onto the frame and glass.
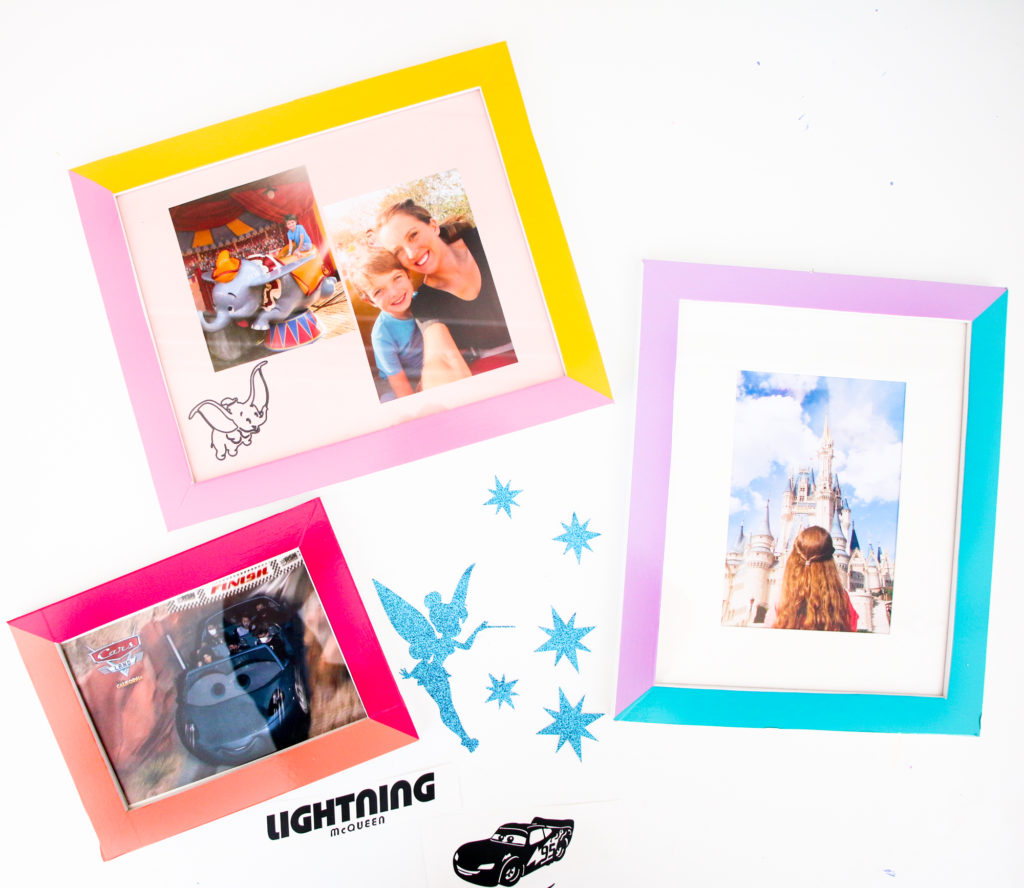
For the Dumbo photo mat, I cut card stock to size to fit the frame and then used the included drawing pen to draw the built-in dumbo design on the corner of the paper. Again using the light grip mat to hold the paper in place while the Brother ScanNCut drew the design. Then I simply glued the photos to the paper and put the entire thing in the frame.
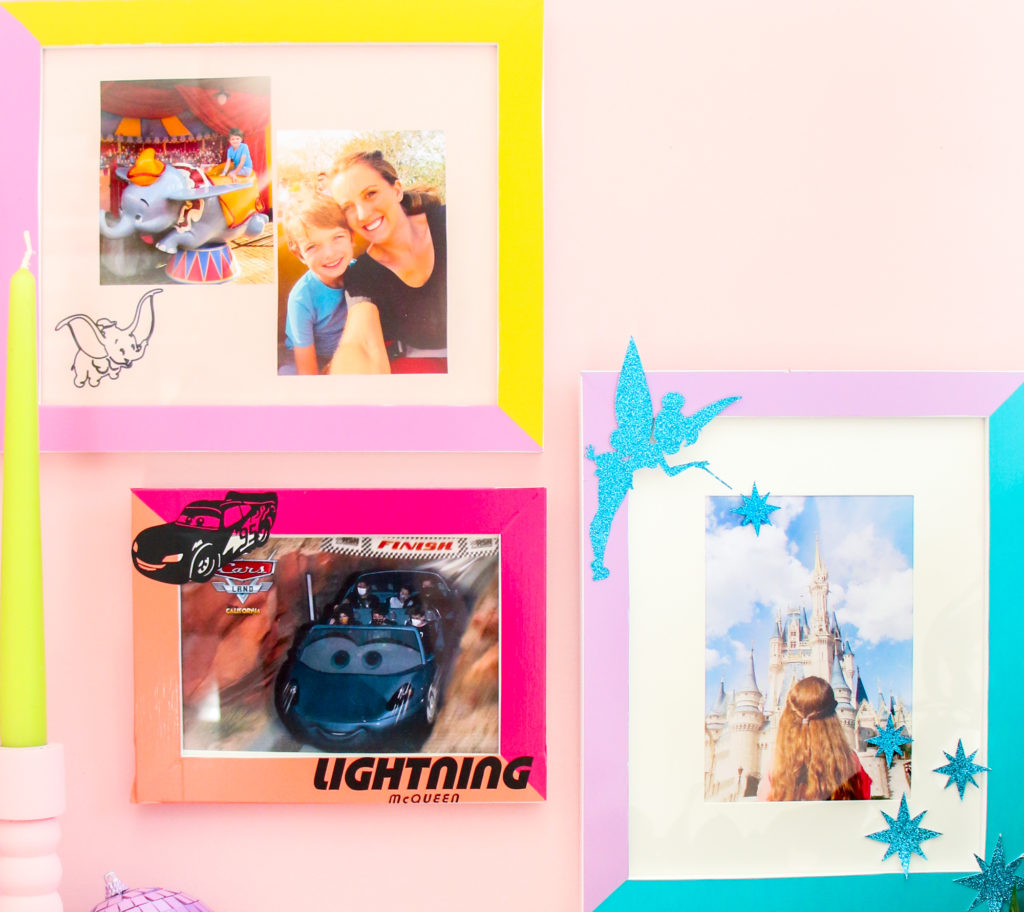
I really love the way the DIY Disney Themed Picture Frames turned out and because the Brother ScanNCut DX SDX230Di Electronic Cutting Machine had all the built-in Disney designs, it was a quick project too! Can’t wait to make a few more for our other Disney vacation photos!


