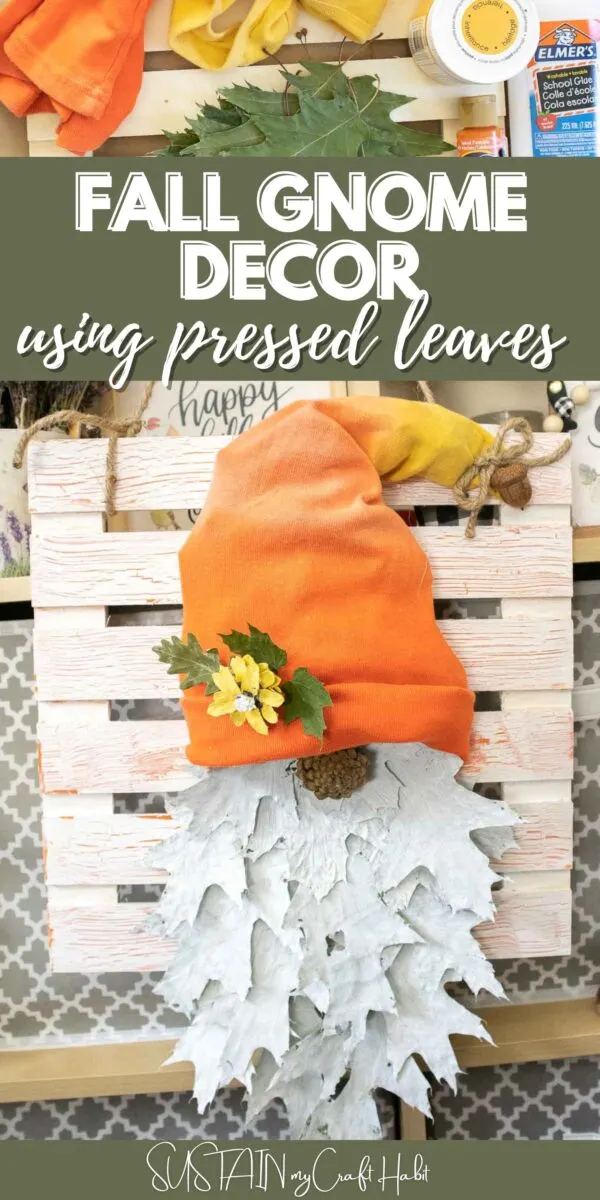
There are many ways to use pressed leaves, but I bet that you’ve never used leaves to make Fall gnome decor!
While all autumn decorations are beautiful, there is something about gnomes that seem to grab people’s attention. With good reason too! If you are someone that loves to upcycle, or use nature and used products to create something crafty out of it, this cute little fall gnome is a great DIY project.

Make your fall decor unforgettable this year!
Here at Sustain My Craft Habit, we LOVE pressed leaves. Whether it is simple such as painted-pressed leaves, or a little more complex such as these resin fridge magnets, we think pressed leaves are a wonderful way to craft while upcycling.
You will find that we love to use the outdoors in our crafts whenever we can. We try to show that in each craft we do here, as well as with our creative habit craft boxes.

The great part about this craft is that it can be a calming solo project or a fun craft to do at a family get-together. Gathering the right leaves with some family or friends can create great memories. This craft also has steps that are for all ages- younger kids can do the simple painting while teens can give the hot glue gun a try. There is fun to be had for everyone!
Join our crafting community to find more nature-inspired DIYs and upcycled craft ideas. It feels good to repurpose, upcycle and create with nature!
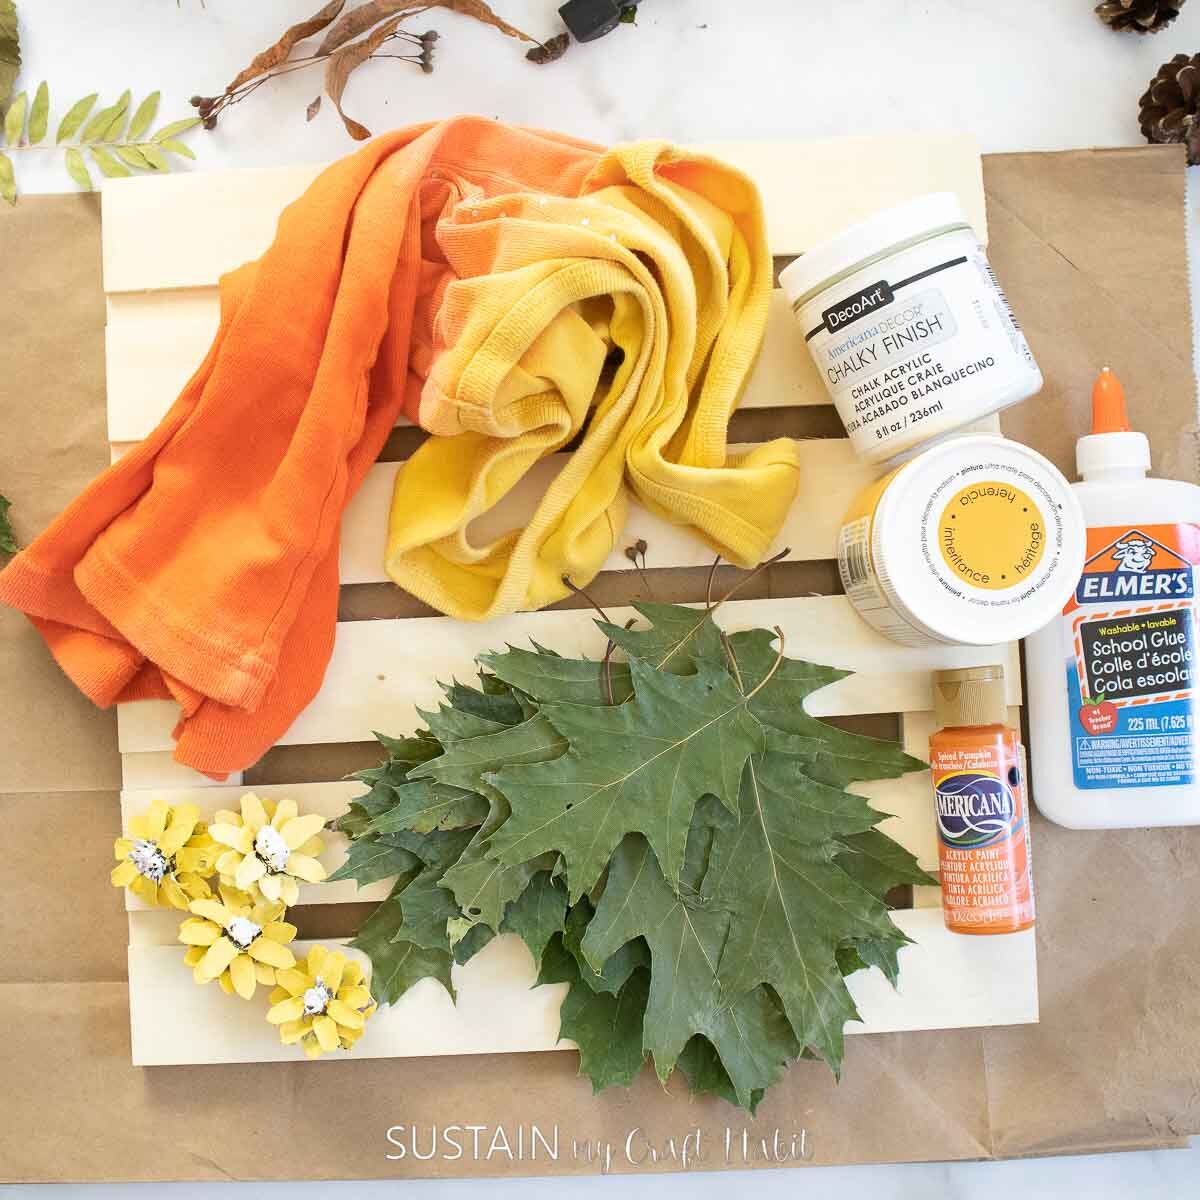
Materials Needed
Disclosure: This post contains affiliate links for your shopping convenience. Should you choose to purchase through them, we will make a small commission at no extra cost to you. You can read our full disclosure policy here.
- Pressed Leaves
- Wood hanging plaque
- White chalky paint
- Pinecones (we sell these in our Etsy shop!)
- Orange and Yellow paint
- Paint brushes
- Elmers Glue
- Fabric or old tshirt
- Twine
- Hot glue gun

How to Make a Fall Gnome Decor using Pressed Leaves
Here is a step-by-step video of the fall gnome decor we made on our Facebook page! Or if you prefer the photo tutorial, continue reading below.
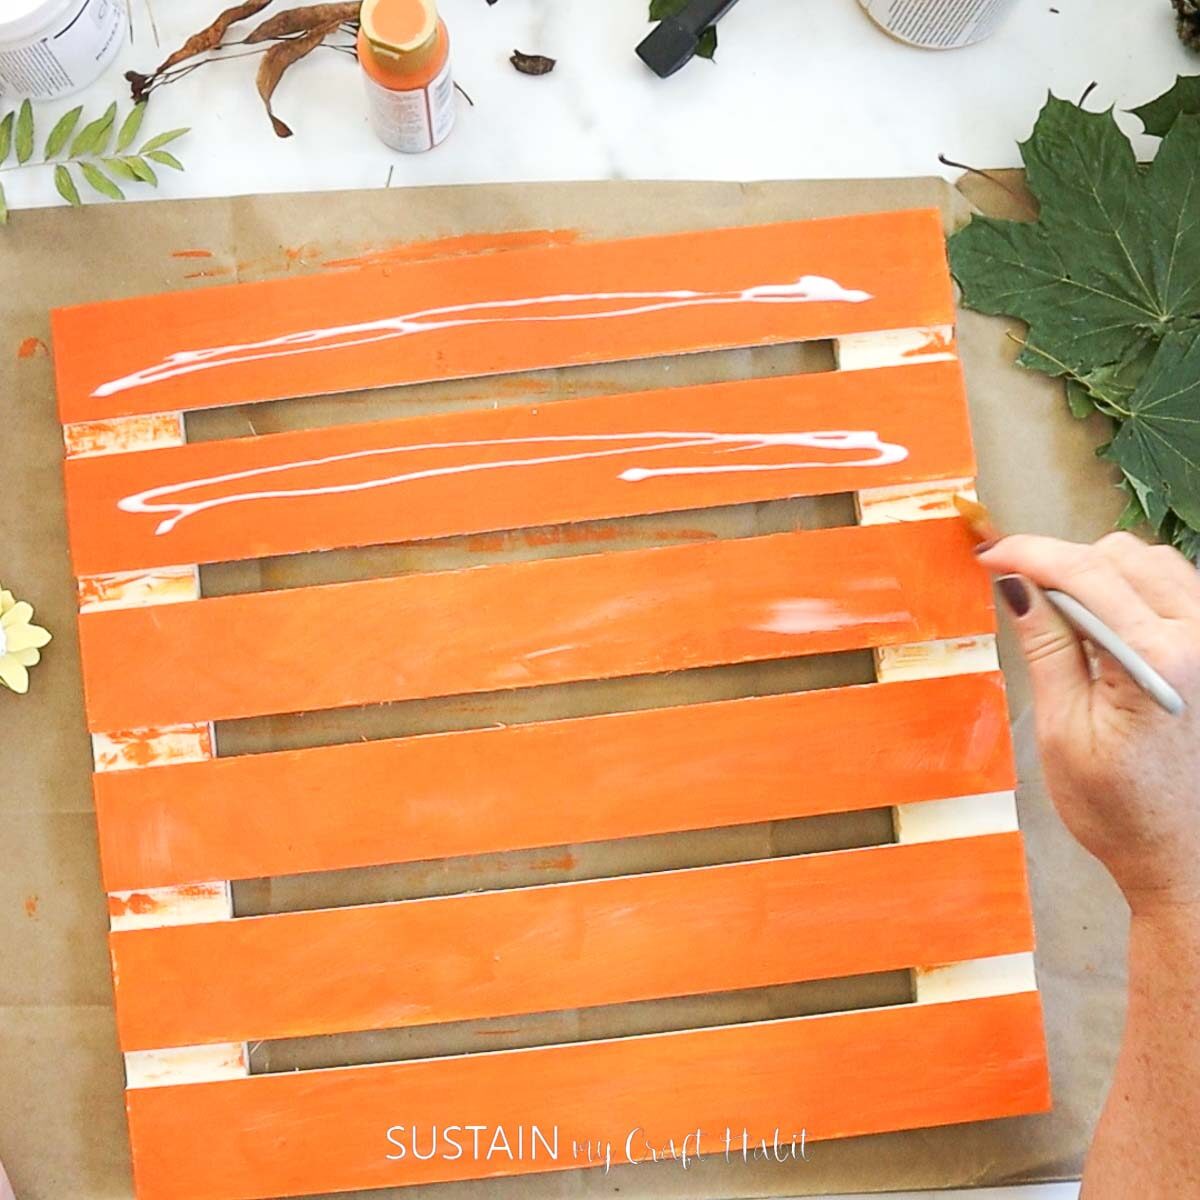
Paint your wood plaque with orange paint.

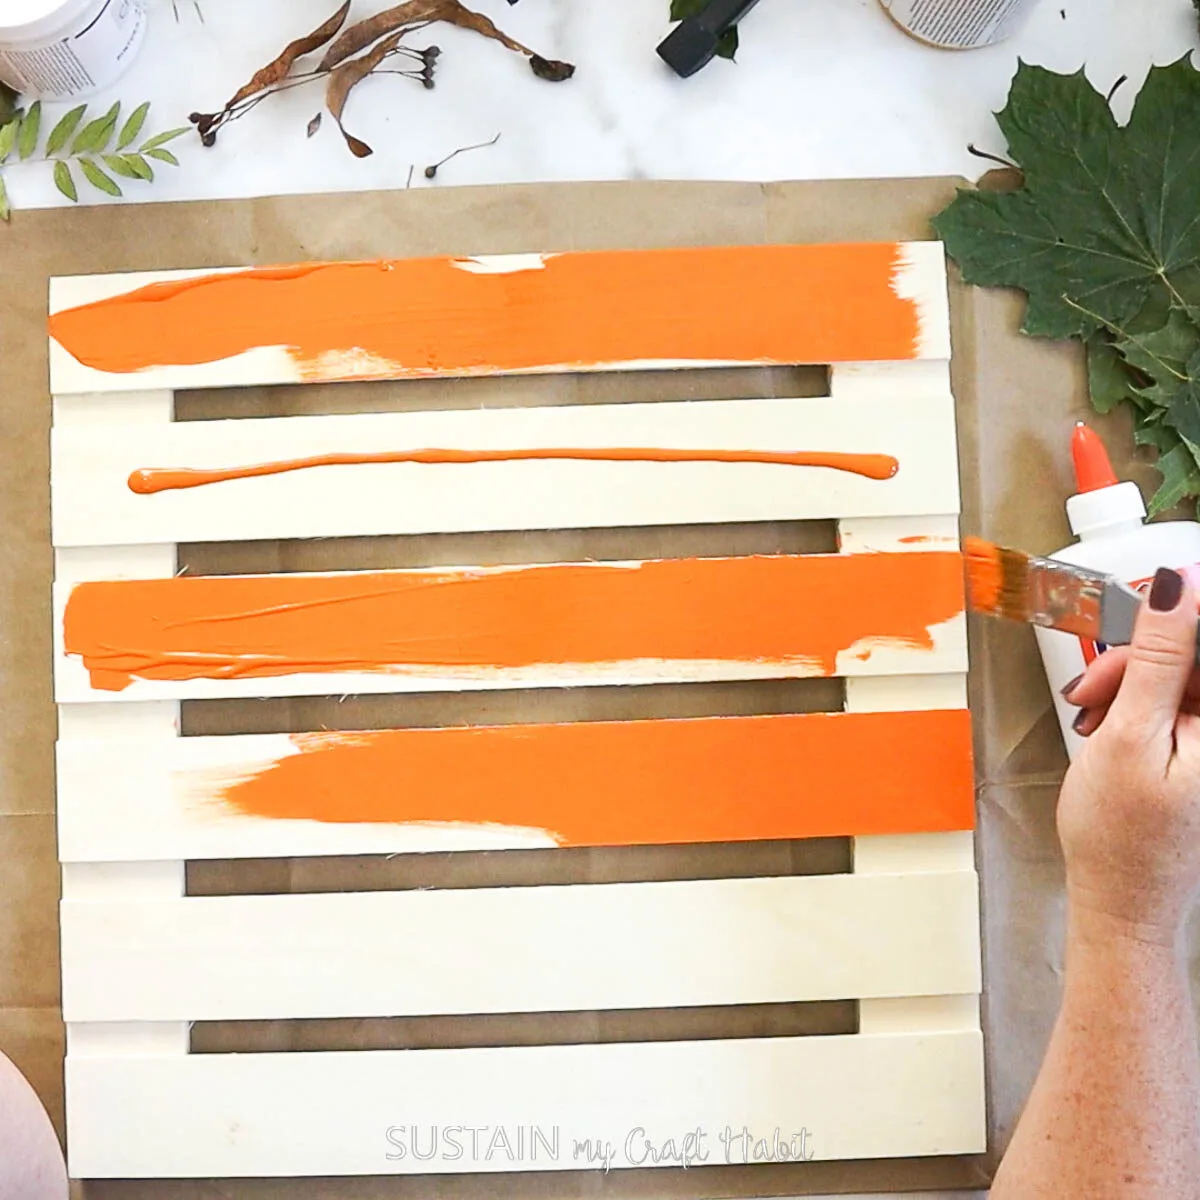
Next, paint a generous coat of school glue onto the surface. Brush it in one direction for best results. Leave it to dry until it feels TACKY (the glue needs to still be wet for the paint crackle finish to form).

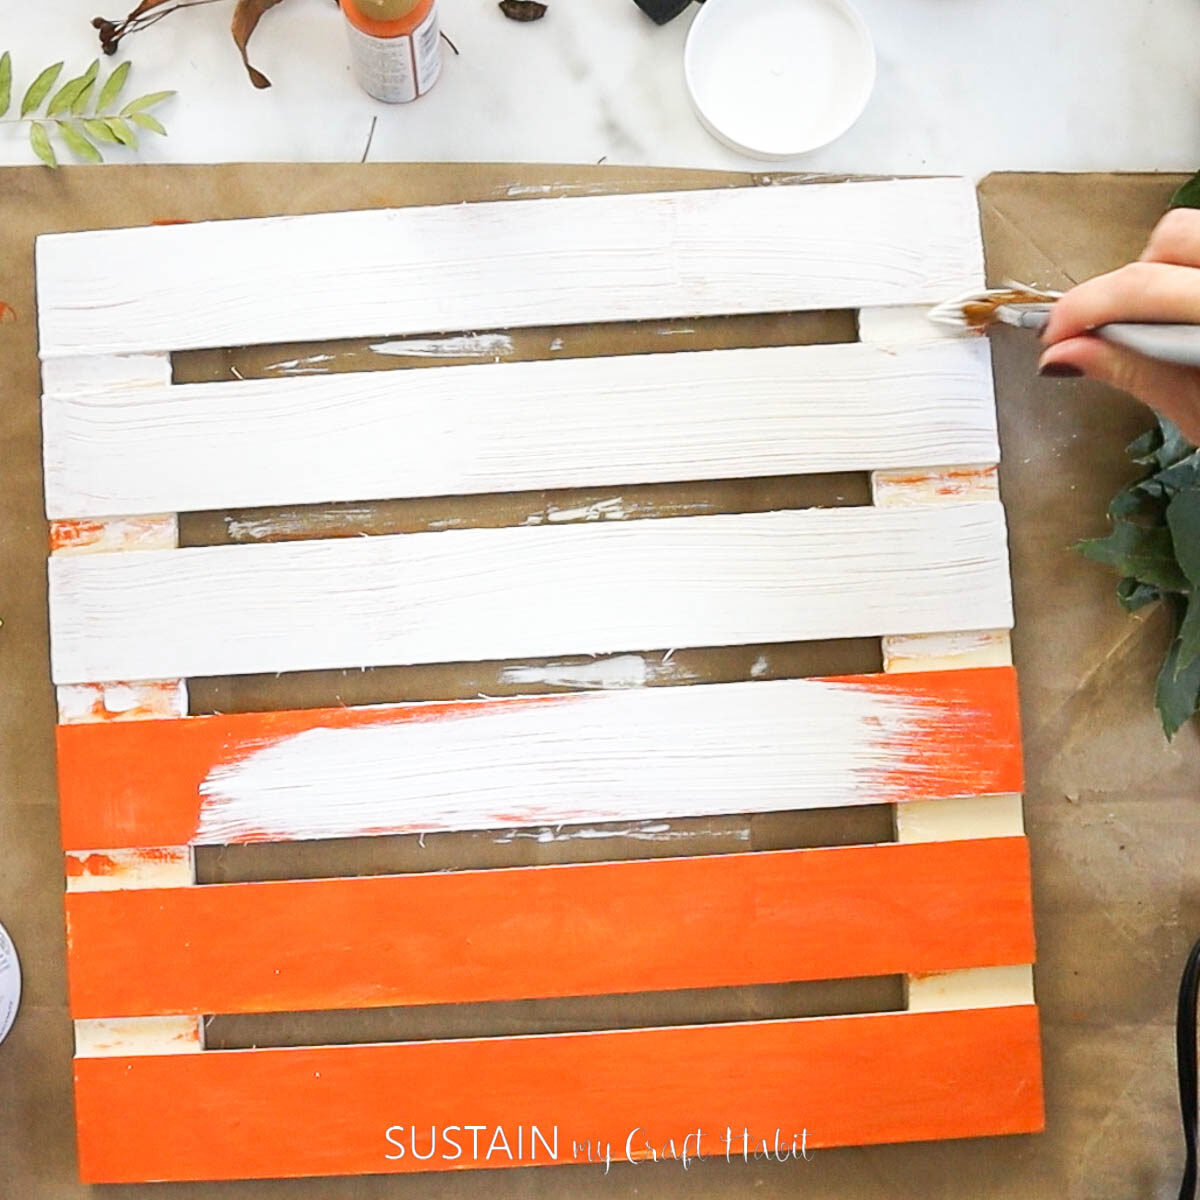
Paint over the glue with white paint.

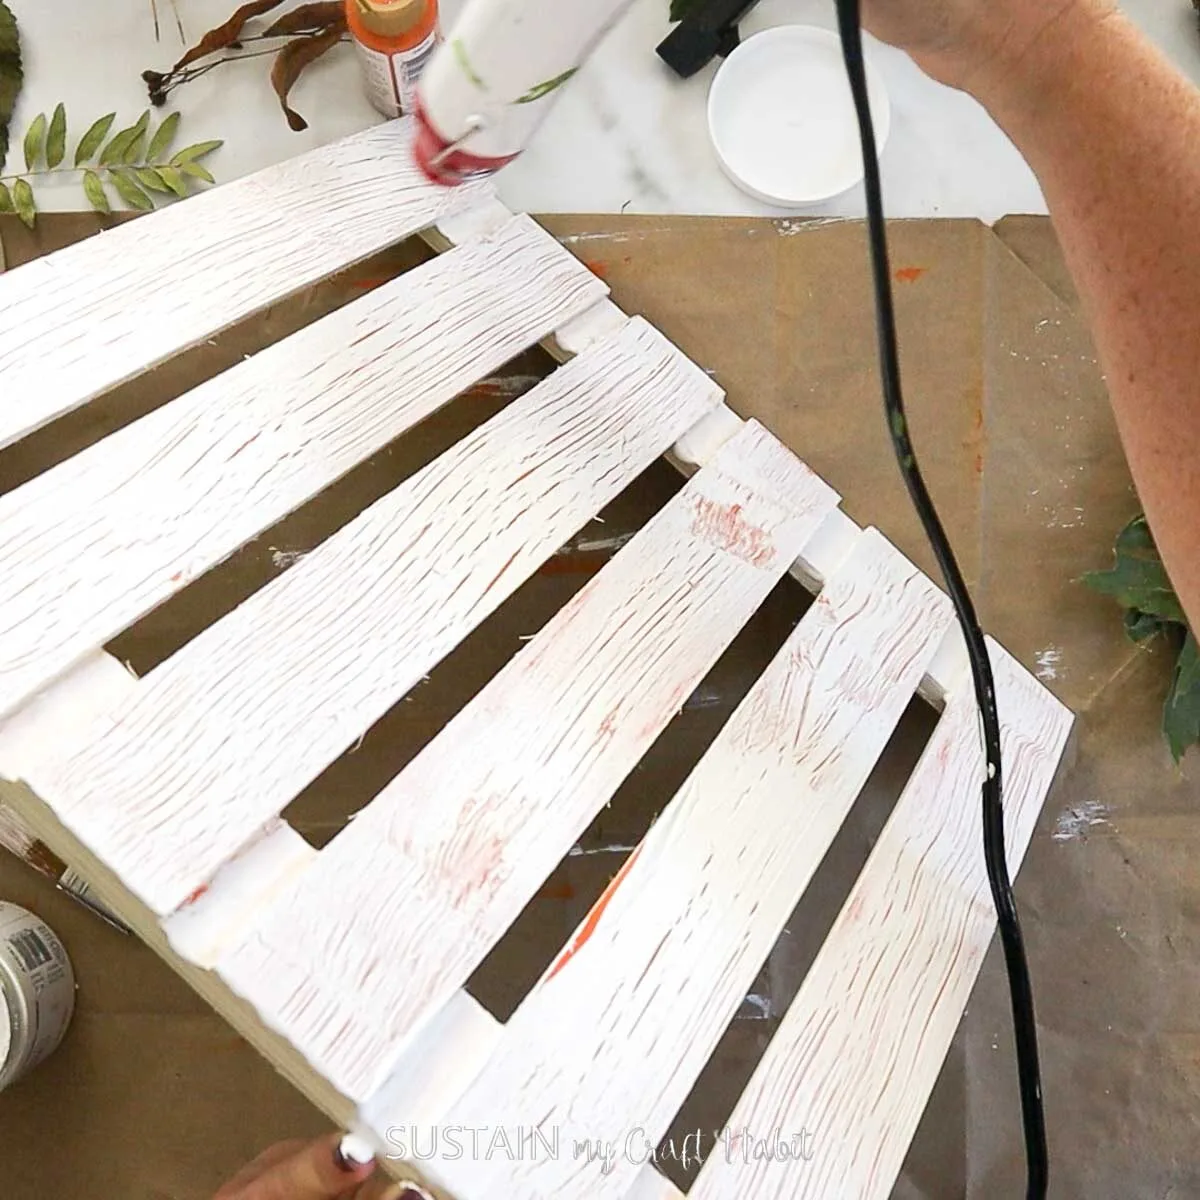
Allow the paint to air dry, or use an air gun to speed up the drying and watch the crackle appear!

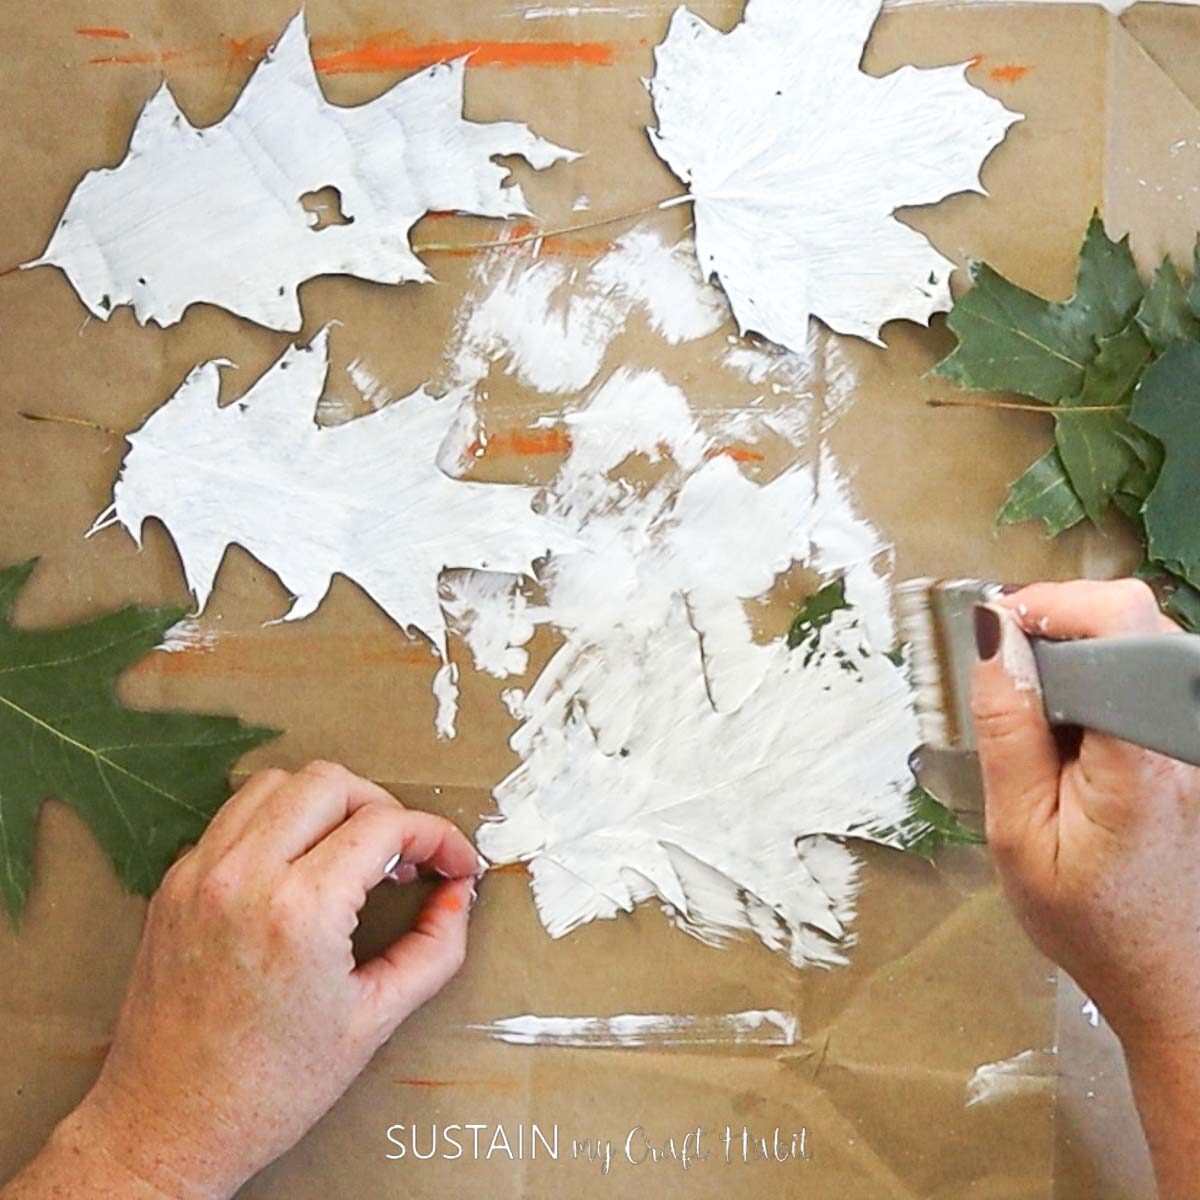
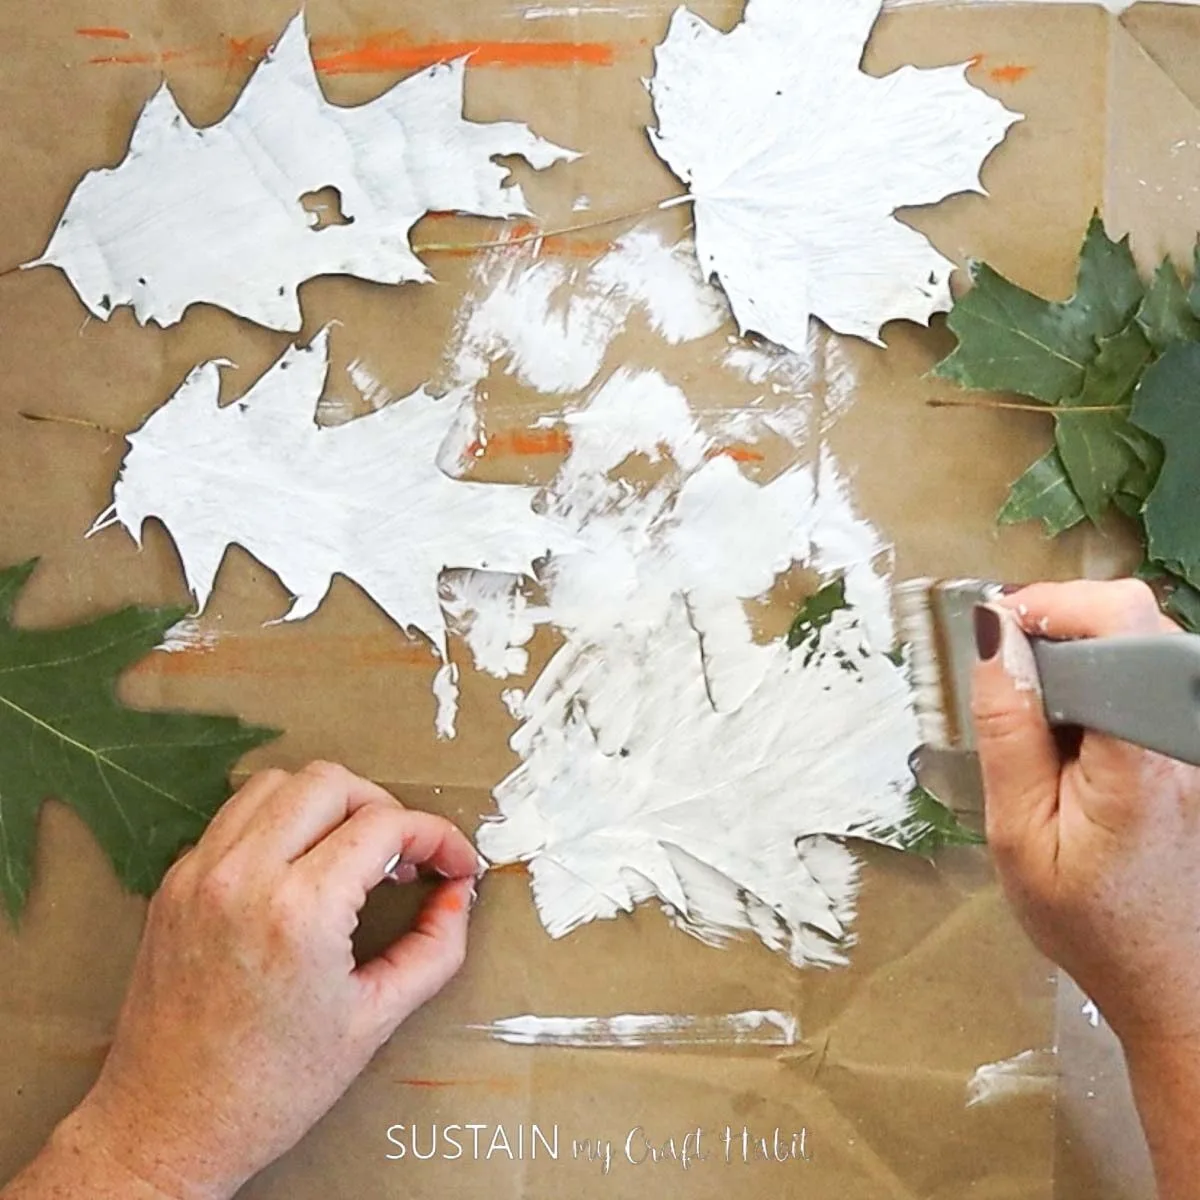
Paint your pressed leaves with white chalky paint and leave them to dry.
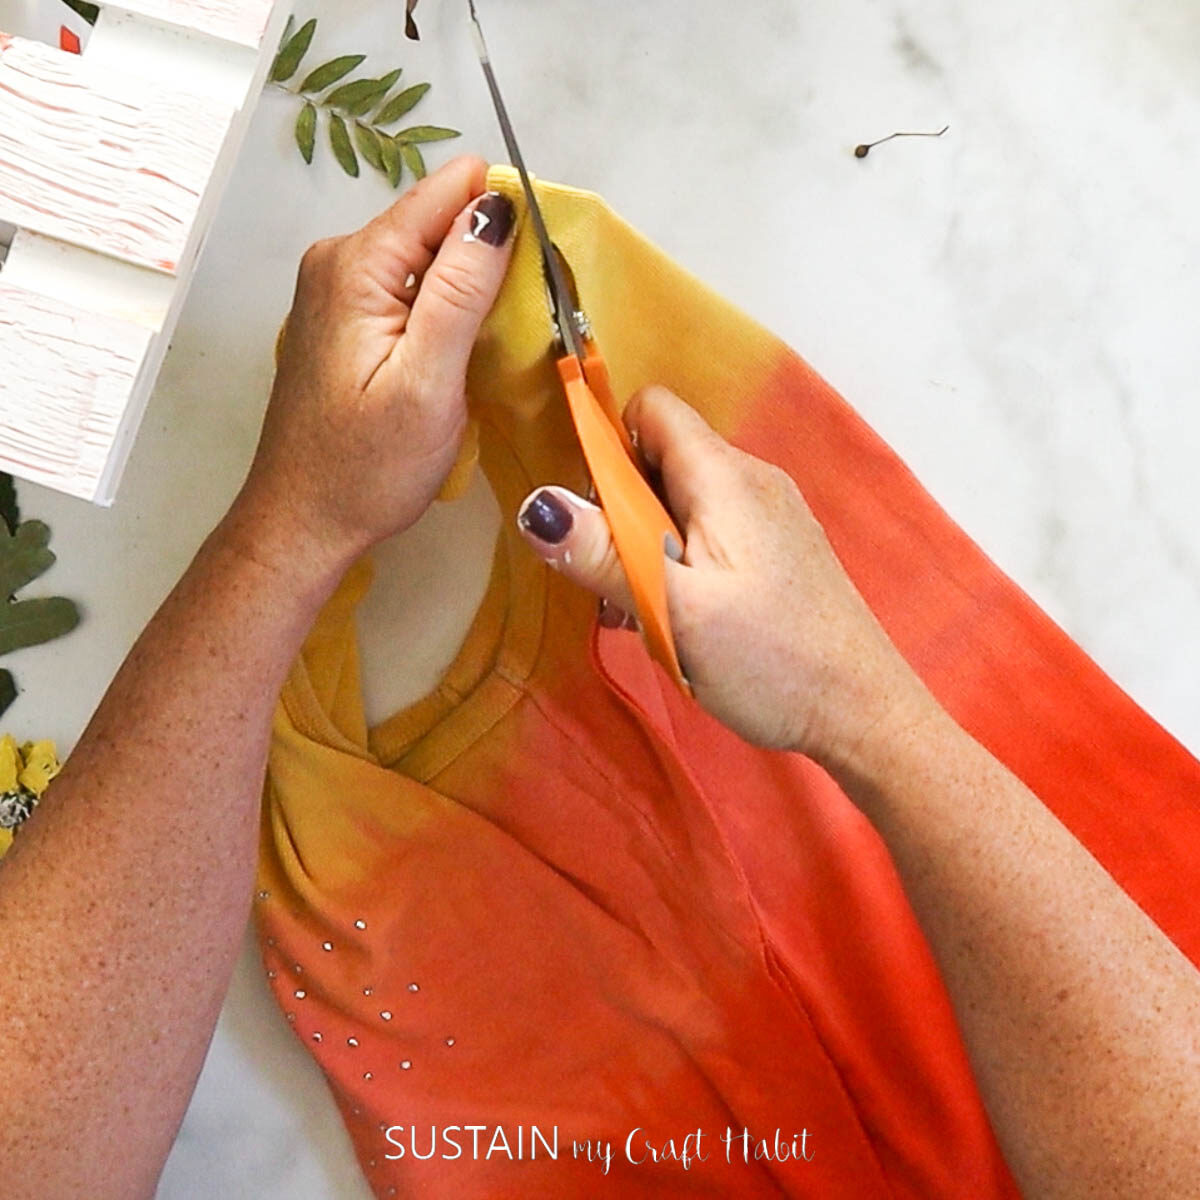
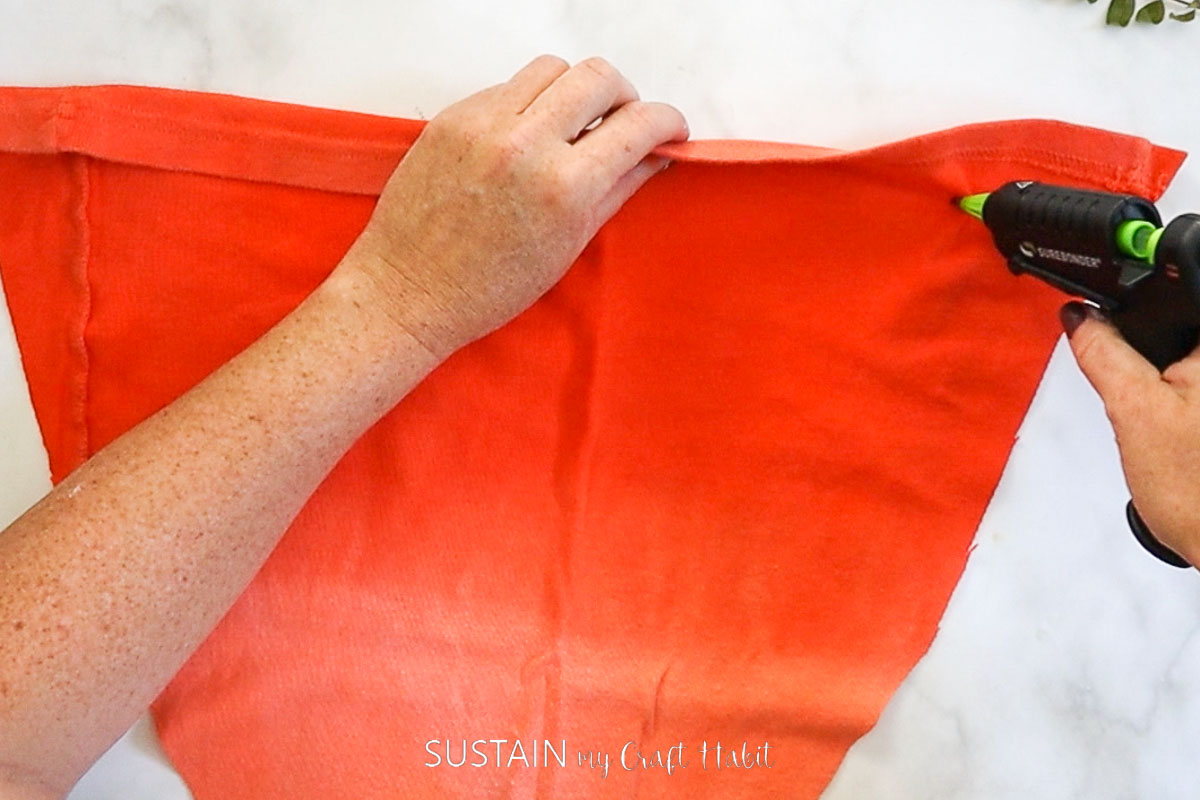
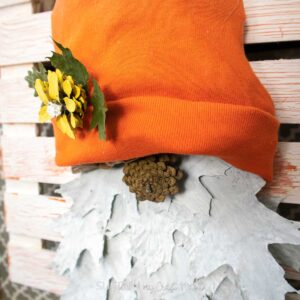
In the meantime, cut your fabric and hot glue the ends together to form a hat shape. You can add cardboard or paper in the hat to make it stick up.


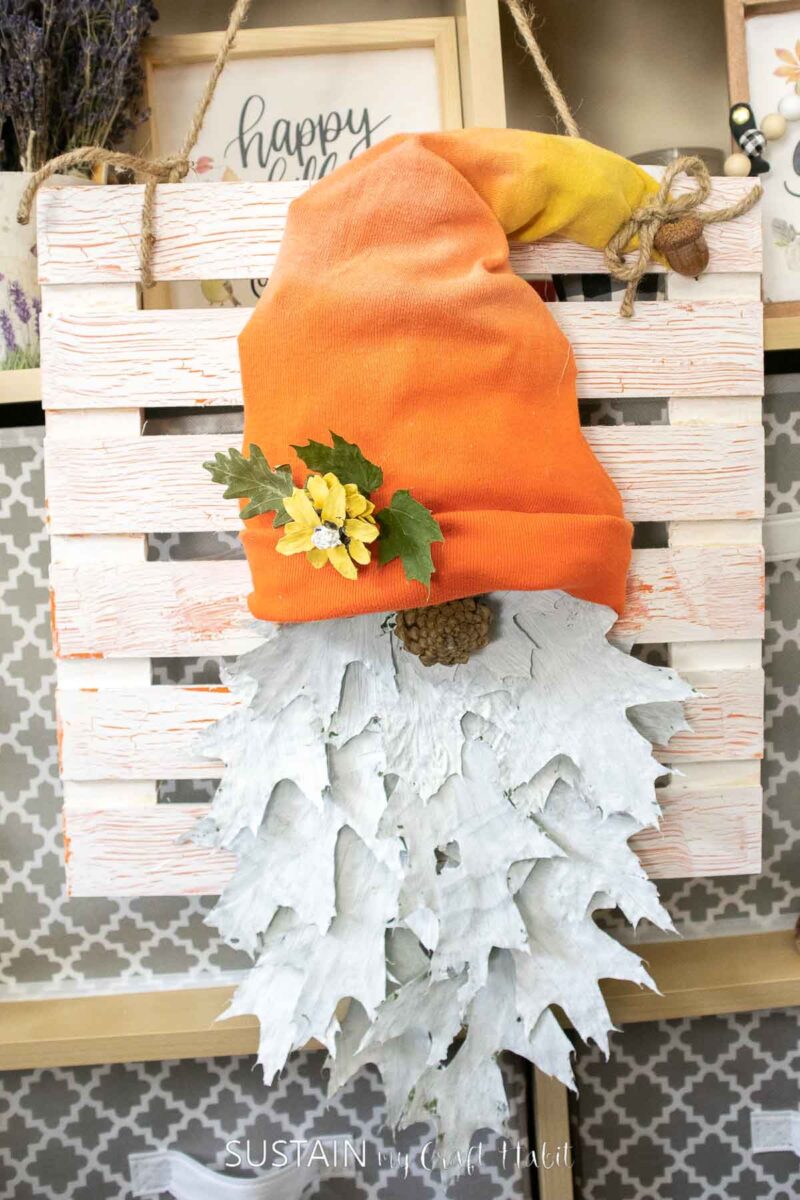
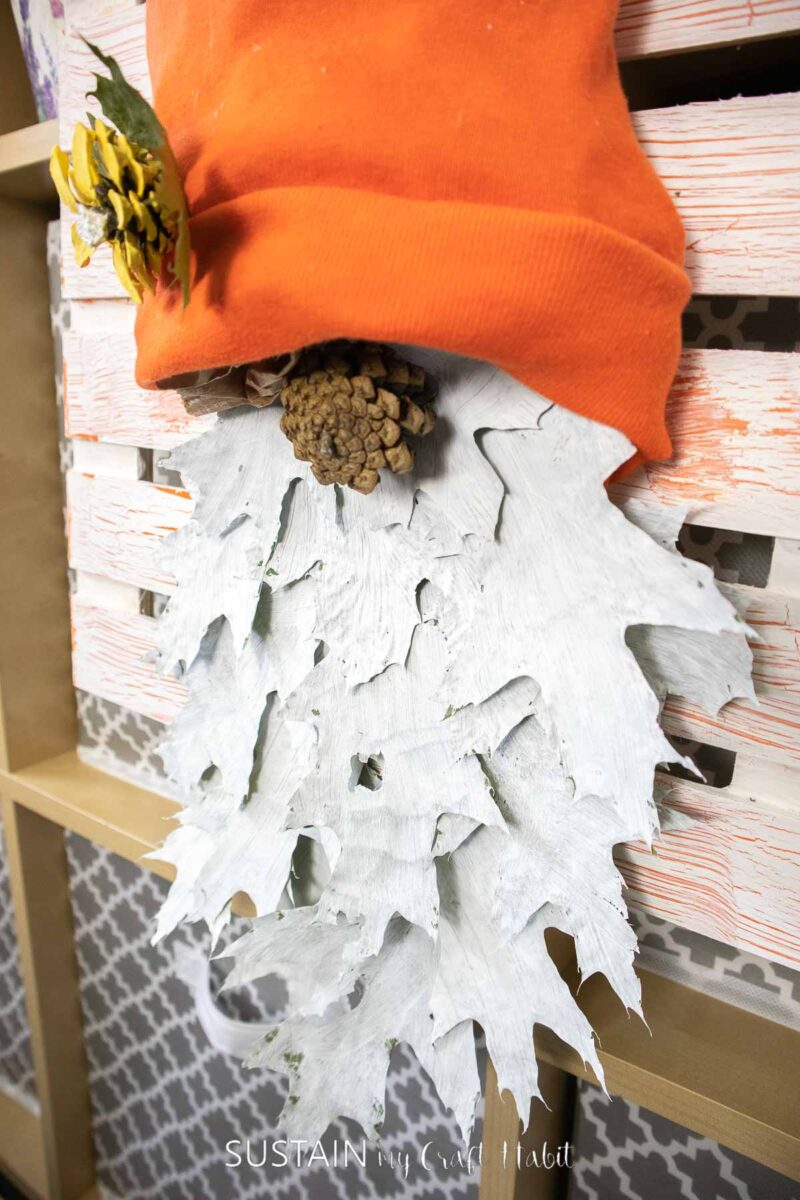
Hot glue the hat, leaves and pinecones onto the wood plaque to form a gnome face. Layer the painted leaves to create a full gnome beard effect!

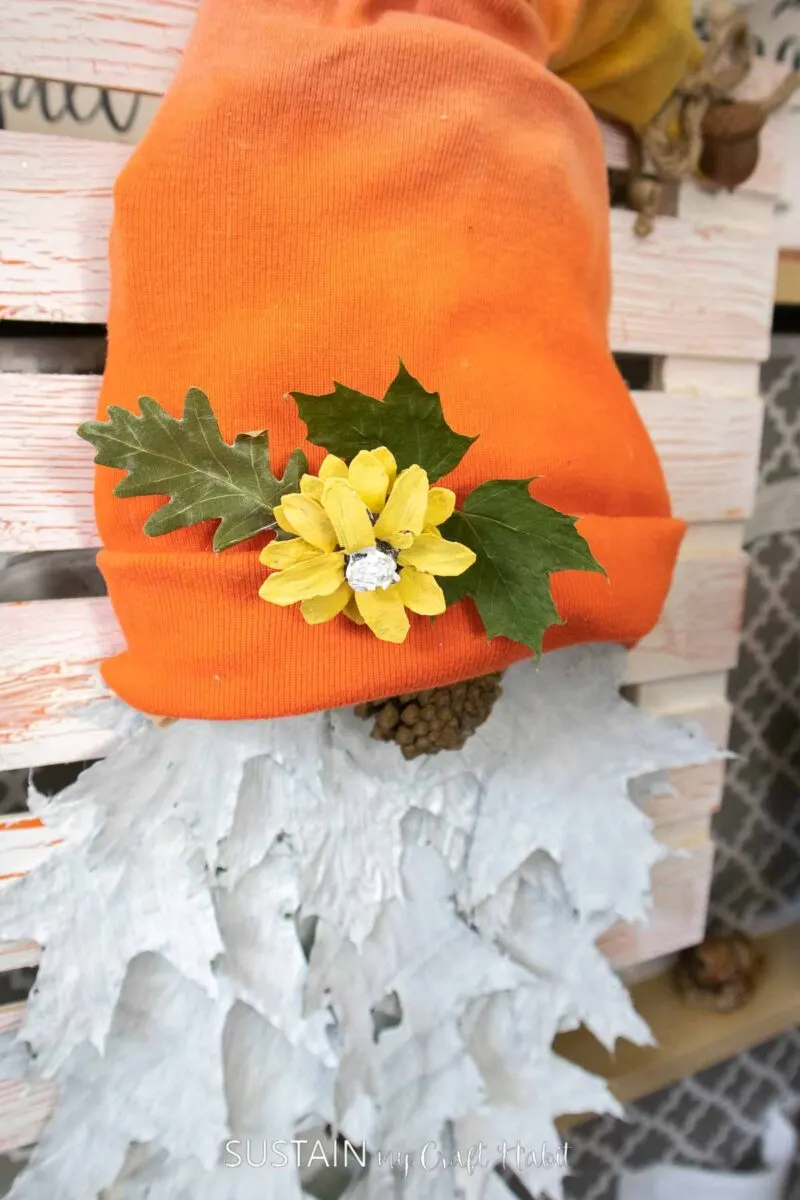
There you have it- your fall gnome decor is just beginning! Imagine what other fun autumn gnomes you can add to your house and your yard after creating this one. The possibilities are endless!
More DIY Fall Decor
For more nature-inspired Fall craft ideas, check out these fun options!
- Candy Corn Decor with Pine Cones
- Painted Pressed Leaves
- Reversible Driftwood Wall Decor
- Make an Acorn Garland
- No Sew Gnome Decor
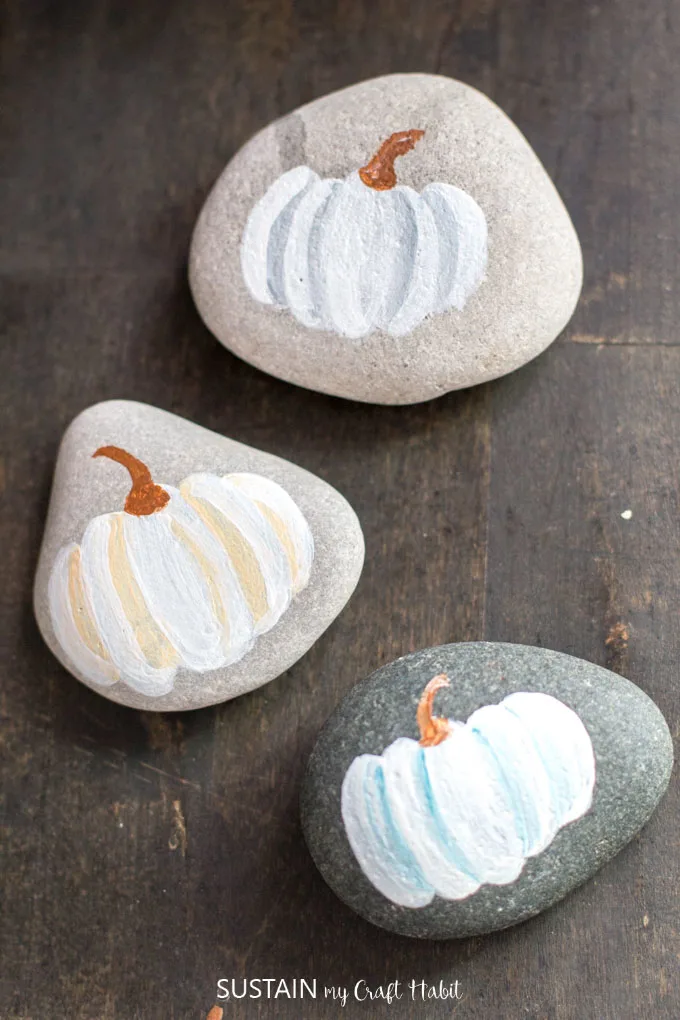
- Painted Rock Pumpkins


Candy Corn Decor 
Painted Pressed Leaves 

Reversible Sign 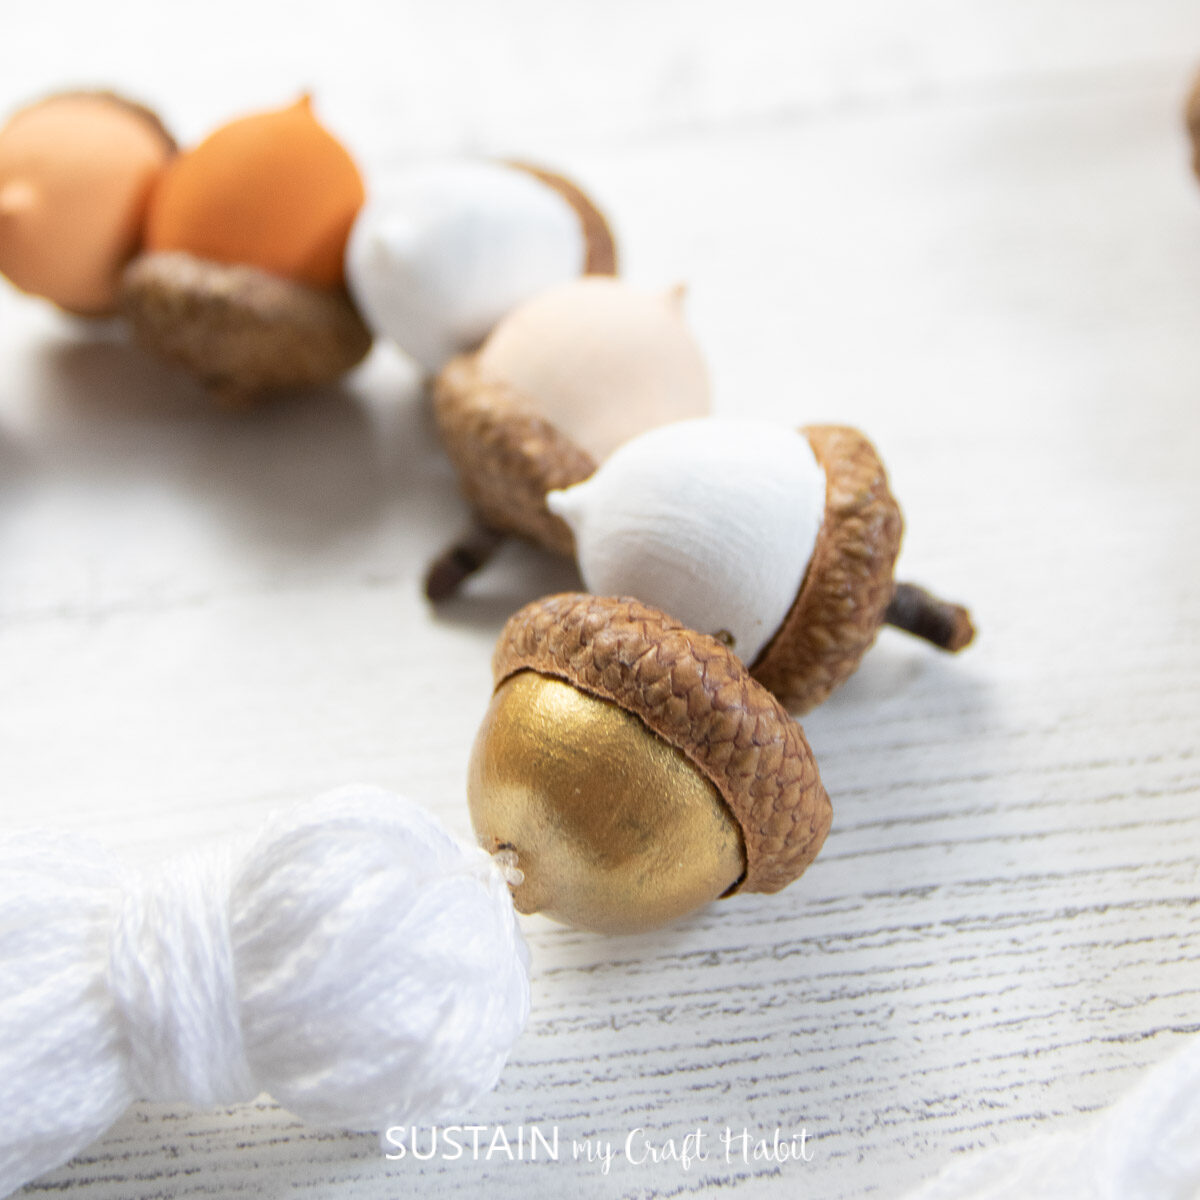
Acorn Garland 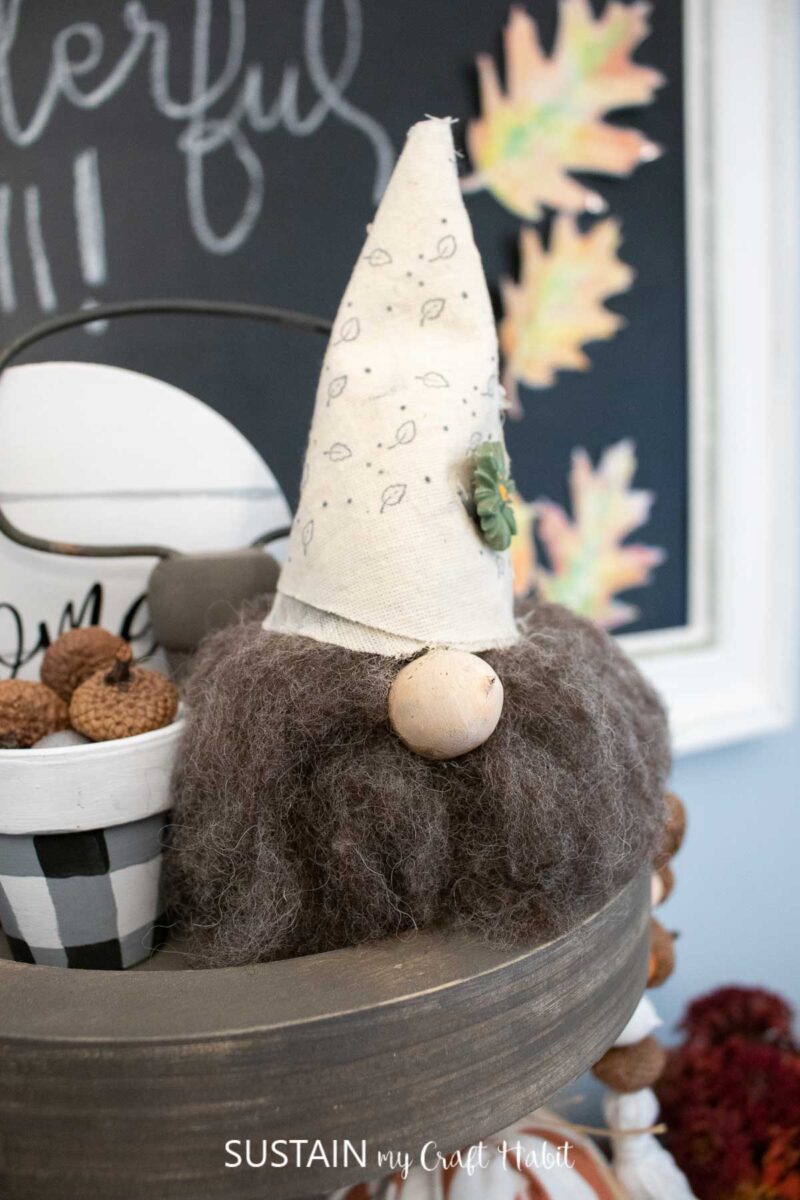

Fall Gnome 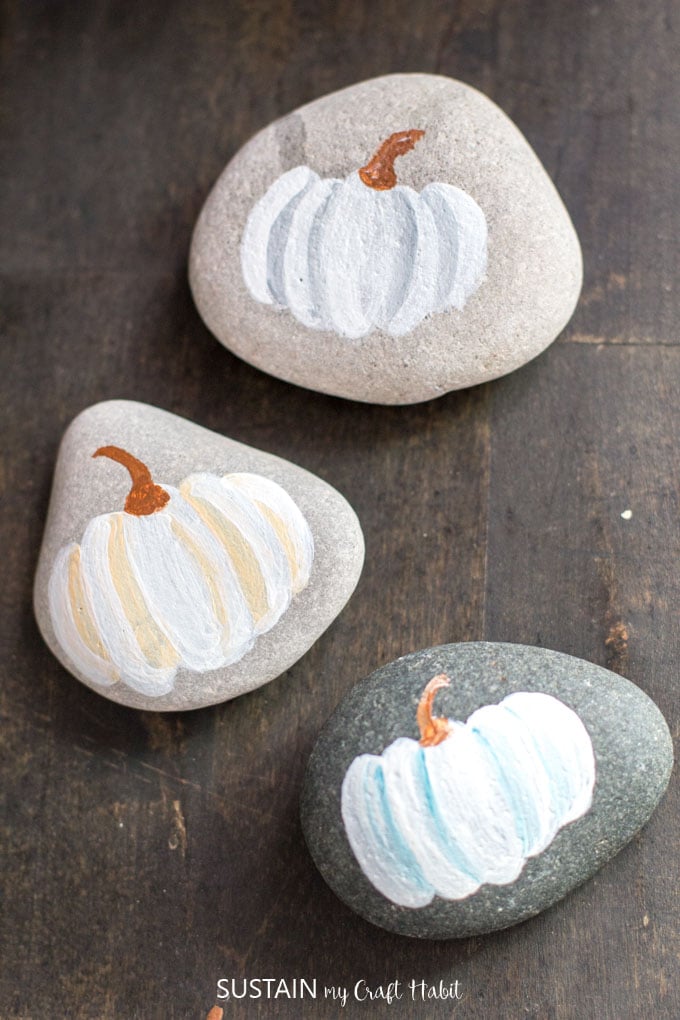

Pumpkin Rocks


How did your fall gnome decor turn out? Make sure to show it off to us! Tag us on Facebook or Instagram– we can’t wait to see it!
Want to receive a ton of inspiration and money saving ideas for decorating, gift-giving and crafting? Join HERE!
Like it? Pin it for later!


DIY Fall Gnome Decor using Pressed Leaves
Materials
- Leaves
- Wood hanging plaque
- White chalky paint
- Orange and Yellow paint
- Pinecones
- Paint brushes
- Elmers Glue
- Fabric or old tshirt
- Twine
- Hot glue gun
Instructions
- Paint your wood plaque with orange paint.
- Next, paint a generous coat of school glue onto the surface. Let dry until TACKY (the glue needs to still be wet for the paint crackle finish to form).
- Paint over the glue with white paint.
- Paint your leaves with white chalky paint and let dry.
- Cut your fabric and hot glue the ends together to form a hat shape.
- Hot glue the hat, leaves and pinecones onto the wood plaque to form a gnome face.