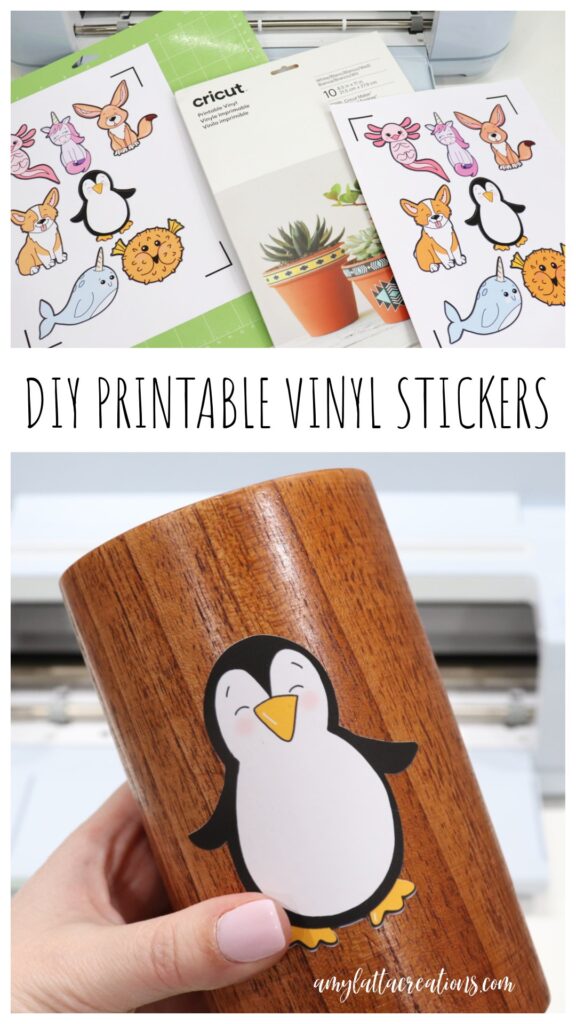
DIY Printable Vinyl Stickers with Cricut
This post is sponsored by Cricut; all opinions are my own.
Stickers are such a fun way to personalize everything from your laptop to notebooks, journals, and cards. With Cricut’s Printable Vinyl, you can easily create your own stickers using any designs you like!
How to Make DIY Printable Vinyl Stickers
The hardest part of creating your own Printable Vinyl Stickers might be deciding what designs to use, because the sky’s the limit! You can choose from 34,000 print then cut images available in Cricut Design Space, or you can upload your own artwork. Here’s how to create your stickers in just a few minutes.
Materials
- Cricut Printable Vinyl
- Cricut Maker machine/Cricut Explore machine/Cricut Joy Xtra
- Light Grip Cutting Mat
- InkJet Printer
Instructions
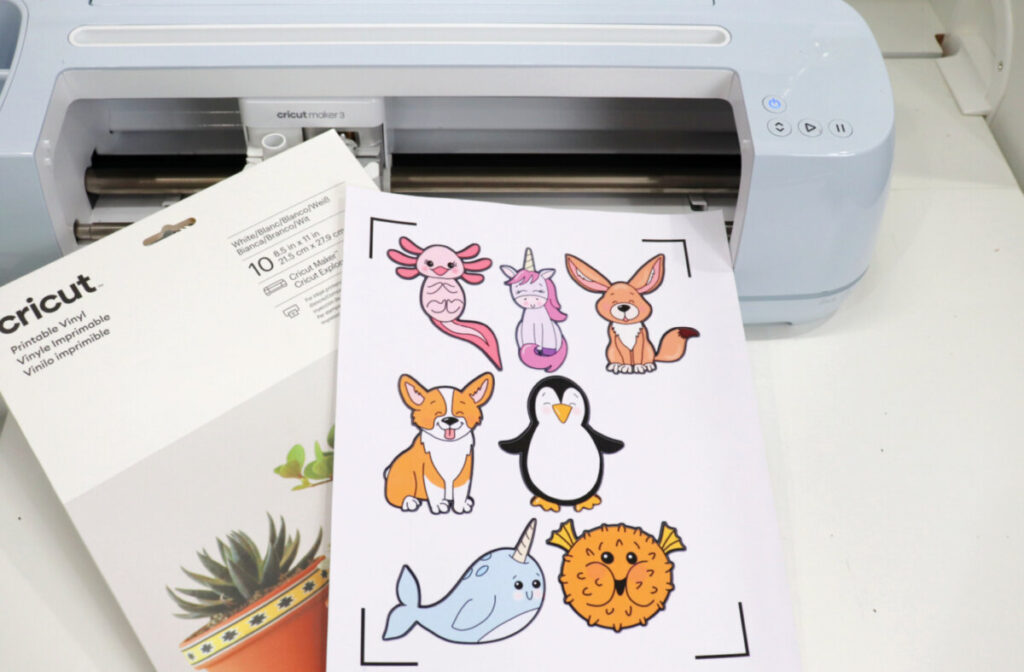
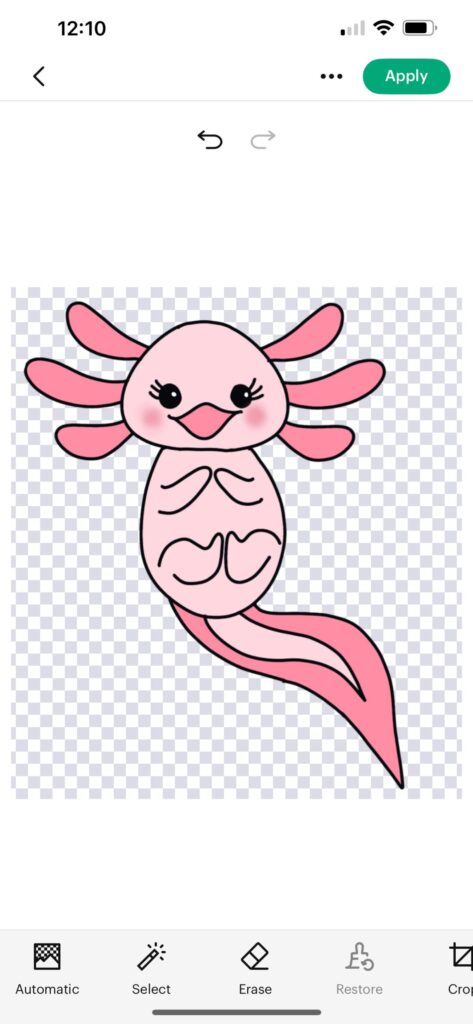
Choose and/or upload your design(s) in Cricut Design Space.
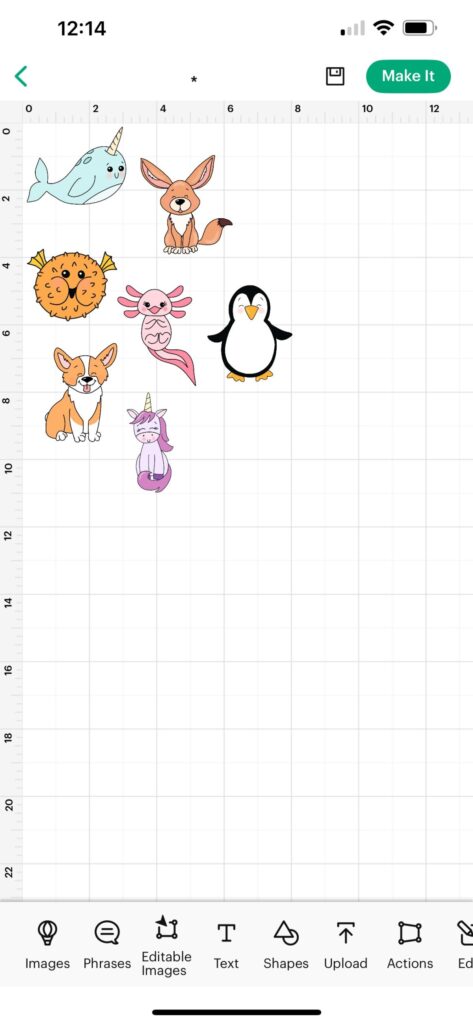
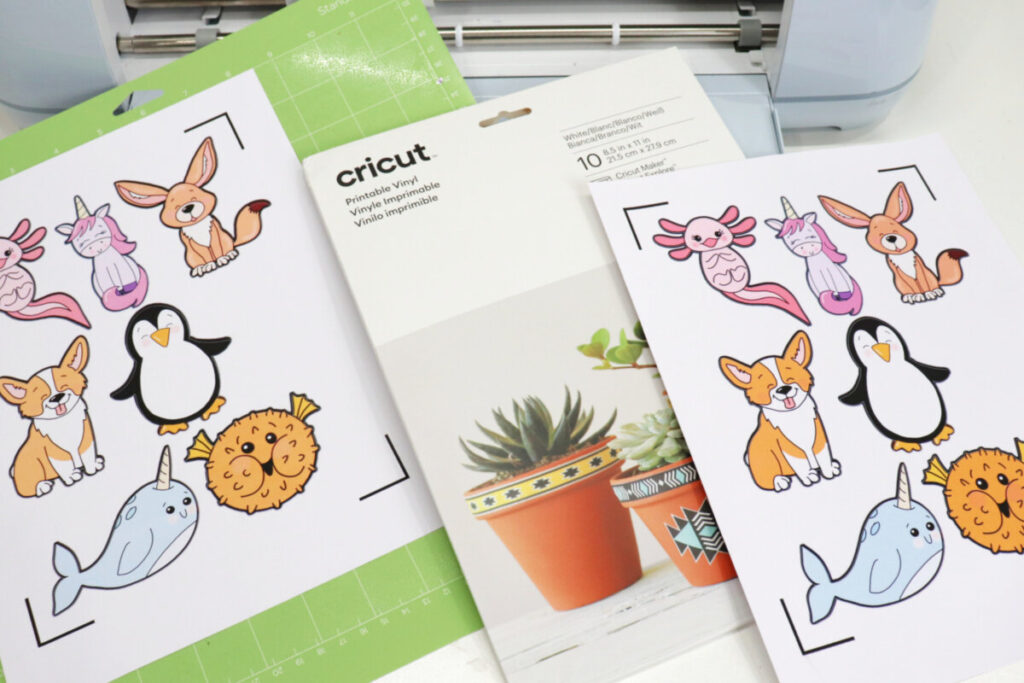
I wanted to create stickers featuring some of the drawings from my newest book, Doodle All the Animals, so I chose a few favorites and uploaded them into the Design Space app. The app will walk you through cropping the image and removing the background, if necessary. If you’re choosing from Design Space images, make sure they are labeled as “print then cut” files.
PRO TIP: If you’re able to upload your images as PNG files with transparent backgrounds, this step is even easier!
Put your images on the canvas.
Once your designs are all uploaded, or you’ve chosen them from the image library, insert the ones you want onto your canvas. Resize them so that they are whatever size you want your stickers to be. Personally, I made sure that the largest measurement on each of my stickers was 3”.
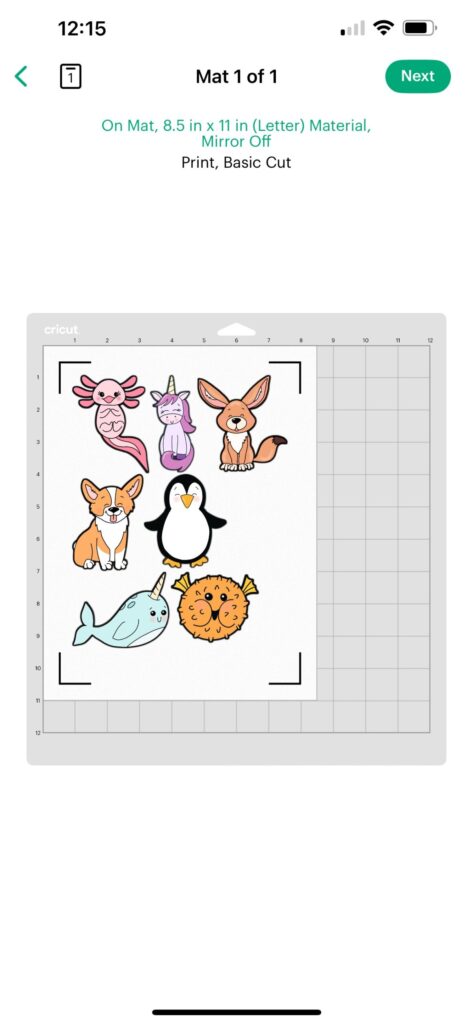
Click “Make it” and follow the Design Space prompts.
First, you’ll see a preview of how your stickers look arranged on the page. Then, you’ll be prompted to print a calibration page and run it through your Cricut machine to make sure you get a good, close cut. Once you complete the calibration, follow the prompts to print your images onto the printable vinyl using your inkjet printer.
Cut your sticker page.
Let the ink dry, then place the vinyl in the upper left corner of your cutting mat. Make sure to select “Printable Vinyl” as your material, then follow the prompts to begin the cut.
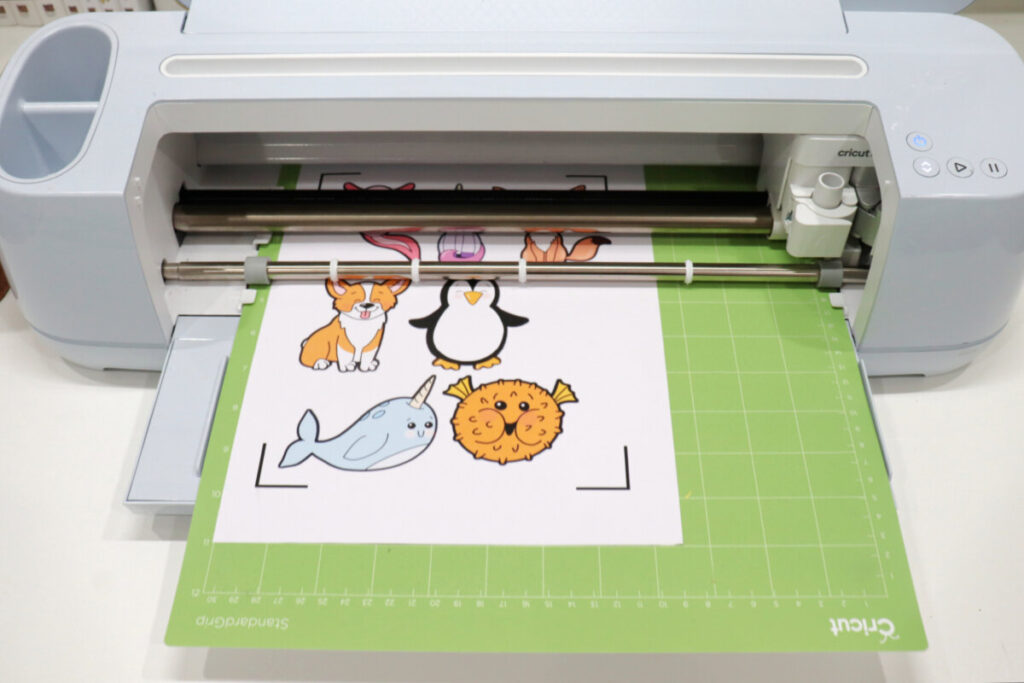
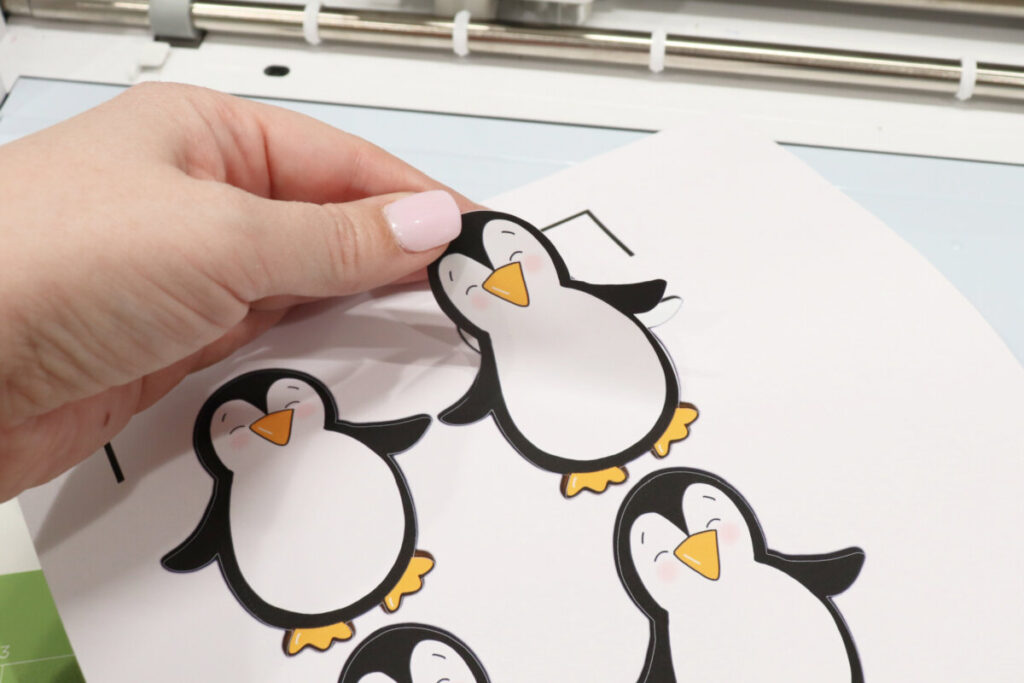
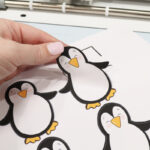
That’s all there is to it! The machine will do all the work for you, and cut right around the edges of your sticker designs. All that’s left to do is peel them from the backing and stick them wherever you want them to go!
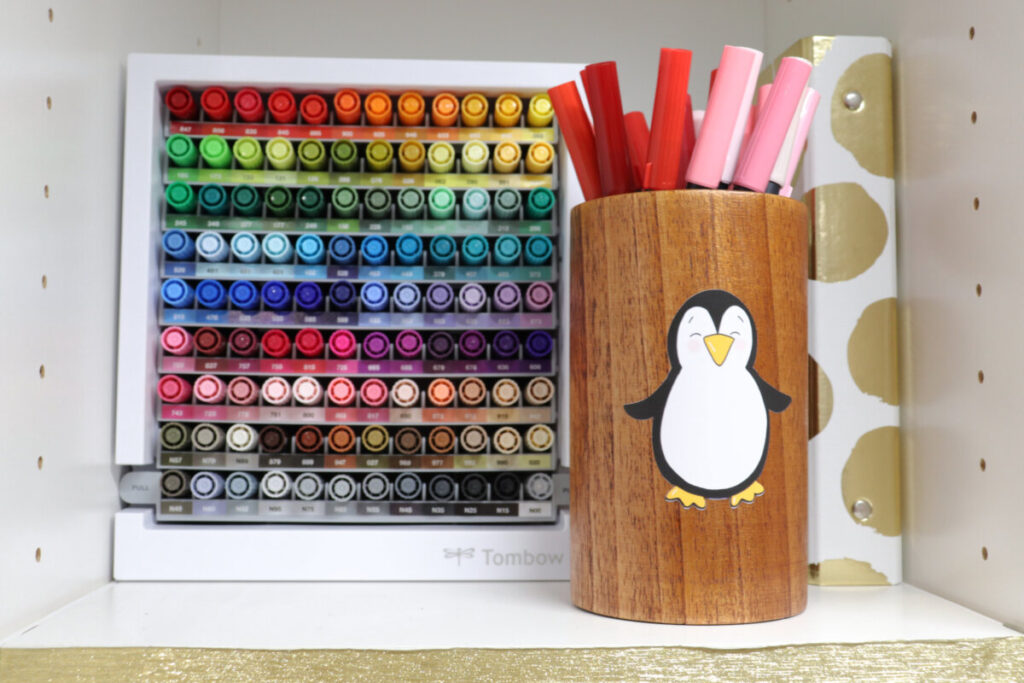
These vinyl stickers are a great way to decorate notebooks, journals, binders, and planners.

You can also use them on all kinds of other surfaces, like your laptop, phone, pencil holder, and more. The vinyl is tear-resistant, and it’s easy to remove without leaving any sticky residue. One thing to note, though, is that the ink is not waterproof, so it’s not a good idea to use your stickers on a water bottle or outdoor objects.

I absolutely love the way my cute little critters turned out, and I can’t wait to create more of these stickers to use and share. They’re vibrant and fun, and add a personal touch to just about any object. What about you? What stickers would you love to create?
Crafting Tips
- Choose the “best quality” or photo printing setting on your printer for the most vibrant images.
- Let your printed page dry completely, for at least 10 minutes, before cutting.
- Cricut Printable Vinyl is available in white, transparent, gold, and silver. Try all four for totally different effects!
Frequently Asked Questions
No. Although vinyl itself is waterproof, the ink is not. For best results, use these stickers on indoor objects that don’t need to be washed.
Sure! I wanted “kiss cut” images, but you can certainly create your own stickers in Design Space that are set to cut out a circle with whatever image you like inside of it.
Yes. You can use your school’s logo, a company logo, characters, photos, etc. Just keep in mind that some images are copyrighted, particularly if you plan to sell your stickers. Make sure to follow all applicable copyright laws.
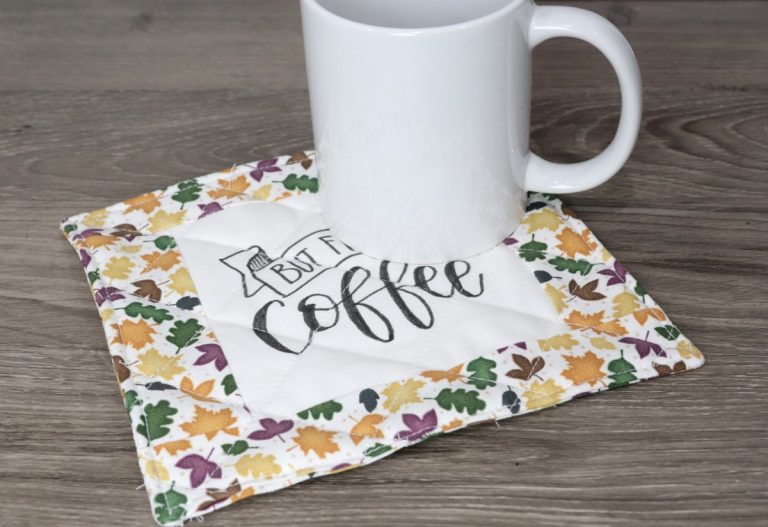
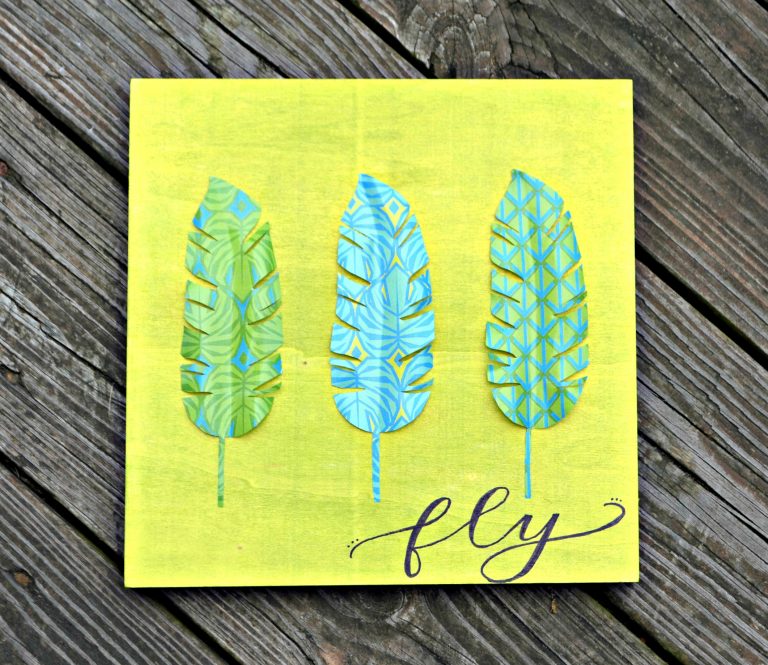
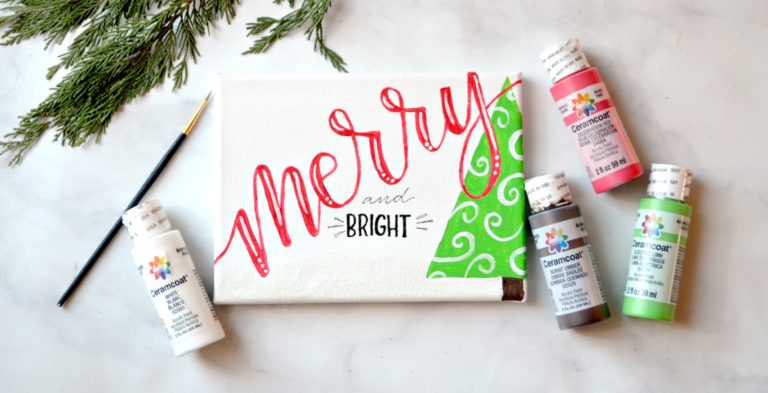
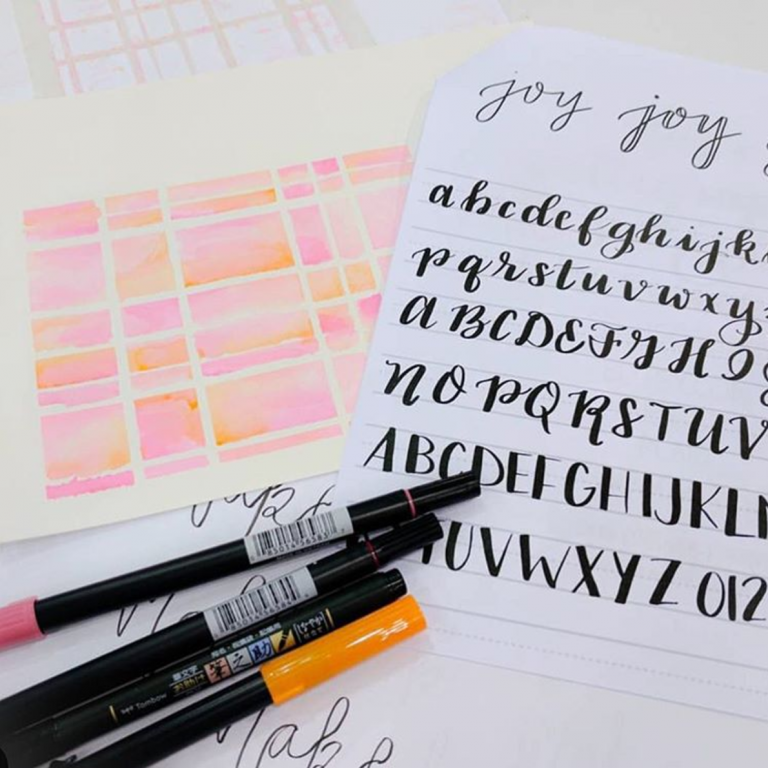
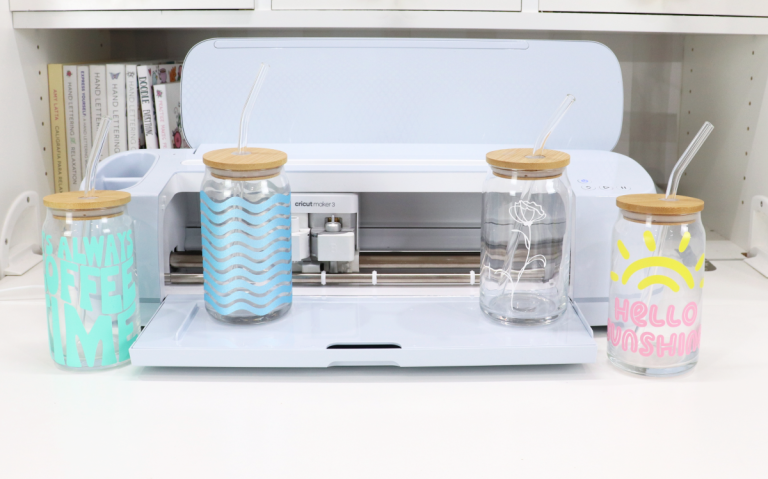
More Cricut Projects
If you enjoyed this project, here are some other fun things you can create using Cricut machines and materials!
If you create your own stickers, or try any of these other projects, I’d love to see how they turn out! Make sure you’re part of the Amy Latta & Friends Facebook Group so you can share photos of your latest creations, and we can all inspire each other. See you there!
DIY Printable Vinyl Stickers
Equipment
- Cricut Maker/Explore/Joy Xtra
- inkjet printer
- cutting mat
Materials
- Cricut Printable Vinyl
Instructions
- Choose and/or upload your design(s) in Cricut Design Space.
- Put your images on the canvas.
- Click “make it” and follow the Design Space prompts.
- Cut your stickers.