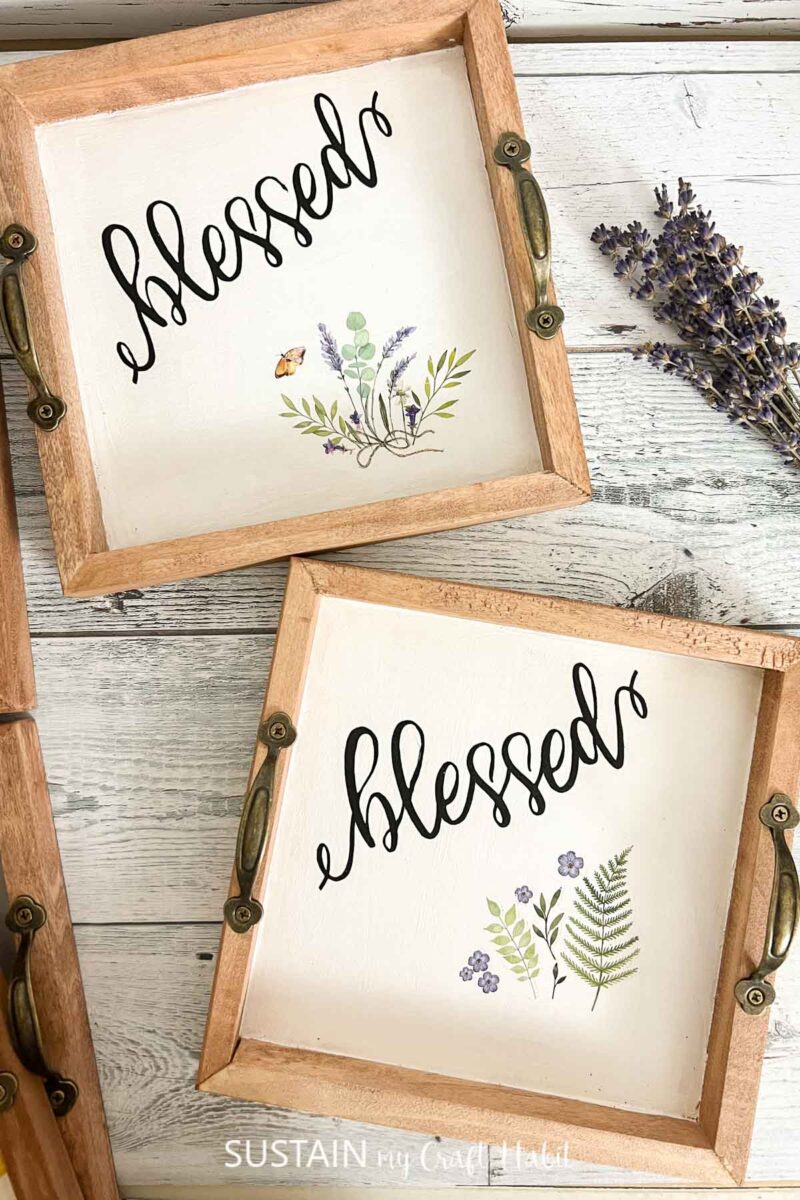
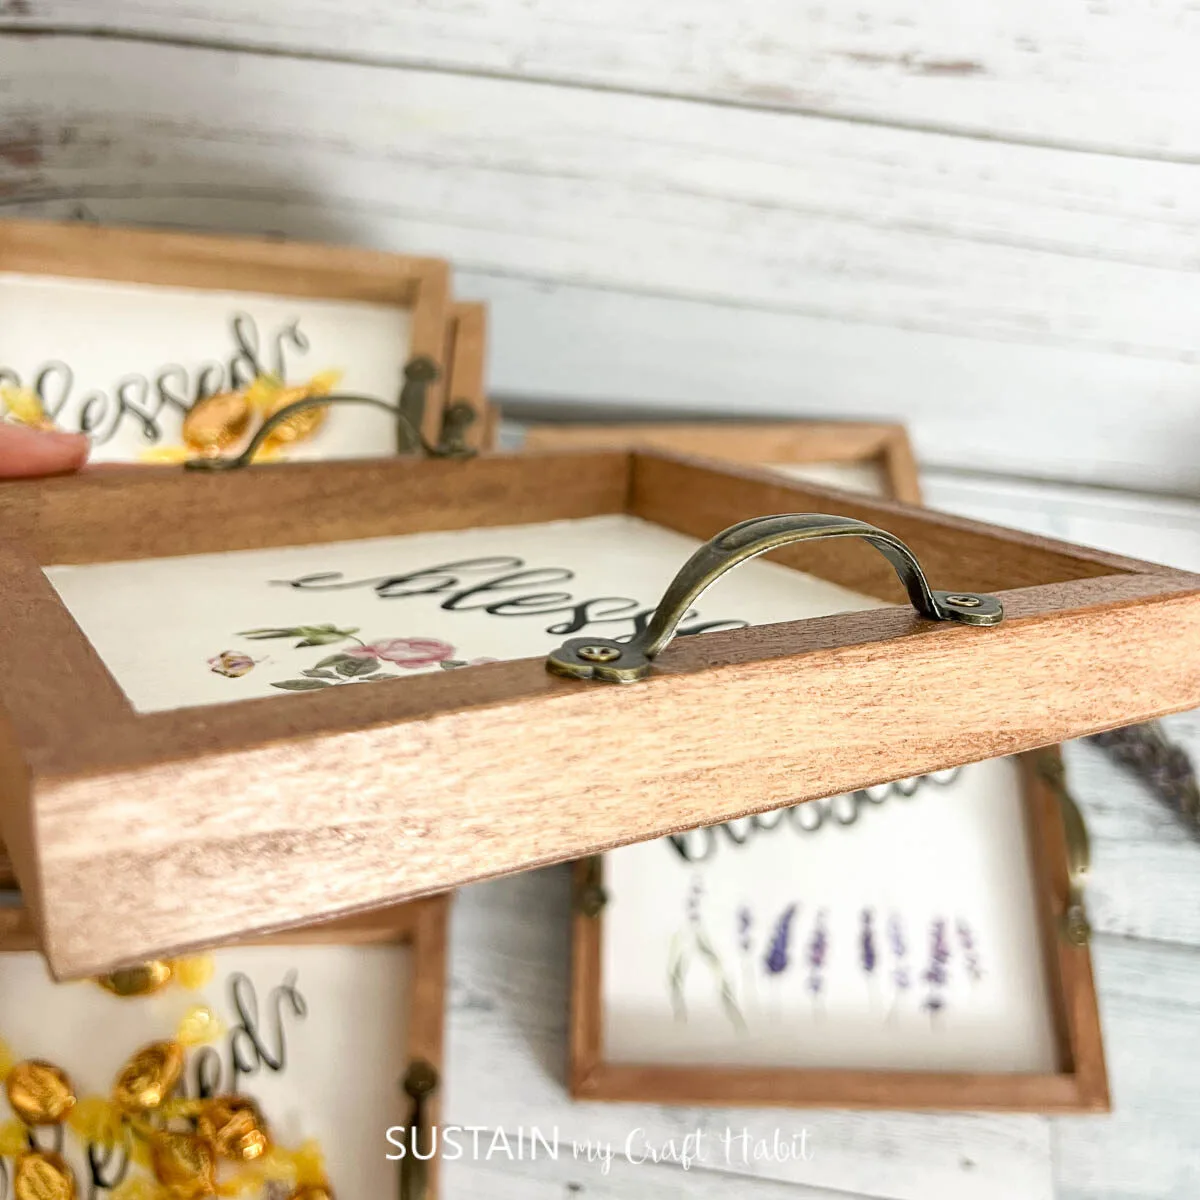
This DIY trinket tray will surprise you with not only how sweet it is, but how easy and affordable it is to make! If you are looking for a cute tray to hold little small trinkets that are homeless and laying around your drawers, this will be the best creation.

DIY Trinket Tray- For Any Occasion!
These trinket trays are great for your home, but they also make a great gift. Especially if you are making gifts in bulk! I made a bundle of these for my daughter’s first communion. It is hard to find gifts that balance the idea of being thoughtful while not being too expensive. Especially when it comes to family functions like communions, baptisms, etc. These work great for any type of party where you need party favors. They are also great to have on hand if you ever need a last-minute gift. Having a small box of these with some cute extra bags and tissue paper is never a bad idea!

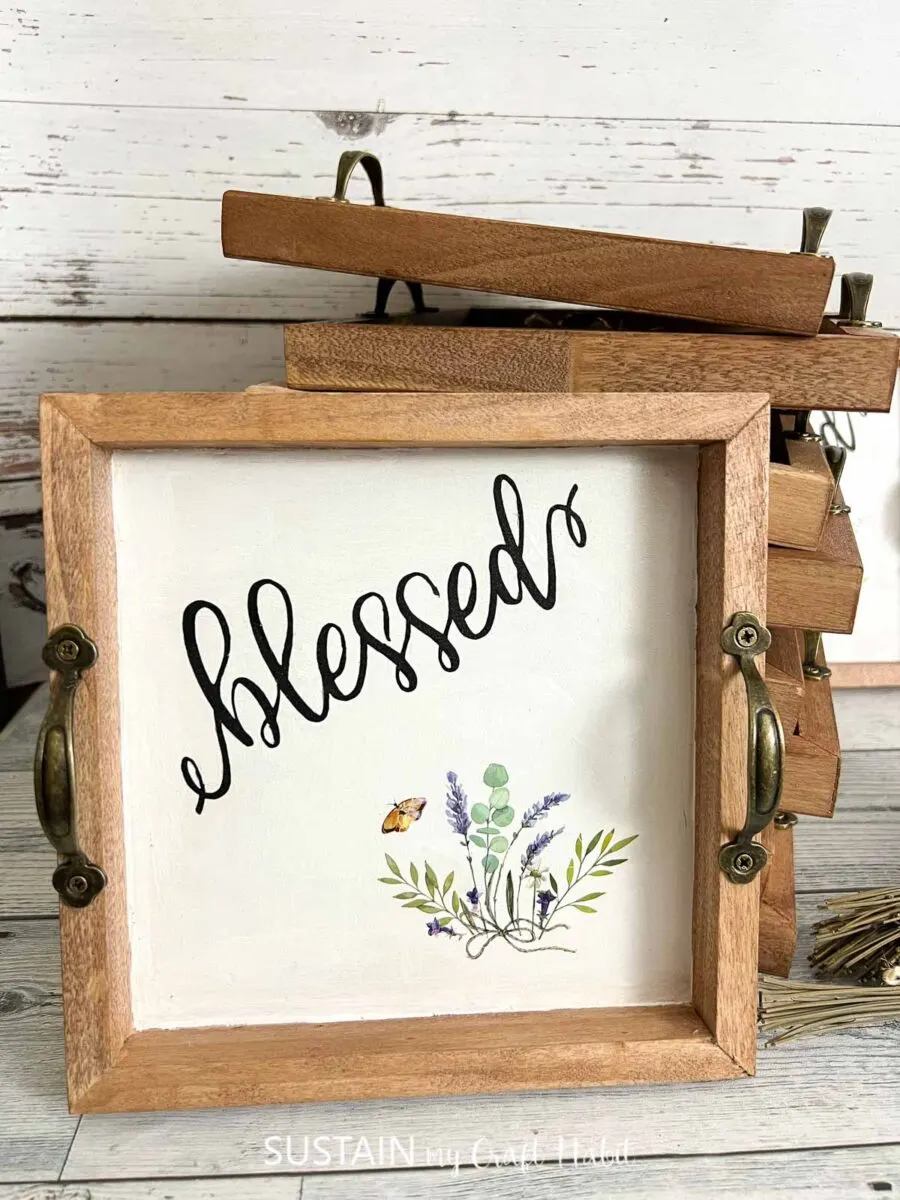
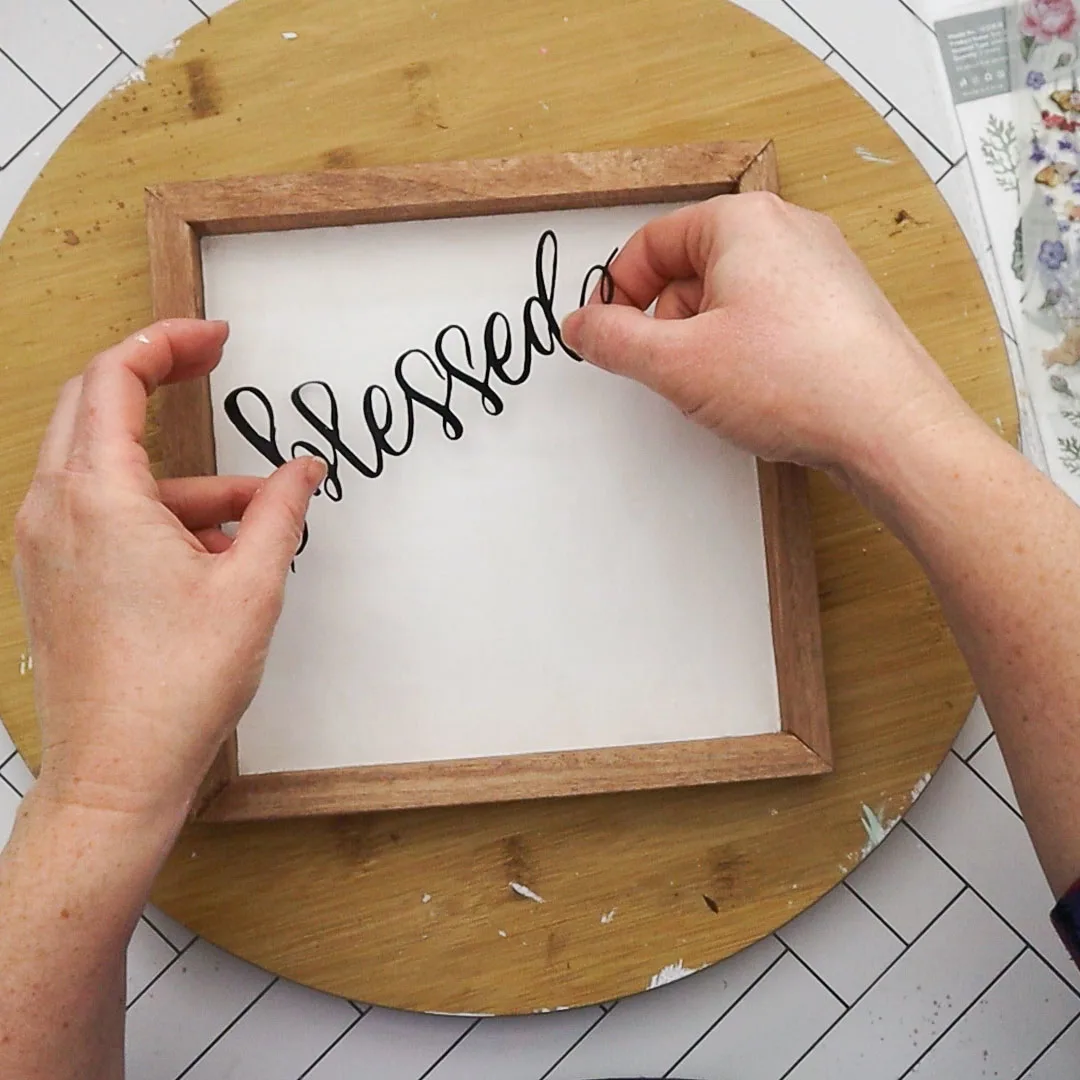
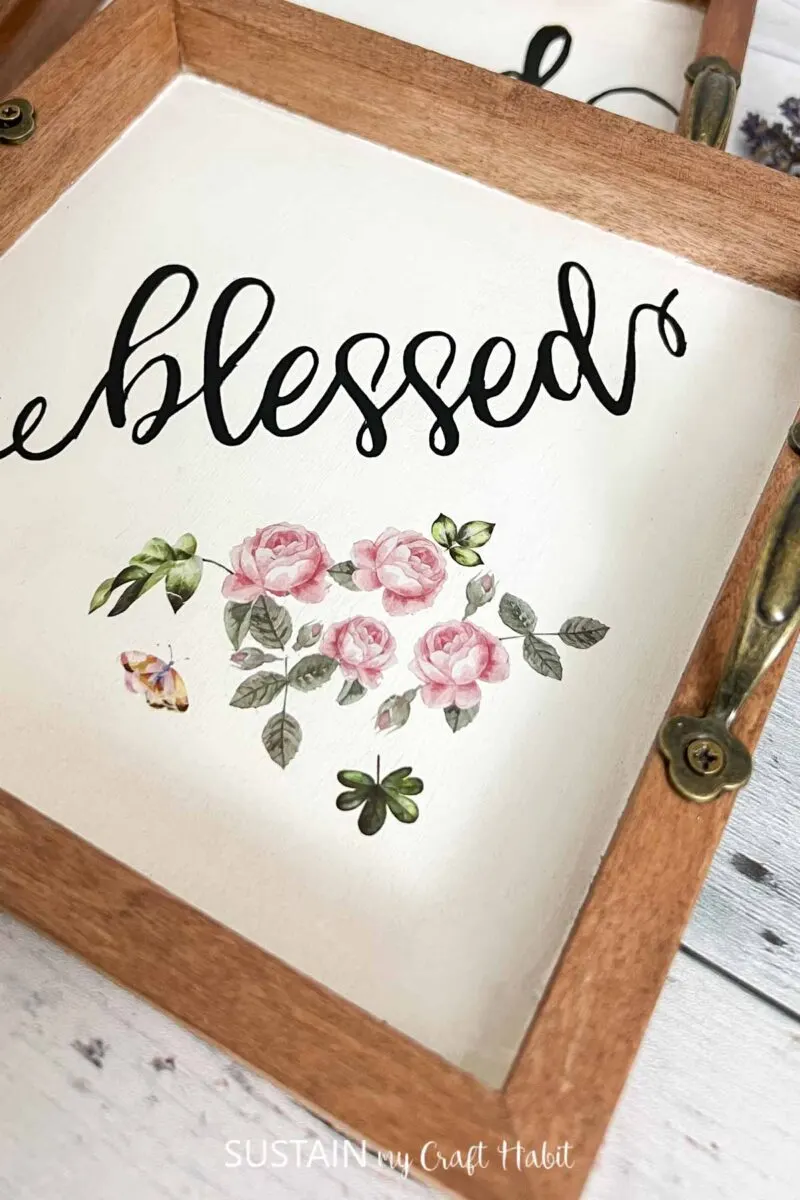
Ours say “blessed” on it since it was for my daughter’s first communion. You can use the word blessed as well if you would like to make a thoughtful gift for a friend of faith- many of us love to be reminded of the blessings in life, but any word could go here as well. Are you ready to make your DIY trinket tray?
Want to receive a ton of inspiration and money-saving ideas for decorating, gift-giving and crafting? Join HERE!
Materials Needed
Disclosure: This post contains affiliate links for your shopping convenience. Should you choose to purchase through them, we will make a small commission at no extra cost to you. You can read our full disclosure policy here.
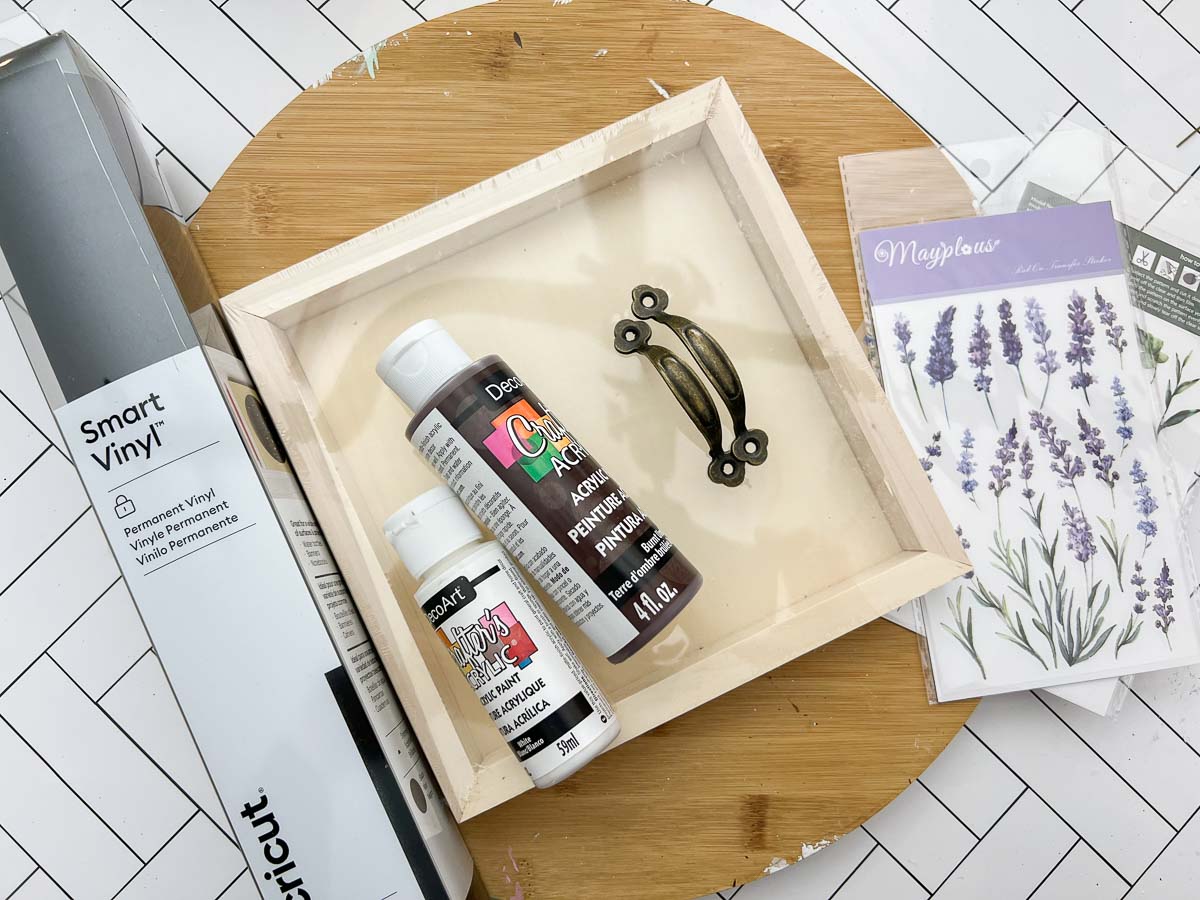
- 8”x8” wood artist’s panel
- DecoArt Crafter’s Acrylic paint in Burnt Umber, White
- Decoart Dura Clear Sealer
- Paint brushes
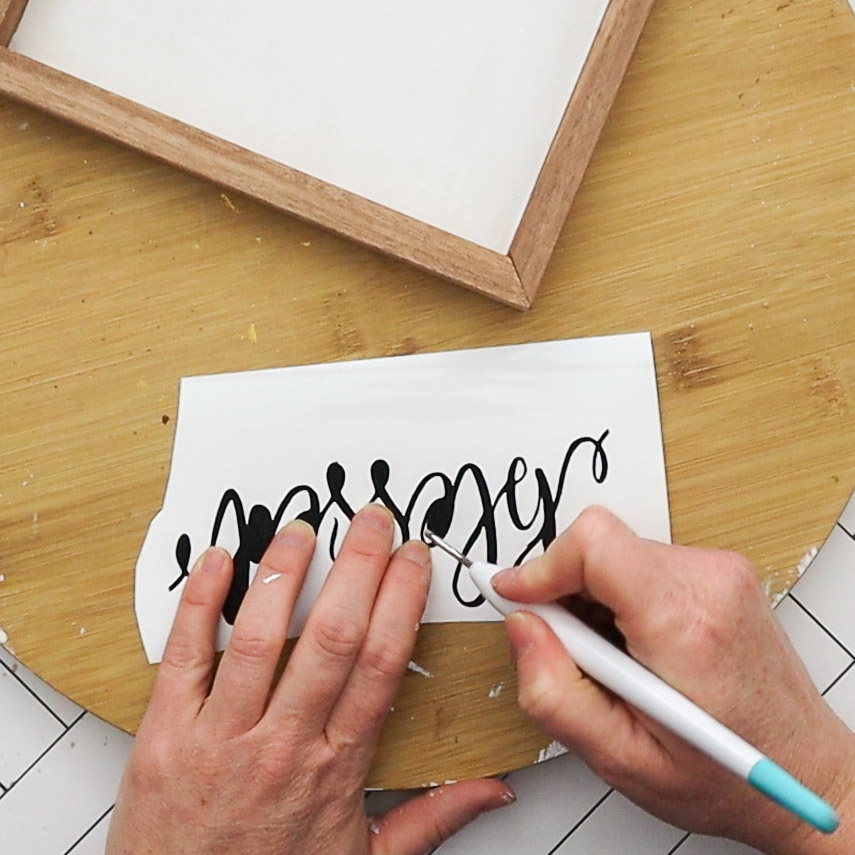
- Black vinyl cutout, transfer tape
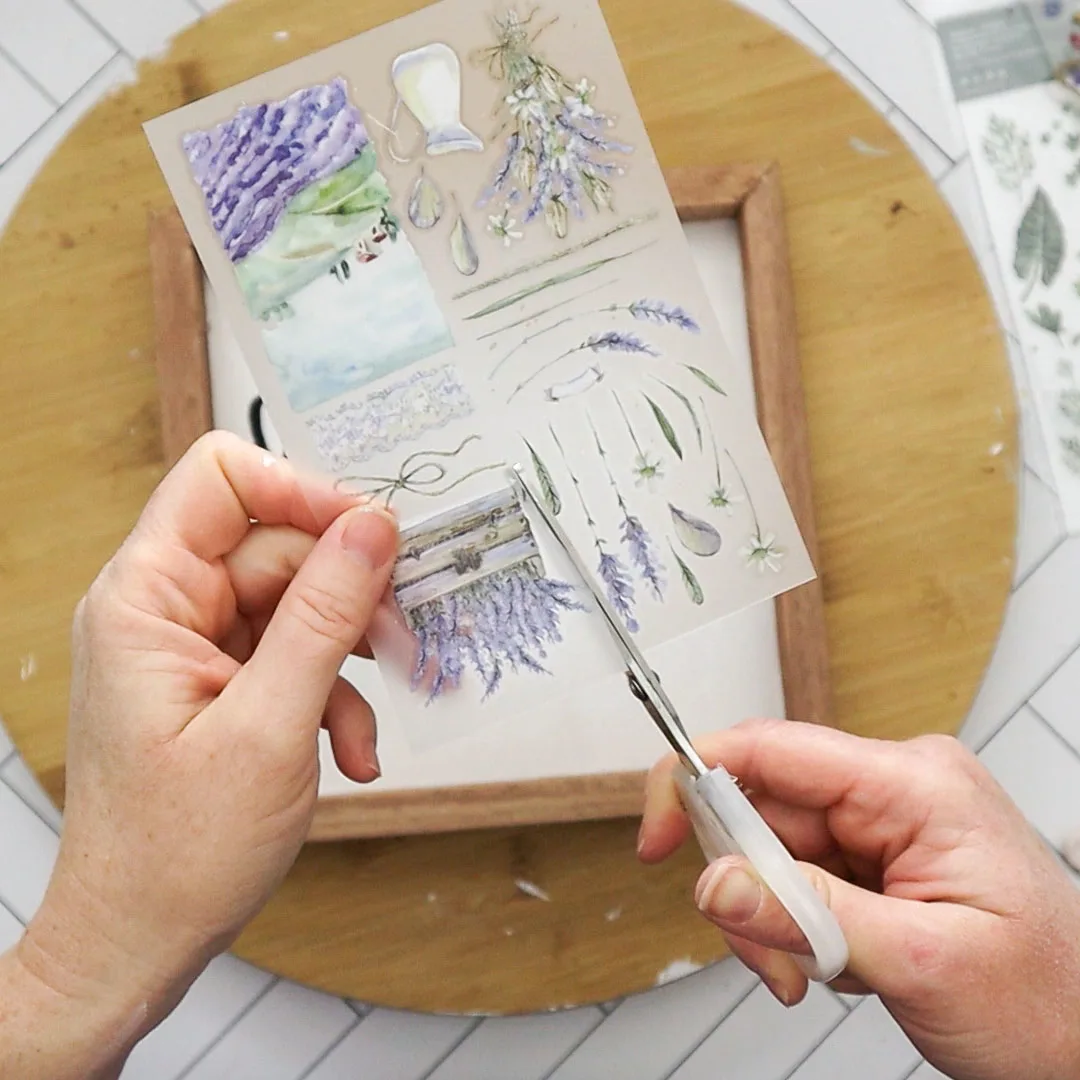
- Decorative transfers
- Handles

How to Make a Trinket Tray using a Dollar Store Wood Panel
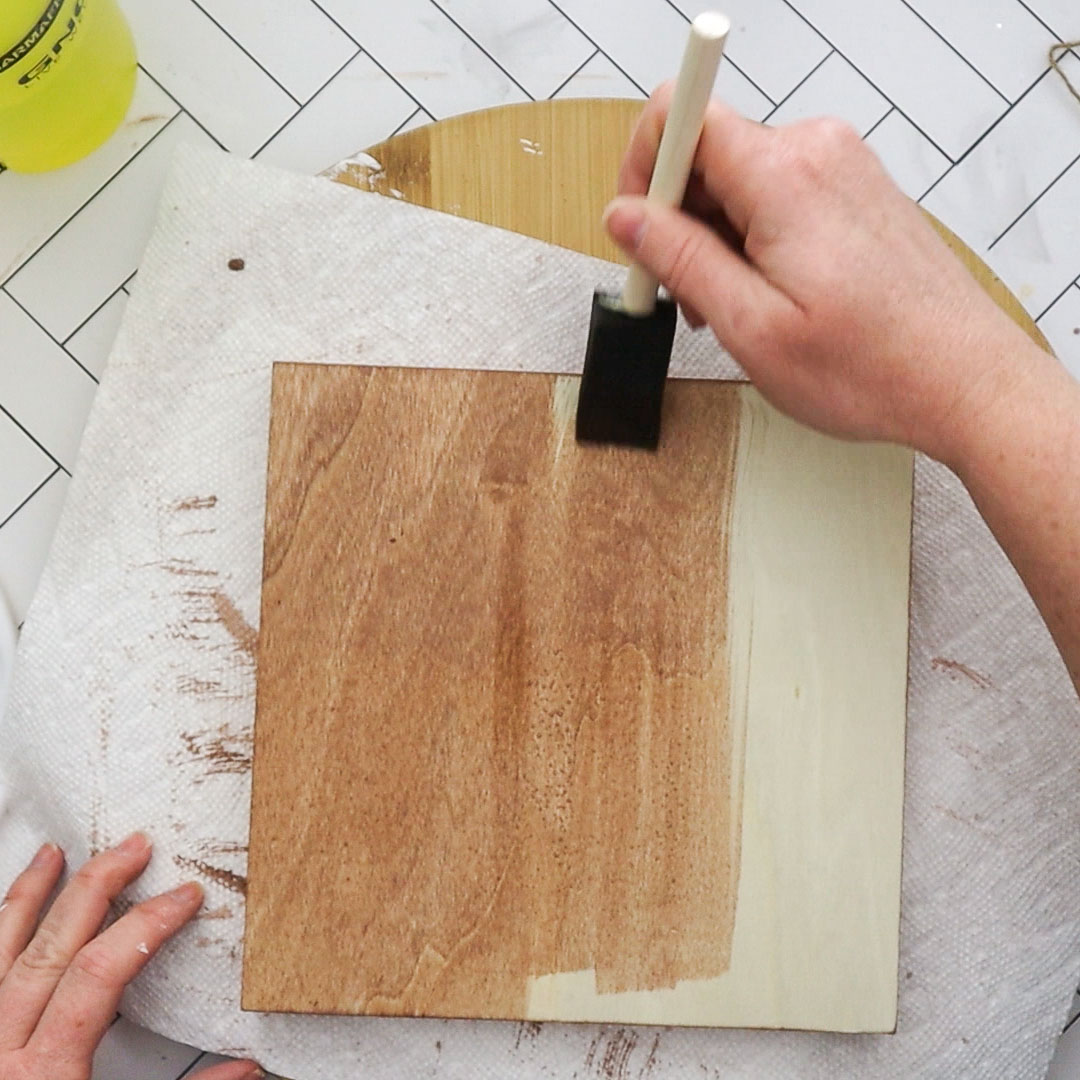
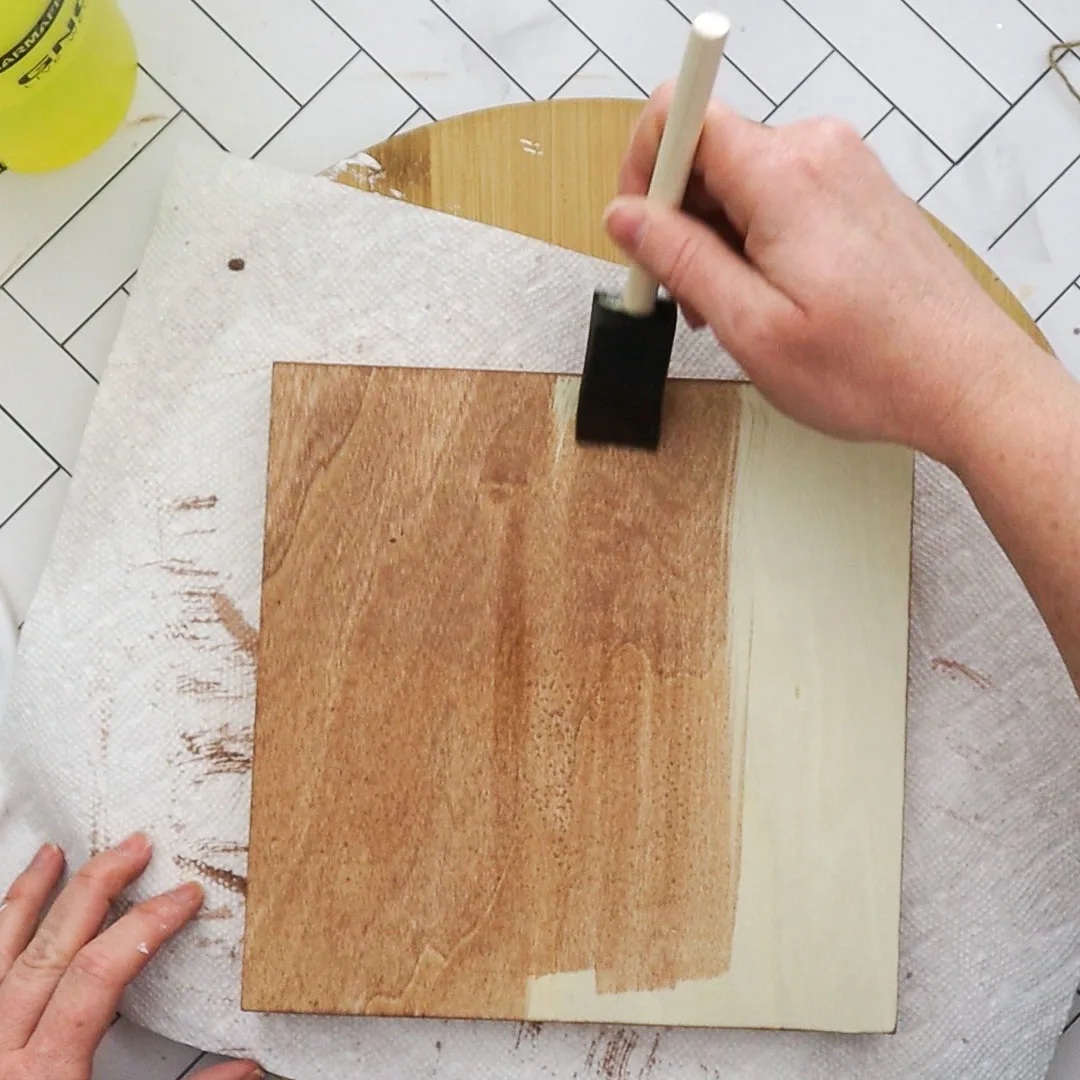
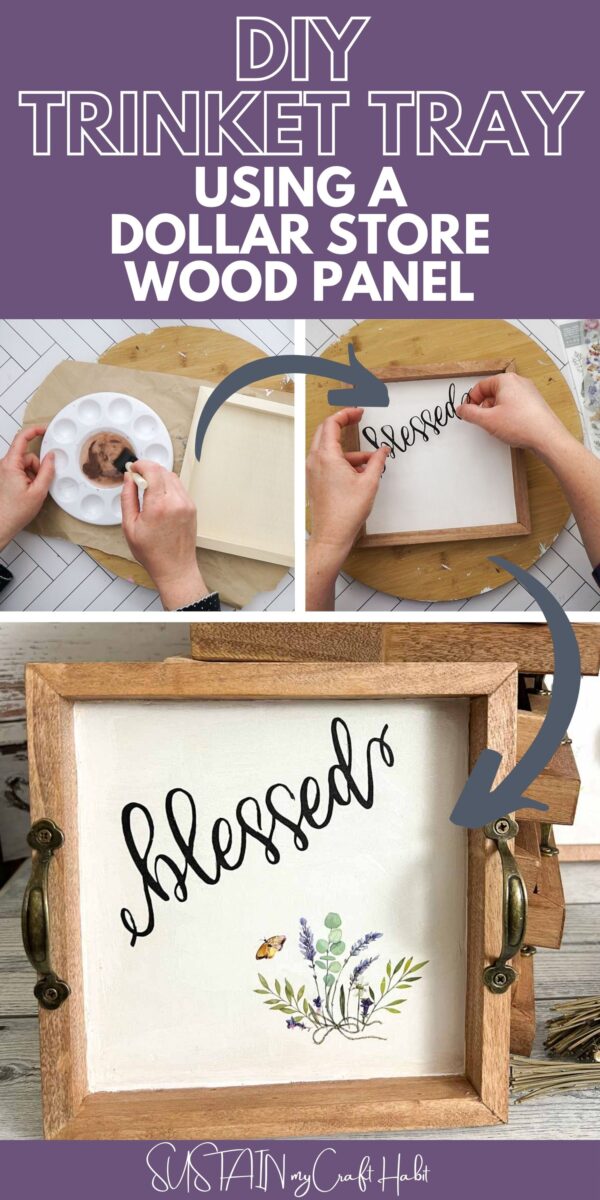
Mix one part brown paint with an equal amount of water to create stain.
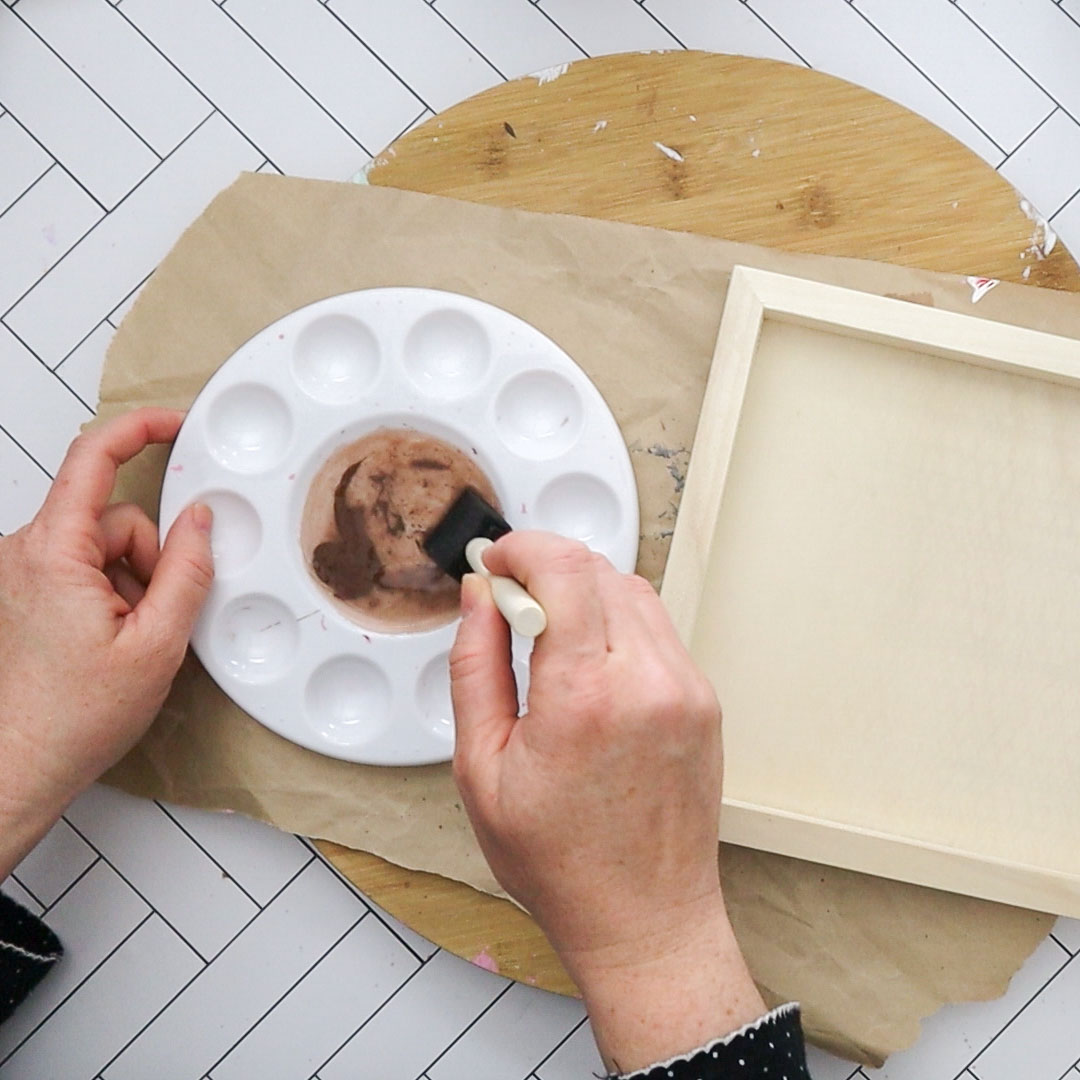
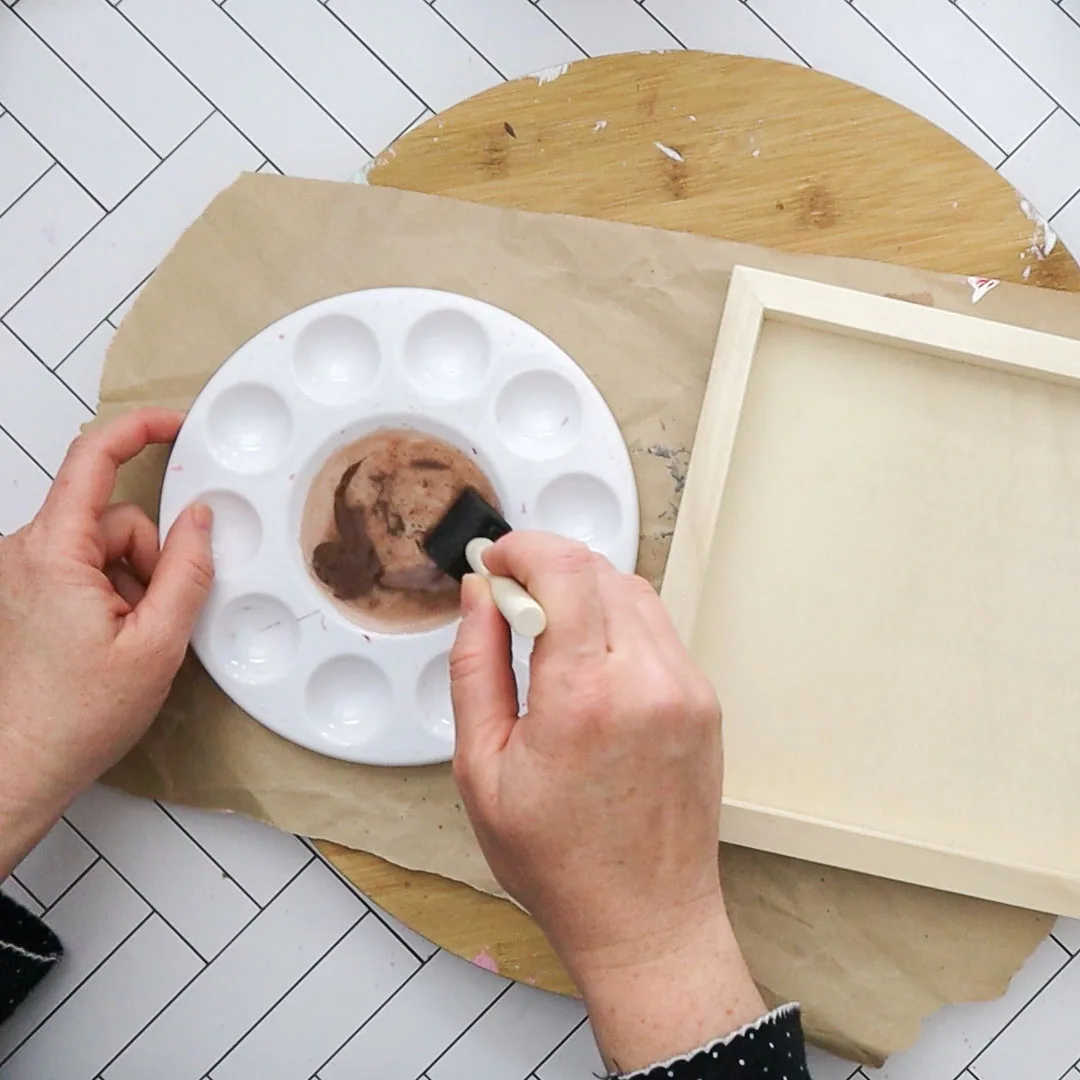
Paint frame and back side of wood panel with the stain. Let dry.

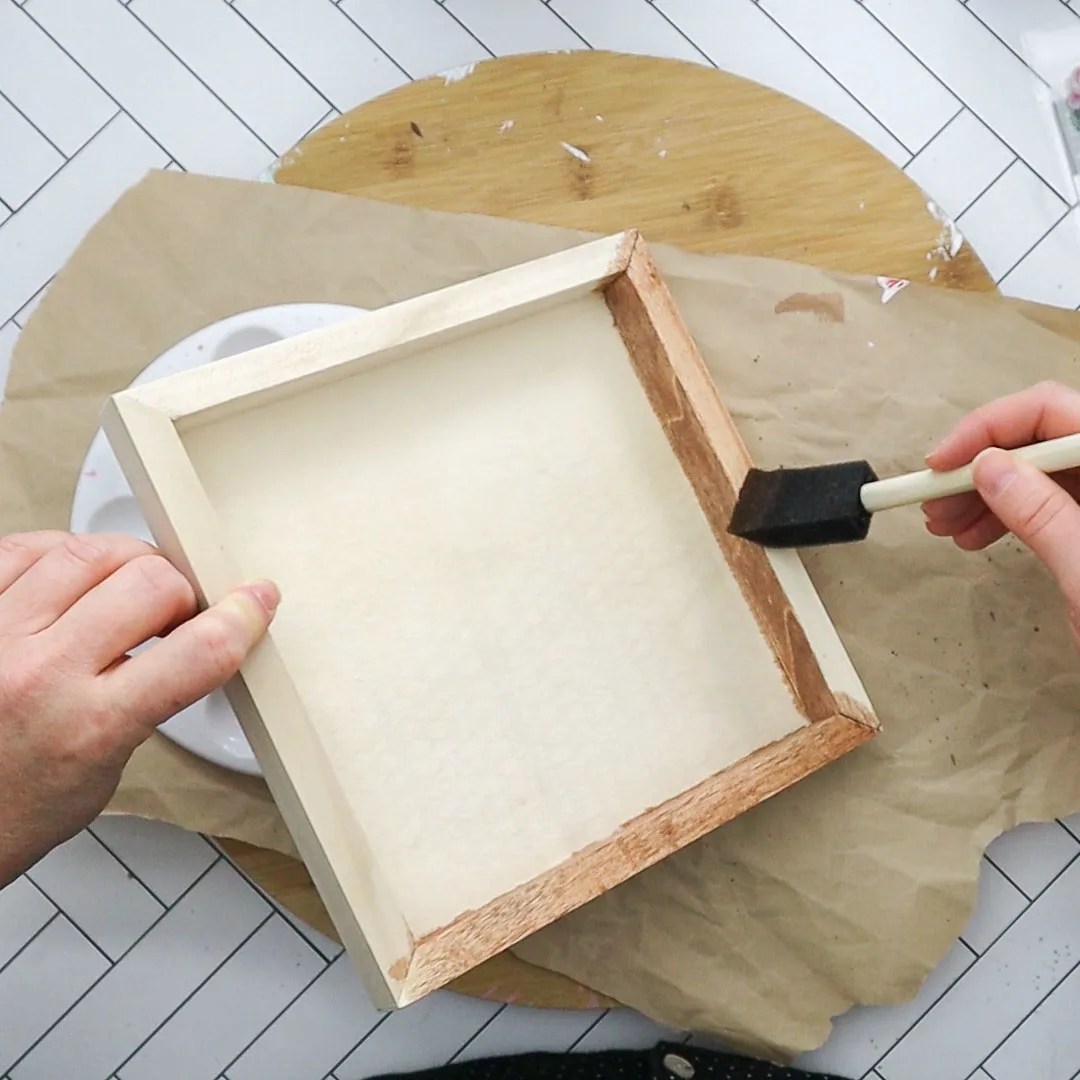
Paint inside of panel with white paint. Add second coat if needed and let dry. We suggest leaving it 24 hours to dry fully before trying to apply the vinyl lettering.
After weeding the excess vinyl, place transfer tape over the black vinyl phrase. Transfer from backing to the panel and press in place.


Add decorative transfers to the tray if you like. We had these pretty lavender and flower transfers we couldn’t resist using.

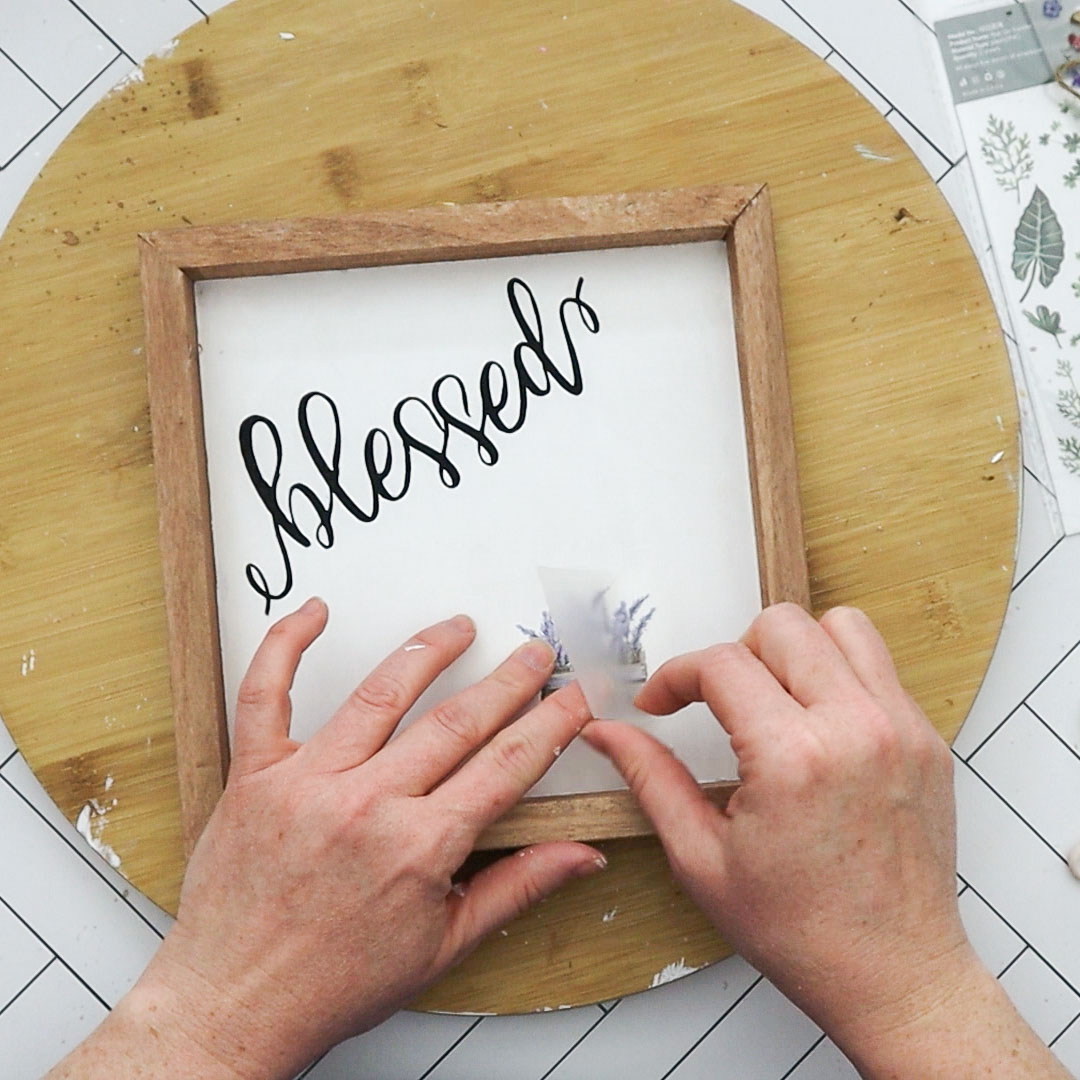

Once the transfers are in place, add a coat of clear sealer to protect the surface especially if using the tray to hold knick-knacks.
Lastly, finish off the trinket trays by adding some small metal handles to either side. We picked this up online and really help finish off the tray nicely.

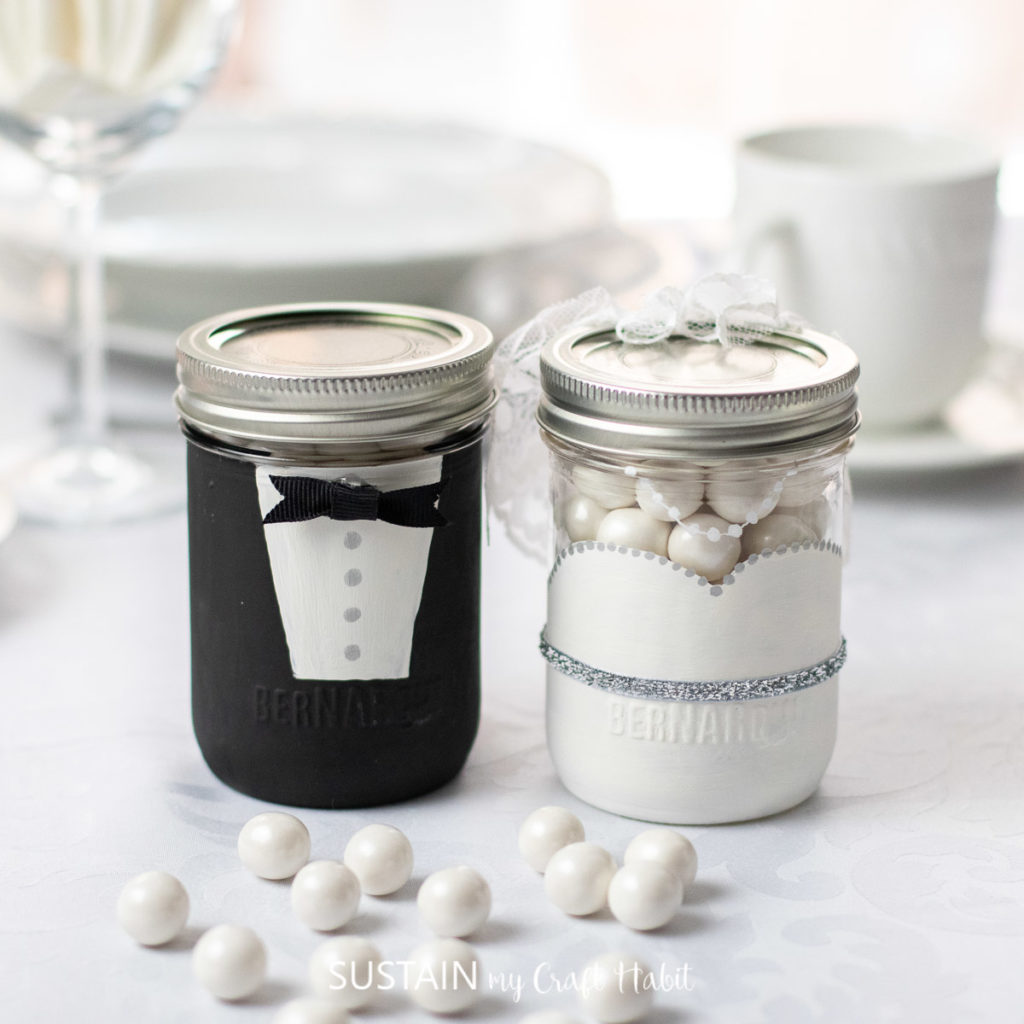
More DIY Favor Ideas for Every Occasion
- DIY Wedding Favors
- Cookie Cutter Baking Soda Clay Magnets
- Easy Lavender Sachets
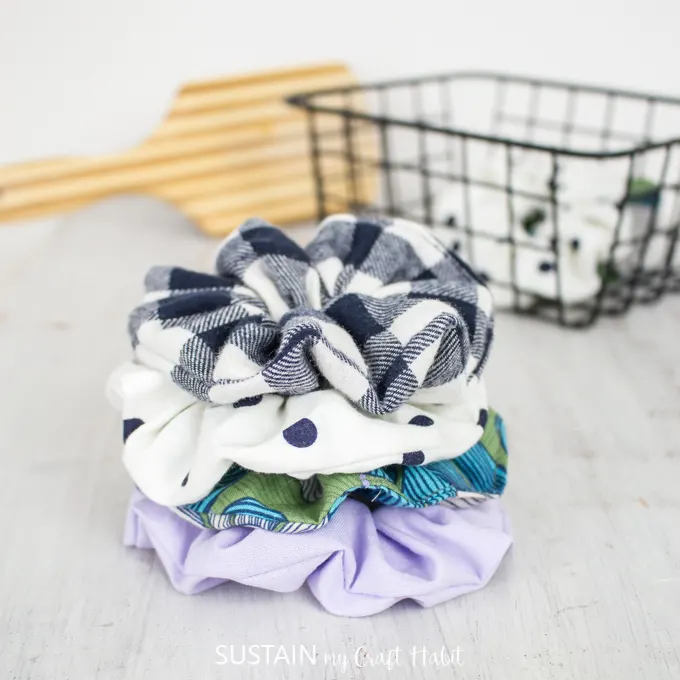
- Make a Scrunchie 3 Different Ways
- Sparkly Painted Clay Pots
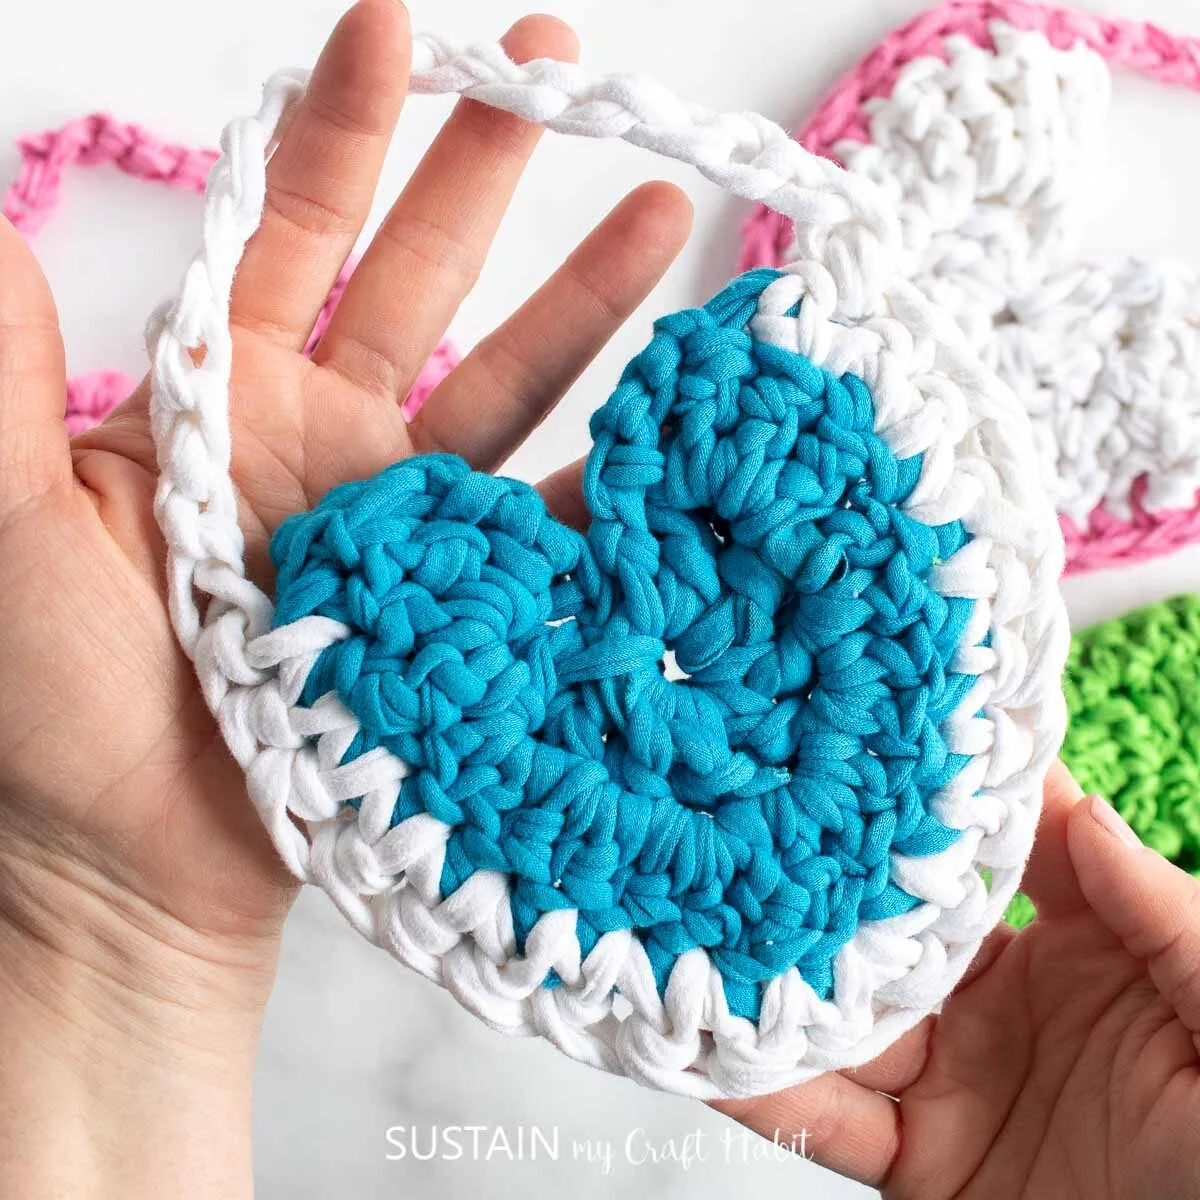
- DIY Crochet Heart Pouches

Wedding Favors 

Clay Magnets 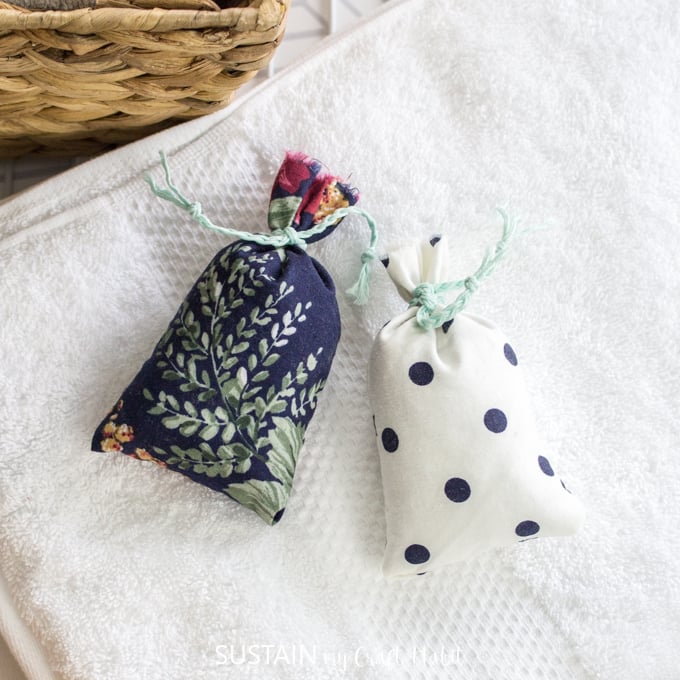

Lavender Sachets 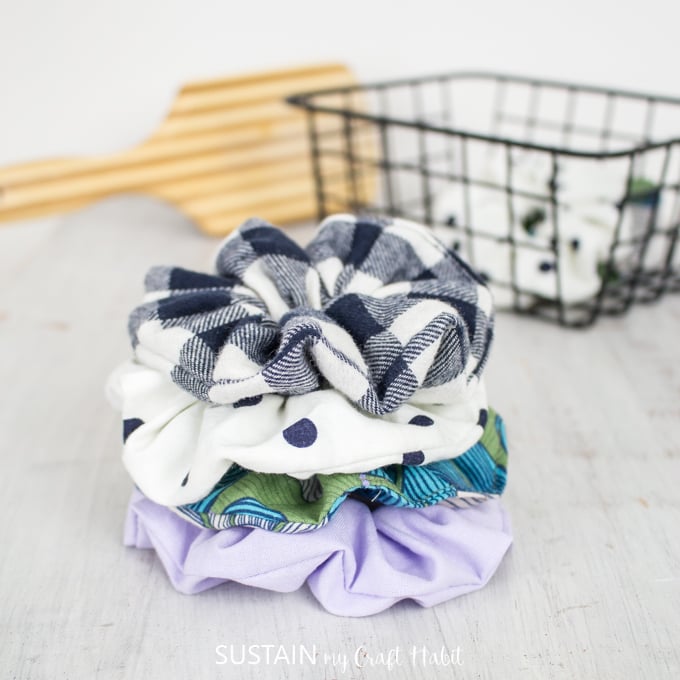
Scrunchies 
Valentine’s Painted Clay Pots 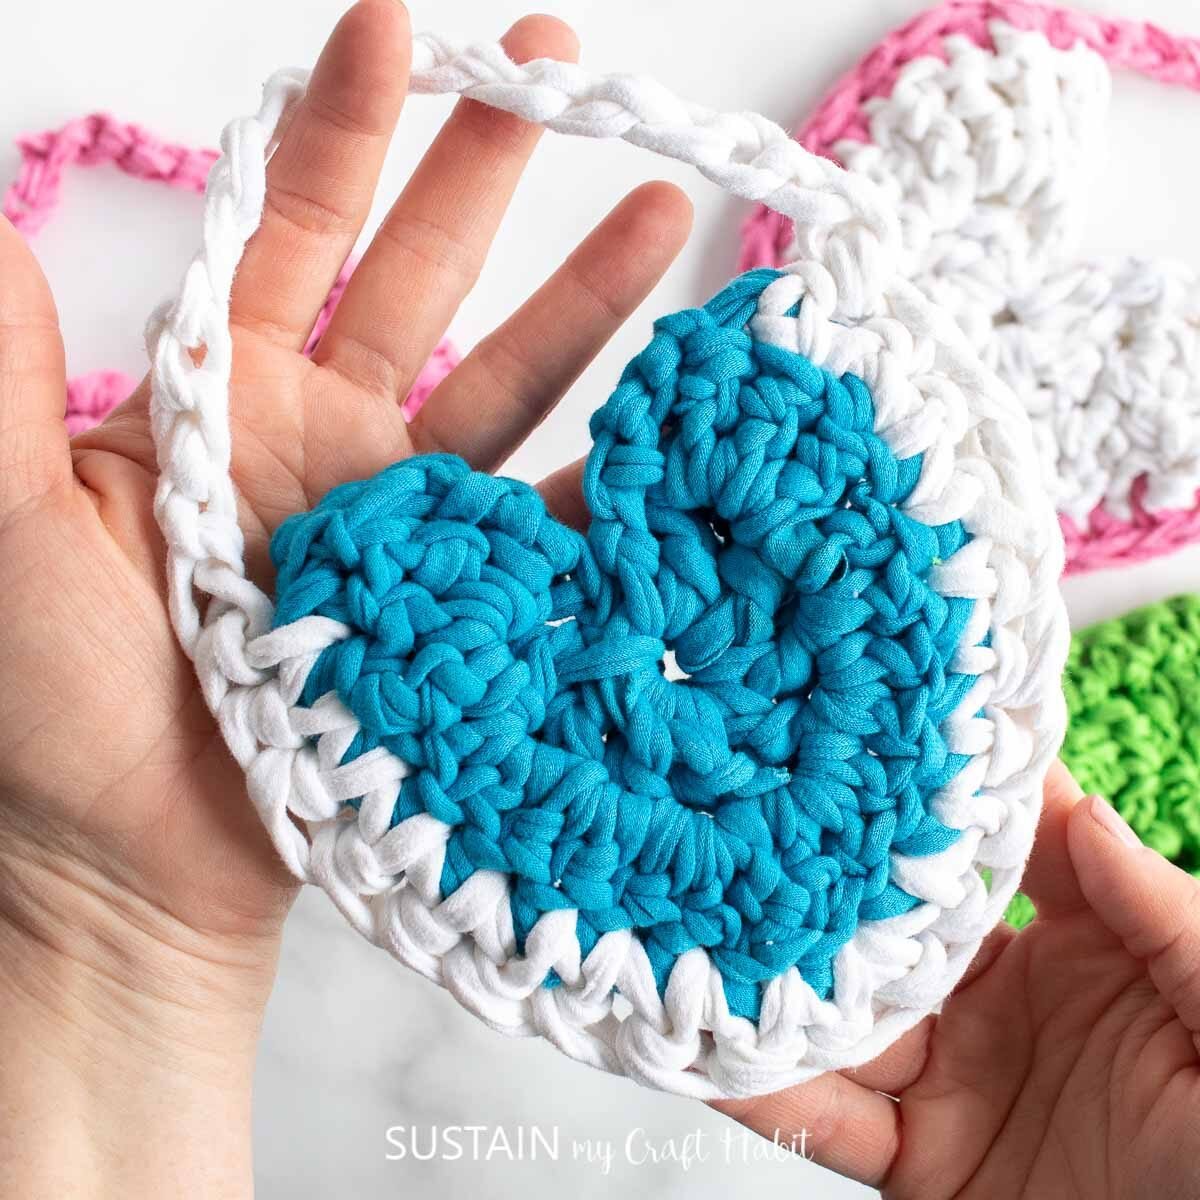

Heart Pouch


How did your DIY trinket tray turn out? Make sure to show it off to us! Tag us on Facebook or Instagram– we can’t wait to see it!

Stay in the know on our latest crafts, special offers and freebies by joining our mailing list.
Like it? Pin it for later!


DIY Trinket Tray using a Dollar Store Wood Panel
Materials
- 8”x8” Wood artist’s panel
- DecoArt Crafter’s Acrylic paint Burnt Umber, White; Decoart Dura Clear Sealer
- Paint brushes
- Black vinyl cutout
- Transfer tape
- Decorative transfers
- Handles
Instructions
- Mix one part brown paint with equal amount of water to create stain.
- Paint frame and back side of wood panel with the stain. Let dry.
- Paint inside of panel with white paint. Add second coat if needed and let dry.
- After weeding the excess vinyl, place transfer tape over the black vinyl phrase. Transfer from backing to the panel and press in place.
- Add decorative transfers to the tray.
- Add handles (if desired).