If you have a Cricut or other cutting machine, there are so many cute Dollar Tree night light ideas that are super quick to make. Make a personalized night light today!
I love some cheap and easy Dollar Store crafts, how about you? There are so many fun little trinkets you can find there that can be personalized.
Anything with a flat surface is pretty much fair game when it comes to what you can apply vinyl too. I’ve made custom cutting boards and personalized party favors all from Dollar Tree items that came out super cute.
So when I saw these Dollar Tree night lights, they were definitely screaming at me that they wanted to be personalized!
And this project is perfect for any Cricut machine. You can use a Cricut Explore Air, the Maker, or the new Cricut Joy.


I made three different Dollar Tree night lights with my Cricut and some adhesive vinyl. I made two different versions, so I’ll show you both ways.
The one drawback of these night lights is that most of them are scratched. But for a dollar, what can you expect, right?
So if you happen to get some scratched ones and don’t want that to show, frost spray paint to the rescue! I usually use frost spray paint when I make cute glass block night lights and I have a full video tutorial on those if you want to check it out.
One of the ones I bought did not have too many scratches so I just put an adhesive foil right on the plastic and because it was a pretty big decal it covered most of the surface. Make sure to watch the video on that one at the top or side!


Make sure you read all the warnings on the night light! Do not put behind a bed or where it will be covered up.
Materials Needed for Cricut Dollar Tree Night Lights
Disclosure: This post contains affiliate links from Shareasale, Cricut, Awin, CreativeFabrica, and Amazon.com. I receive a small commission at no cost to you when you make a purchase using my links (purple text). As an Amazon Associate, I earn from qualifying purchases.
- Cricut Explore, Maker or Joy
- Adhesive Vinyl – I used all different types, perfect project for scraps!
- Frosted Glass Spray Paint (optional)
- transfer tape
- Dollar Tree Night Lights
How to Frost Night Lights
As I said before, you can apply the vinyl directly to the plate as I did in the video at the top. You’ll notice in the video, that I place the plate on a stack of napkins, that was because I needed to have a flat surface and it won’t lay flat with the plug still attached!
I do like the look of the frosted night lights better, but spray painting them is totally optional!
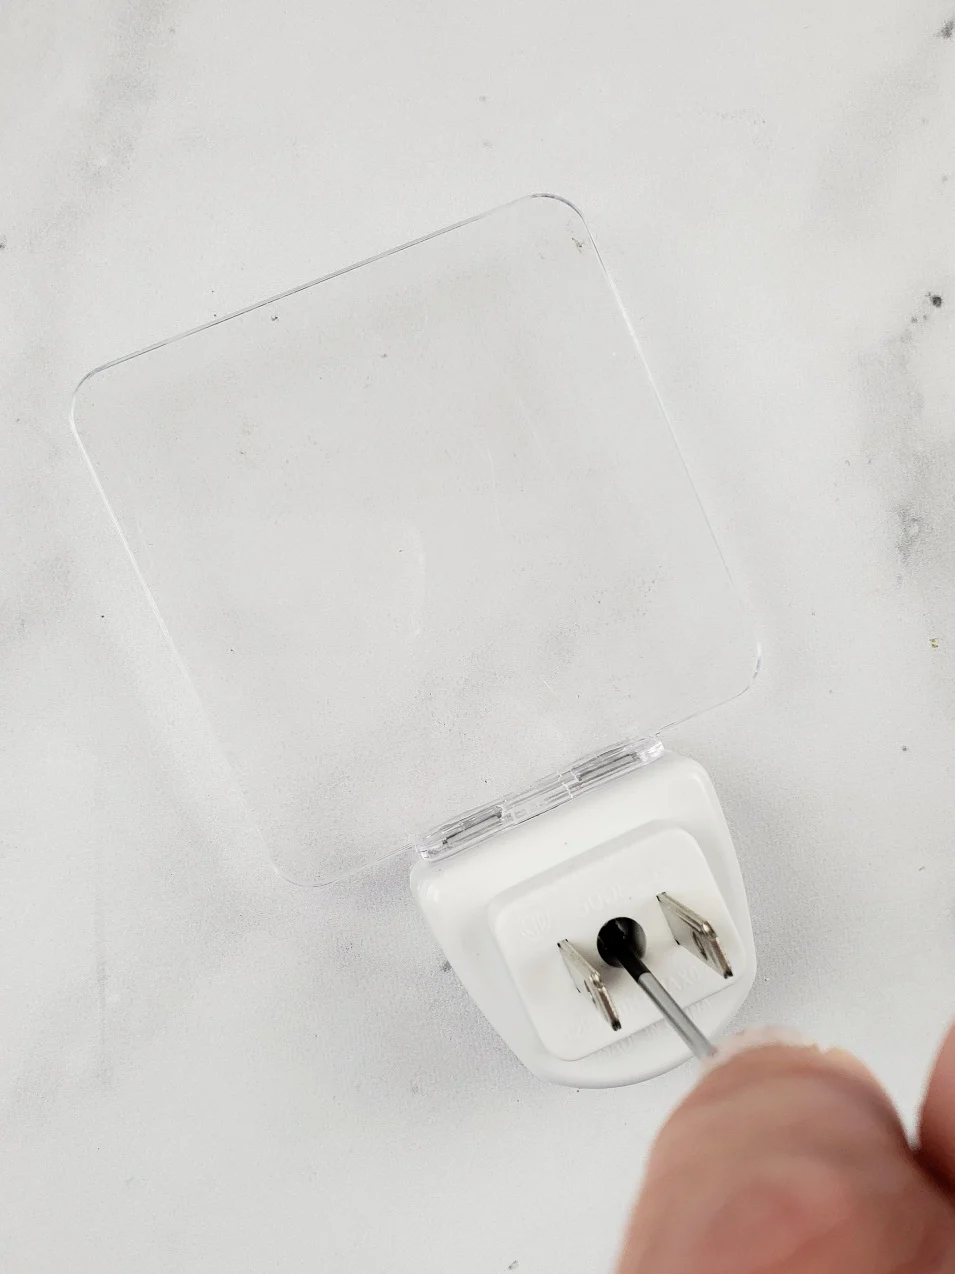
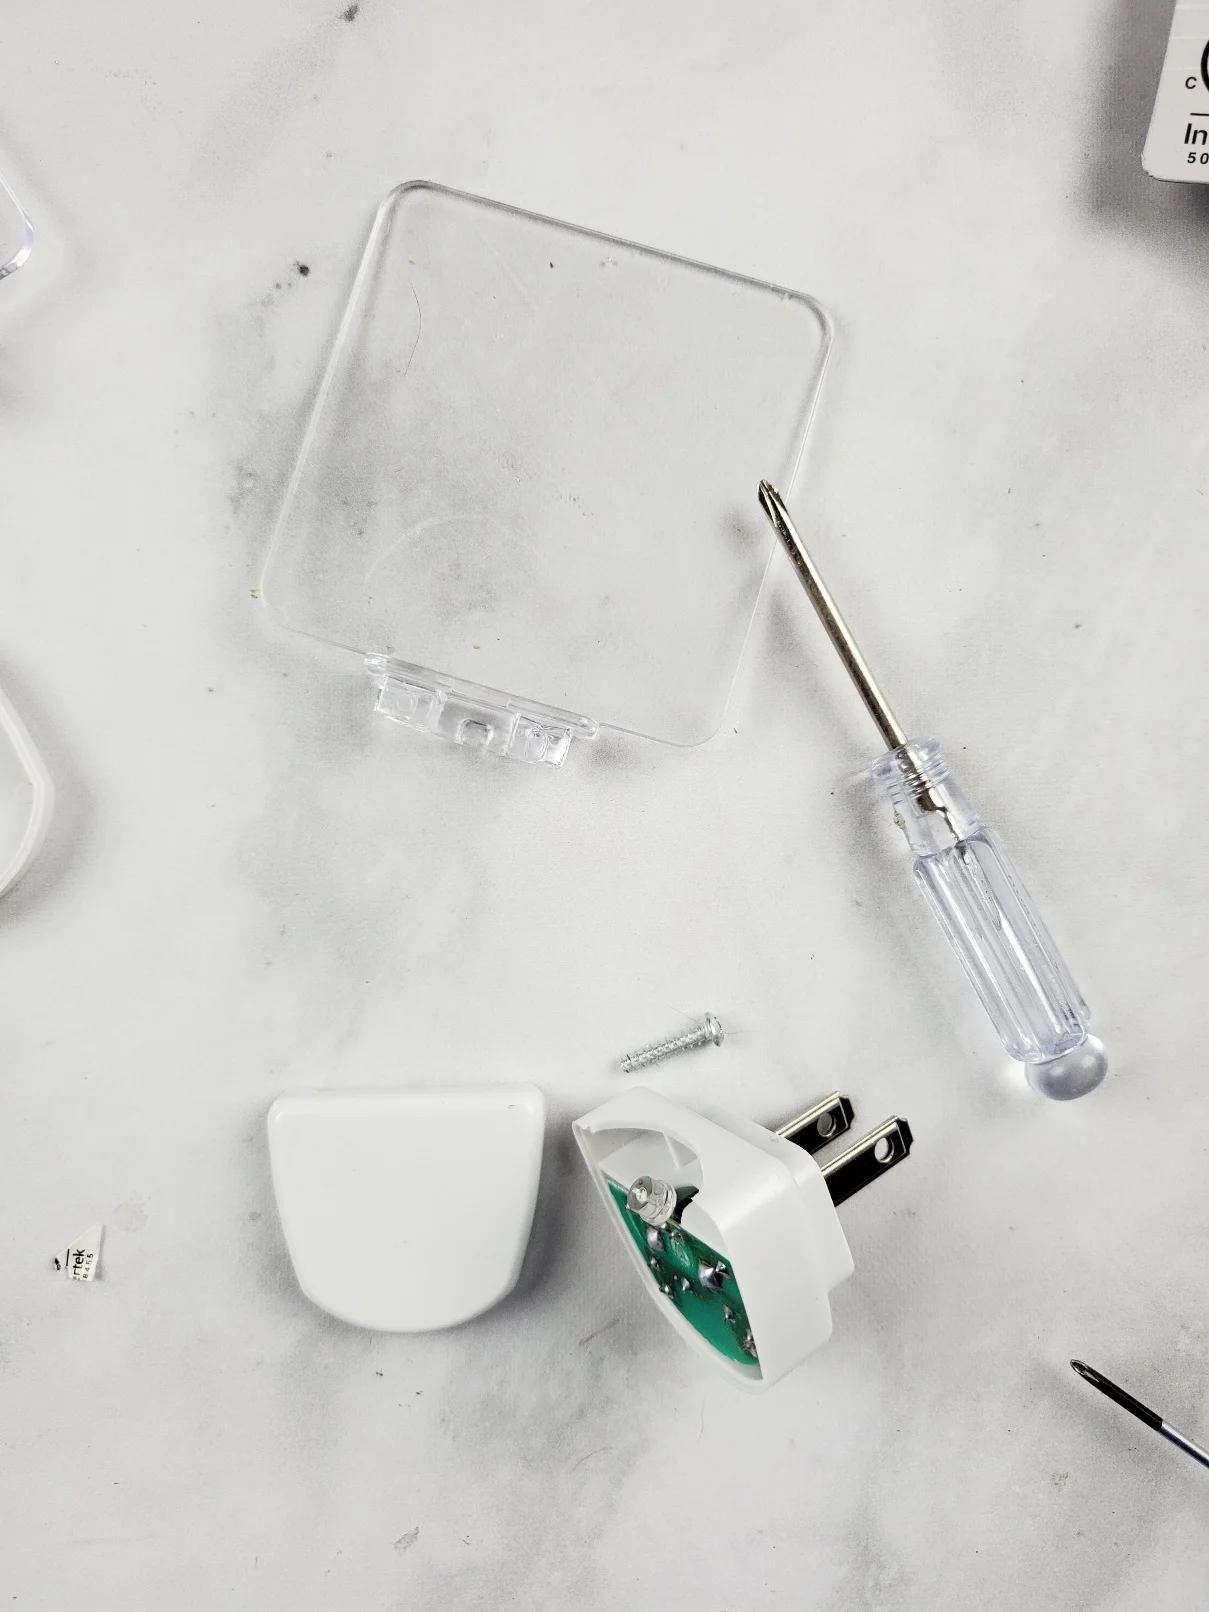
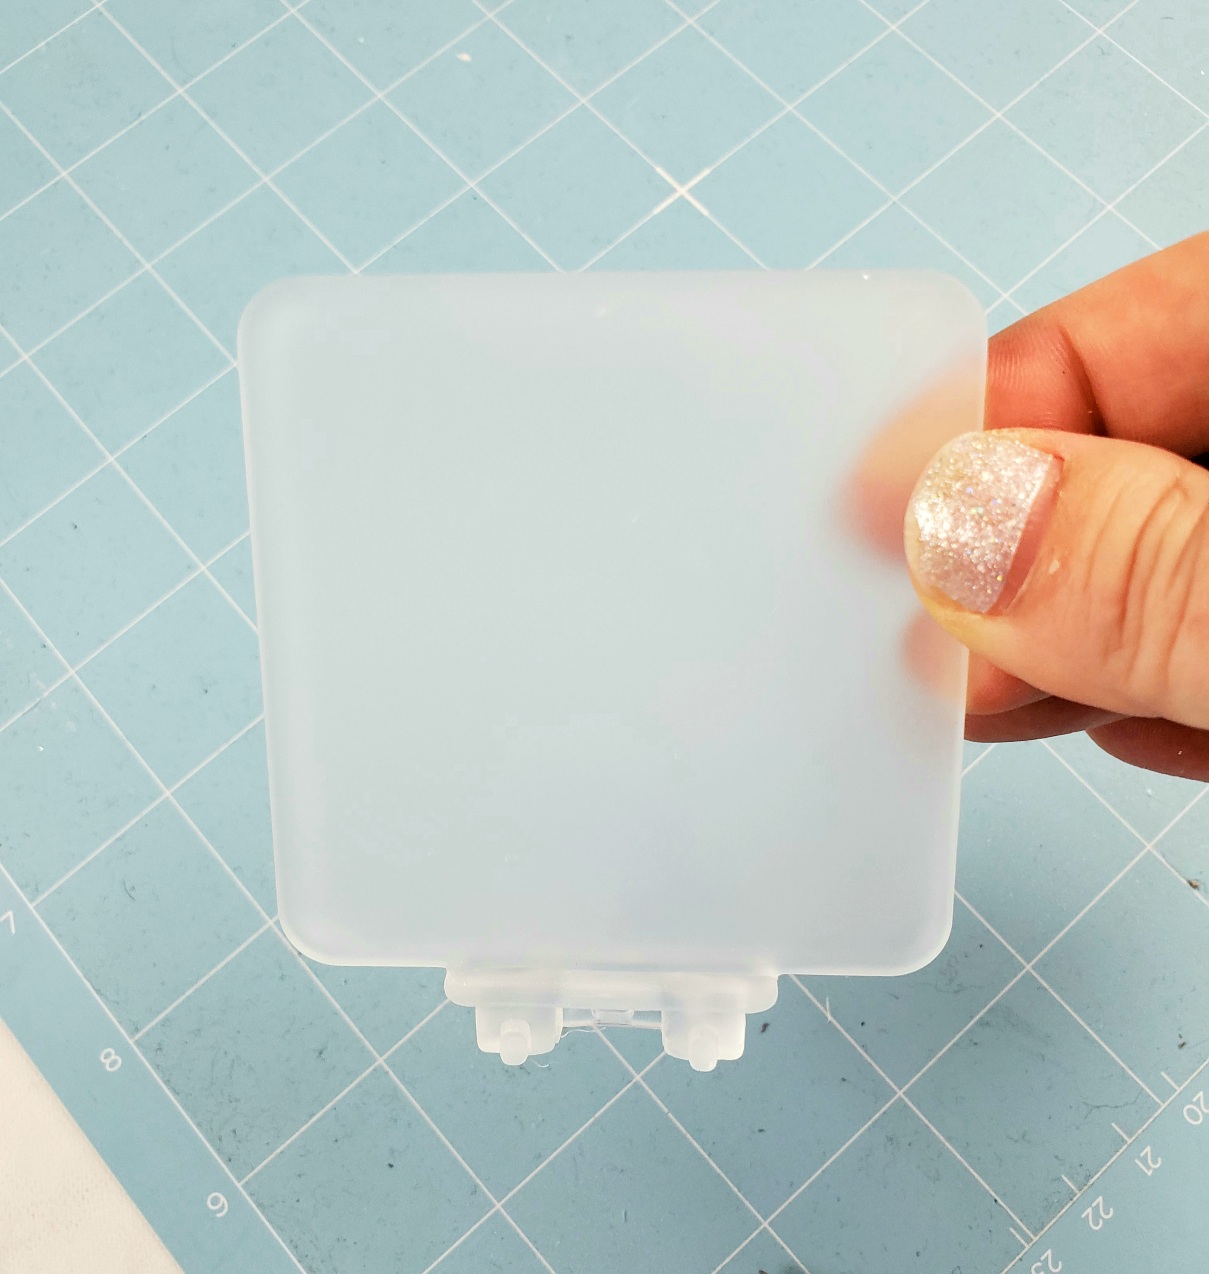
For the ones I sprayed, I used a small screwdriver to unscrew the bottom piece and took the square piece of plastic out.


Clean the plate with some rubbing alcohol to get any residue that might be on it and let dry.


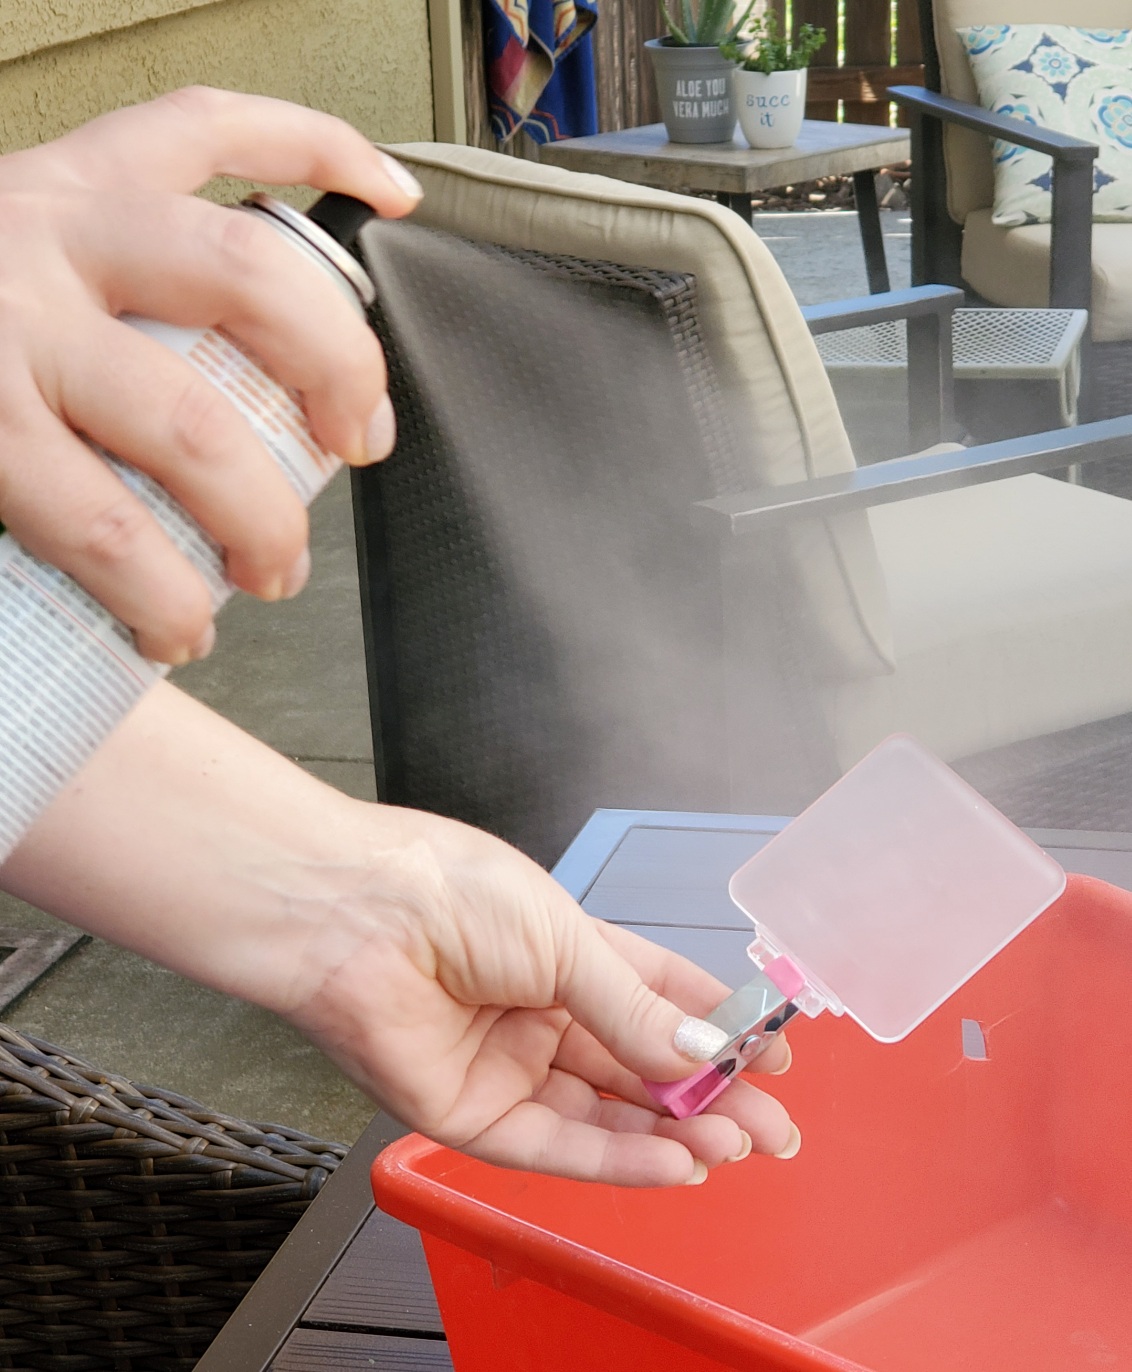
Then I used a craft clip (also from the Dollar Tree!) to grip on to the bottom of the plate so I could do both sides at once and not get paint all over me. I went outside and sprayed both sides two to three times about a minute apart.


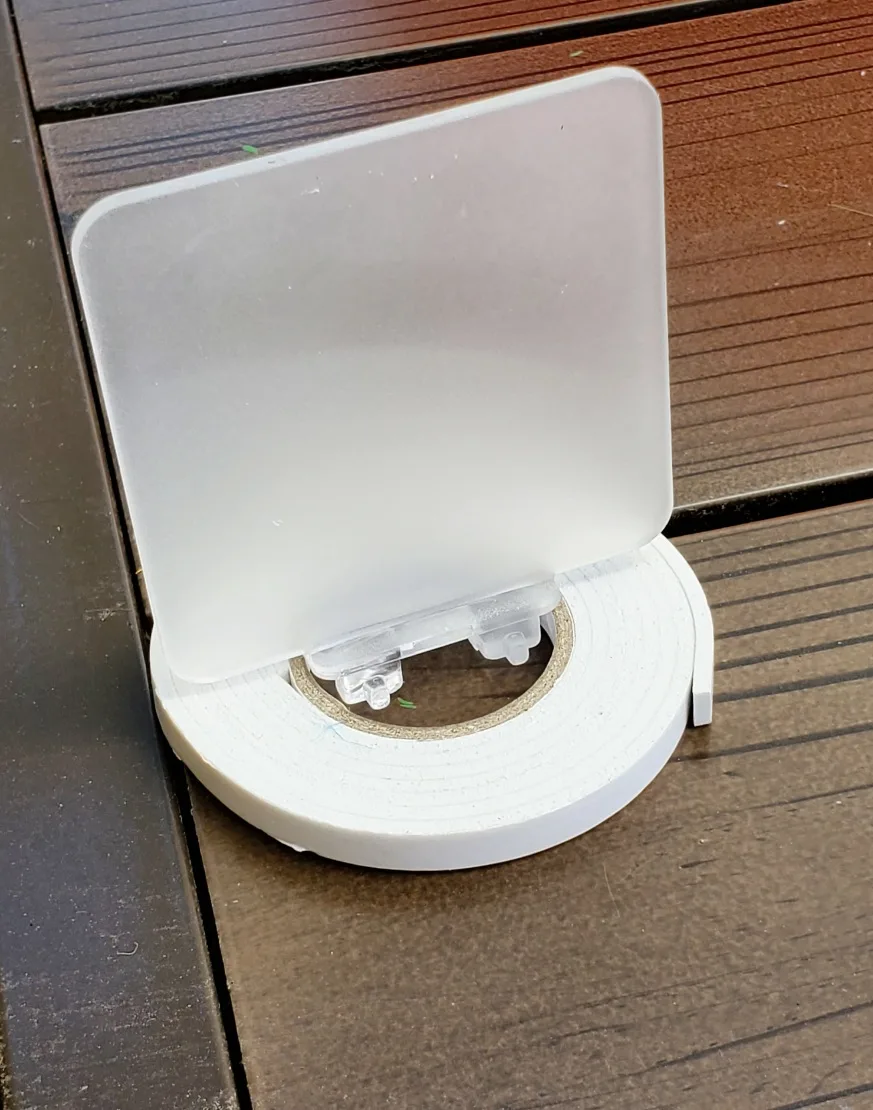
Then I found something to stick it in so that it would stand up while it dried.

While the paint is drying is a perfect time to get the decals cut.
Cutting Vinyl for Night Light
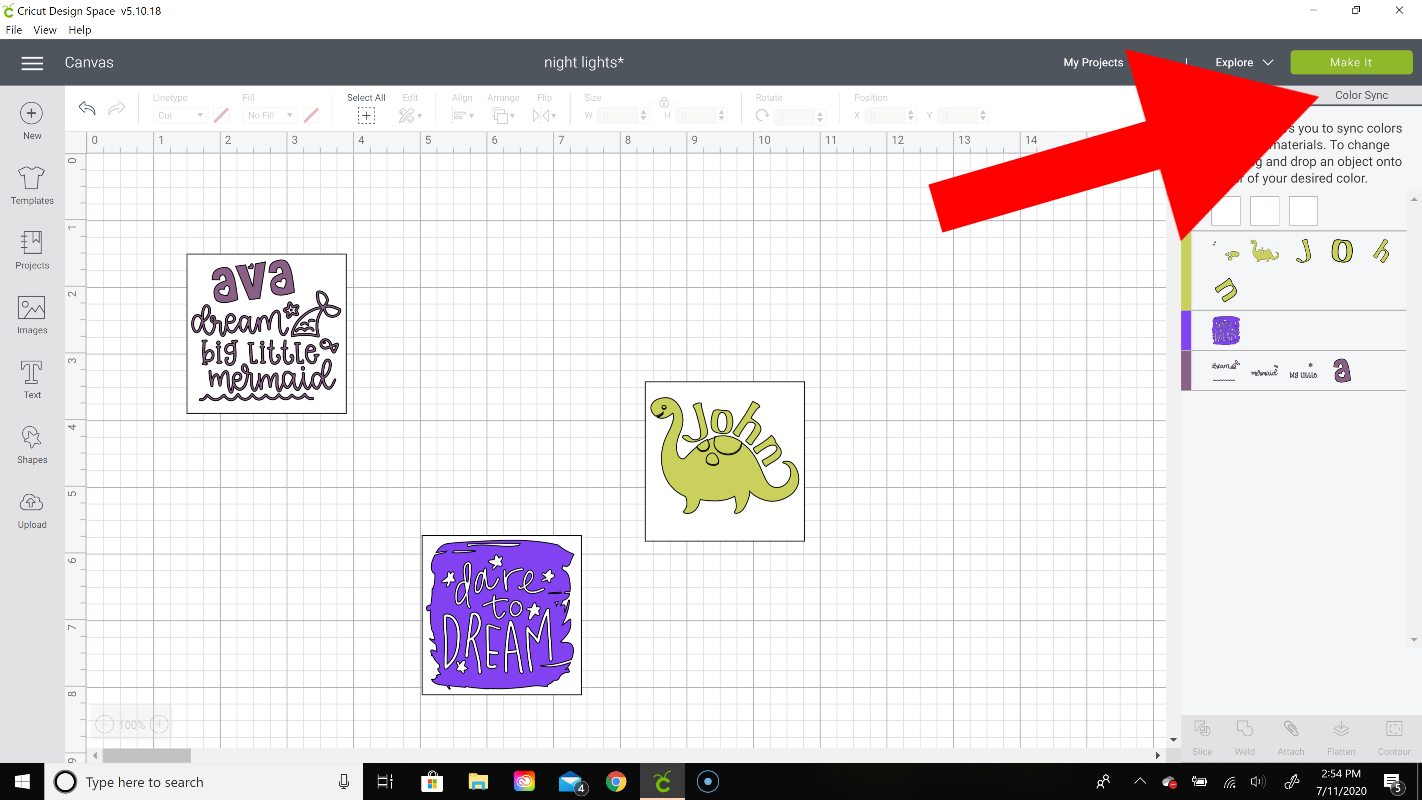
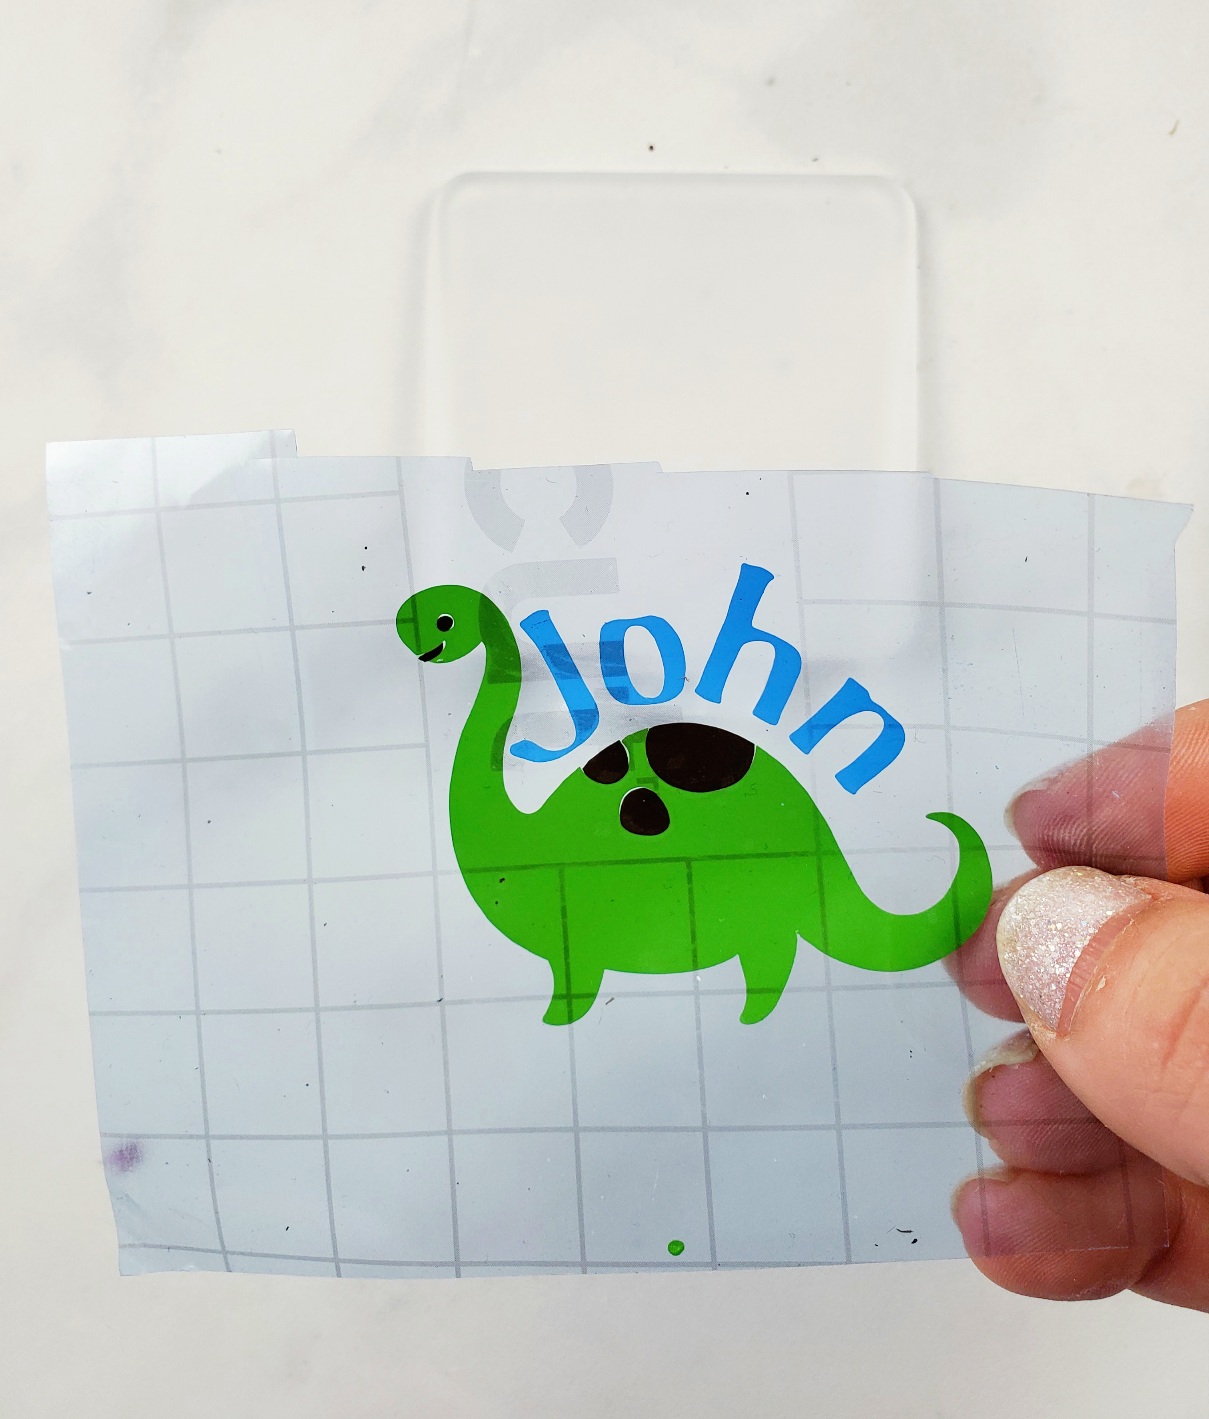
In Cricut Design Space, design what you want the personalized night light to look like. I found all of these images in Cricut Access and then added names to two of them.
I also inserted squares the size of the night light plates so I could size the images to fit on them.


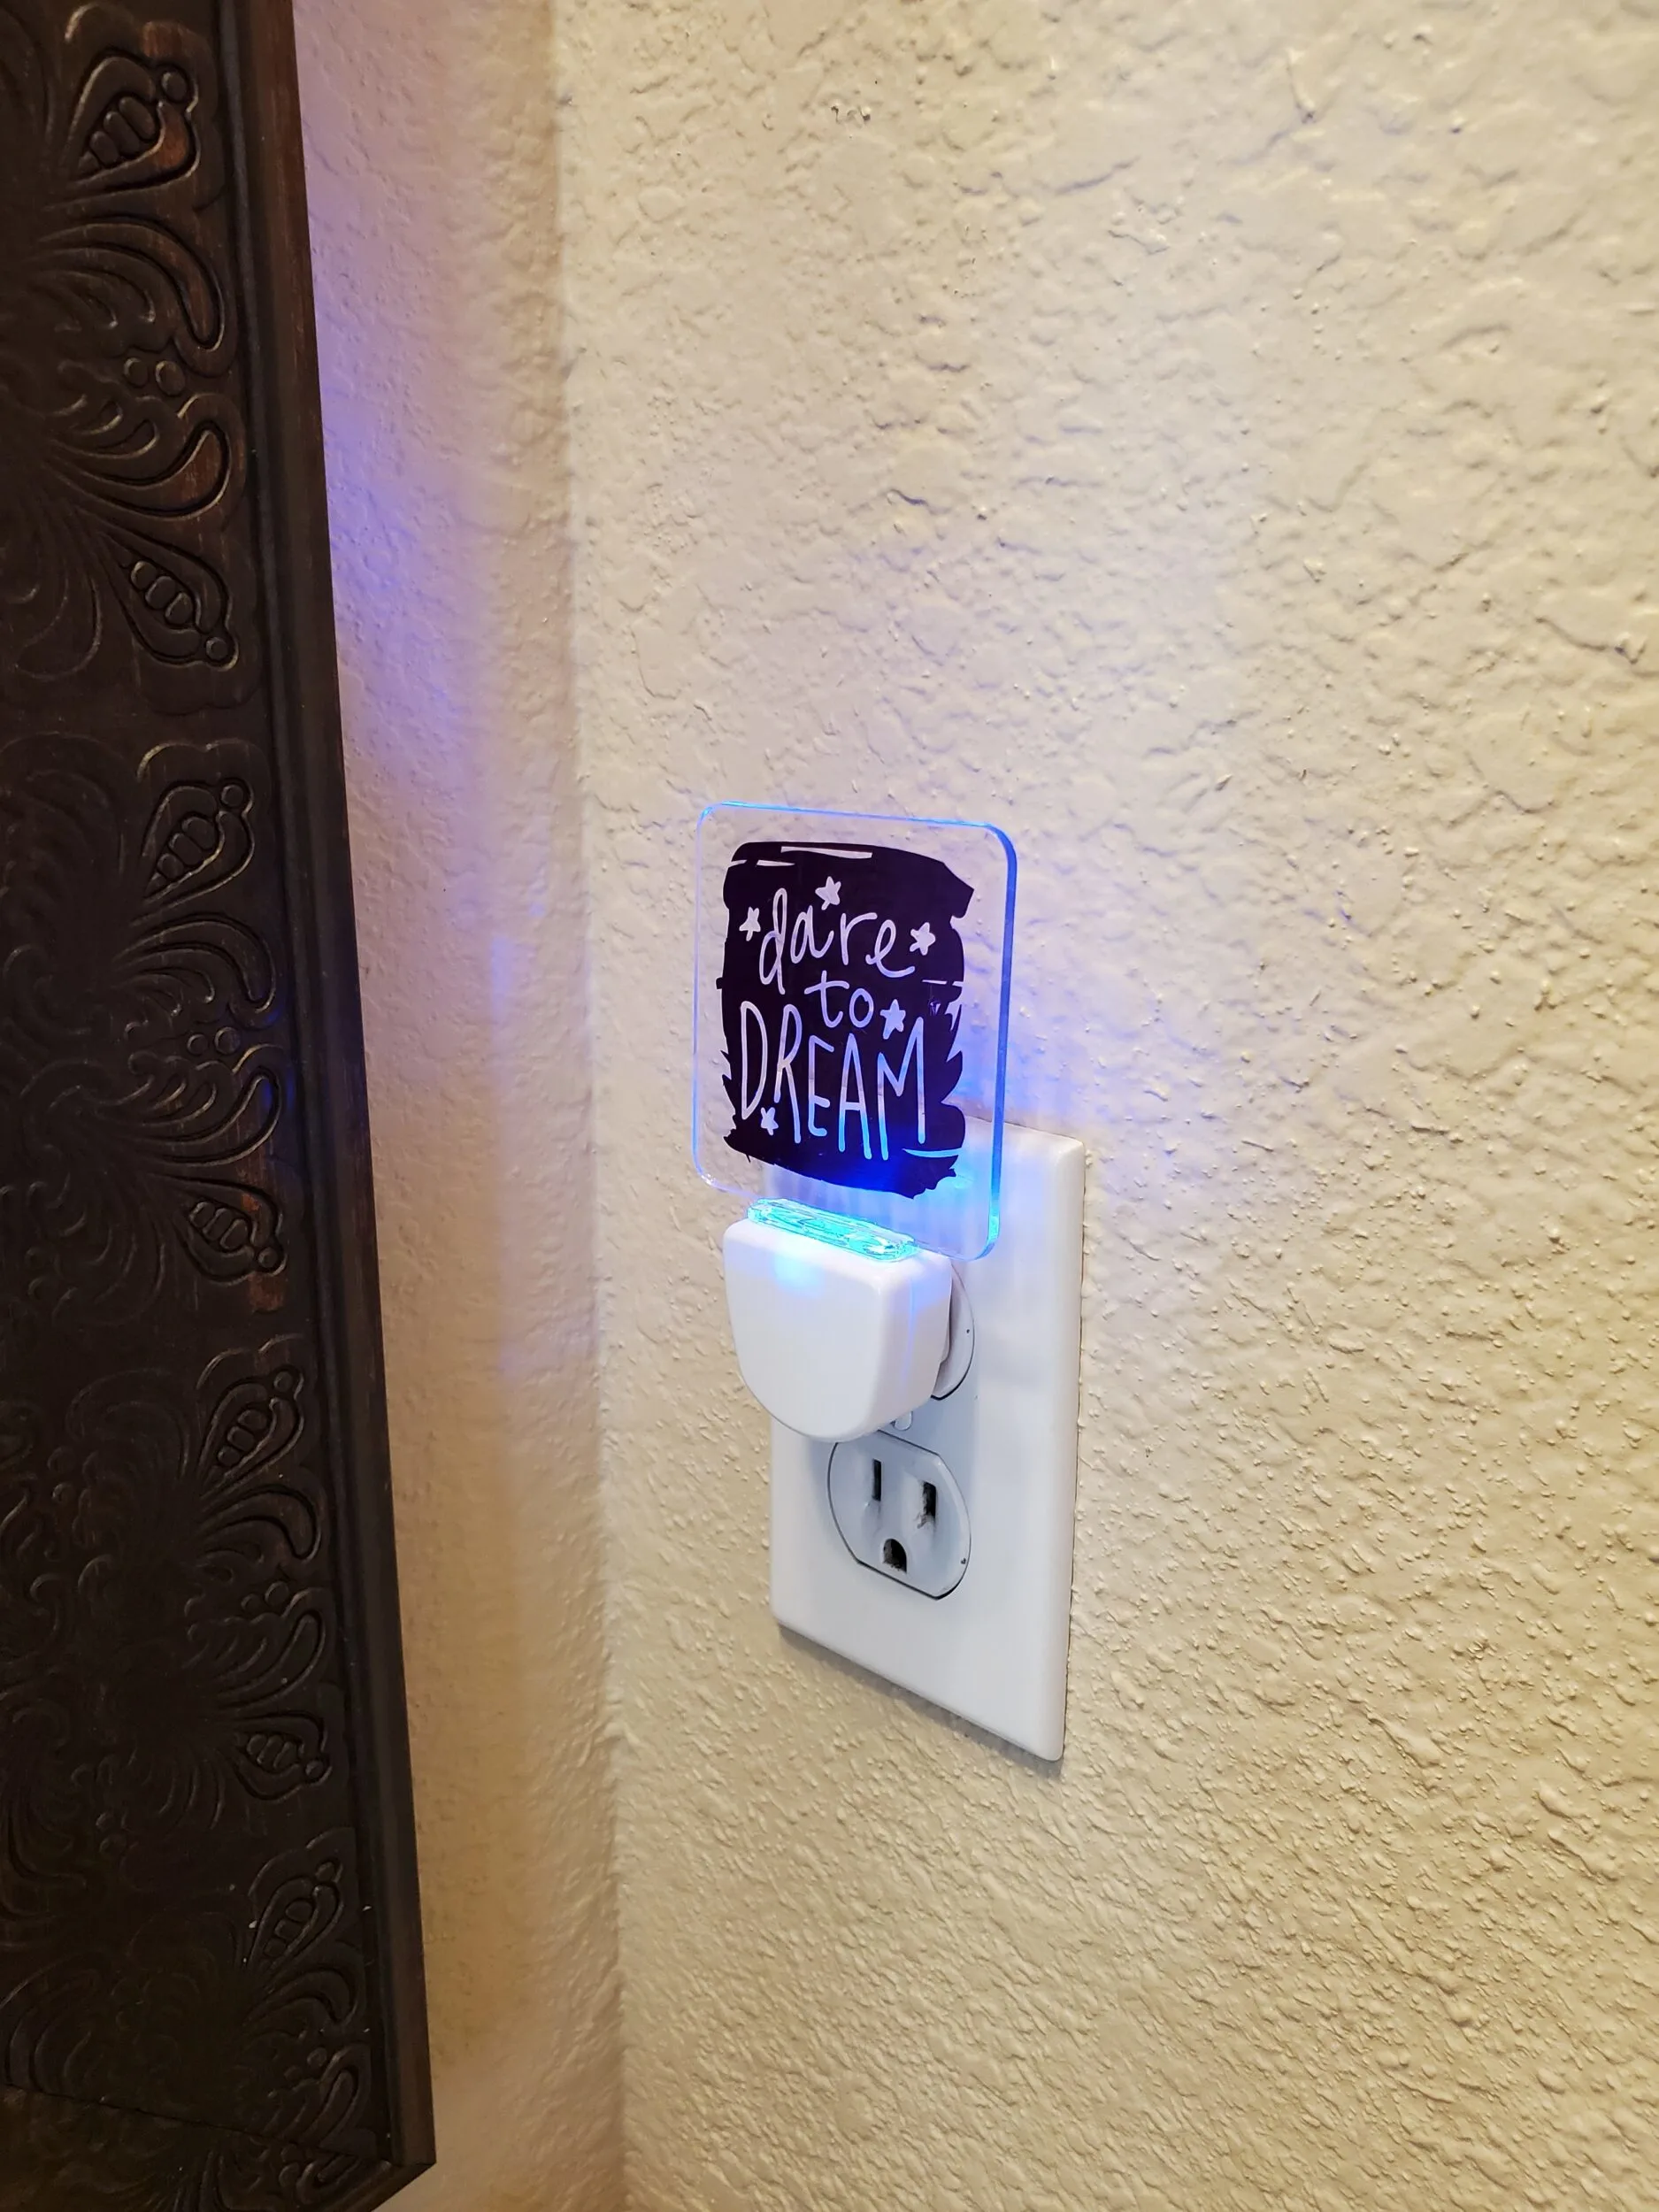
I knew I wouldn’t be frosting one of the lights so I picked an image that was big and would cover most of the surface – the dare to dream image.
I like to condense the amount of time spent on cutting so I use the color sync panel to make every part of each image the same color (so it will cut on the same mat). You can drag the individual images on the Color Sync panel to a different color to change it.

Then on the prepare screen, I move the individual images to different parts of the mat and then line up the vinyl on my mat to match.

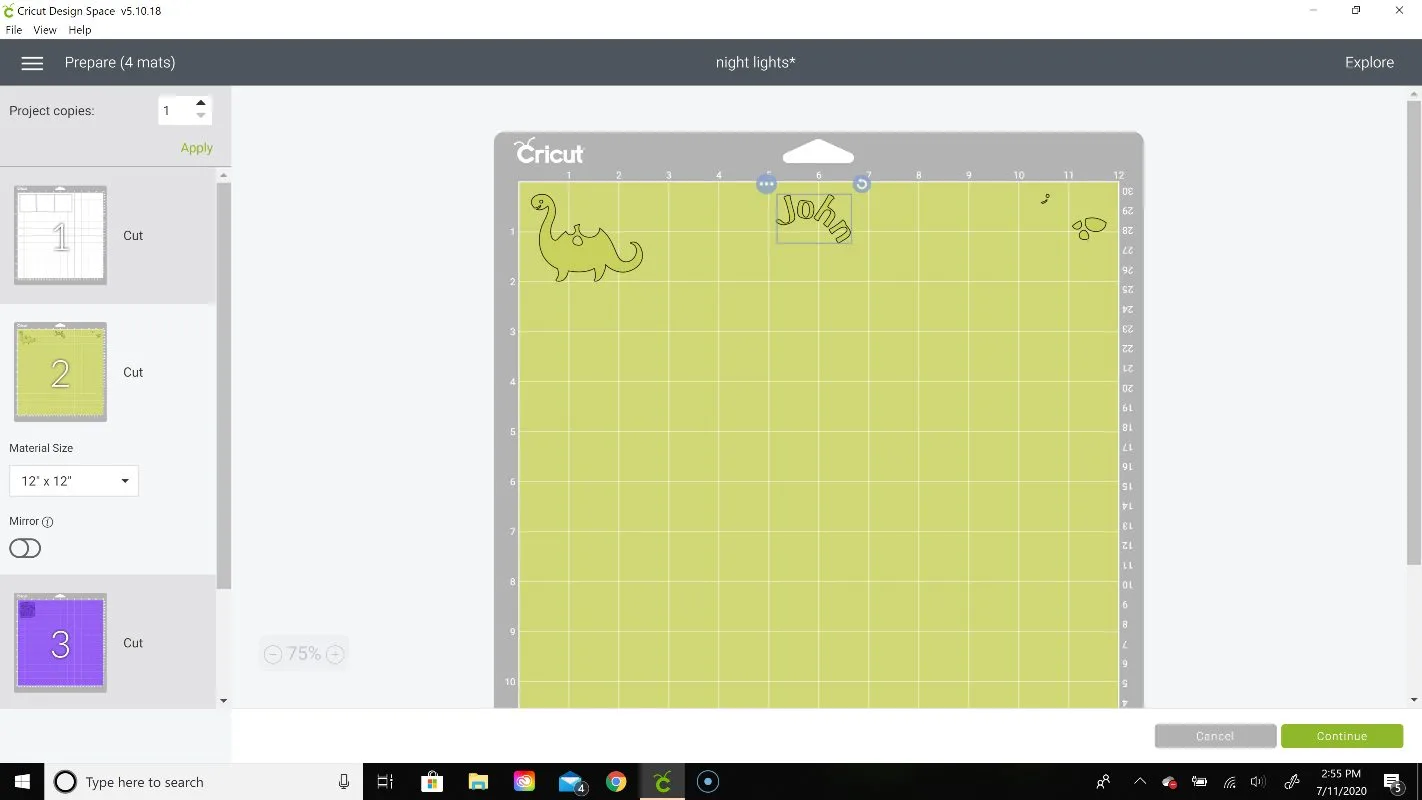


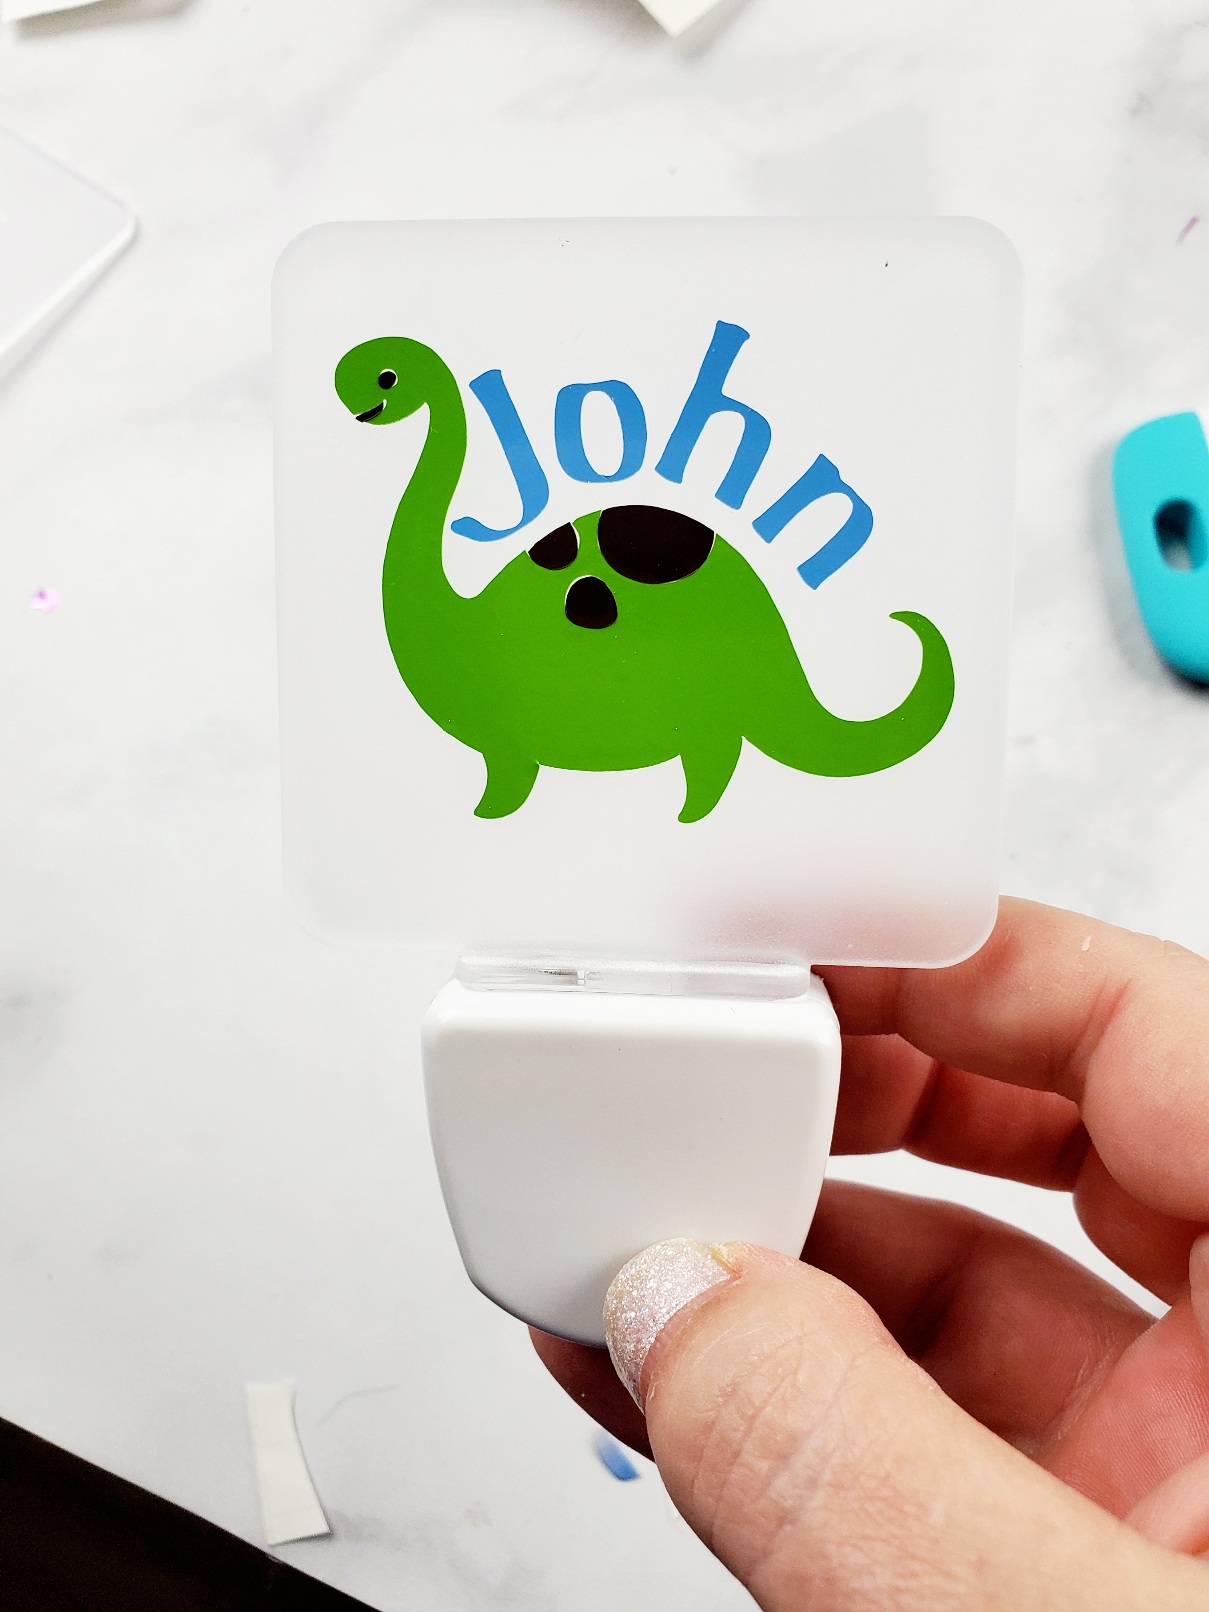
Choose the vinyl setting for the specific vinyl you are using. For this dinosaur night light, I chose premium vinyl from the Custom drop-down menu.
Load the mat when prompted and let the Cricut do its thing!
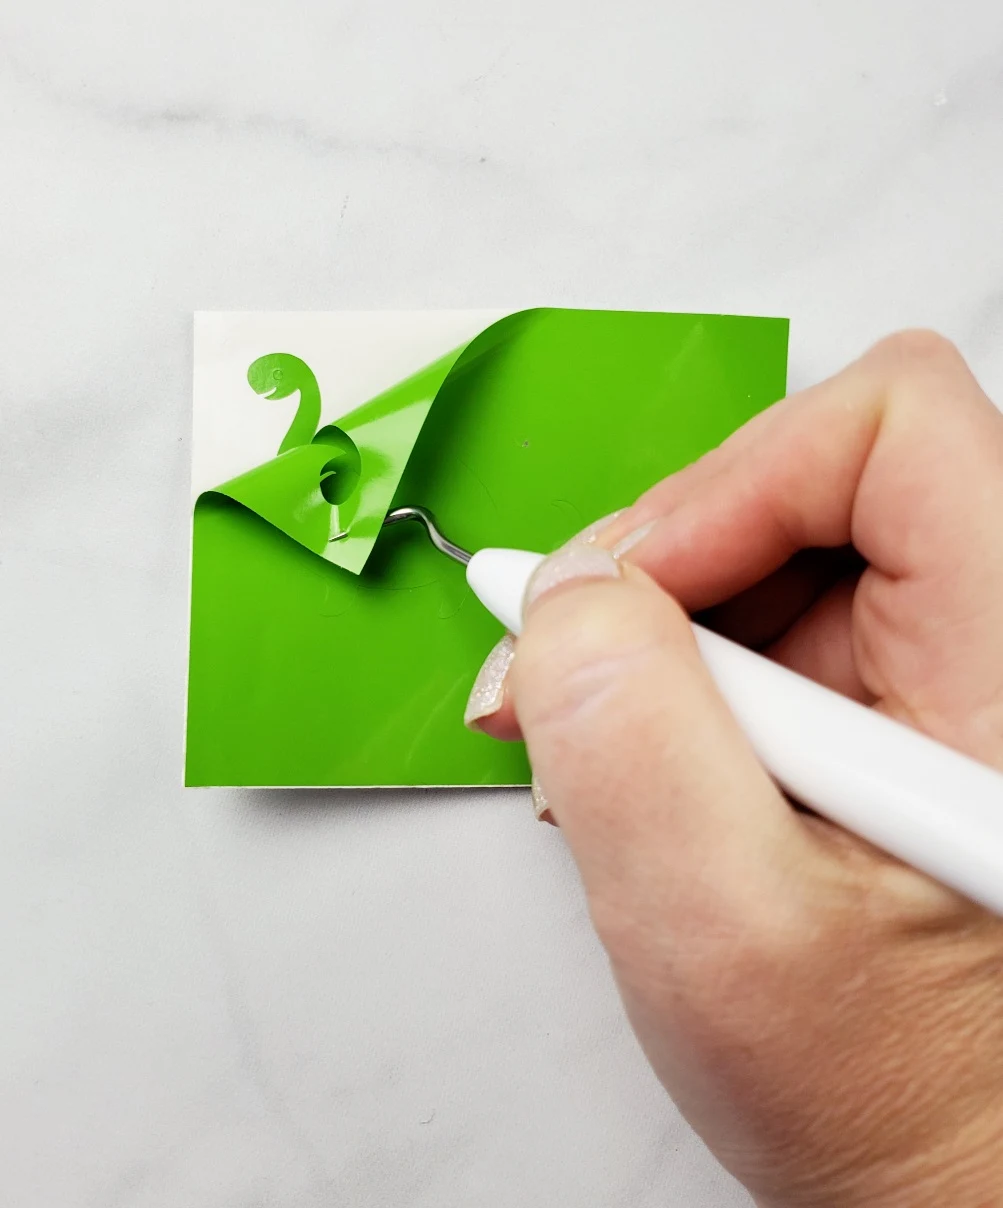
Weed off the extra vinyl.

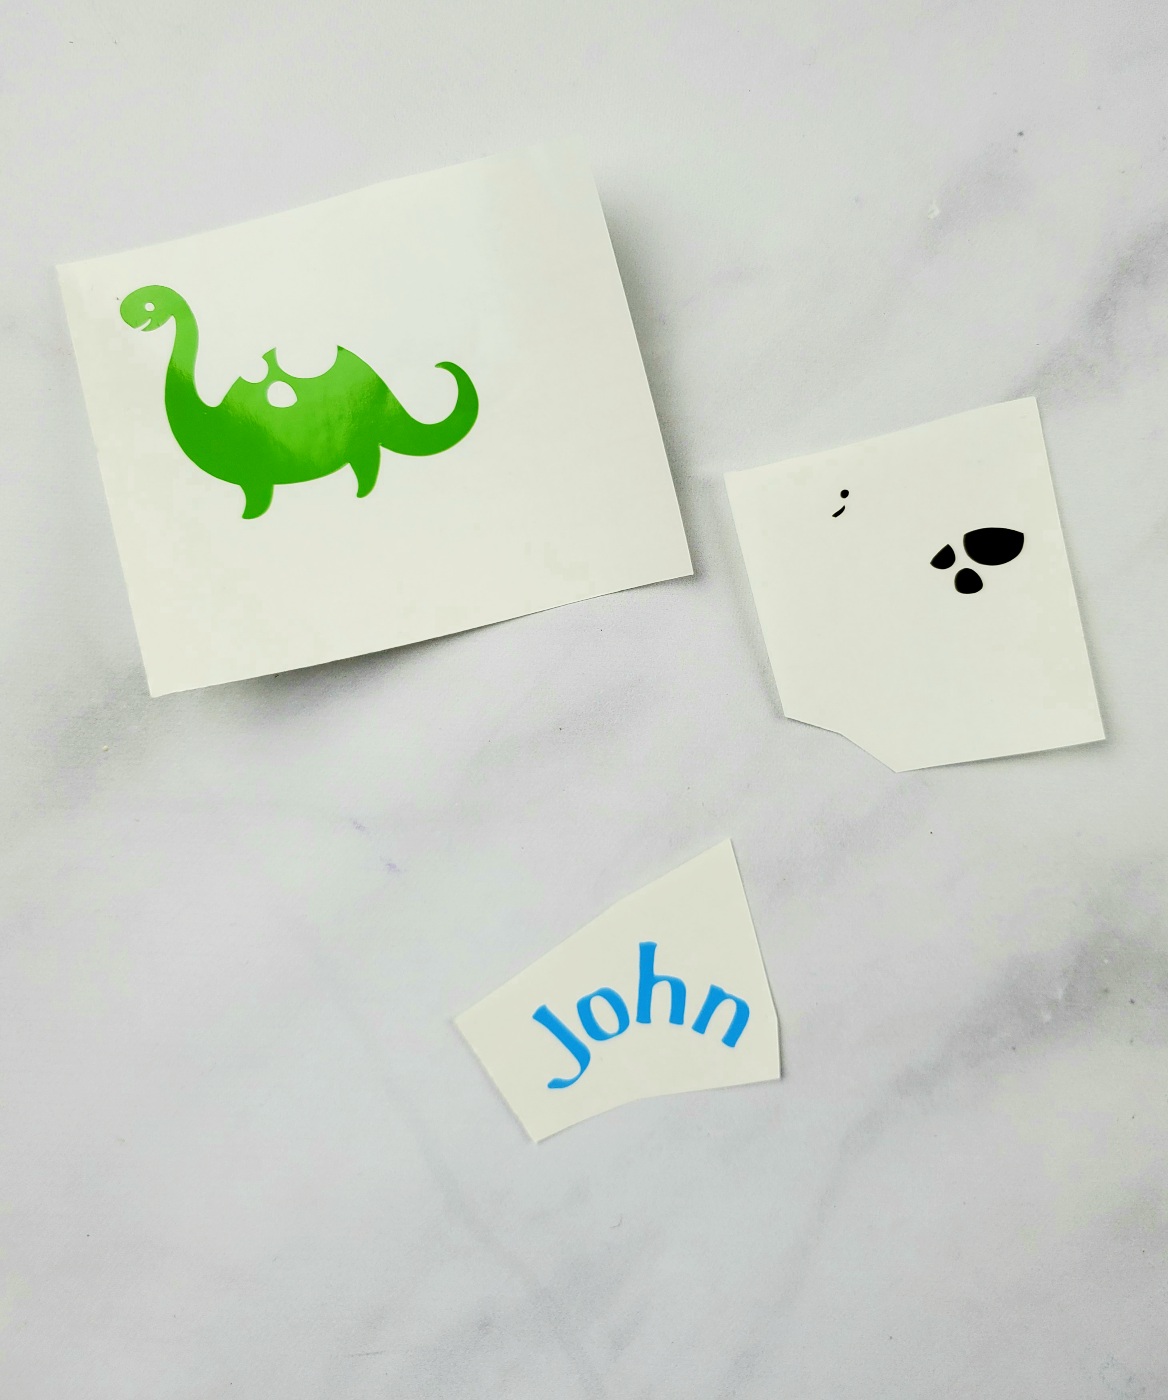
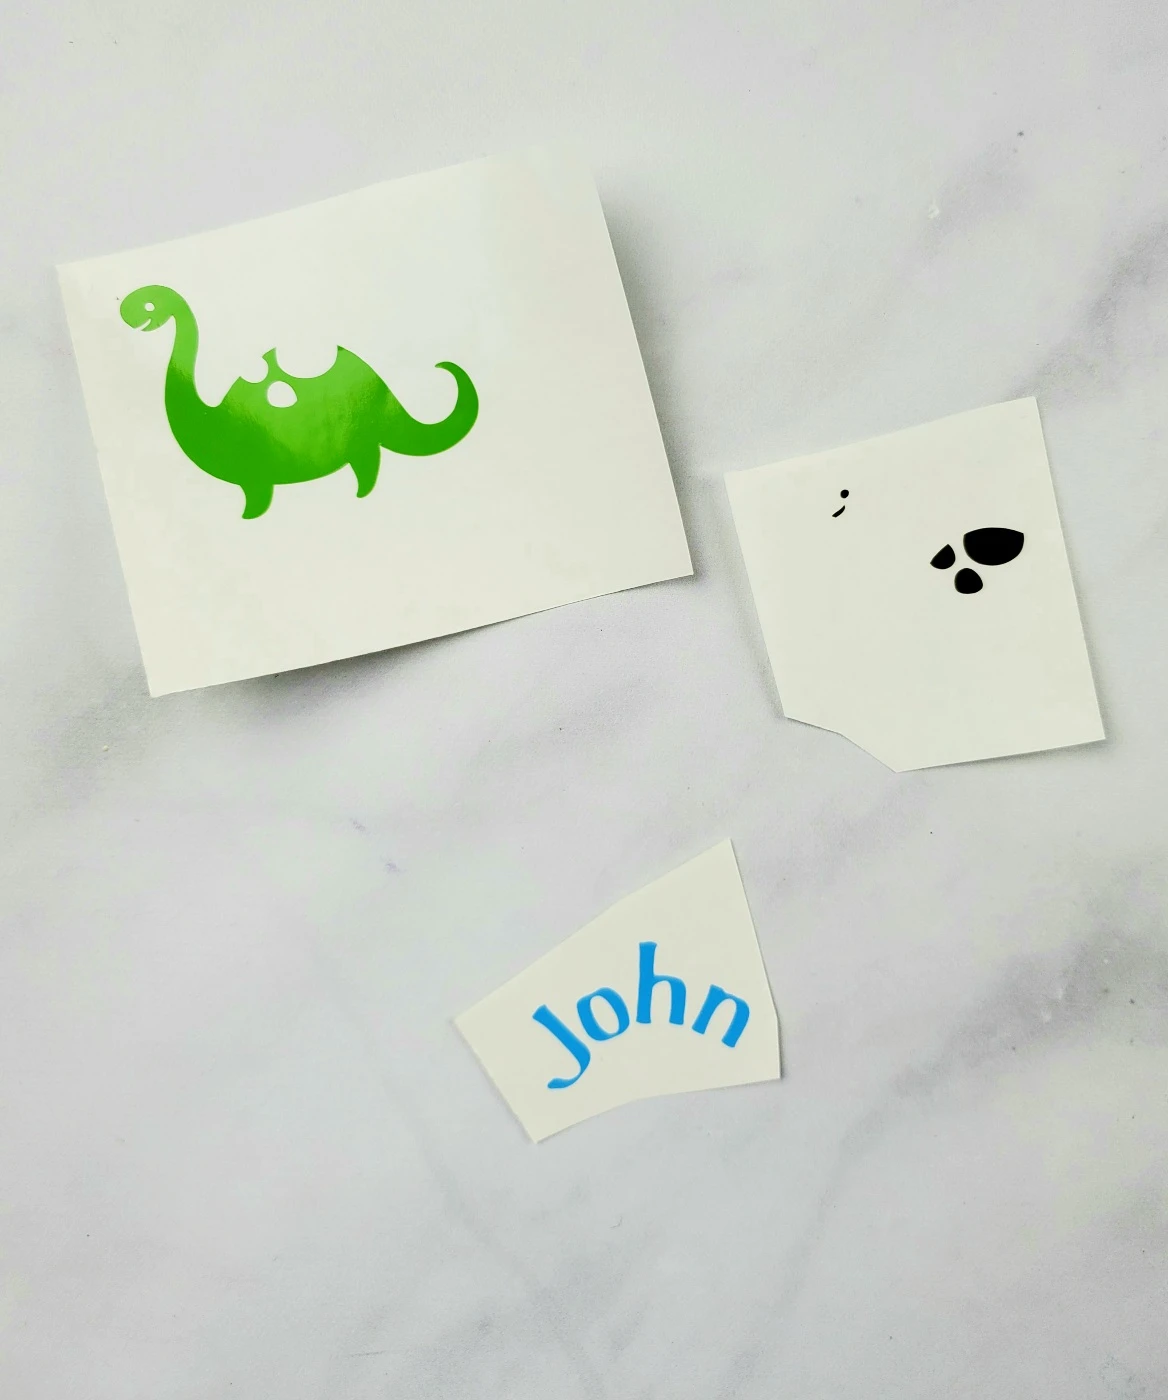
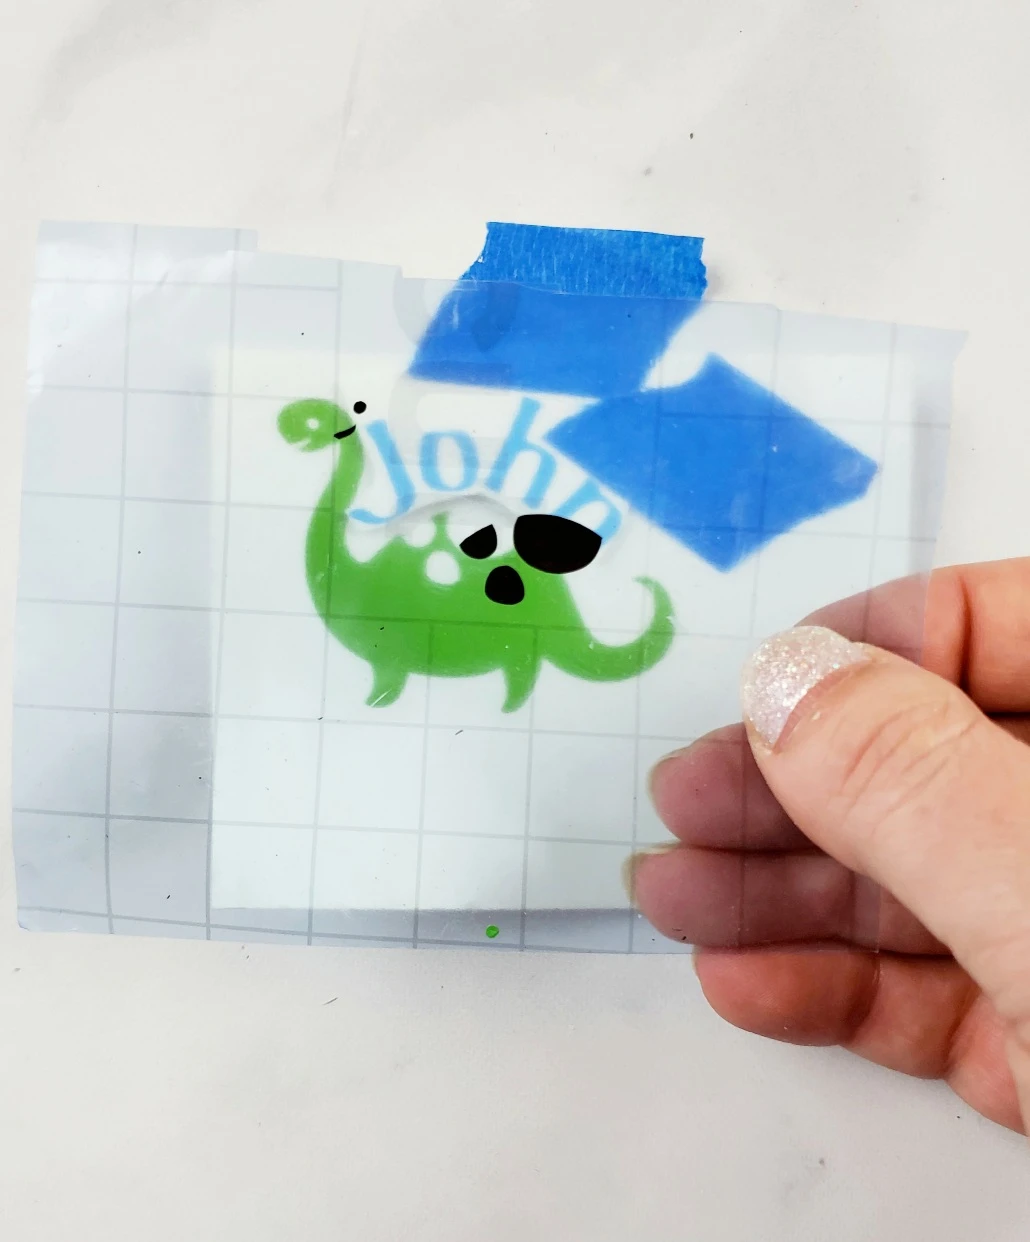
You can apply the different layers on separately if you want, but I like to try to do them at once. I trimmed the name and placed it where I wanted it on the dinosaur. Then I taped it down so it wouldn’t move.


Since the eyes and dots are the top layer, I used my transfer tape to pick them up first. (Scrape it down and then remove the backing sheet).

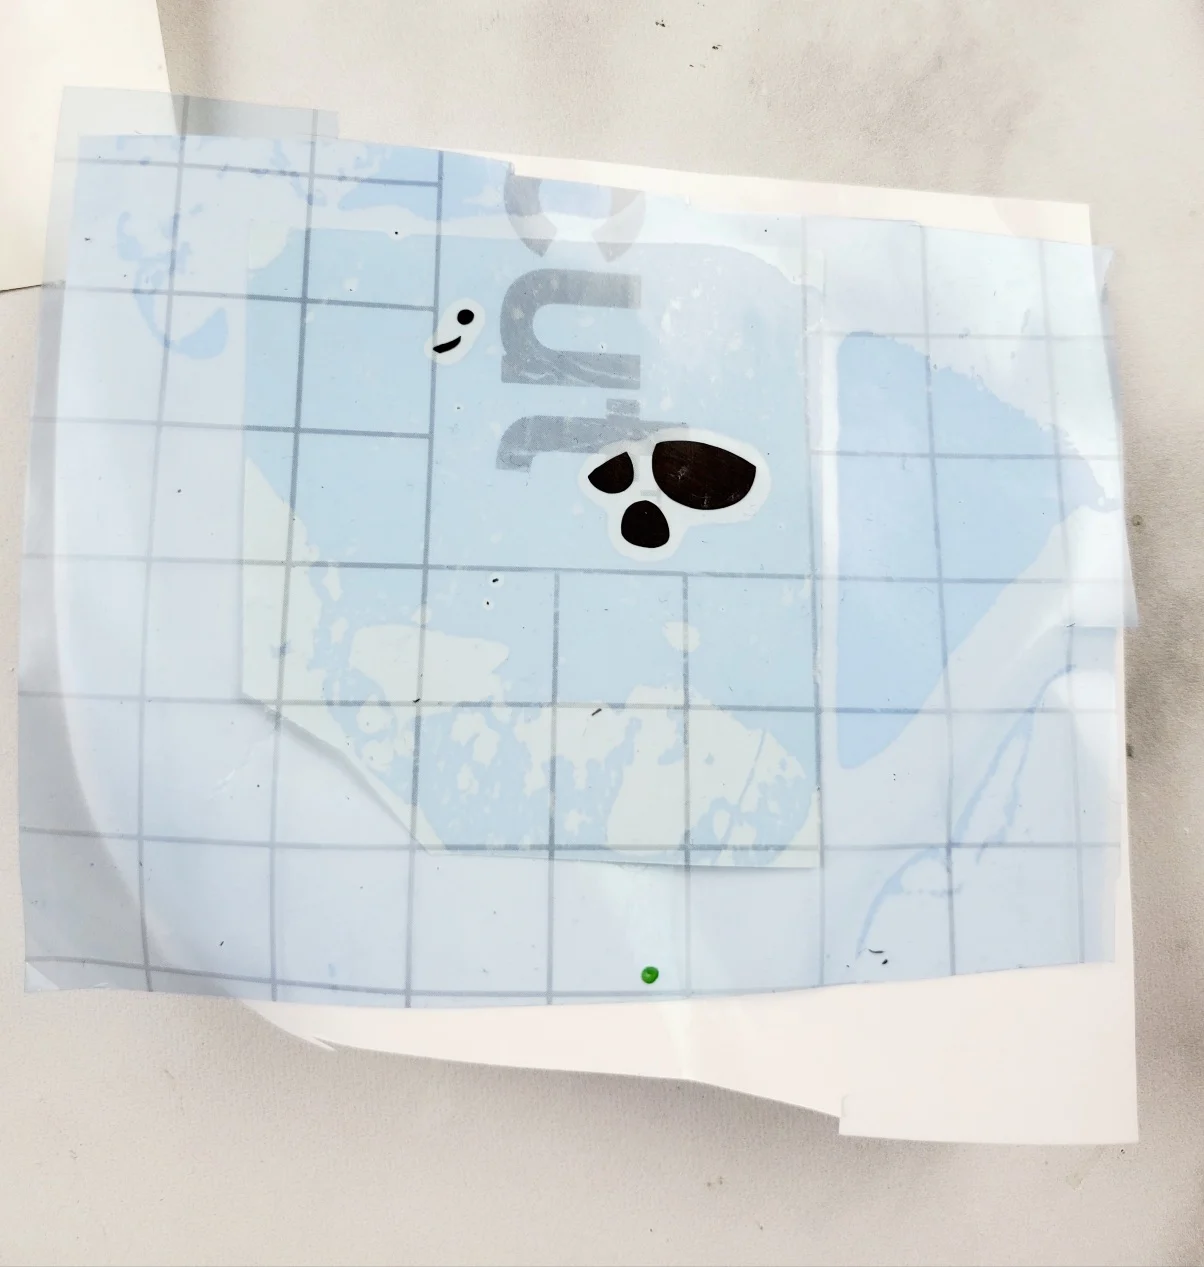
Then I line them up by sight and place the transfer tape down so that the spots and smile are where they are supposed to be. Then I scraped down the entire image.

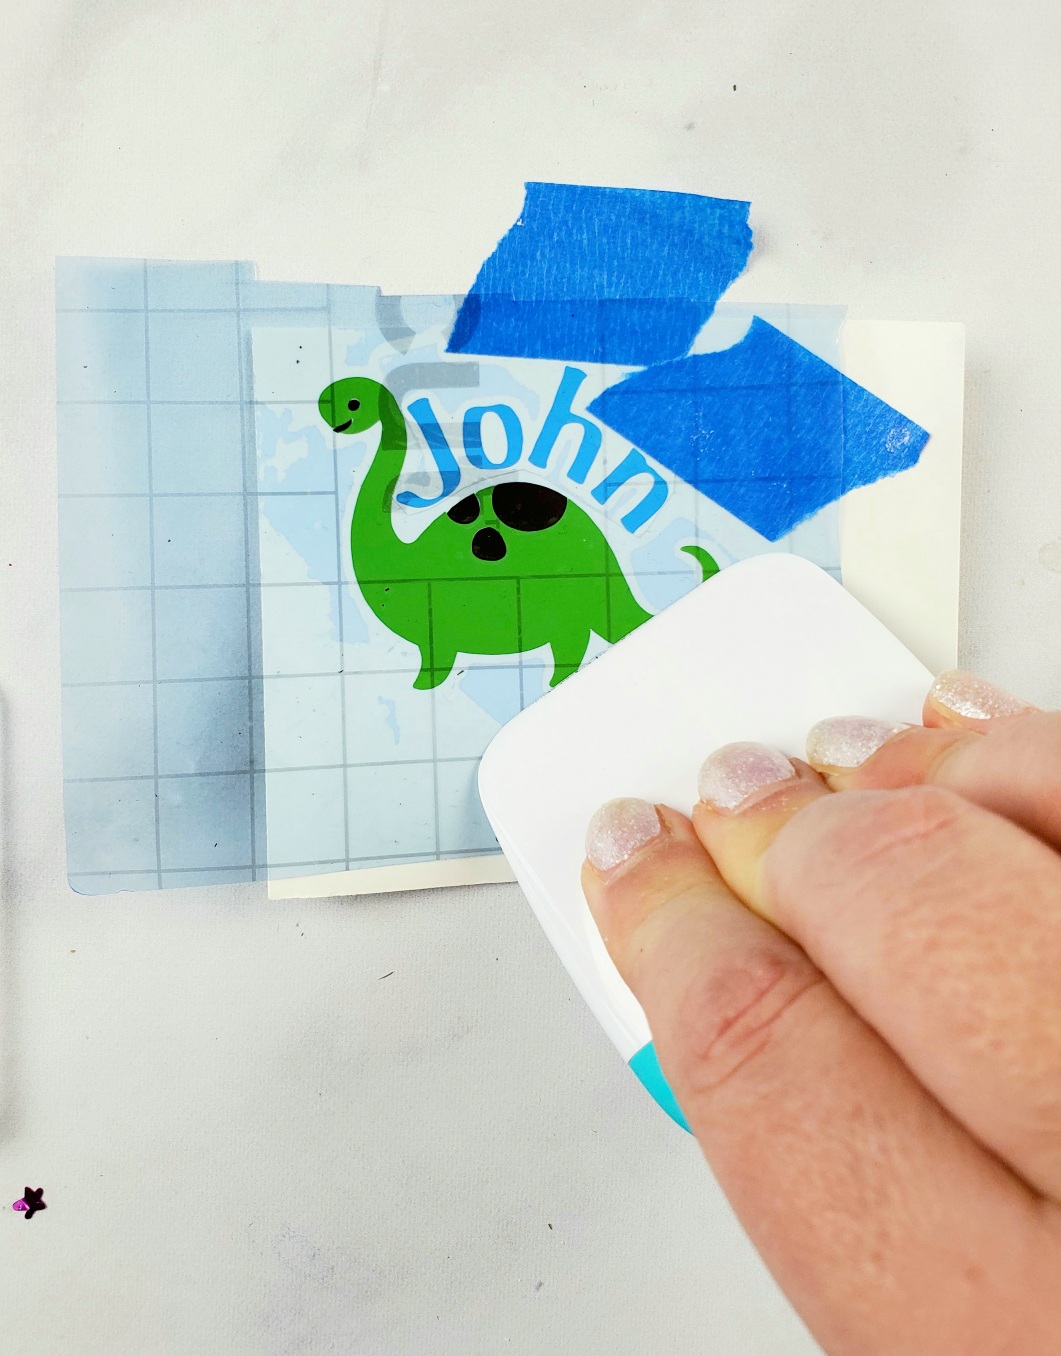

Peel all the paper backings off.


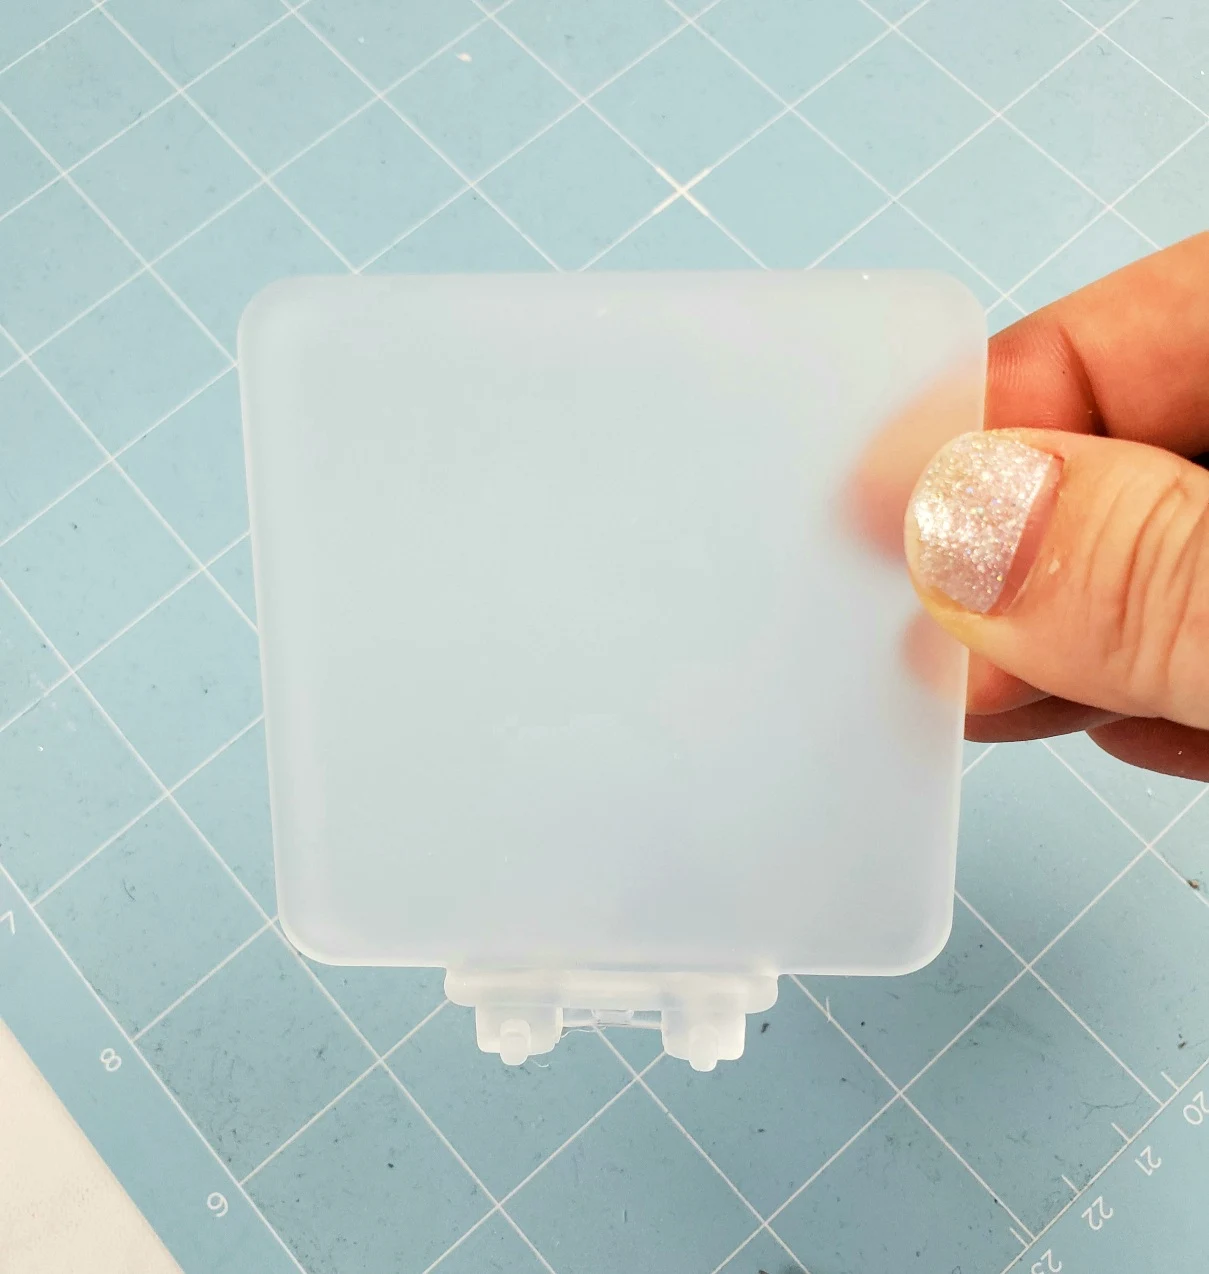
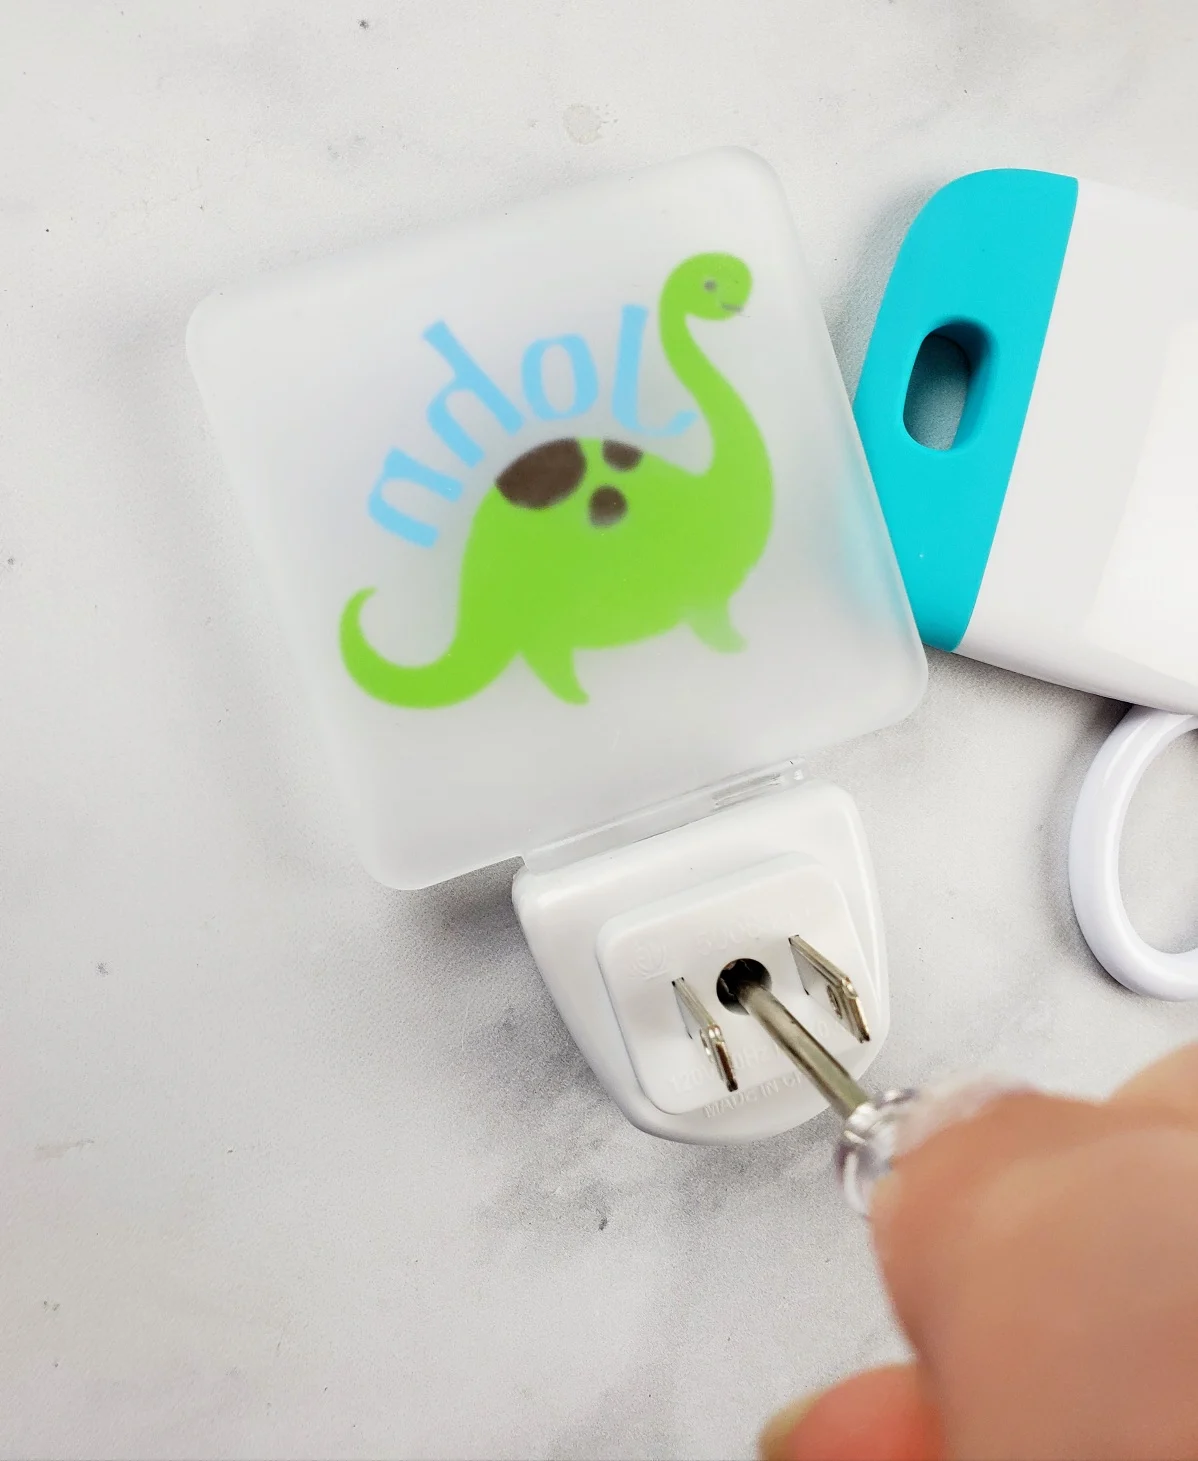
Make sure you have the correct side of the plate up! (There is a wrong side. Luckily I picked the right side the first time I did, because when I went to put the night light back together I realized it needed to be a certain way.)
The side you apply the vinyl should be the side with the two little circular points at the ends.
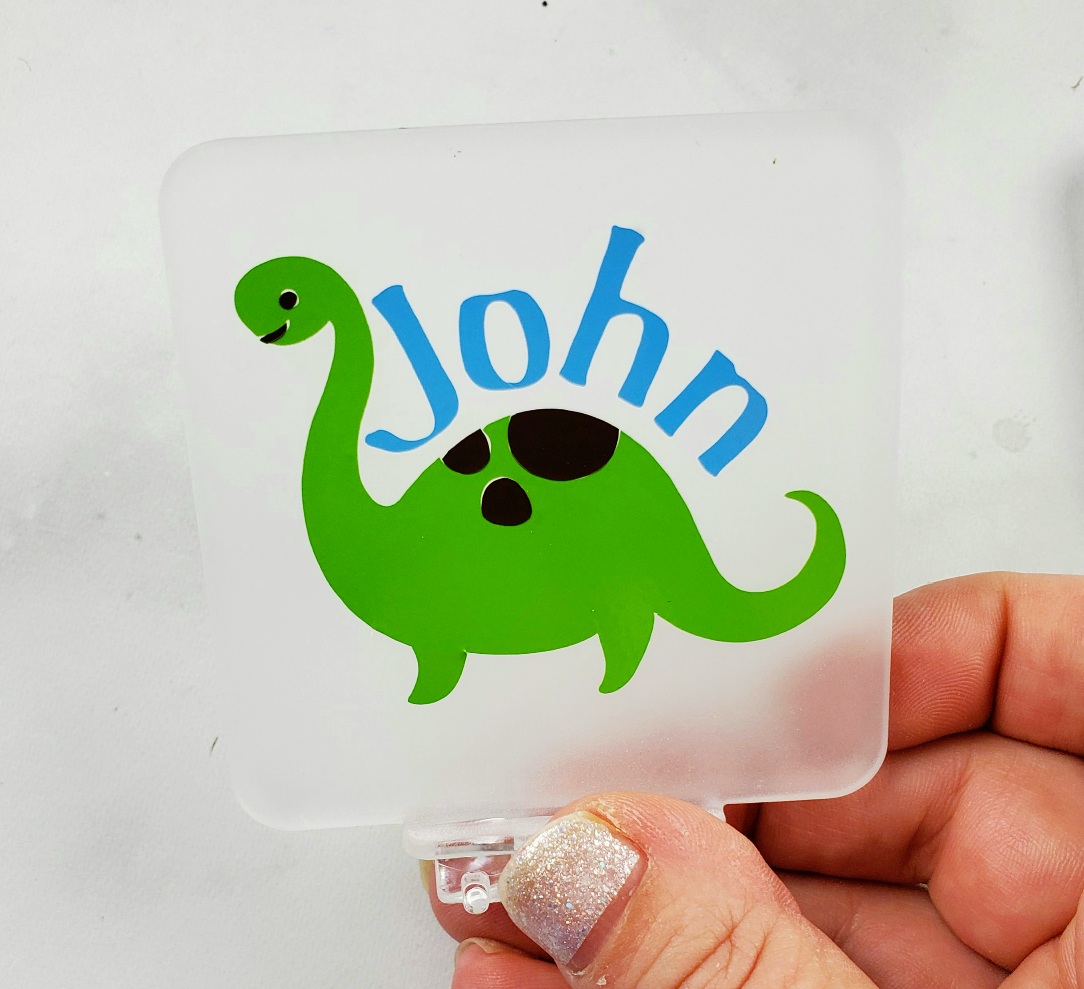
Then center the vinyl decal over the plate and place it down.


Scrape it down and then remove the transfer tape.
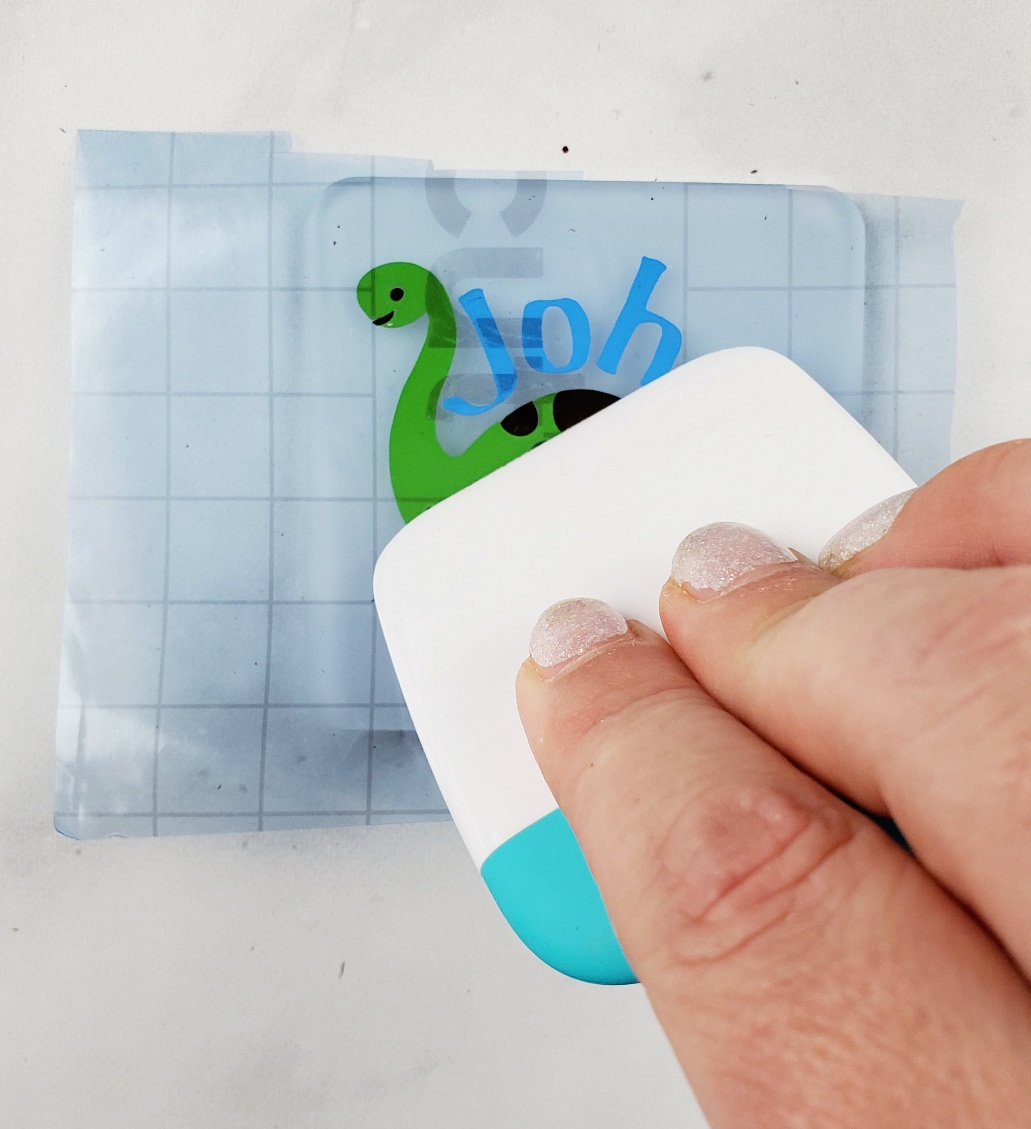


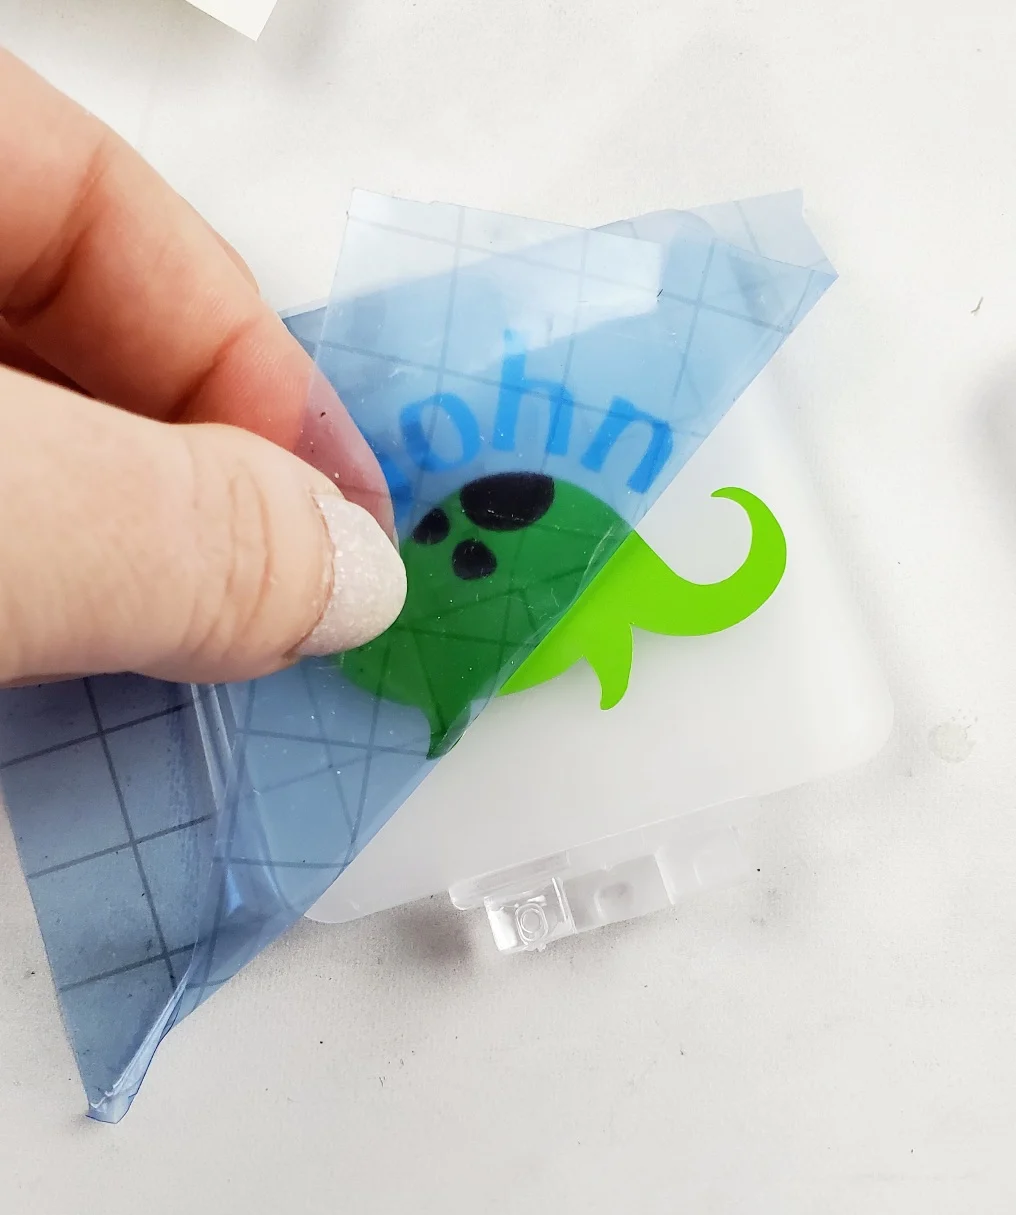
So cute!
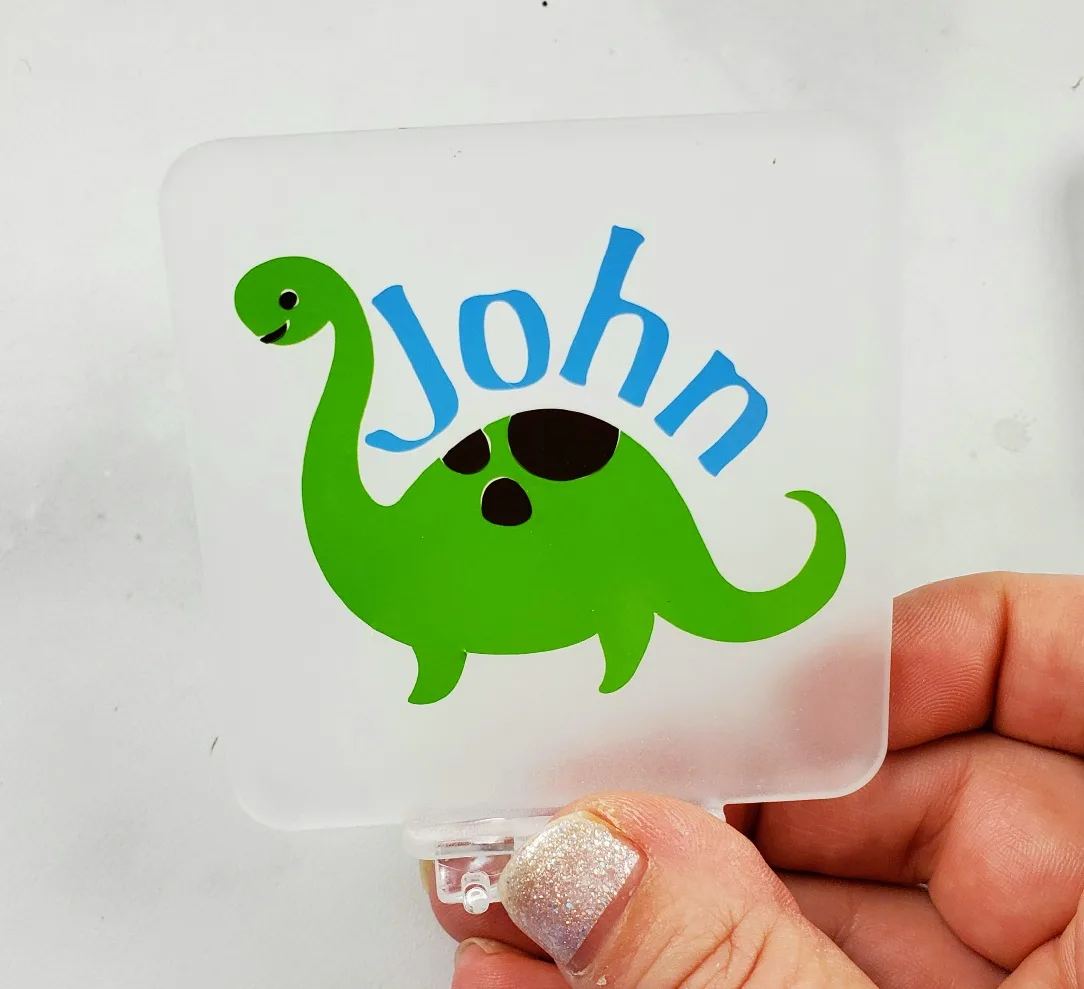
Now assemble the light back together with the two sides and the screw.


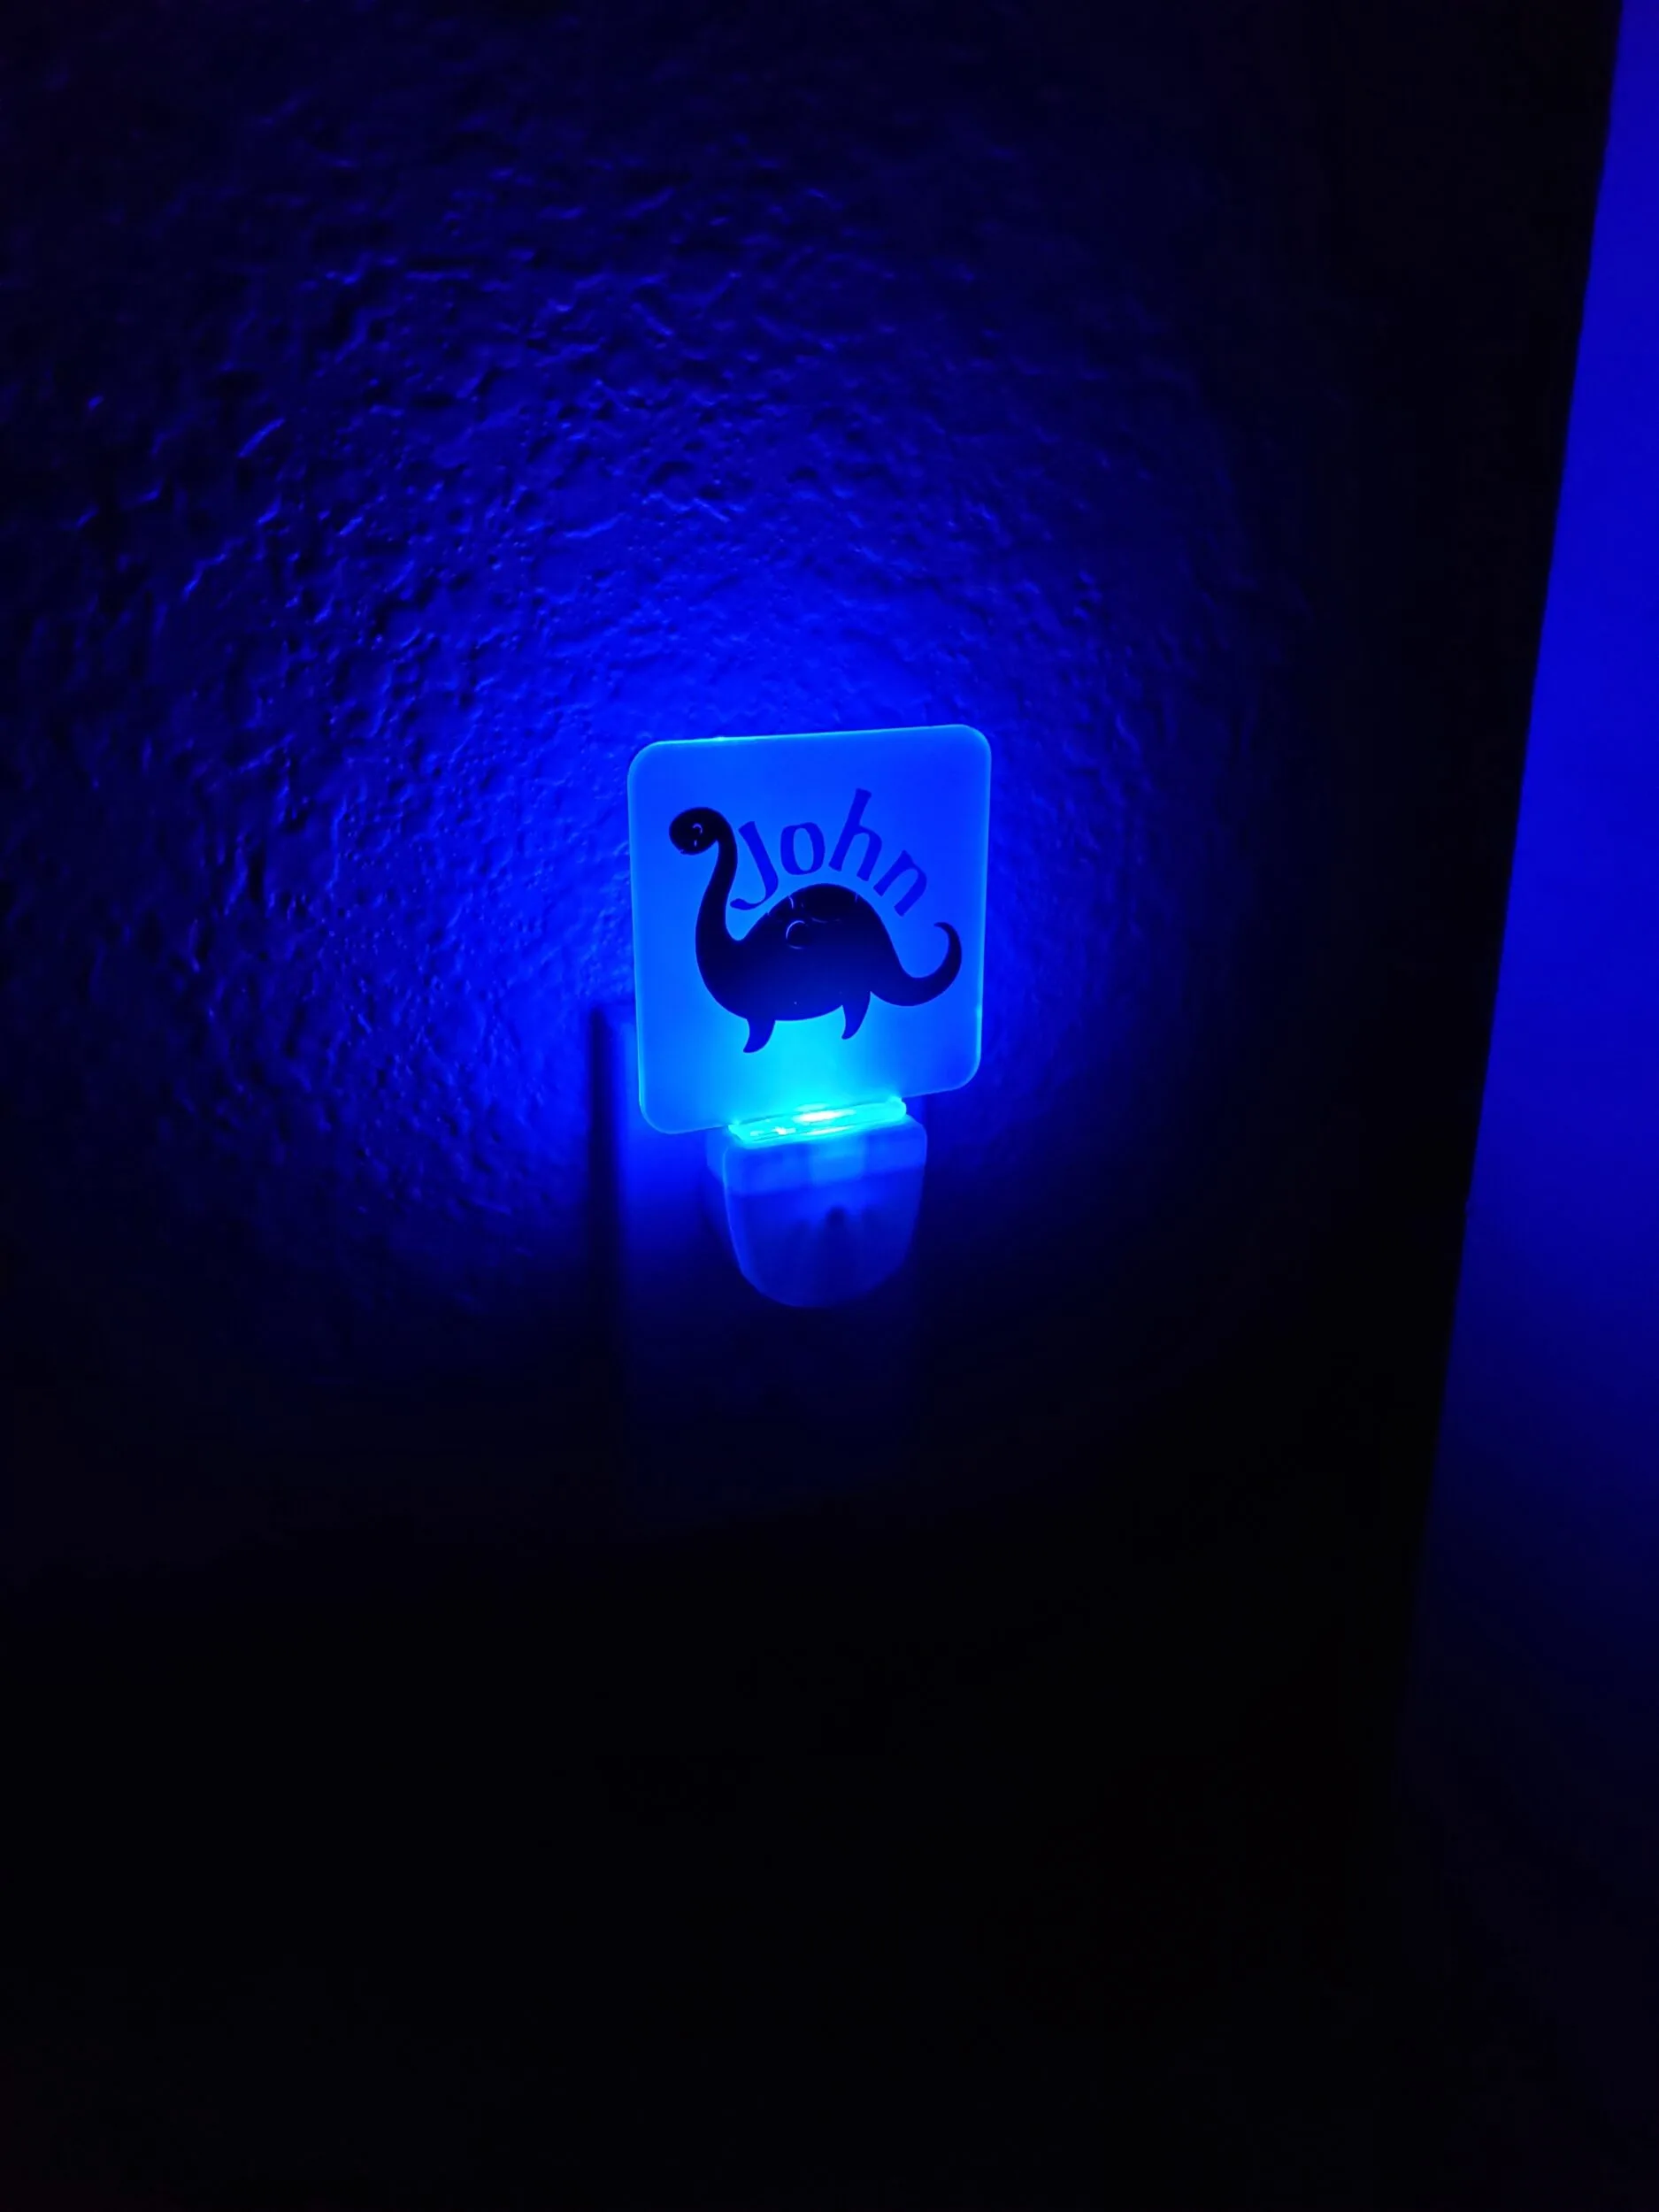
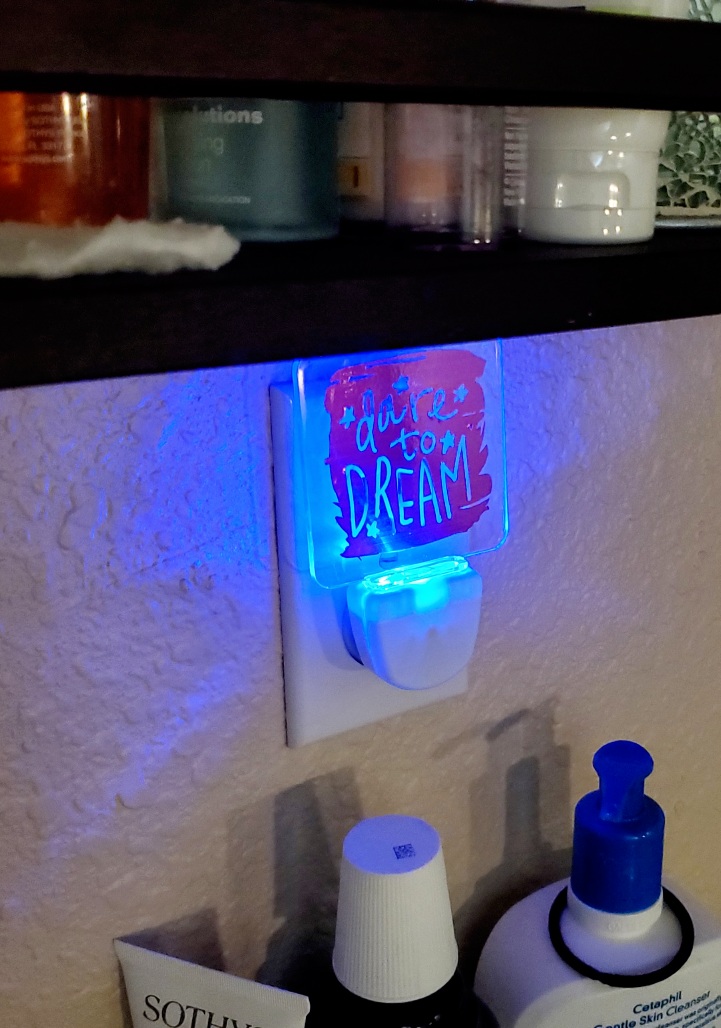
The vinyl colors don’t totally show in the dark but it’s still cute. The darker colors seem to show up better but they are also hard to distinguish from each other.
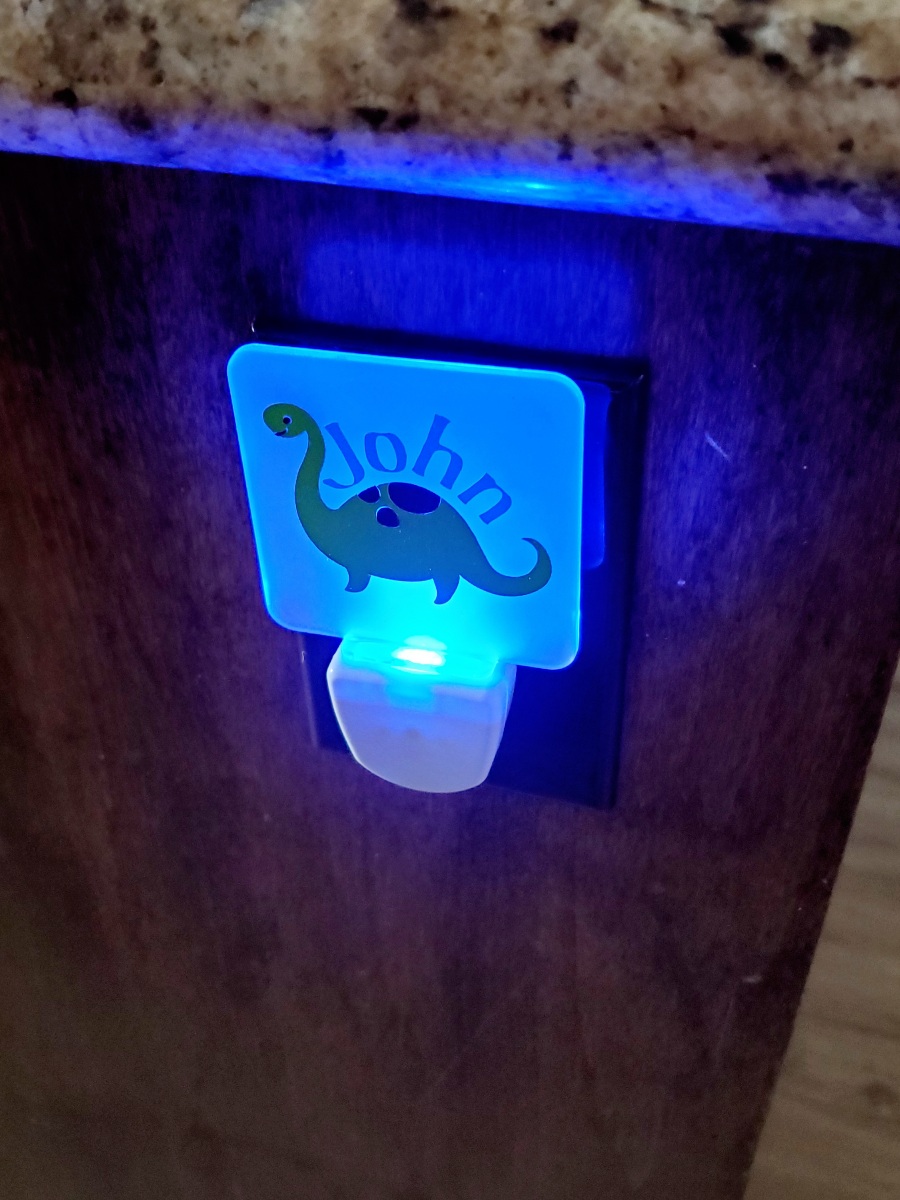

The light that shines in the back is a bluish color.

Here are some other Dollar Tree night light ideas I thought of and made.


This one is with glitter and shimmer vinyl.


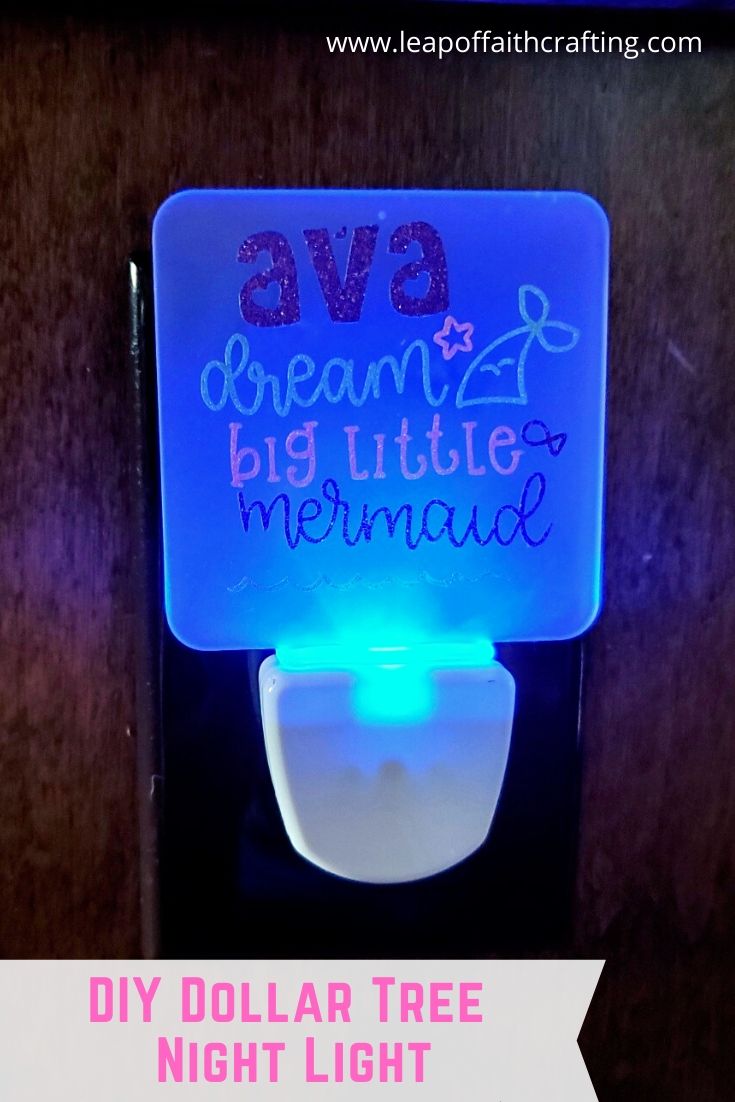

This is the Dare to Dream light that I did not frost. This is what it looks like when the lights are on!


If you’d like to save this post for later, simply hover over the image below and PIN It now!


How to Apply Vinyl to Dollar Tree Night Light
There are so many cute Dollar Tree night light ideas that you can make with a Cricut and some adhesive vinyl.
Materials
- Dollar Store night lights
- Adhesive Vinyl
- Frosted Spray Paint
Tools
- Cricut
- Transfer tape
Instructions
- Read all warnings on the night light. Do not put close to bed or where it's covered.
- Take apart the night light by unscrewing if you want to frost it.
- Optional - Clean the plate and spray frosted spray paint over the front and back. Apply two to three layers about a minute apart. Allow to dry.
- Cut out vinyl decal with Cricut and weed off the extra vinyl.
- Use transfer tape to apply the vinyl to the night light plate with the two points facing toward you. Scrape down and then remove the transfer tape.
- Screw the night light back together and plug it in!
Notes
See full blog post for step by step directions.
Recommended Products
As an Amazon Associate and member of other affiliate programs, I earn from qualifying purchases.

Thanks for stopping by and have a creative day!