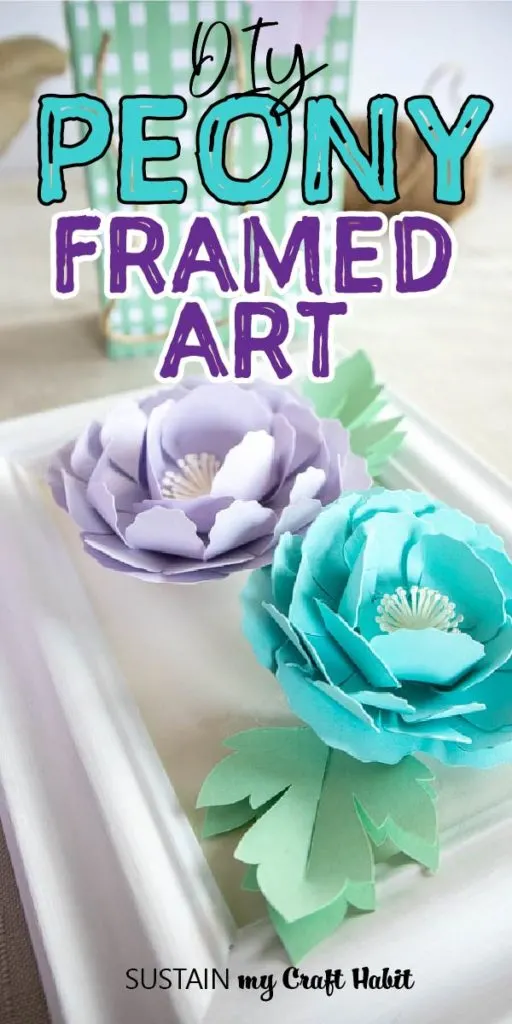
With Mother’s Day around the corner we thought it would be the perfect time to make our mom something featuring her favorite things: flowers! We know she’ll love these framed paper peony flowers, cut with our Cricut Maker.

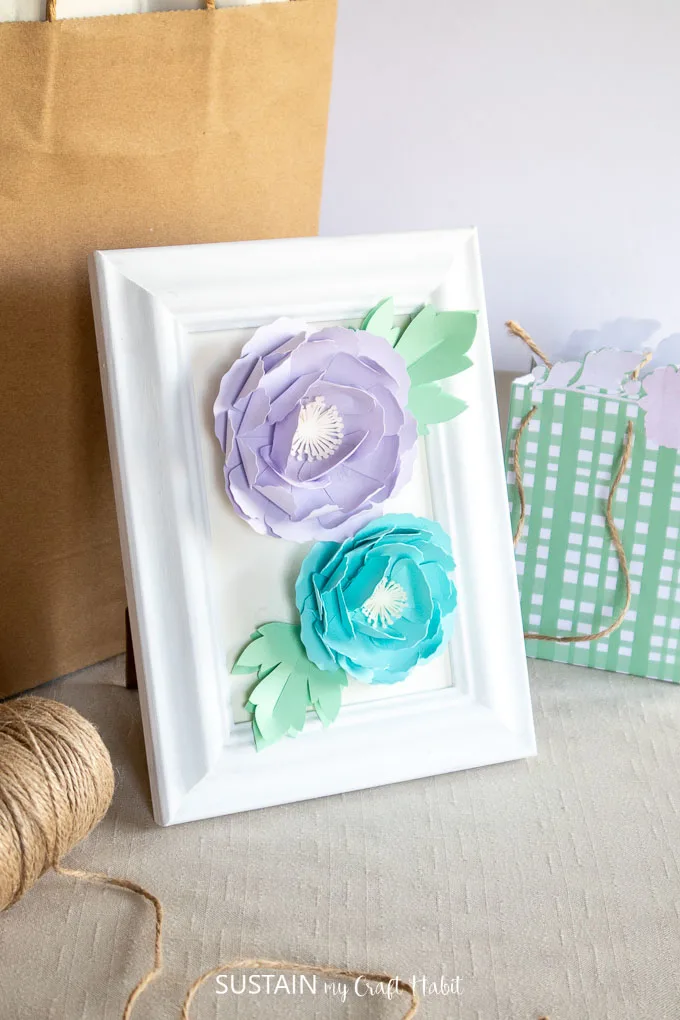
Beautiful Framed Paper Flowers
Our mom has a bit of a flower addiction! If you take a tour of her beautiful flower gardens it’s easy to see how much love and care she places in them. From spring through late fall, her gardens are blooming with every flower you can imagine. All her lovely dahlia’s even inspired our own floral home decor collection as well as our popular greeting card series!
So we knew she would appreciate this little gift we made her. We used the peony template within Cricut’s Design Space. But you could make this little paper flower garden with any blooms such as our paper cherry blossoms or the other patterns in our Etsy shop (use the code SMCH10 for a 10% discount).

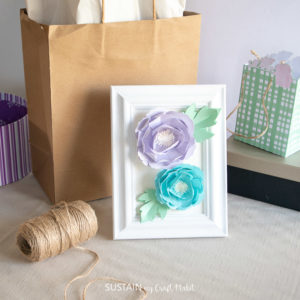
Although we upcycled a thrifted photo frame, you could simply purchase a white one (or any other color you’d like).
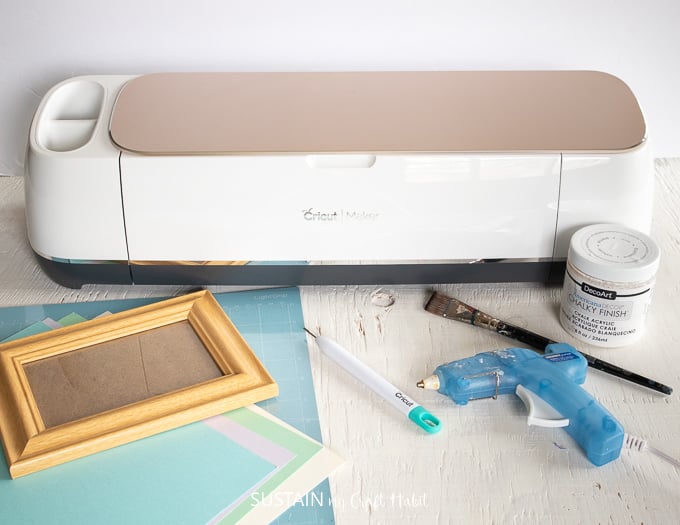
Materials Needed for this Peony Framed Flower
- 4×6 photo frame (white or painted white with chalky paint)
- Cricut Maker
- 1 sheet each of cardstock paper in cream, soft green, blue and purple
- Cricut Light Grip Mat
- Cricut Design Space Peony Pattern #MA3BFE
- Pen or other round utensil for curling petals (such as a wooden skewer)
- Cricut Spatula (optional)
- Hot glue gun with clear craft glue

How to Make Framed Paper Peony Flowers:
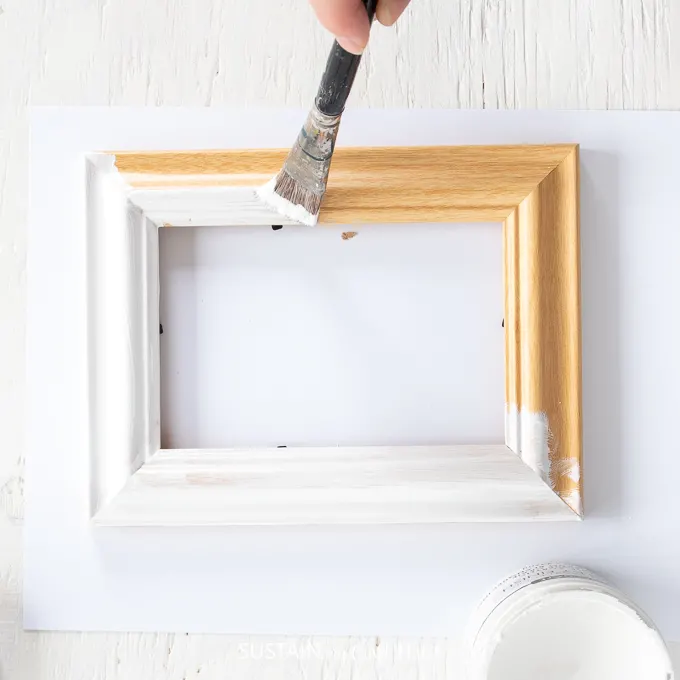
Preparing the Frame
Gather supplies.
Disassemble the photo frame, removing the glass, which can be carefully discarded. If needed, paint the frame with 1-2 coats of white chalky paint. Set aside to dry.

Uploading the Peony Pattern
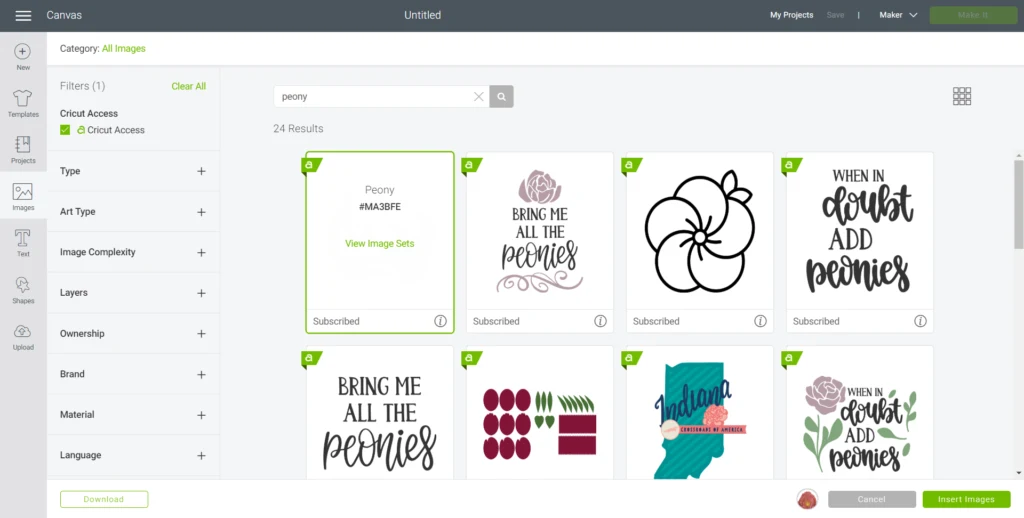
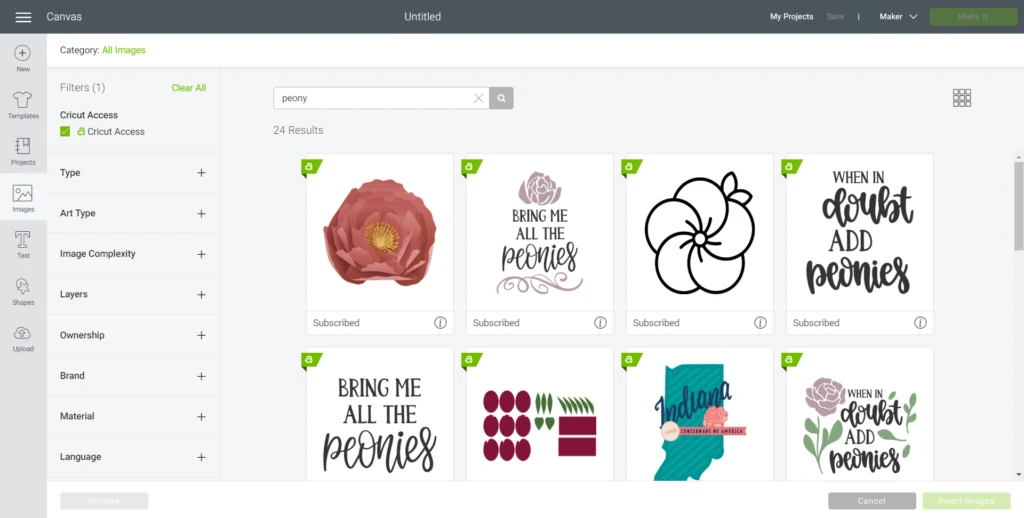
On a new canvas in Cricut’s Design Space, select Images from the toolbar.
Search “Peony” image (#MA3BFE) and select insert images.


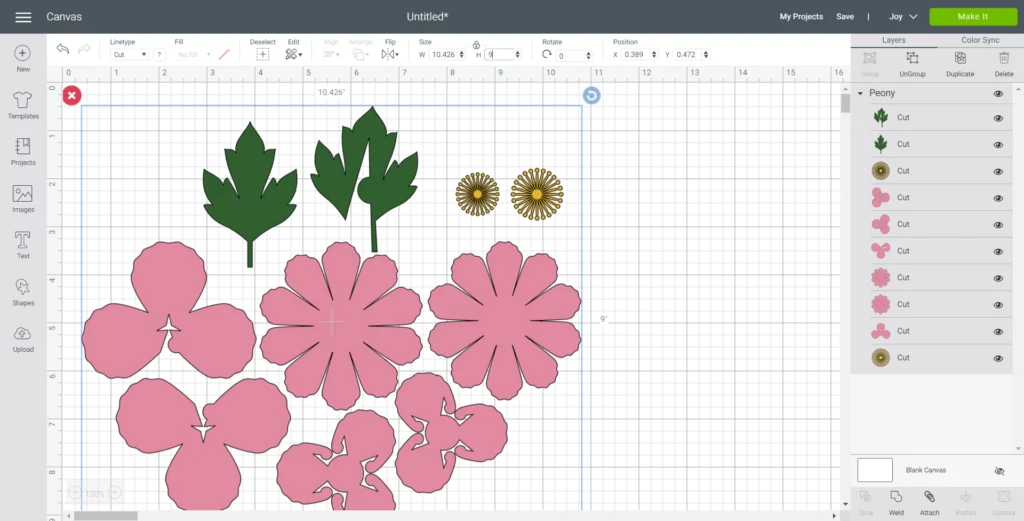
Resize grouping to 9” high.

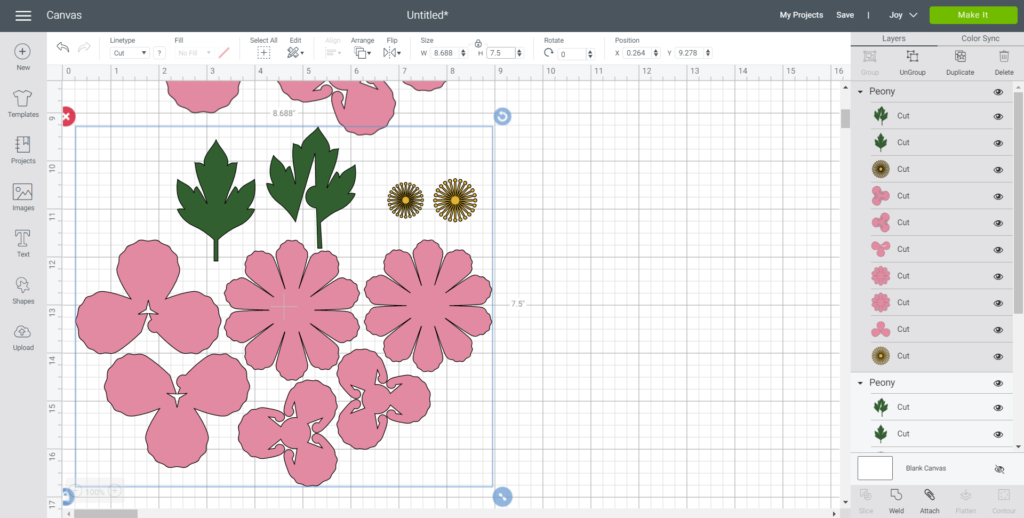
Duplicate the grouping and resize the second set to 7.5” high.

Create the picture mat by adding a square shape and sizing it to 4” x 6” (or whatever size your photo frame is).

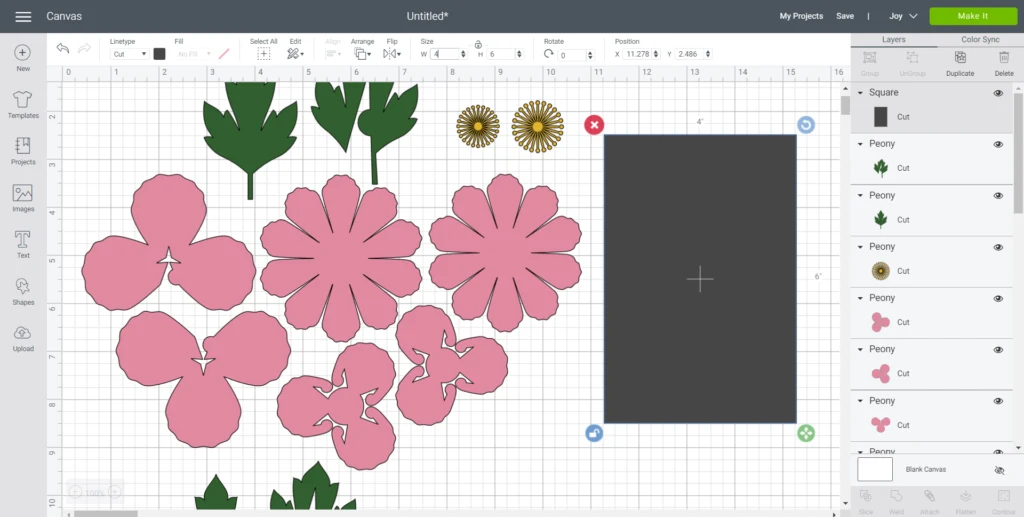
Ungroup both sets of patterns.

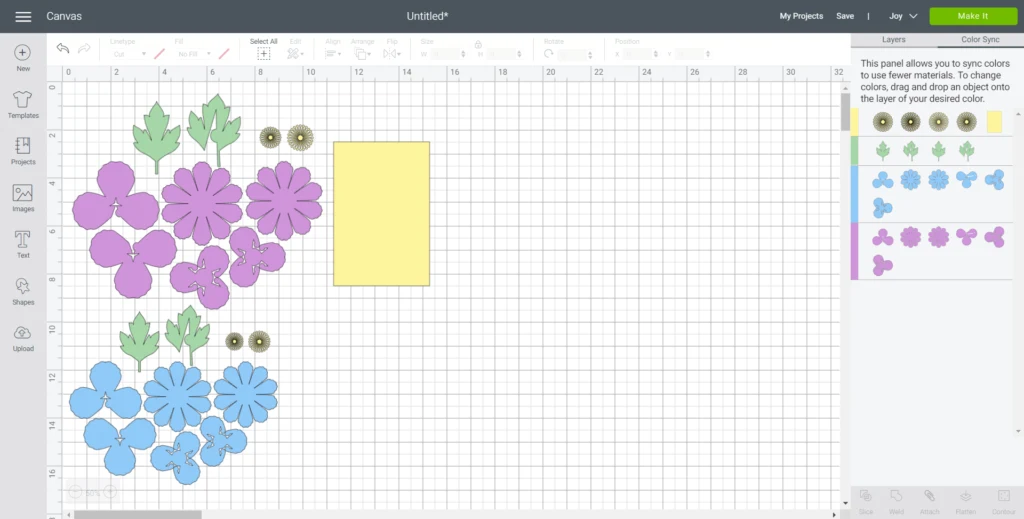
Move to the Color Sync tab to sort images by paper color.

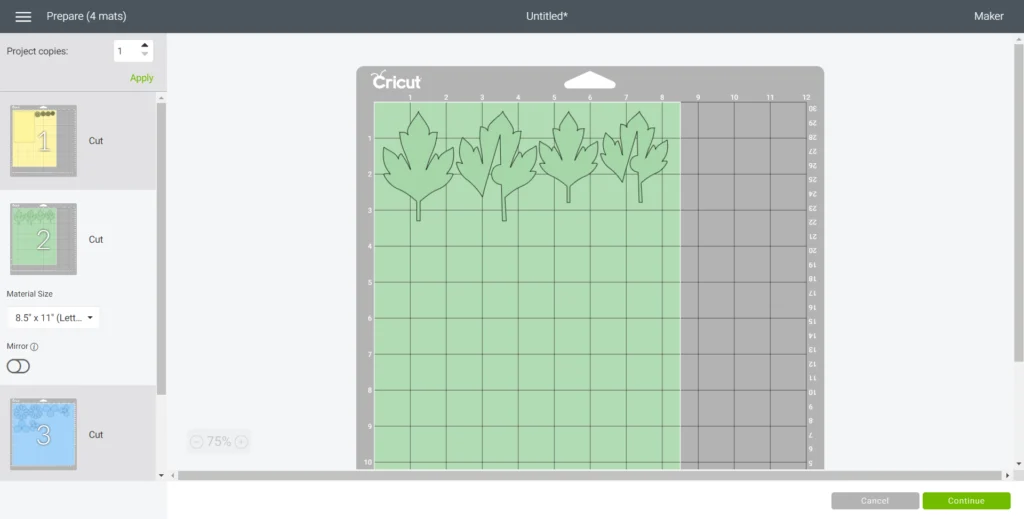
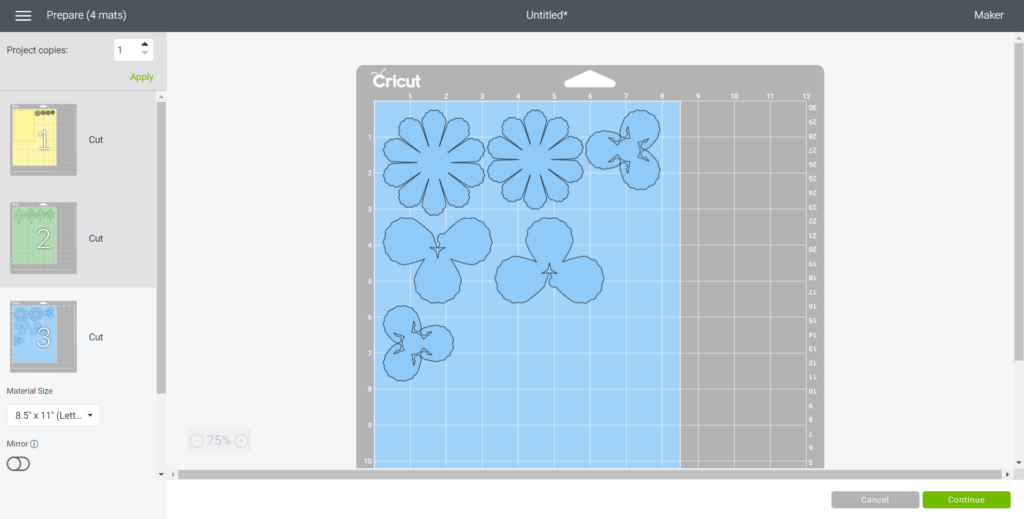
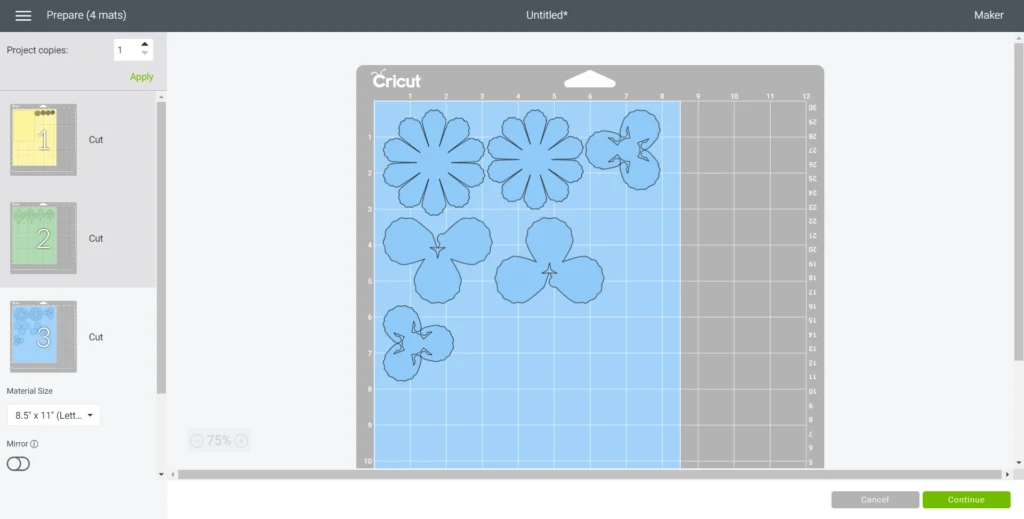

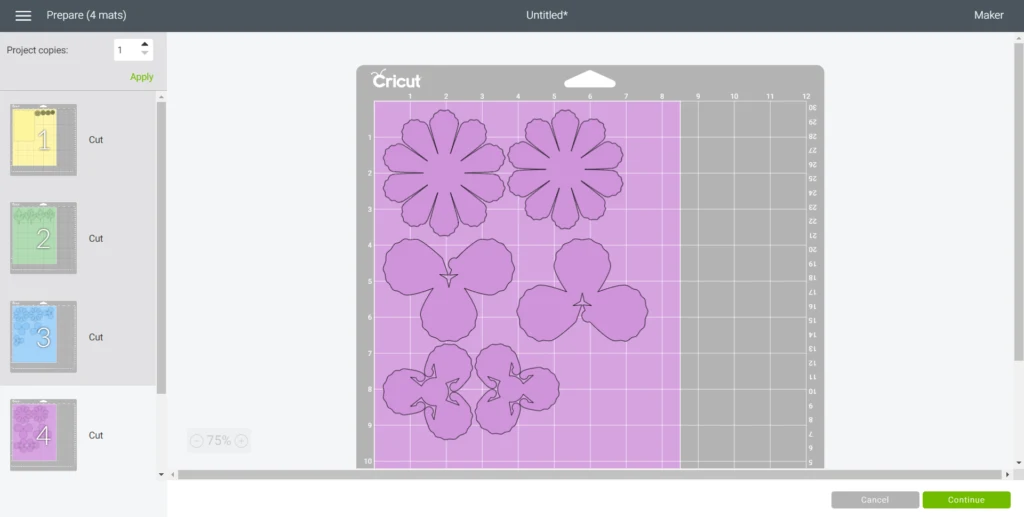
Cutting the Paper Flower Pieces
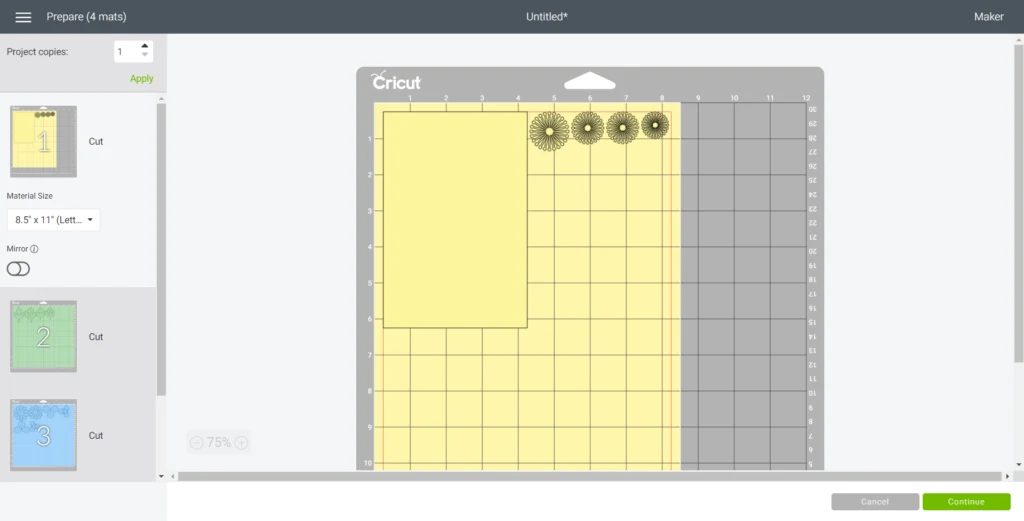
With the machine set to Cricut Maker, select “Make It” in Design Space.
Set material type to Cardstock, choosing the appropriate weight based on your paper.
Place the first paper color onto the light grip mat.
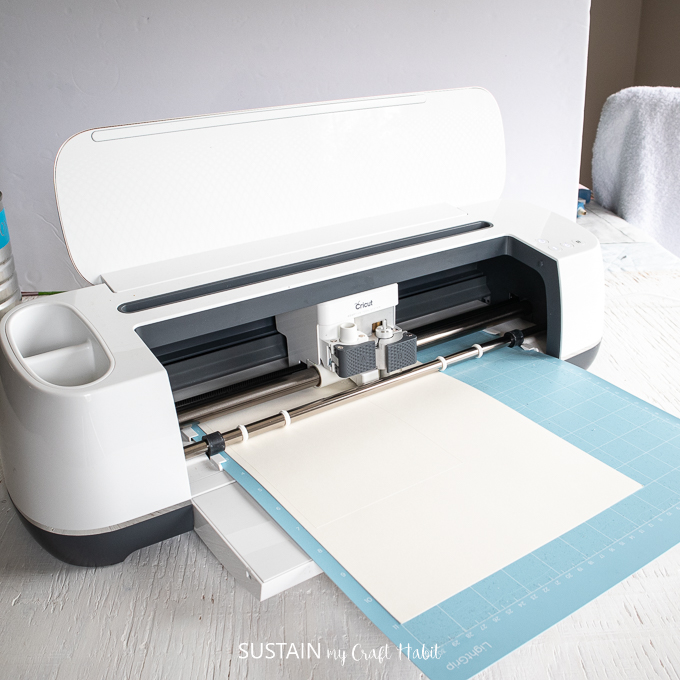

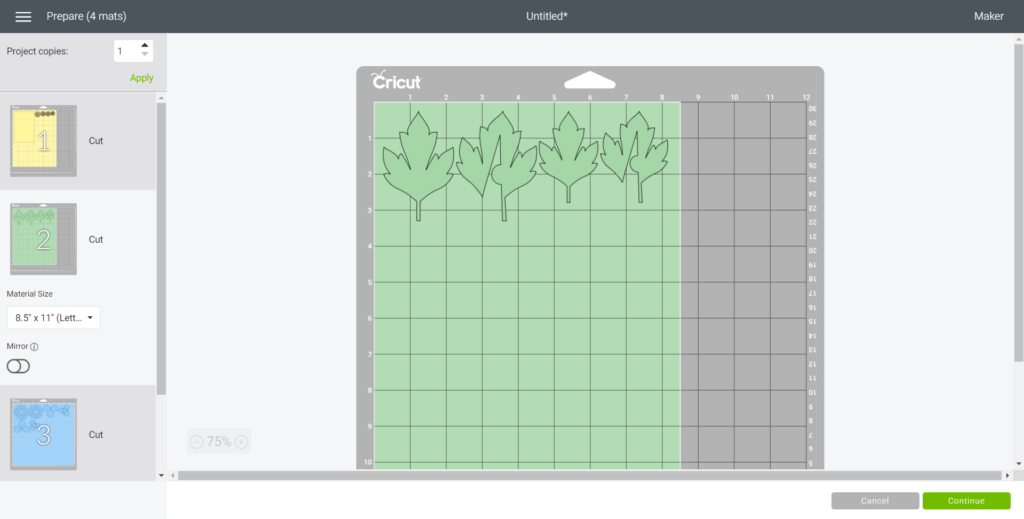
Follow prompts for loading cardstock paper into Cricut Maker and cutting. When the cut is complete, unload the mat from the machine.
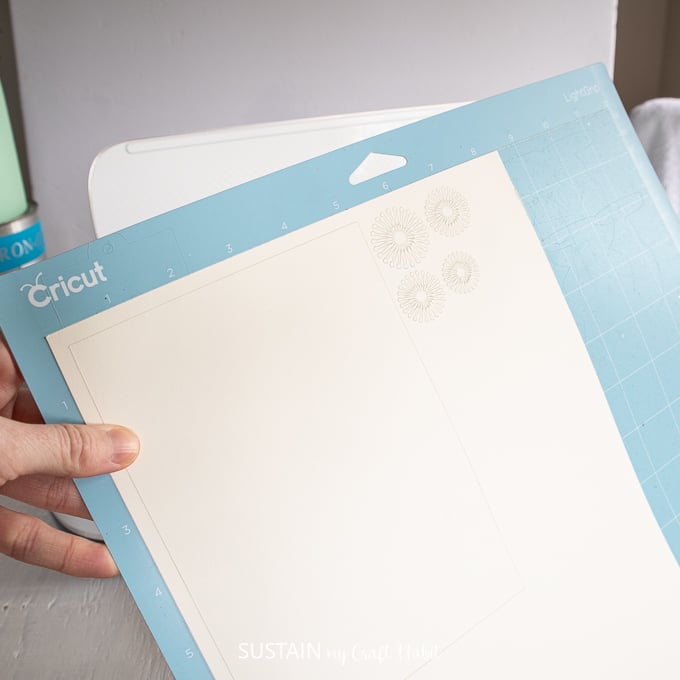

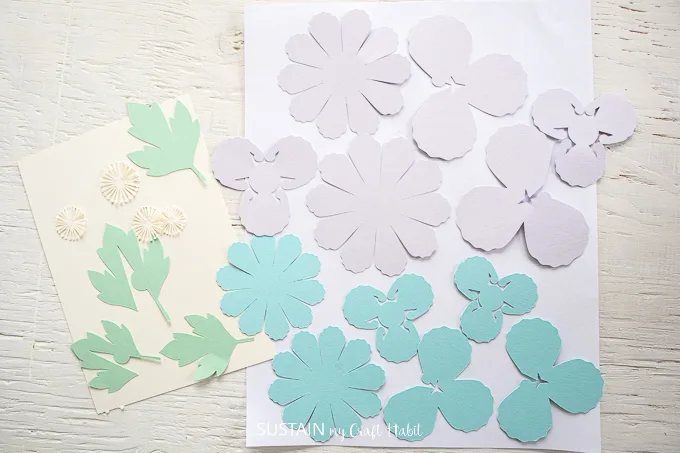
Remove the cut pieces from the cutting mat.

Repeat for the remaining images and papers.

How to Assemble the Peonies and Leaves
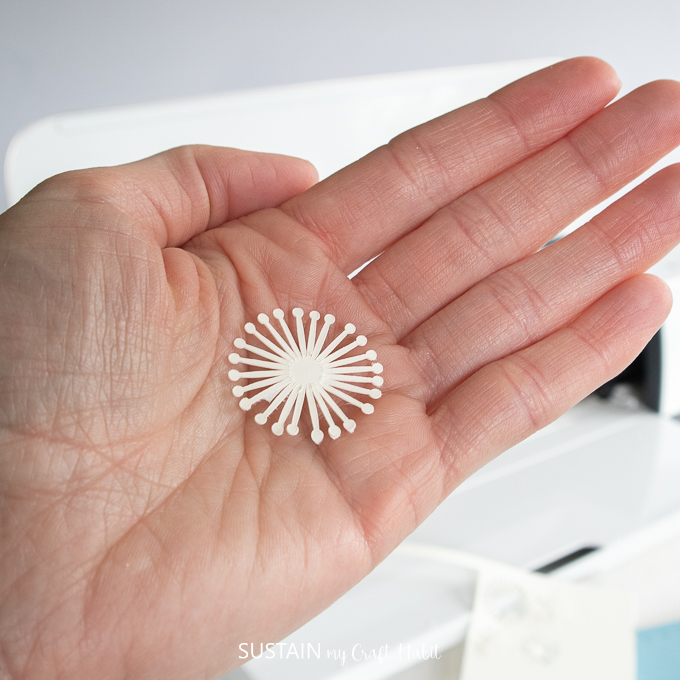
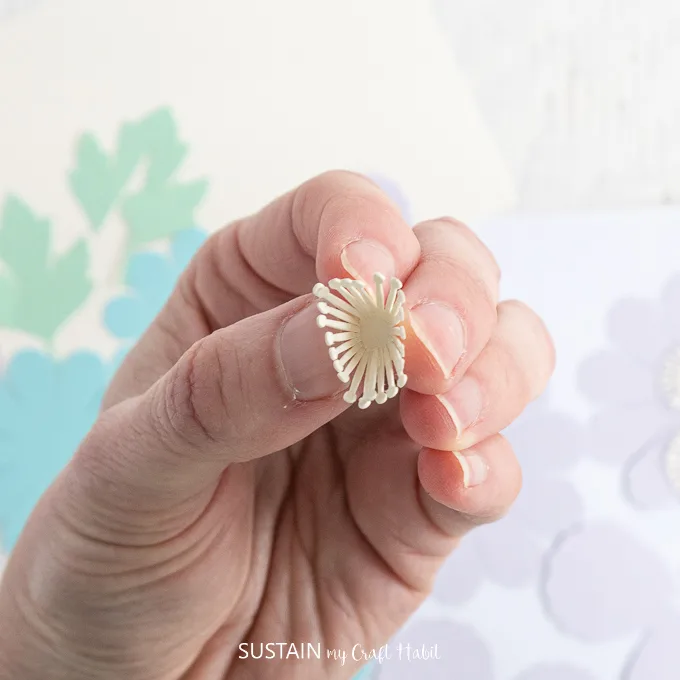
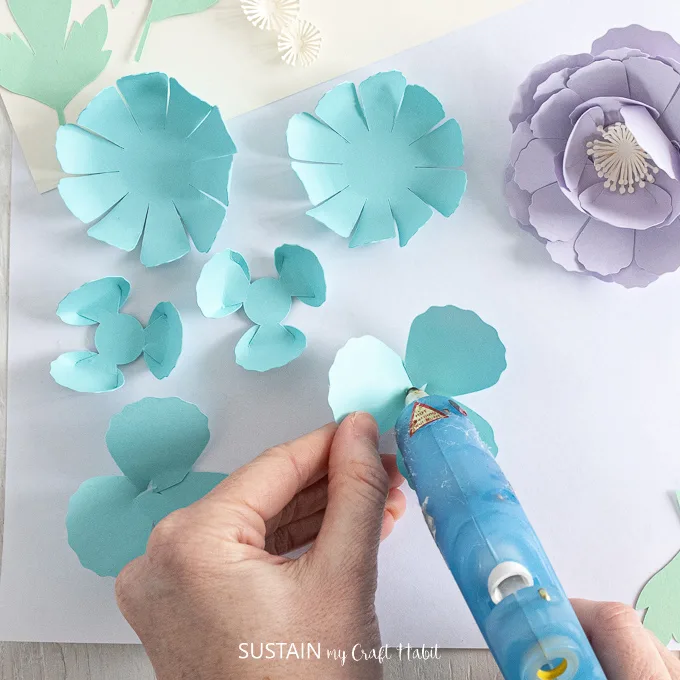
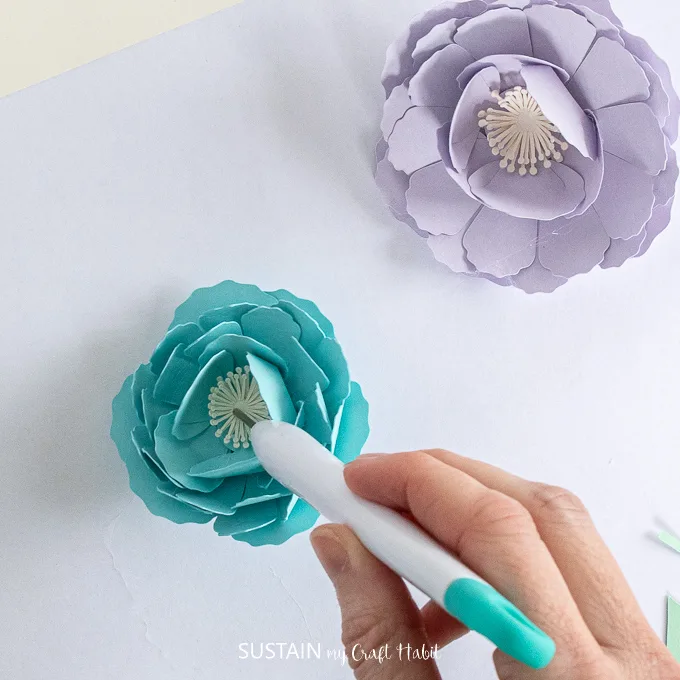
Fold up the outer edges of the peony center pieces (pistil).

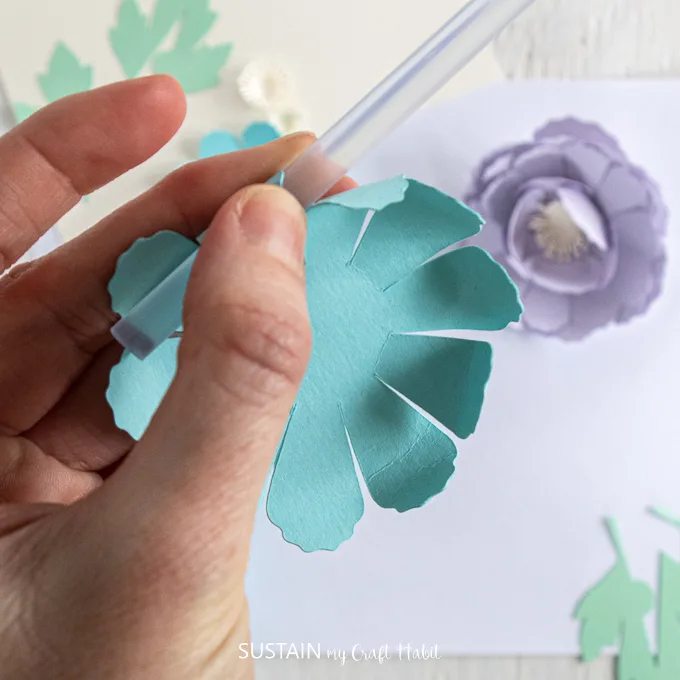
Use a pen or a wooden skewer to curl petals upward on the 10 petal pieces.

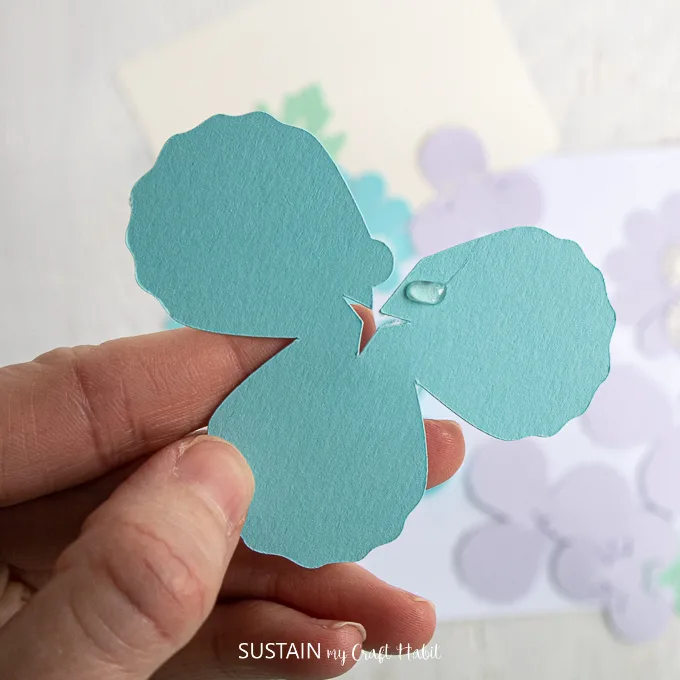
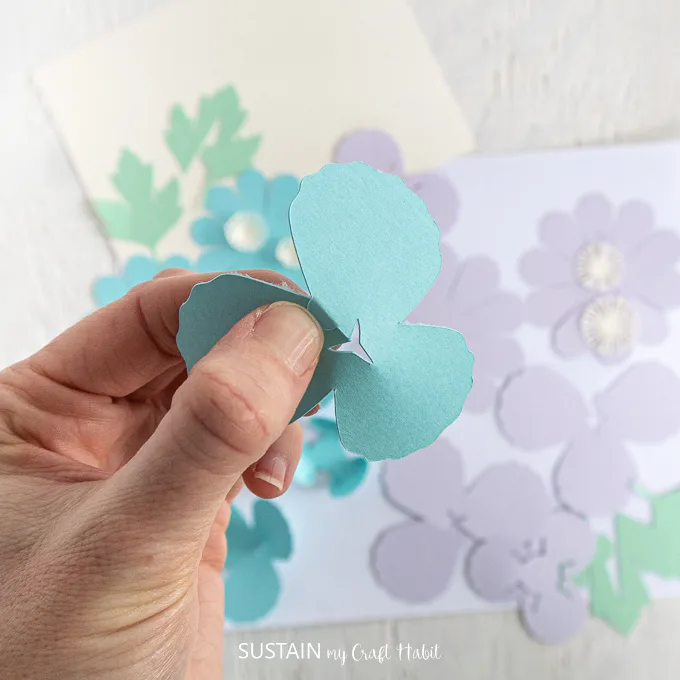
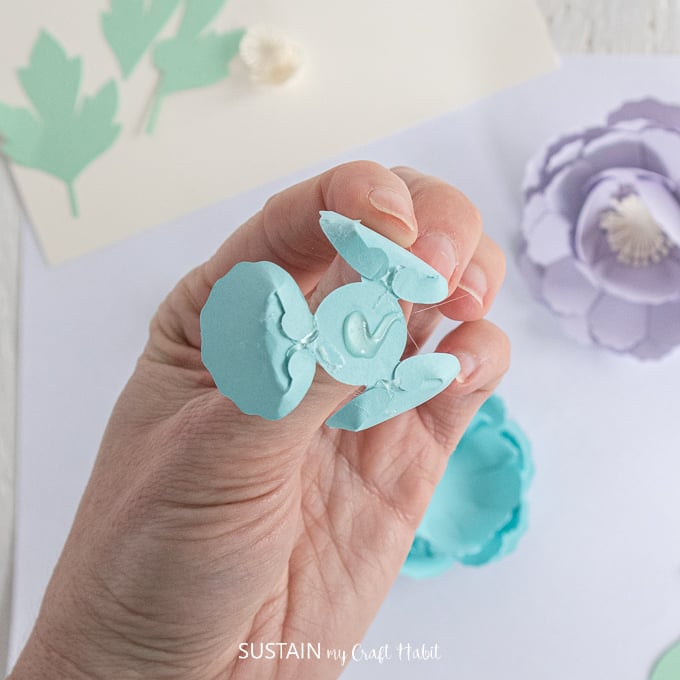
For the smallest 3 petal pieces: fold the side tab towards the back of the petal and glue in place.
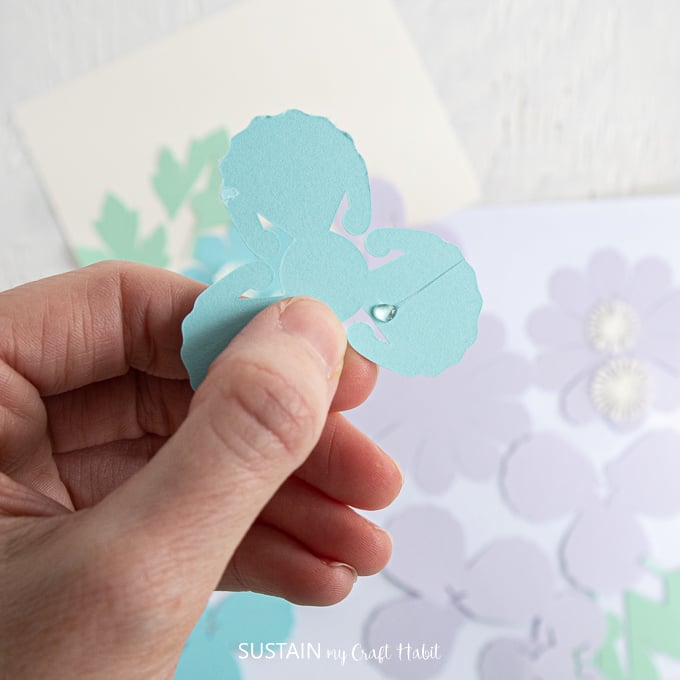

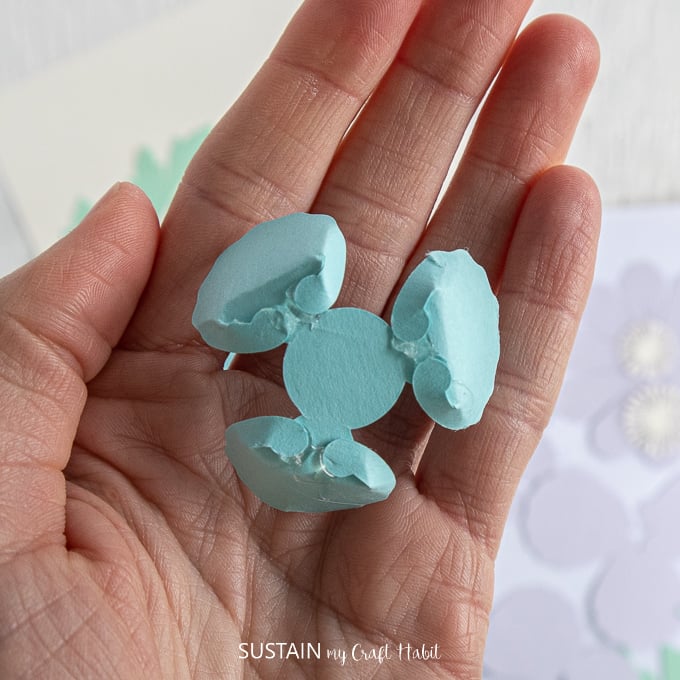

For the large 3 petal pieces: glue the small tab to the back side of the adjoining petal to form the shape.
Tip: if using a heavier cardstock paper, pre-crease the tabs in place before glueing.


Make sure the 10 petal pieces are different sized.
Stack and glue all of the petal pieces together in this order: the big 3-petal pieces,


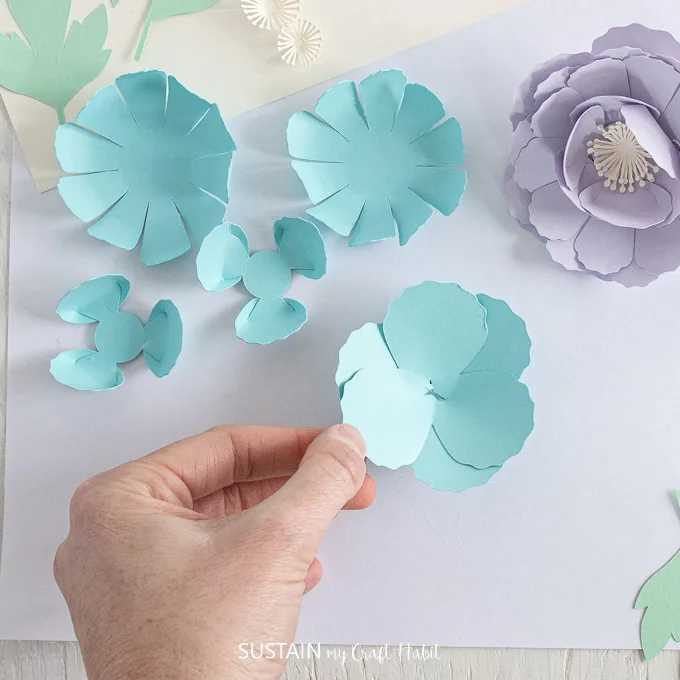
The 10-petal pieces (make sure the larger of the two 10 petal pieces is on the bottom)

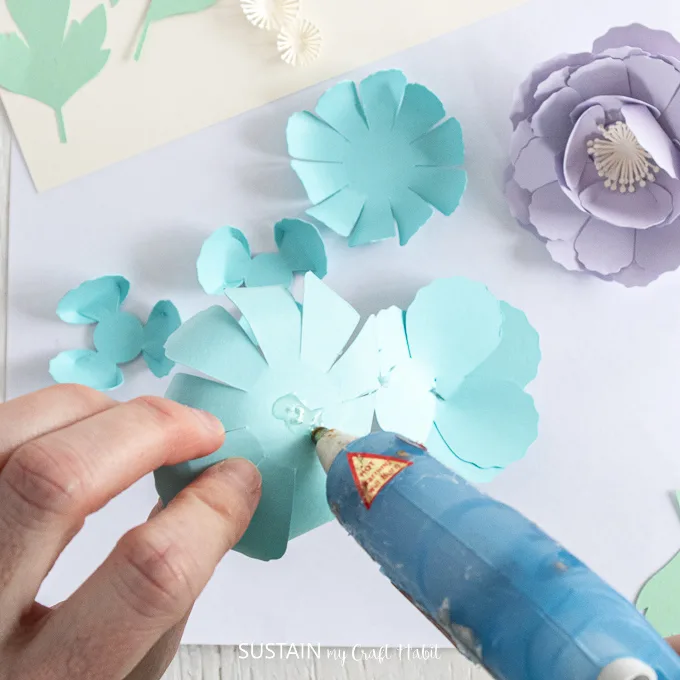

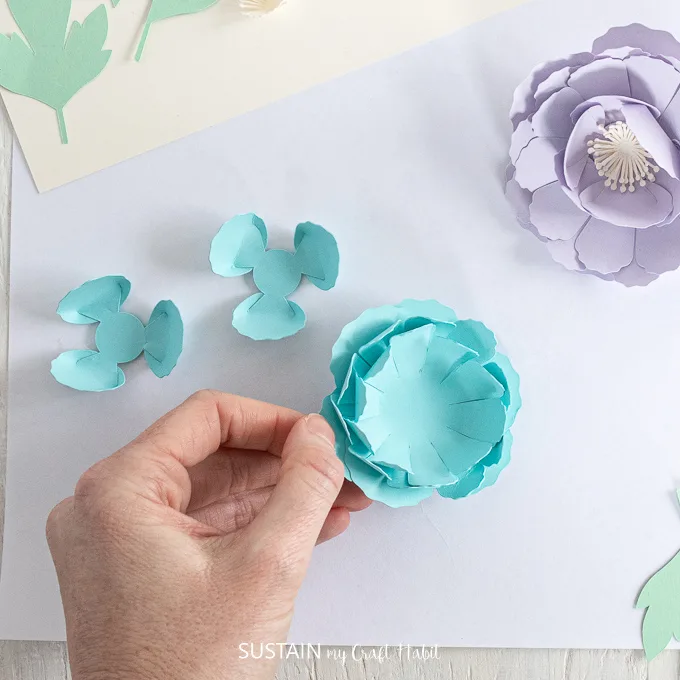
Then the two smaller 3 petal-pieces.

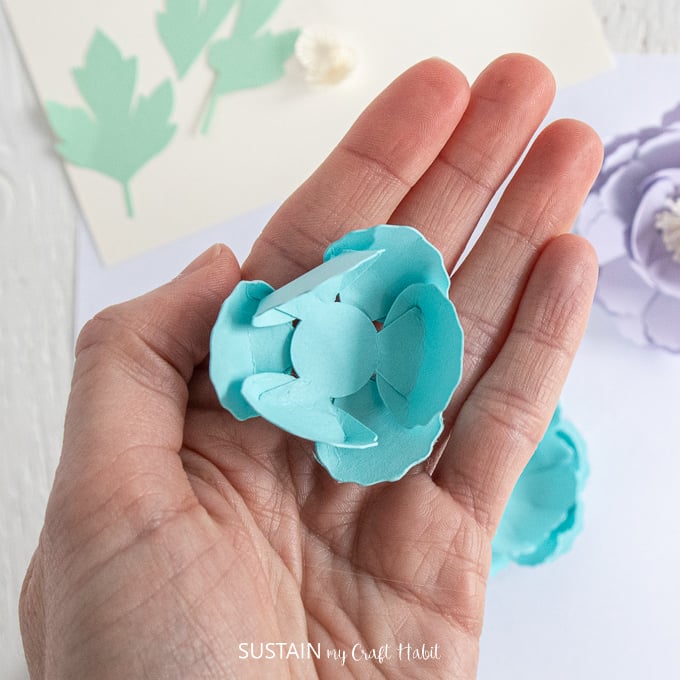

Glue the center pistils in place.


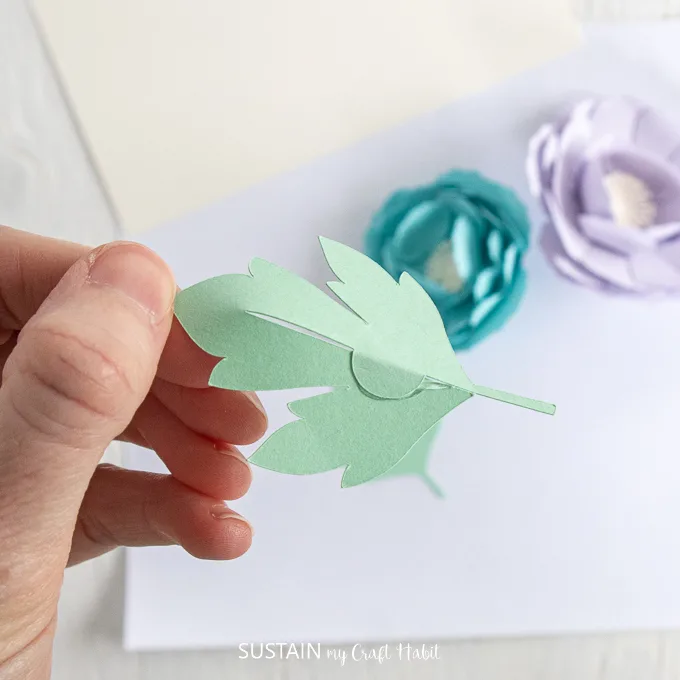
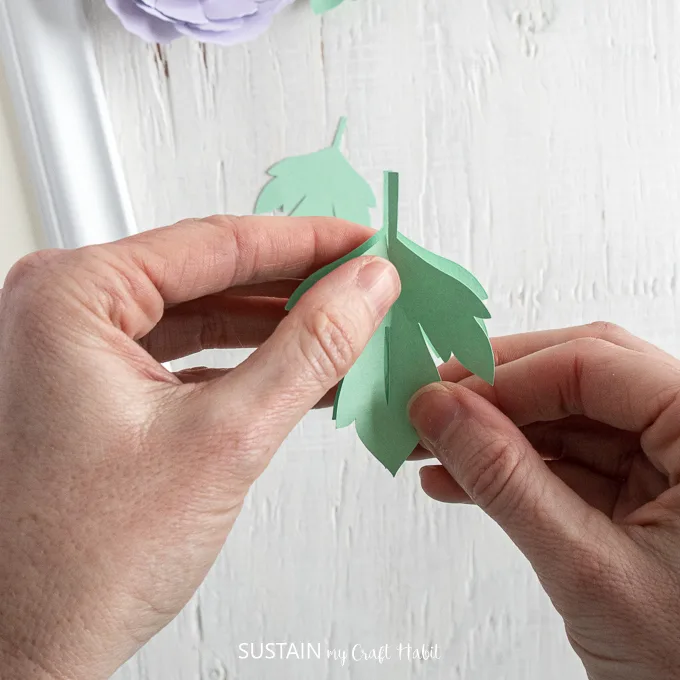
For the leaves: Slightly fold the leaf piece with the slit and then glue at the tab. Glue this folder leaf to the center of the intact leaf. Repeat with the other leaf.


How to Assemble the Framed Art
Place the cream mat into the frame. Reassemble the backing into the frame.

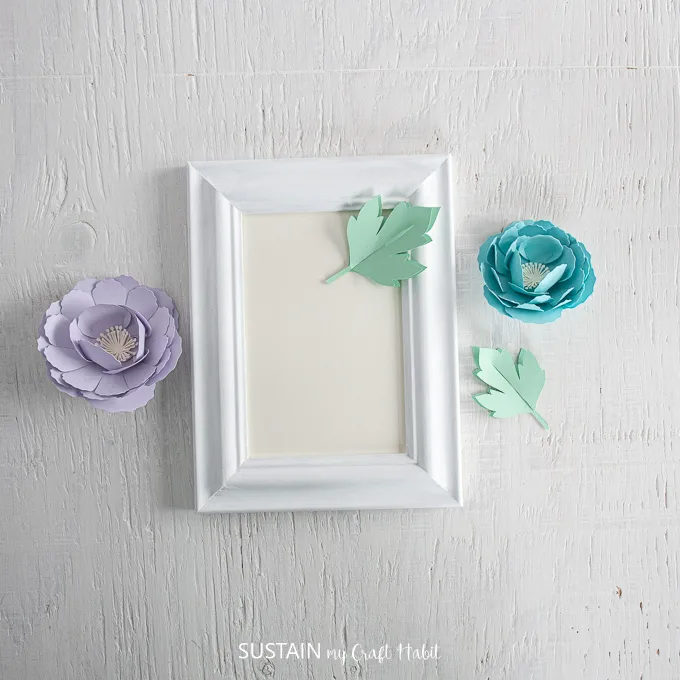
Decide on the arrangement of your flowers and leaves.

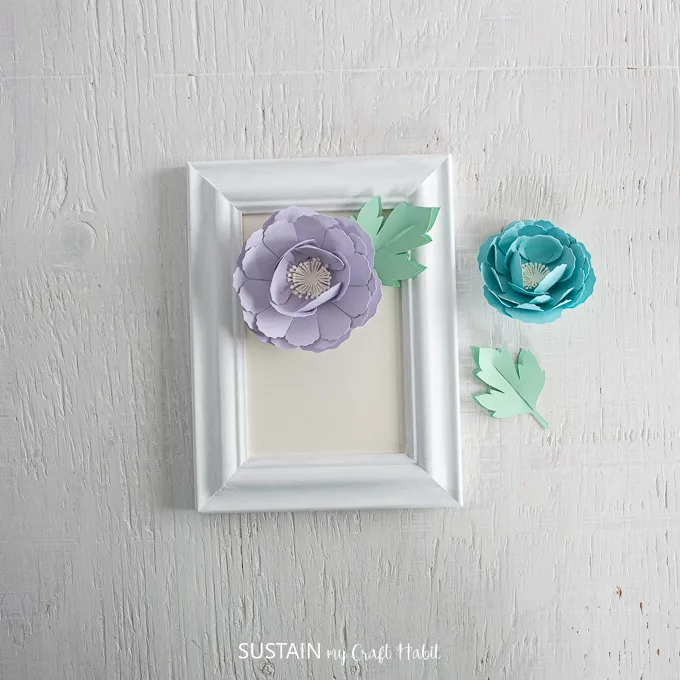
Working one peony flower and leaf at a time, glue them in place and hold until secure.
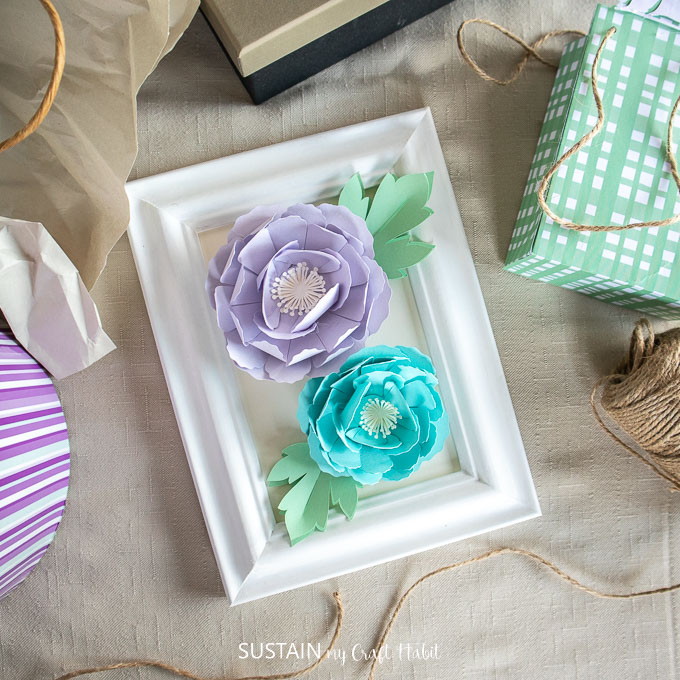
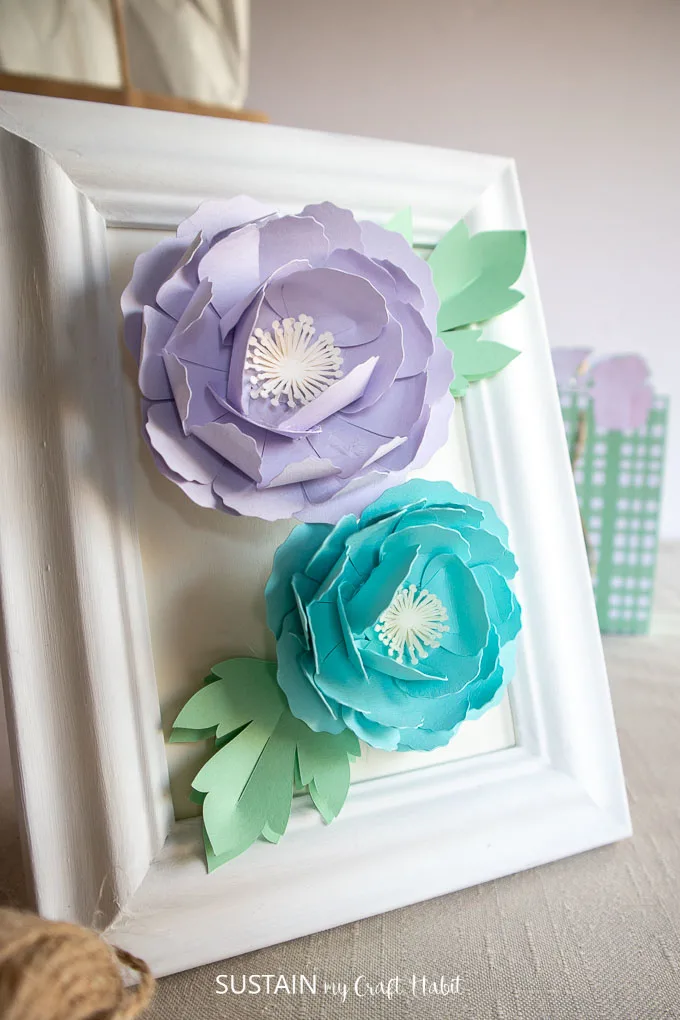
We love how these framed peony flowers turned out! Although the blue color’s a bit non-traditional it’s so pretty alongside the soft purple. We could absolutely see this as nursery decor, or to decorate a craft room or home office.

For additional Mother’s Day craft ideas be sure to explore our Remember Little Me throw pillow, personalized gifts for mom or birth month flower pendants.
Like it? Pin it for later!


Cricut Peonies Framed Flowers
Materials
- 4×6 photo frame white or painted white with chalky paint
- Cricut Maker
- 1 sheet each of cardstock paper in cream, soft green, blue and purple
- Cricut Light Grip Mat
- Cricut Design Space Peony Pattern #MA3BFE
- Pen or other round utensil for curling petals such as a wooden skewer
- Cricut Spatula optional
- Hot glue gun with clear craft glue
Instructions
- Disassemble the photo frame, removing the glass, which can be carefully discarded.
- Uploading the Peony Pattern: on a new canvas in Cricut’s Design Space, select Images from the toolbar.
- Search “Peony” image (#MA3BFE) and select insert images.
- Resize grouping to 9” high.
- Duplicate the grouping and resize the second set to 7.5” high.
- Create the picture mat by adding a square shape and sizing it to 4” x 6” (or whatever size your photo frame is).
- Ungroup both sets of patterns.
- Move to the Color Sync tab to sort images by paper color.
- With the machine set to Cricut Maker, select “Make It” in Design Space.
- Set material type to Cardstock, choosing the appropriate weight based on your paper.
- Follow prompts for loading cardstock paper into Cricut Maker and cutting.
- Remove the cut pieces from the cutting mat.
- Repeat for the remaining images and papers.
- To Assemble the Peonies and Leaves fold up the outer edges of the peony center pieces (pistil).
- Use a pen or a wooden skewer to curl petals upward on the 10 petal pieces.
- For the smallest 3 petal pieces, fold the side tab towards the back of the petal and glue in place.
- For the large 3 petal pieces, glue the small tab to the back side of the adjoining petal to form the shape.
- Stack and glue all of the petal pieces together in this order: the big 3-petal pieces, the 10-petal pieces (make sure the larger of the two 10 petal pieces is on the bottom), then the two smaller 3 petal-pieces.
- Glue the center pistils in place.
- For the leaves: Slightly fold the leaf piece with the slit and then glue at the tab. Glue this folder leaf to the center of the intact leaf.
- To Assemble the framed art, place the cream mat into the frame. Reassemble the backing into the frame.
- Decide on the arrangement of your flowers and leaves.
- Working one peony flower and leaf at a time, glue them in place and hold until secure.