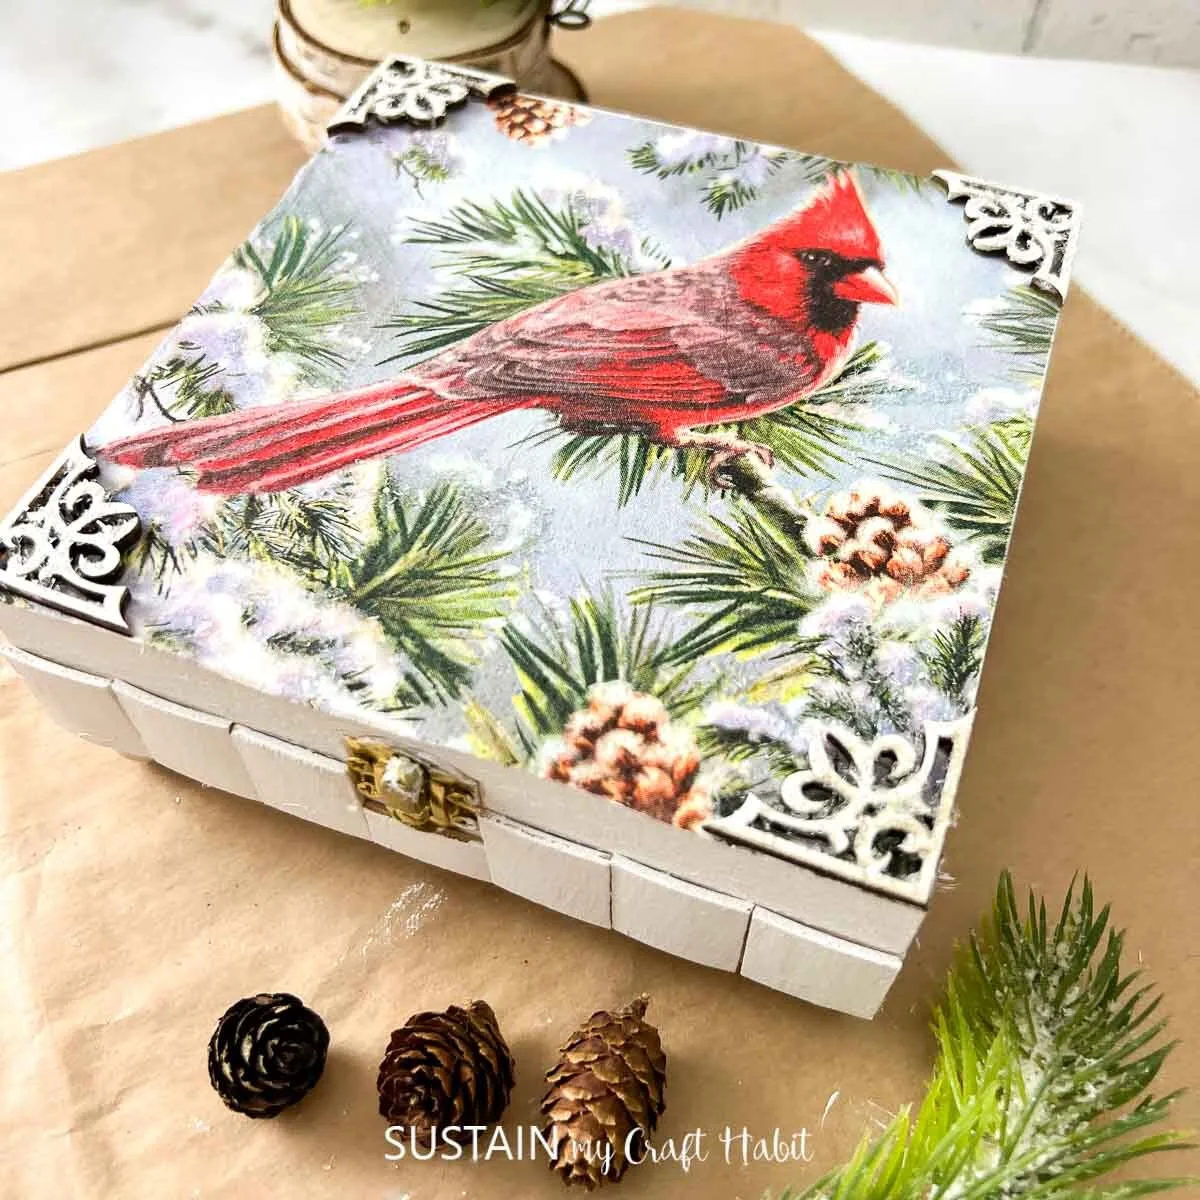
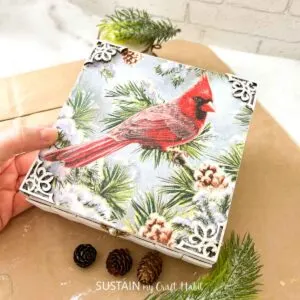
We all have some holiday memories that we want to tuck away with us forever. Now we can, thanks to this holiday keepsake box craft!

It’s the best time of year to create a holiday keepsake box!
Yes, you could create a holiday keepsake box for any holiday during the year. But isn’t there just something about Christmastime that makes us want to wrap it up and store the memories forever? Now you can save small mementos, photos, and more when you create a holiday keepsake box.
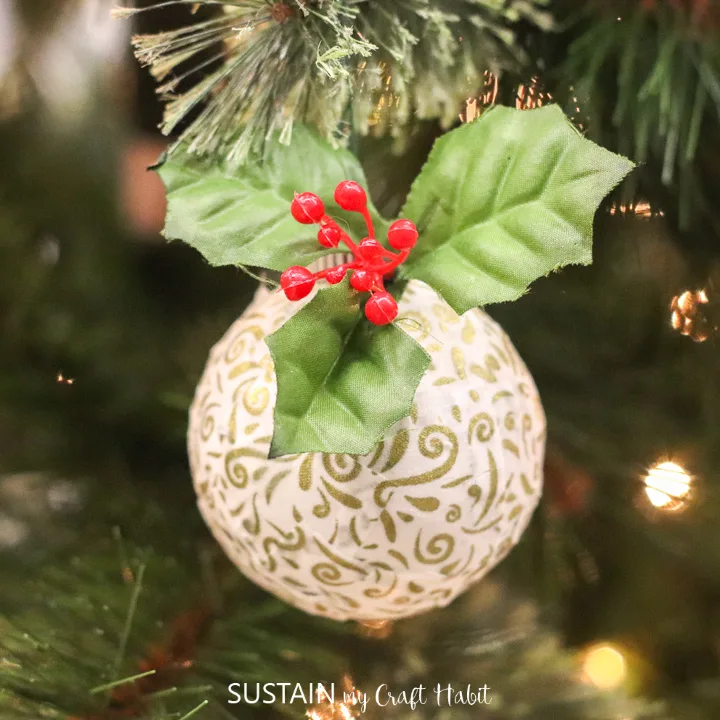
Since we are big fans of upcycling, we recommend using clean napkins that are maybe leftover from the holidays and normally wouldn’t be used again. We all love the idea of holiday napkins, but it seems like there is always a lot left over. Now you can make sure they are put to good use by using them with decoupaging!

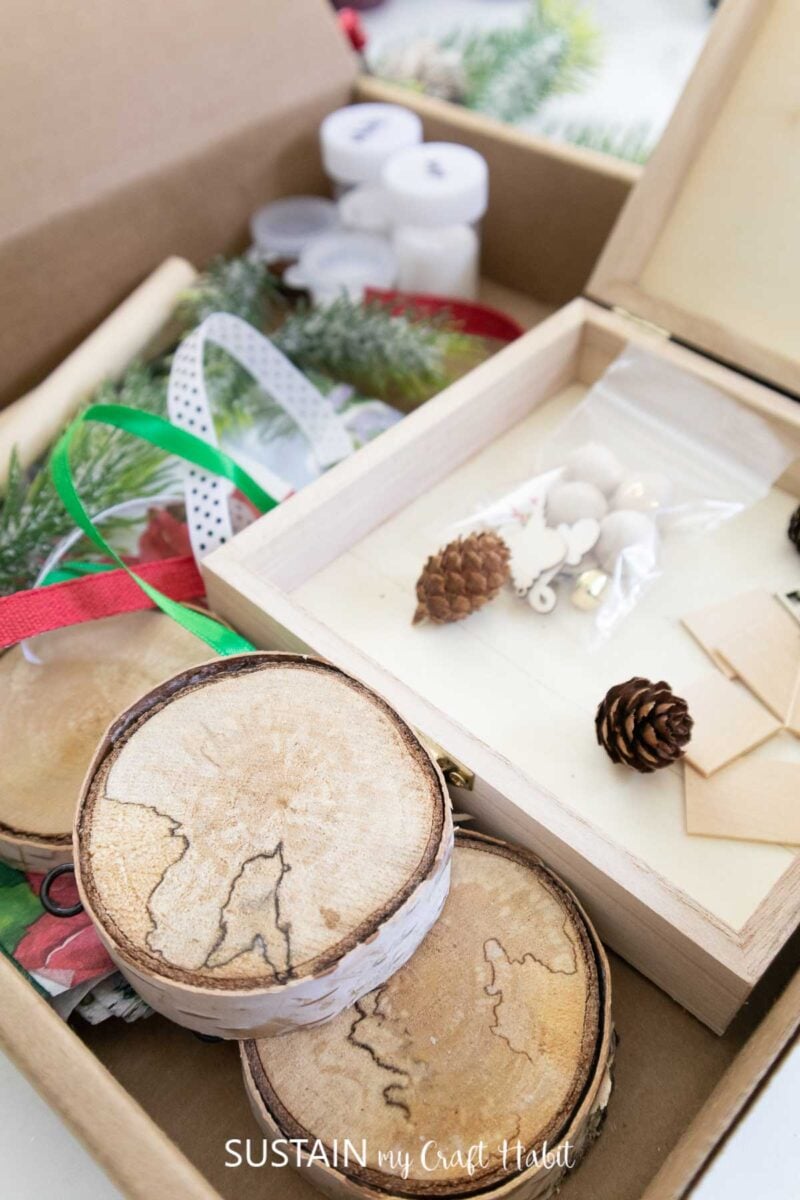
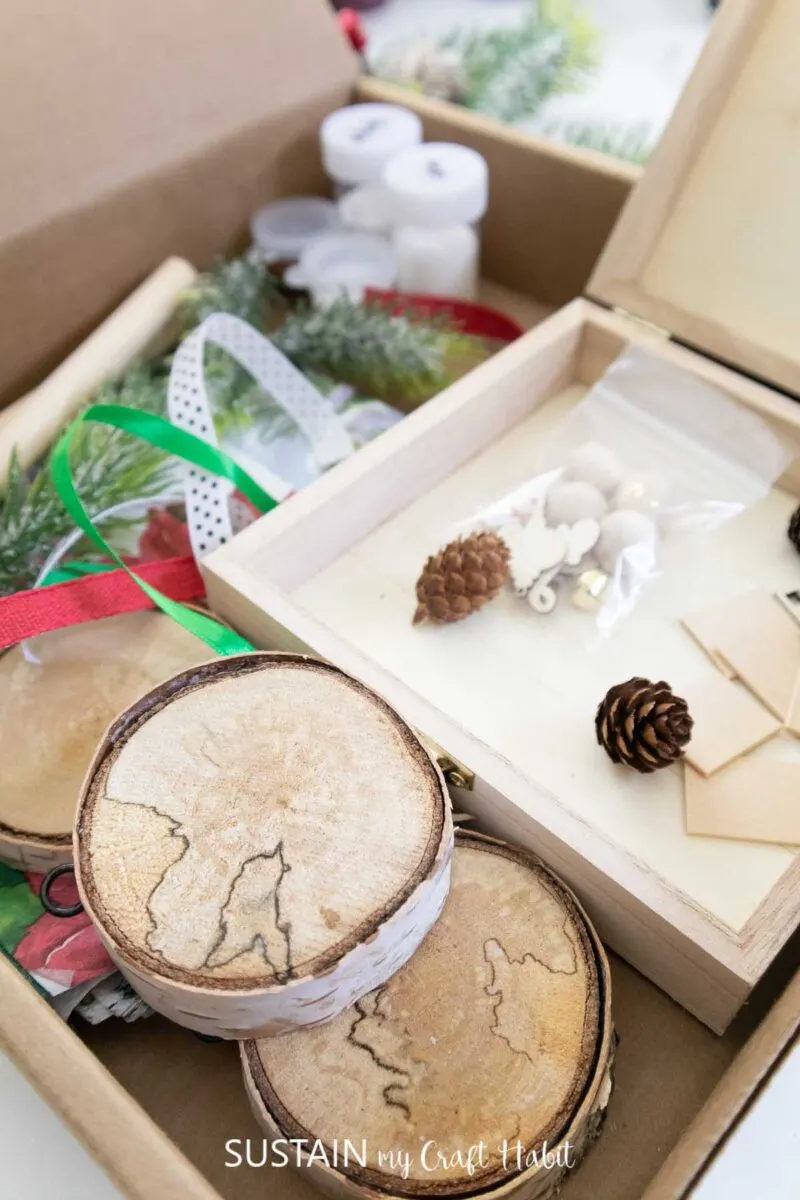
We understand though that it is a busy time of year. Even if we are the type of people that like to find everything on our own to DIY, sometimes the holiday season doesn’t allow time for that. Because of that, we included all the items for the craft kit here in our Etsy shop.
Want to receive a ton of inspiration and money-saving ideas for decorating, gift-giving and crafting? Join HERE!
Materials Needed
Disclosure: This post contains affiliate links for your shopping convenience. Should you choose to purchase through them, we will make a small commission at no extra cost to you. You can read our full disclosure policy here.
- 5”x5” unfinished wood box
- White craft paint, Mod Podge
- Christmas napkin (printed single ply only) or you can check out our Christmas napkin bundle here!
- Paint brushes
- Diamond Dust or glitter
- Wood balls and other embellishments (optional)
- Hot glue gun with clear glue
- Vinyl holiday phrase and transfer tape (optional)
You can also grab the complete kit with all the materials already included from our Etsy shop.
How to Make a Holiday Keepsake Box Craft with Decoupage
I shared the tutorial for decoupaging this wooden box on Facebook, which you can catch here. Or if you prefer the photo tutorial, continue reading below.
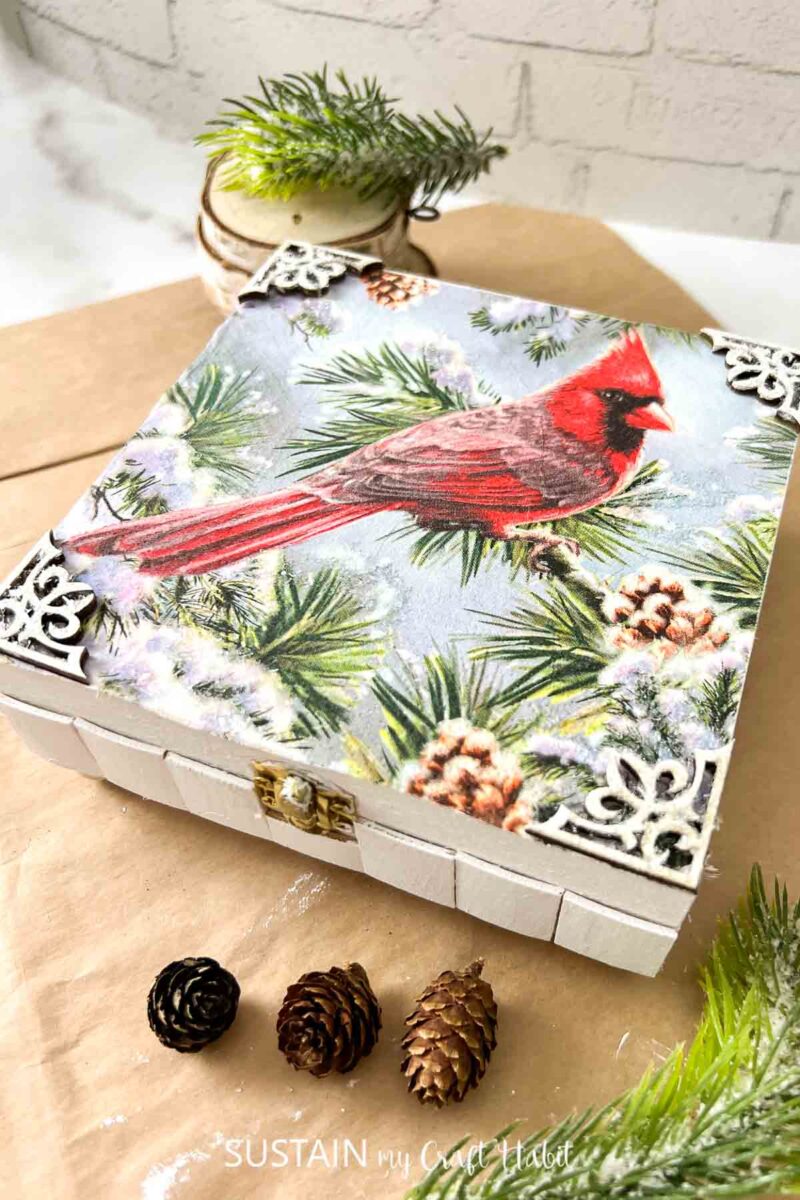
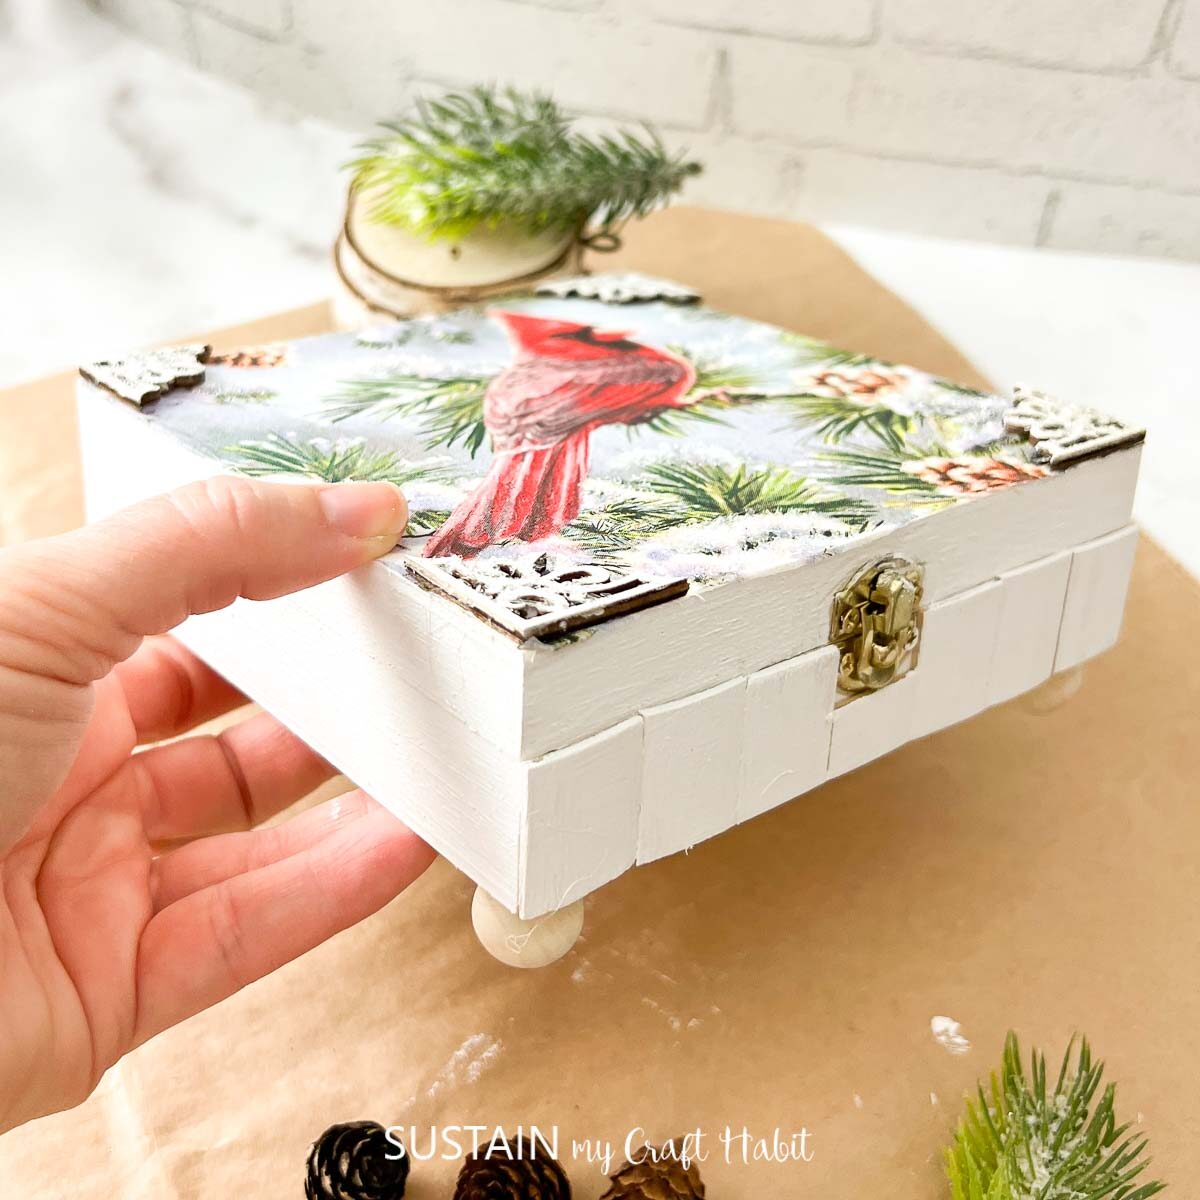
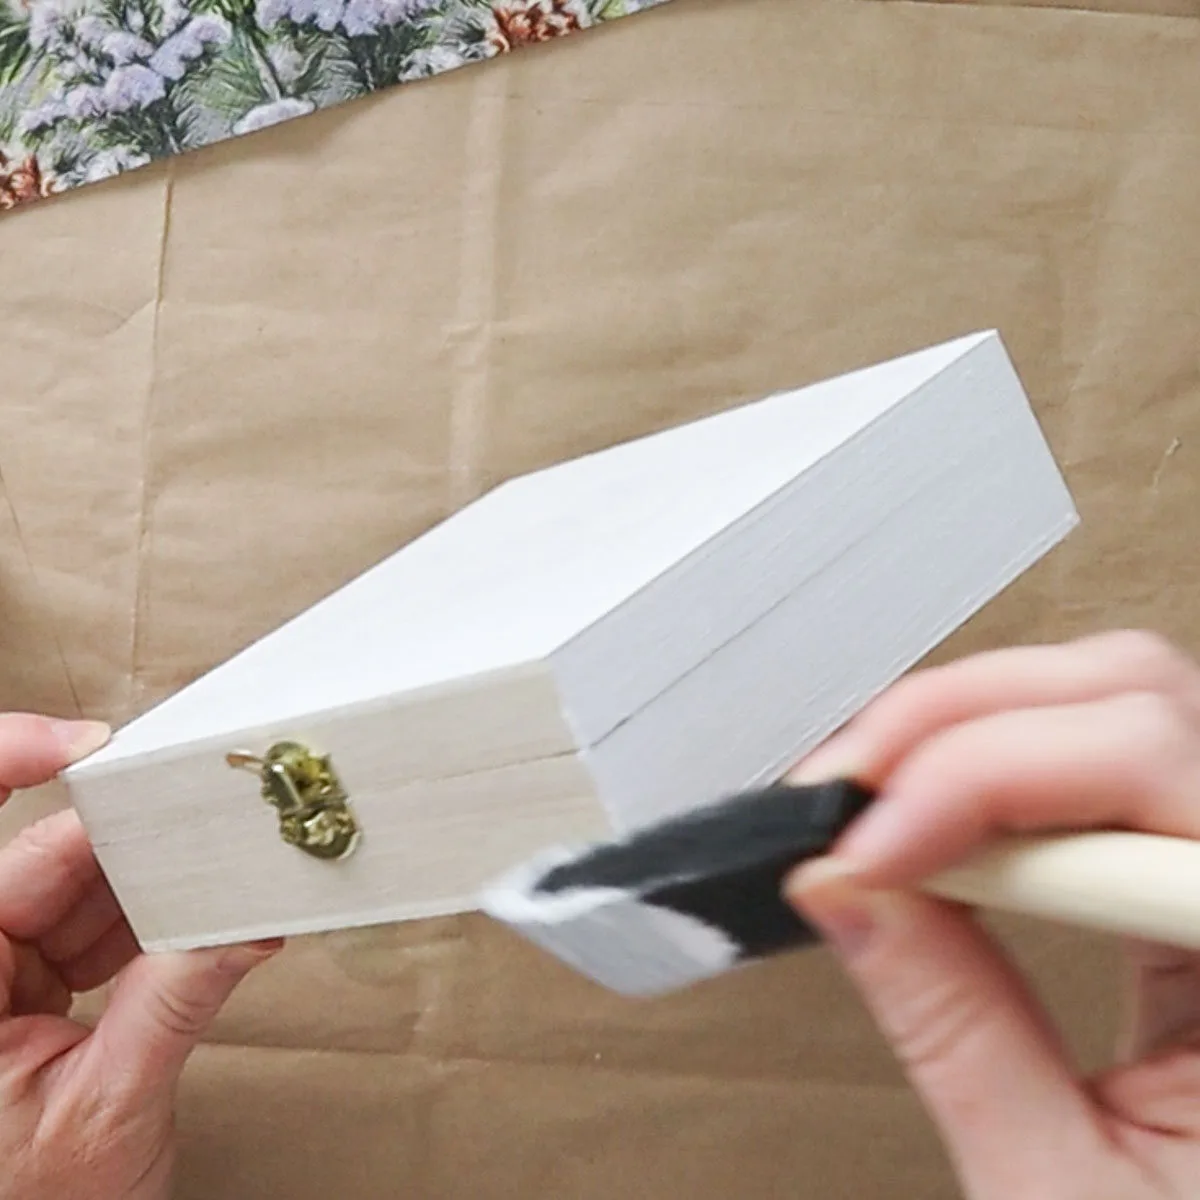
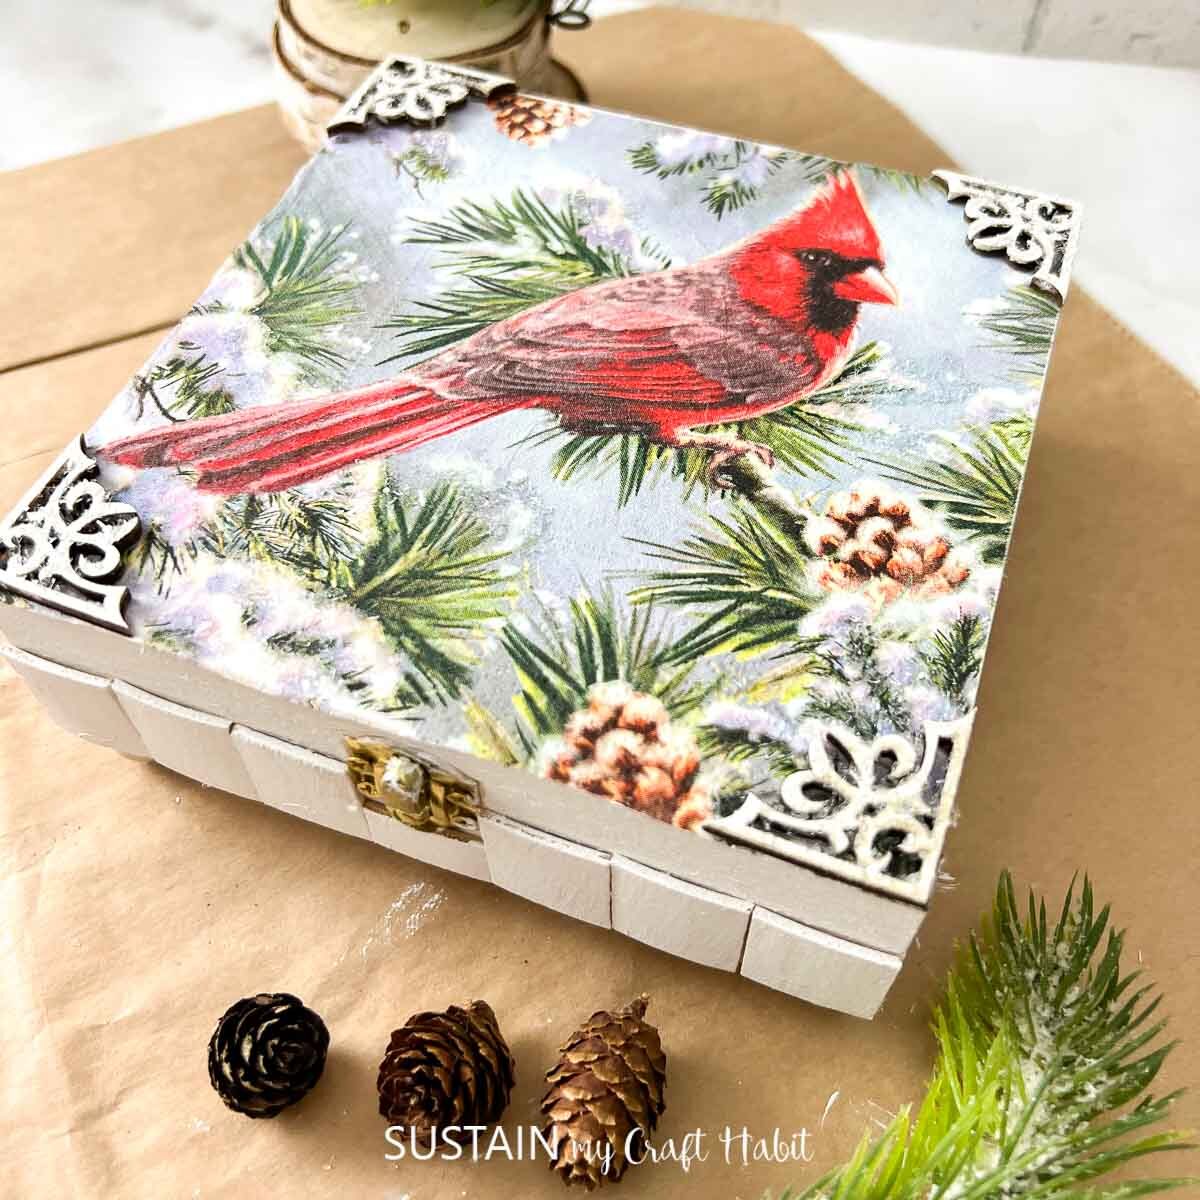
Paint the entire box (inside and out) with white paint. Let dry.

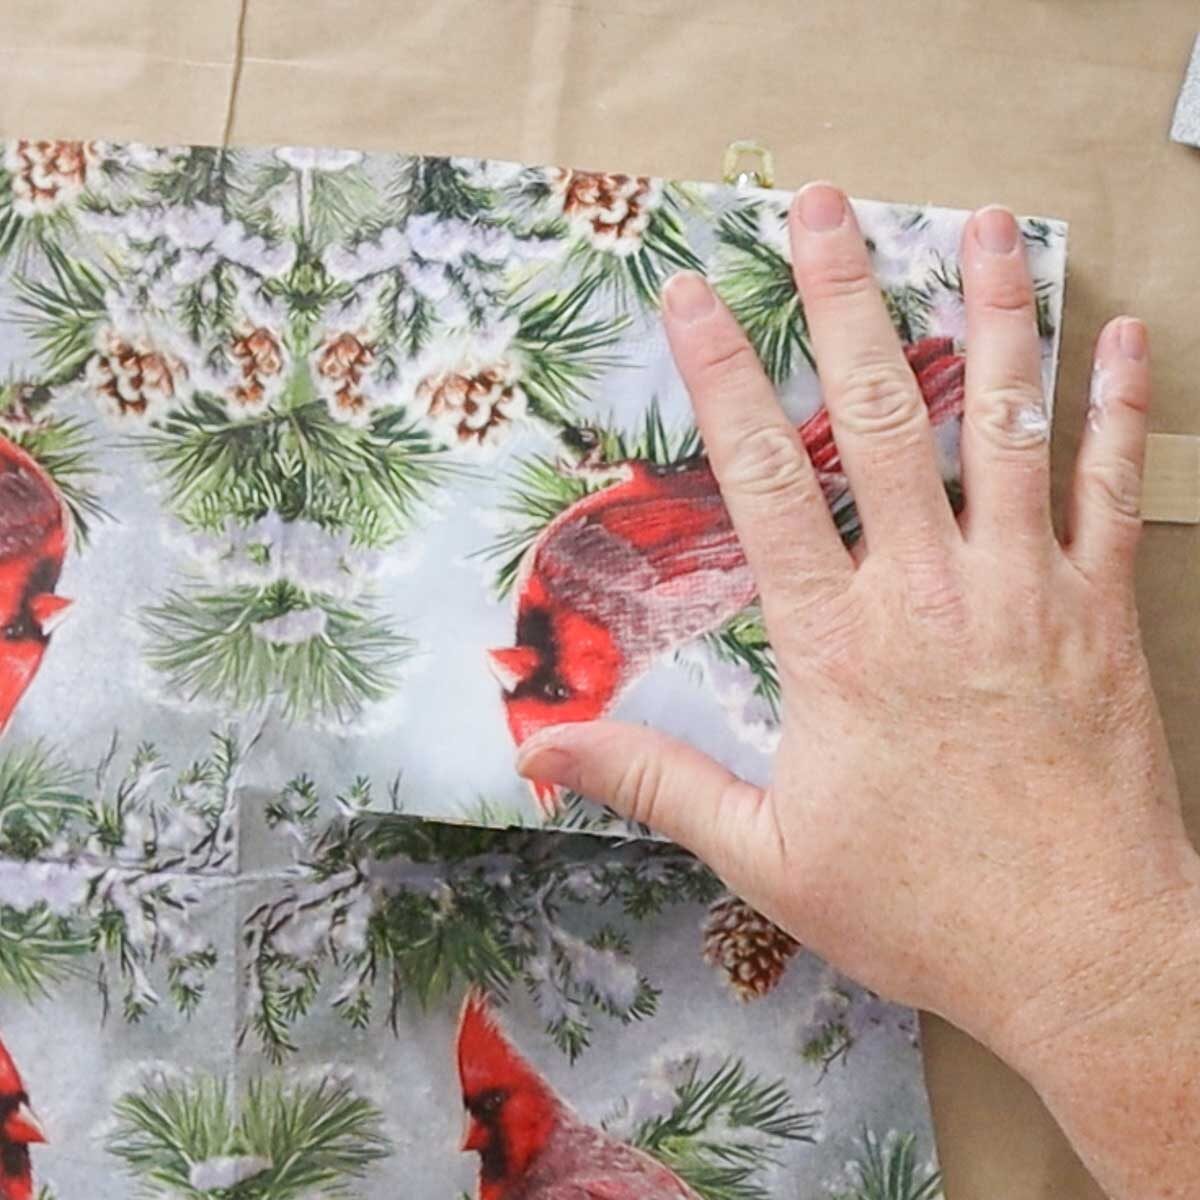
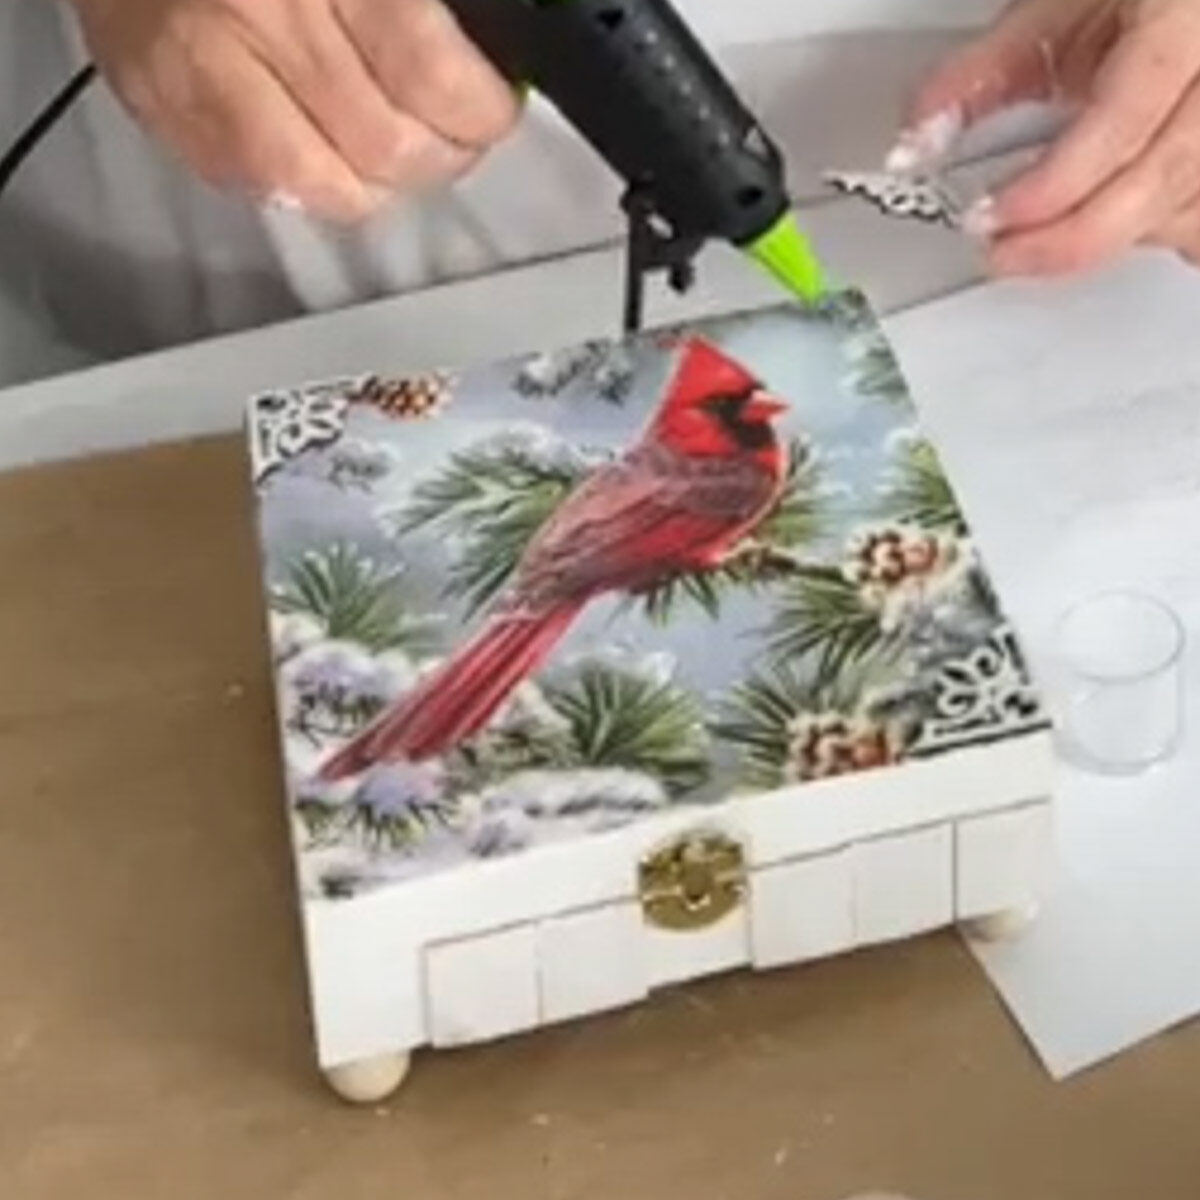
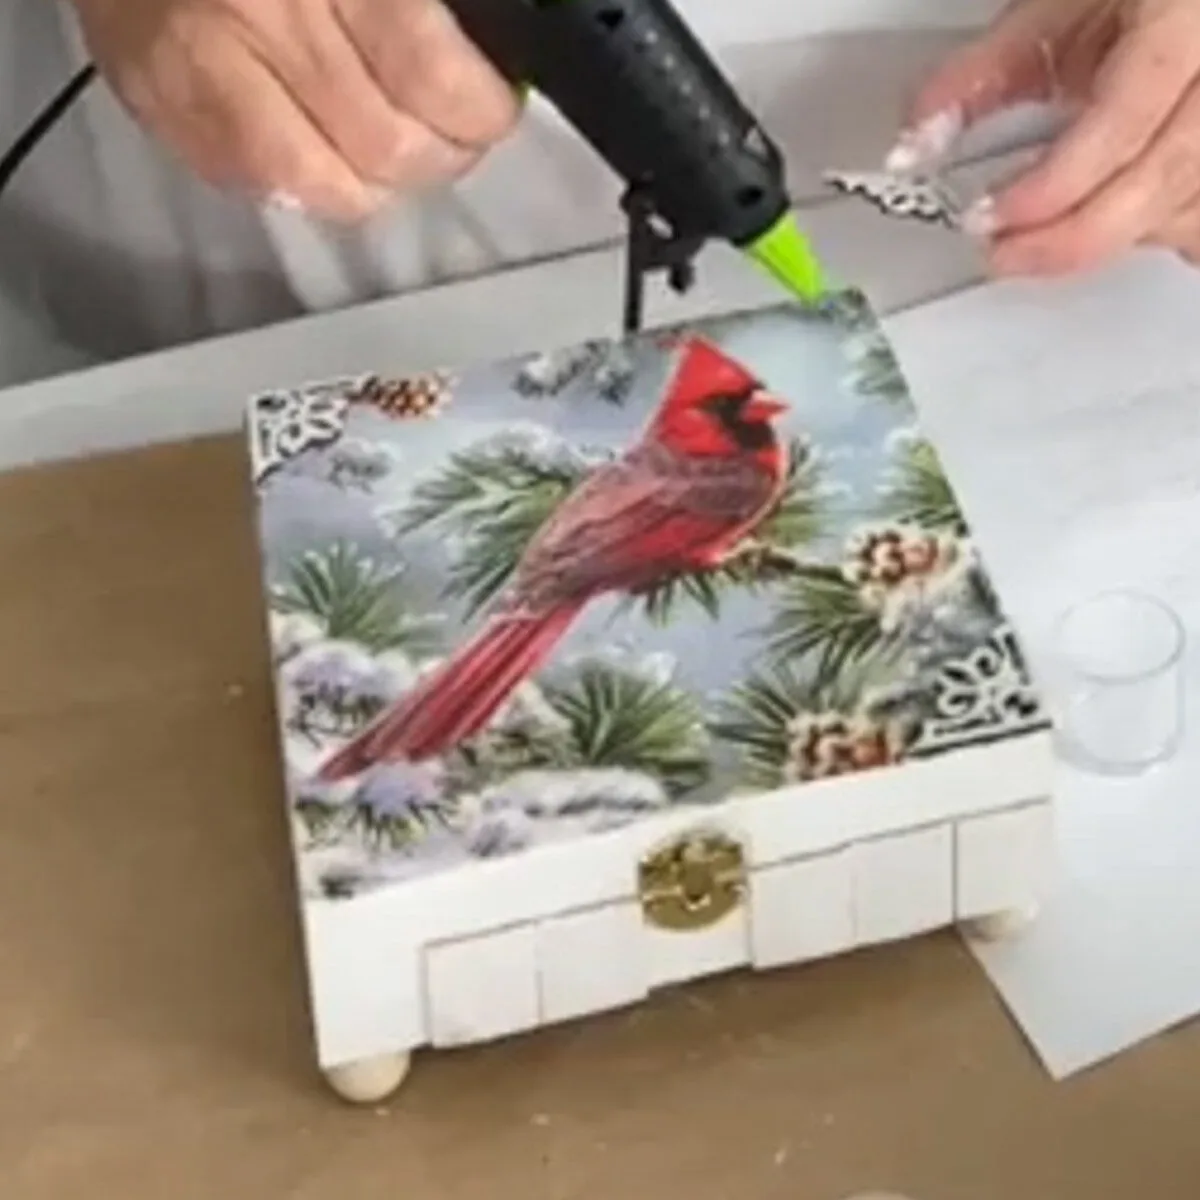
Trim napkin to fit on top of the box lid. Apply thin layer of Mod Podge and press napkin in place.

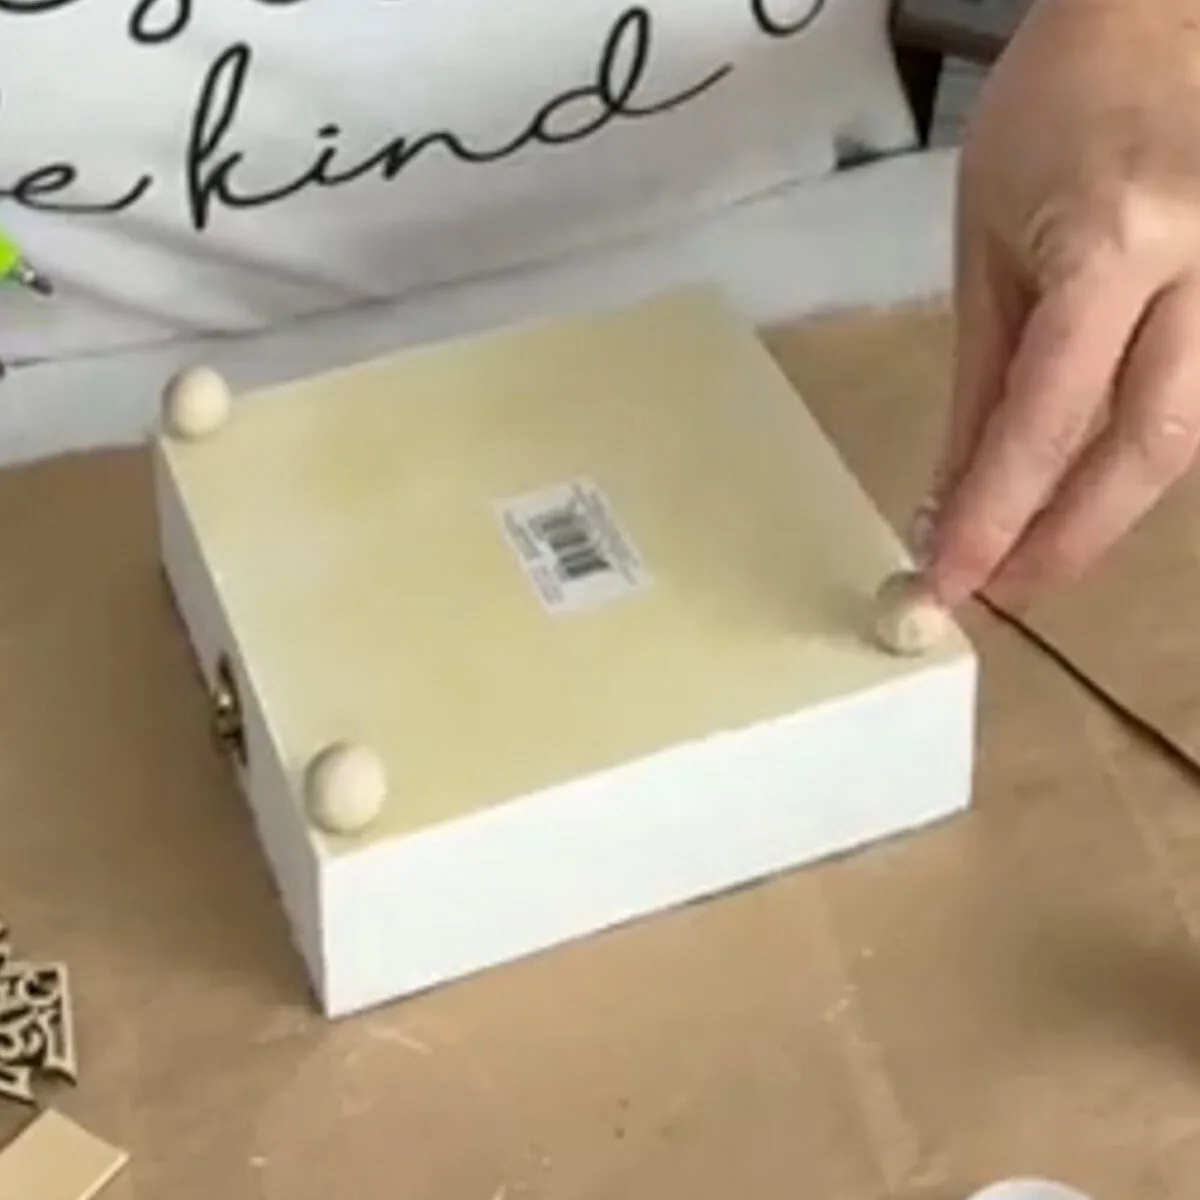
Using hot glue, add wood balls to bottom corners for feet. Paint in color of your choice.
If desired, glue “slats” to front of box and paint white.

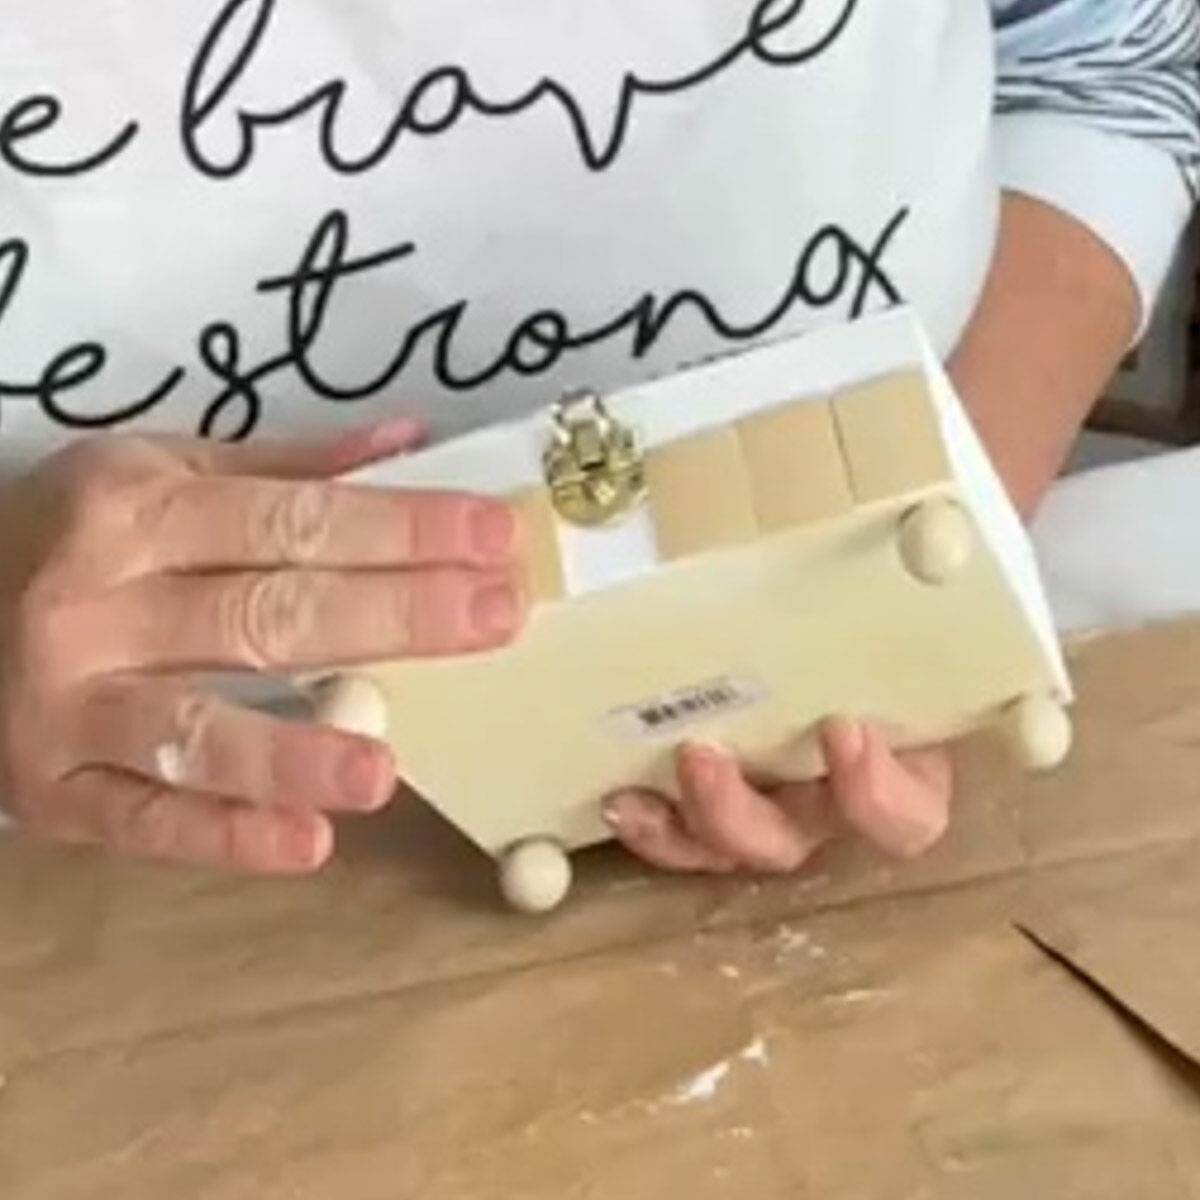

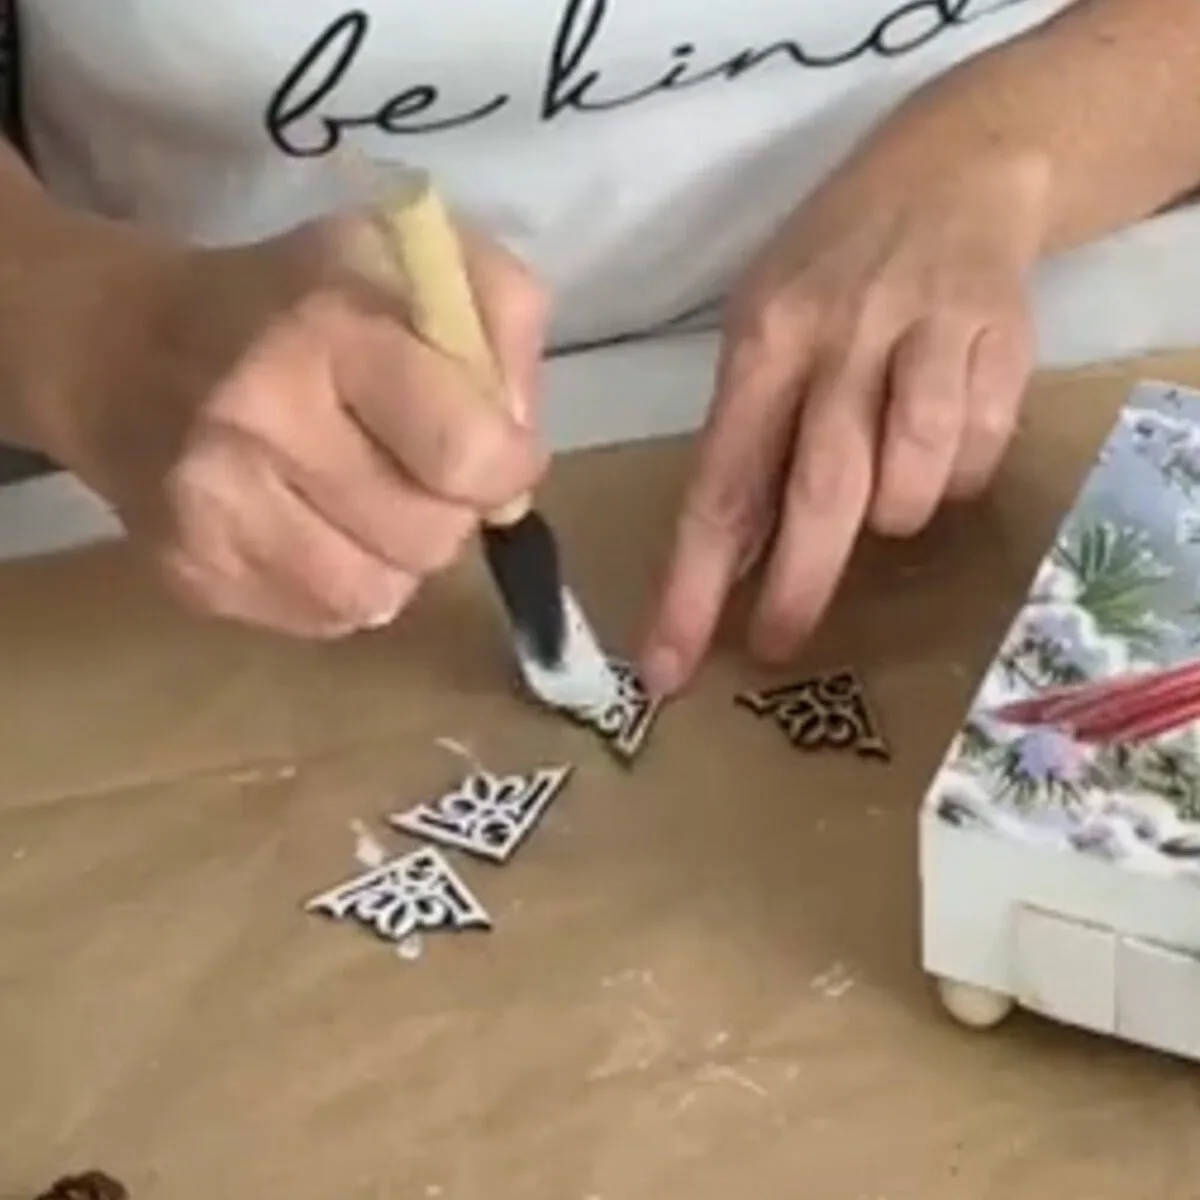
Paint and glue on corner pieces. If desired, paint areas with Mod Podge then sprinkle with Diamond Dust.

Finish inside of box with another decoupaged napkin and/or vinyl phrase.
And with that, the holiday keepsake box is complete. We also have the full step by step instructions included in the craft kit here.
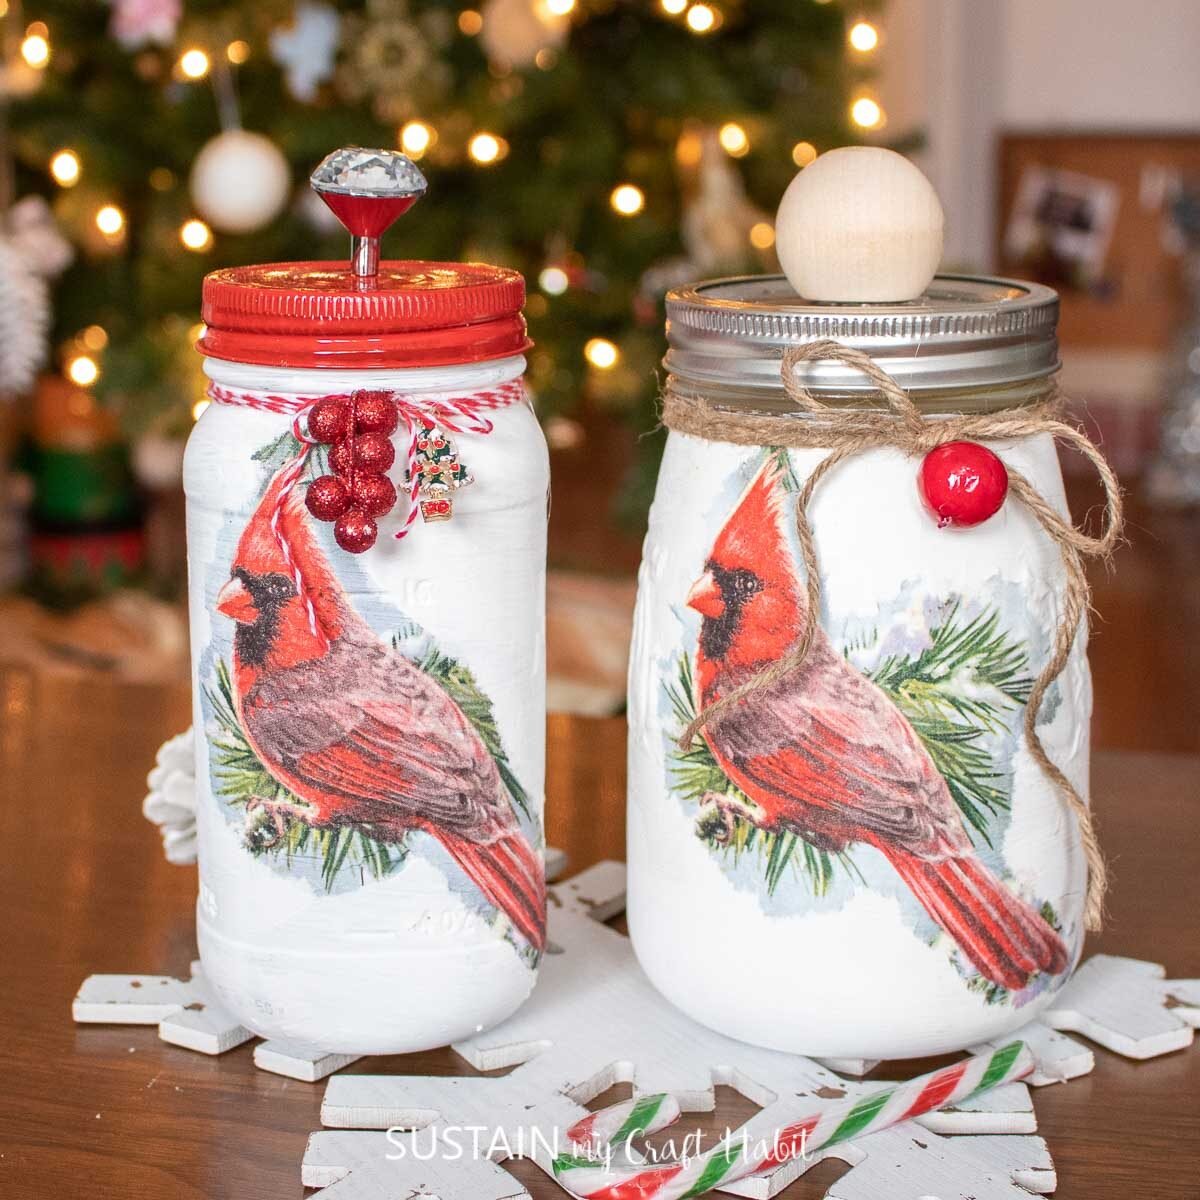
More Decoupage Ideas for the Holidays
- Christmas Decoupage Mason Jars
- Christmas Sign Craft
- Decoupage Christmas Ornaments
- Paper Napkin Wood Slice Ornaments

Holiday Canisters 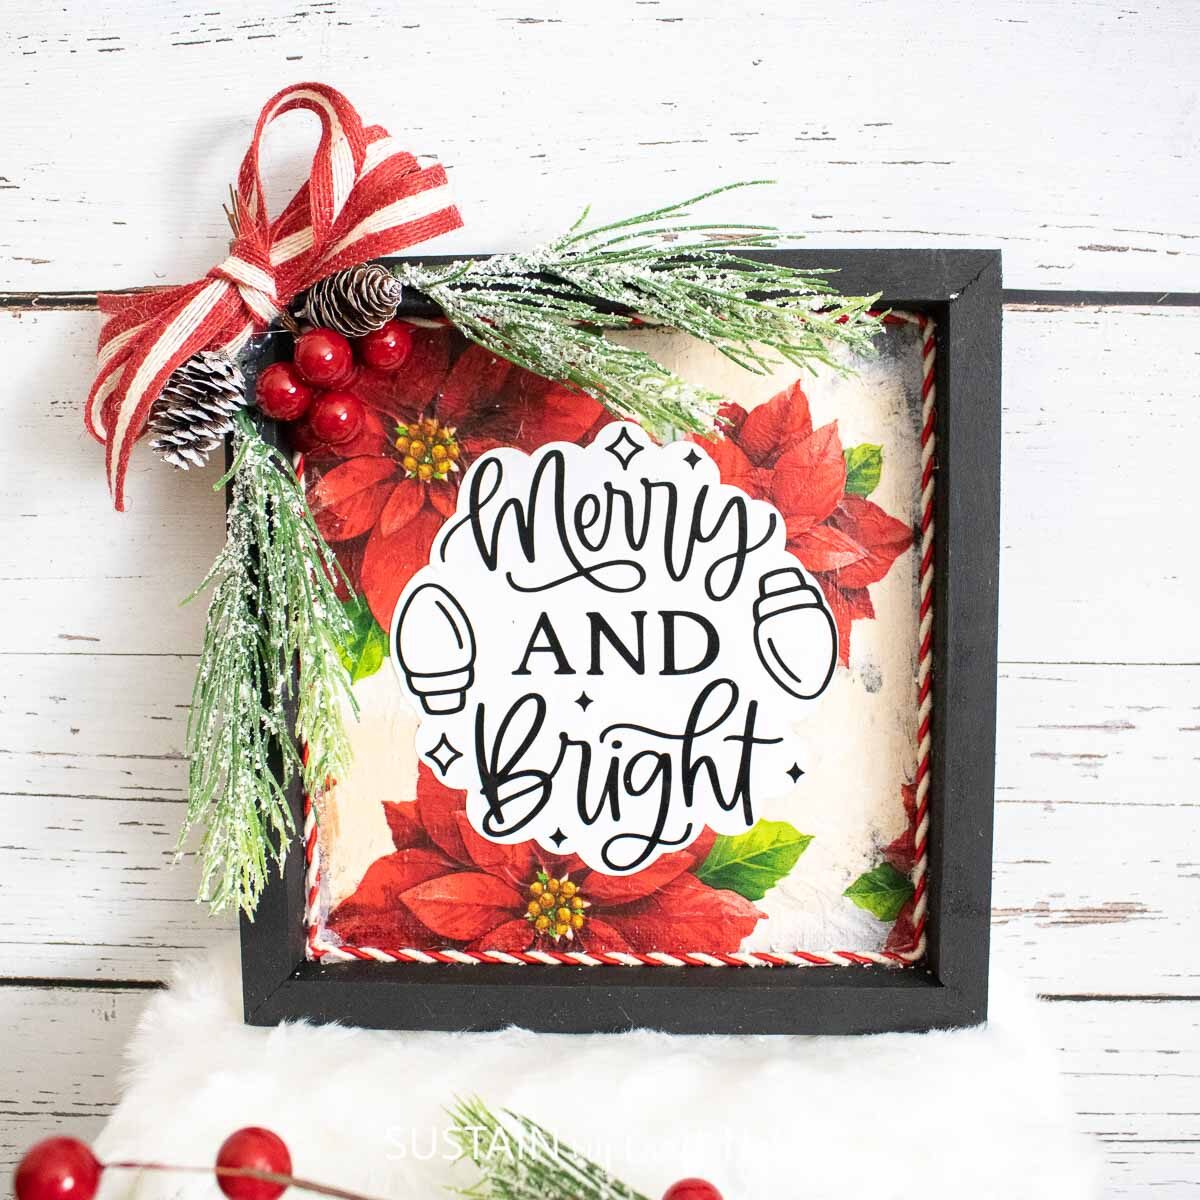
Christmas Sign 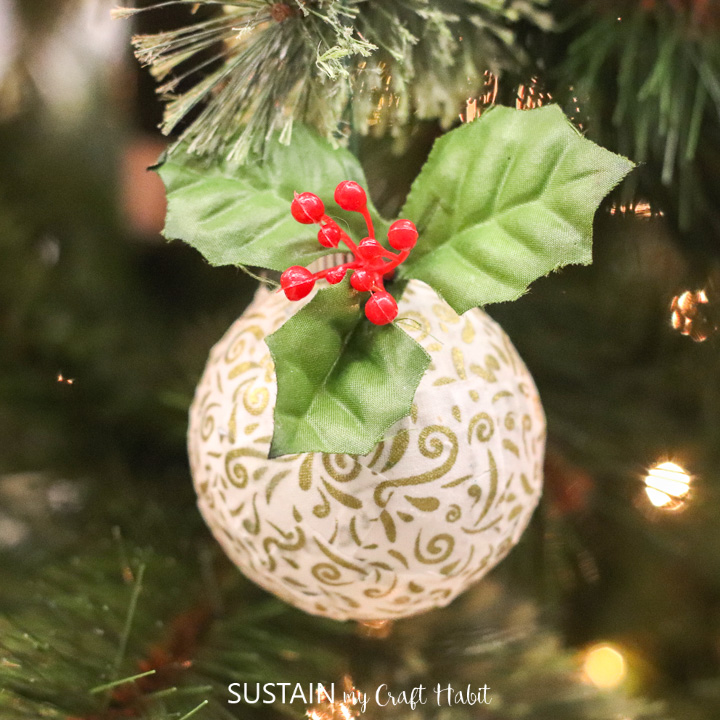

Decoupage Ornaments 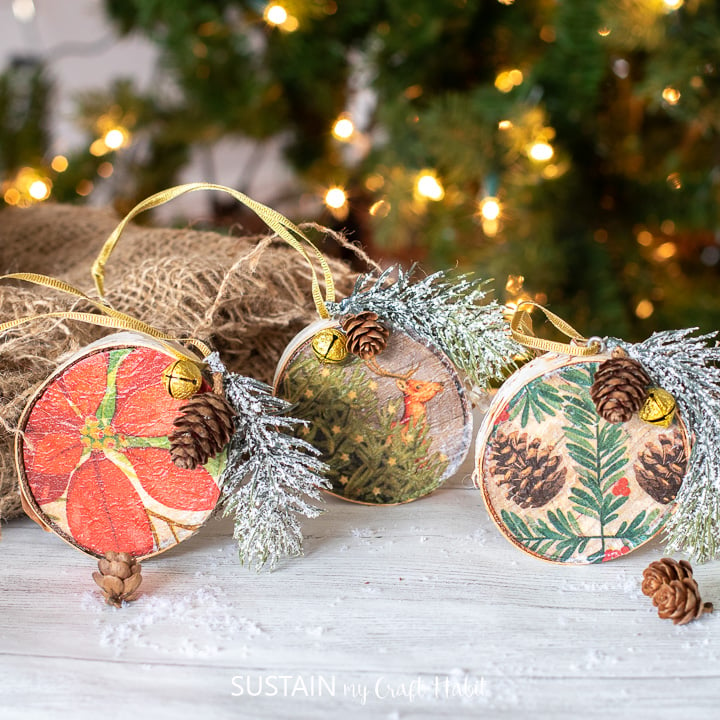
Wood Slice Ornaments


A beautiful part about this craft is that due to choosing different covers, we all end up with different-looking holiday keepsake boxes! We would absolutely love to see yours. Tag us on Facebook or Instagram– we can’t wait to see it!
This is also a fun activity to do with family and friends. Maybe grab some of your friends and see all the different options you come up with!
Become a Sustain My Craft Habit insider to receive fun freebies!
Like it? Pin it for later!


Holiday Keepsake Box Craft with Decoupage
Materials
- 5 ”x5” unfinished wood box
- White craft paint Mod Podge
- Christmas napkin printed ply only
- Paint brushes
- Diamond Dust or glitter
- Wood balls and other embellishments optional
- Hot glue gun with clear glue
- Vinyl holiday phrase and transfer tape optional
Instructions
- Paint the entire box (inside and out) with white paint. Let dry.
- Trim napkin to fit on top of the box lid. Apply thin layer of Mod Podge and press napkin in place.
- Using hot glue, add wood balls to bottom corners for feet. Paint in color of your choice.
- If desired, glue “slats” to front of box and paintwhite.
- Paint and glue on corner pieces. If desired, paint areas with Mod Podge then sprinkle with Diamond Dust.
- Finish inside of box with another decoupaged napkin and/or vinyl phrase.