How to Cut Fabric with a Rotary Cutter for Quilting Projects
Quilting, a time-honored craft that combines creativity and precision, relies heavily on accurate fabric cutting. This guide will walk you through the process of using a rotary cutter and ruler to cut fabric accurately for your quilting projects.
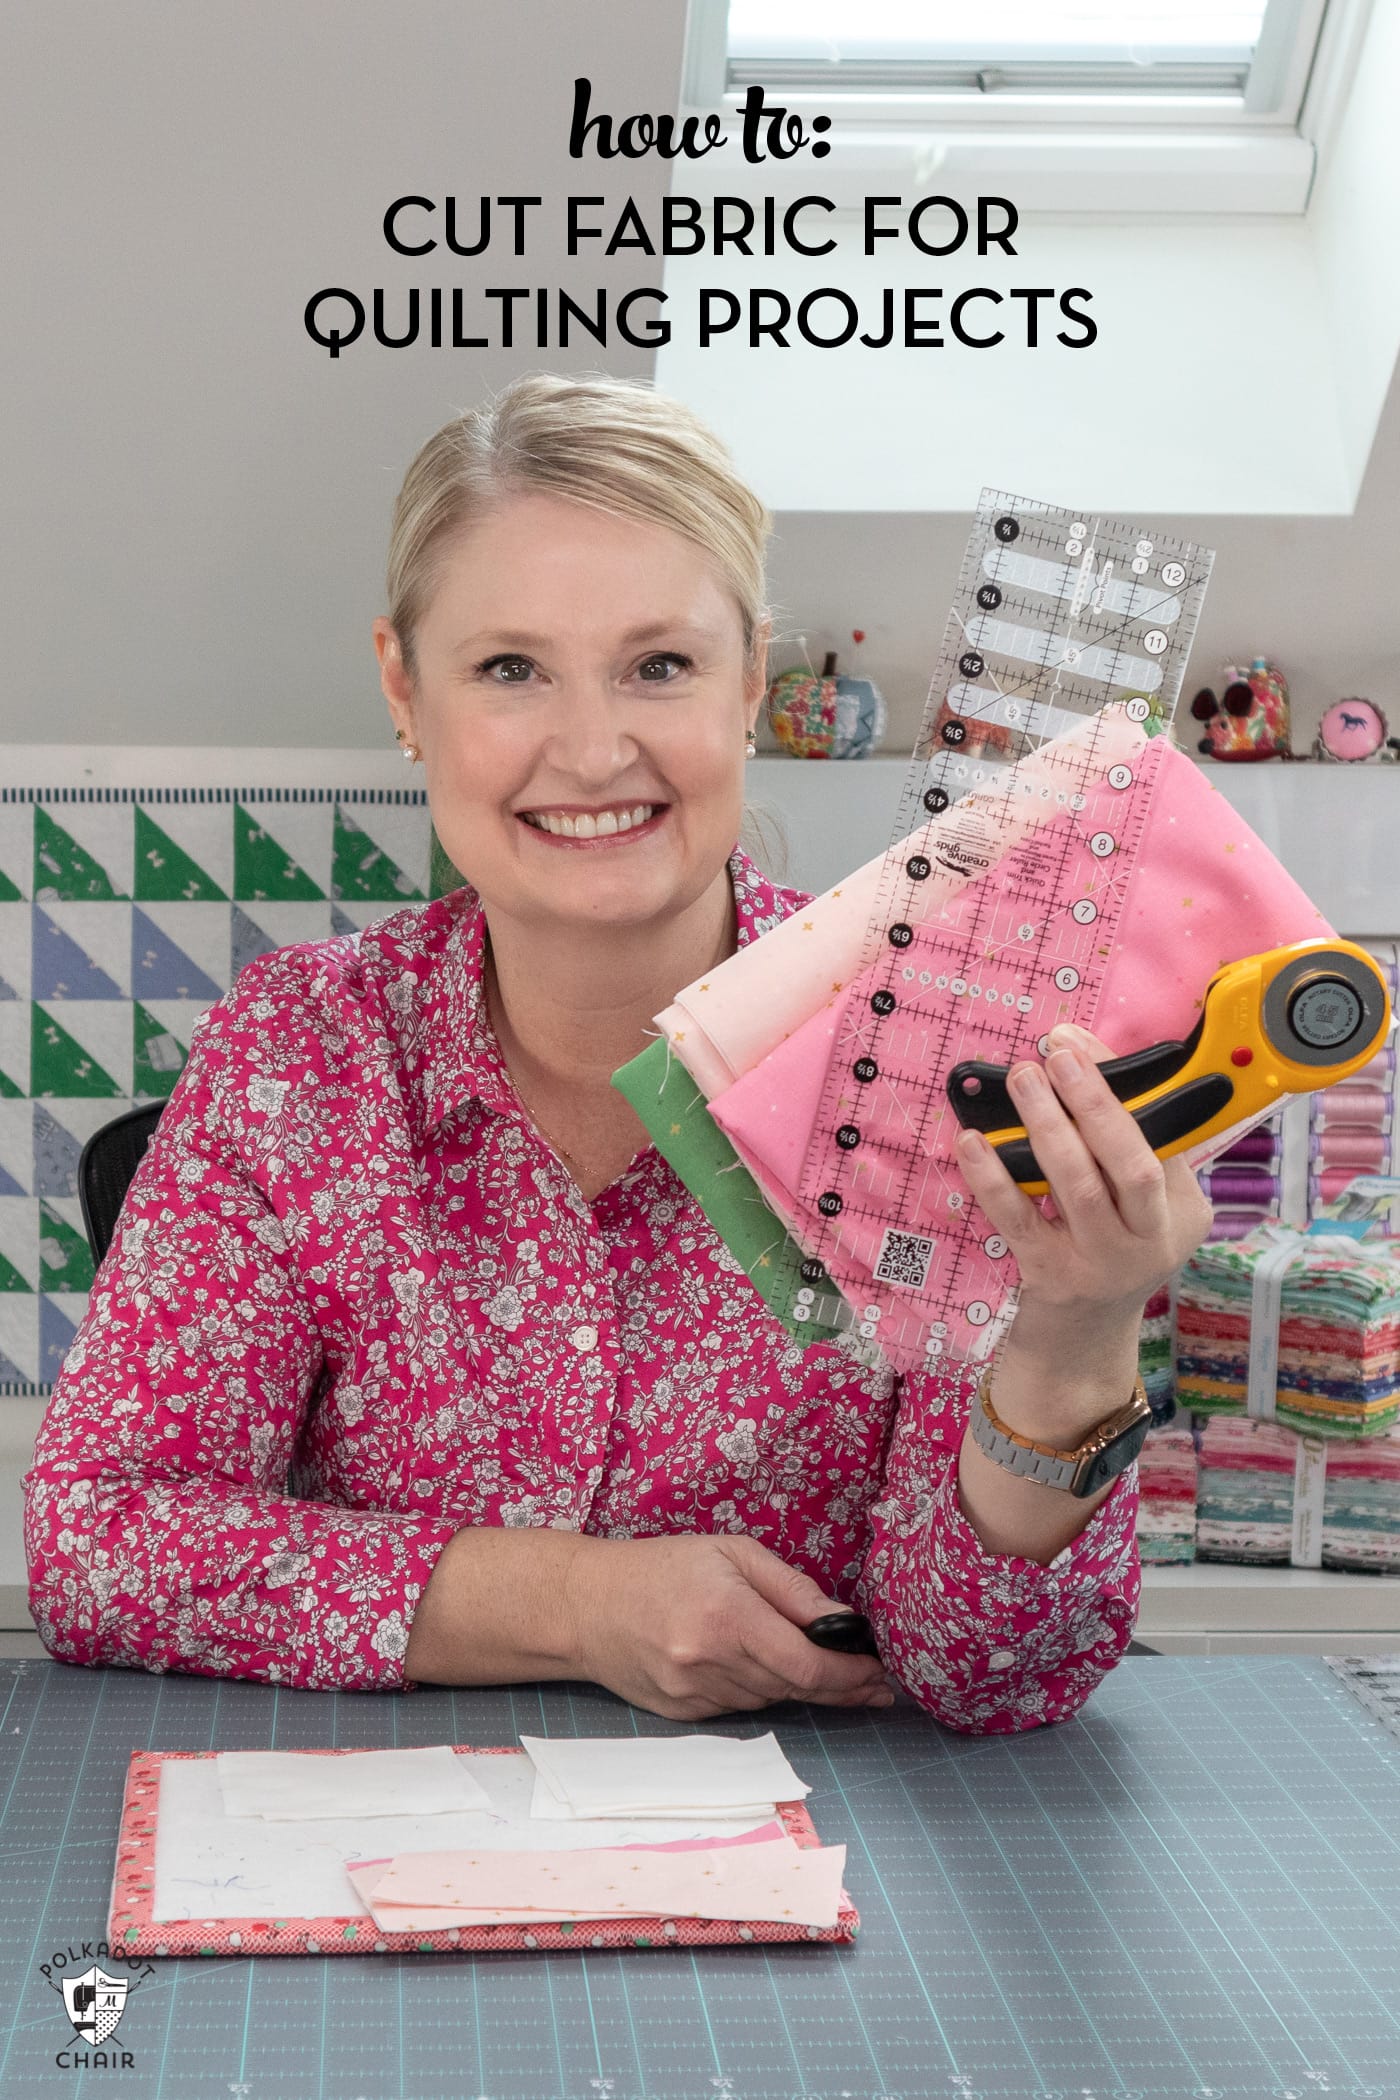
Three must-have tools for all quilters are the rotary cutter, cutting mat, and quilt ruler.
Precise fabric cutting with a rotary cutter and ruler is faster and more efficient than traditional scissors; for this reason, most quilters prefer this cutting method.
A note about precision
Before I share my best tips for precise cutting, I want to emphasize that you do NOT have to be a perfect quilter! Most quilts are slightly imperfect (mine included), which, to me, adds to the charm of the finished project.
Don’t stress yourself out; quilting should be fun! Just go slow, and don’t be afraid to start; your skills will improve. The important thing is that YOU love your project!
Why Accurate Cuts are Essential for Quilting
If you’re a beginning quilter, cutting using this method may be new to you. Here are a few reasons I think you should give this cutting technique a try!
One: Precision in Piecing
Quilting often involves intricate patterns and designs that require precise measurements. Accurate fabric cutting ensures that pieces fit together seamlessly when the quilt is assembled.
Think of assembling a quilt like assembling a puzzle. With a puzzle, each piece is precisely cut to fit with the piece next to it. If one piece is slightly larger or smaller than it should be, all pieces of the puzzle will be off.
Two: Maintaining Seam Allowances
Almost all quilting projects use a 1/4″ seam allowance. If you have a piece of fabric that is 2″ x 2″ and is sewn on four sides, you will end up with a finished piece that is 1 1/2″ x 1 1/2″.
If, for some reason, your piece was not 2″ x 2″ to start with (say it’s 2 1/4″ x 2″), you will end up with a piece that is 1 3/4″ x 1 1/2″ instead, and just like a puzzle the piece will not fit perfectly in your finished quilt.
Three: Efficient Use of Fabric
Quilting can become an expensive hobby, depending on the project and fabric required. Accurate cutting will help you get the most out of your precious quilting cotton!
Four: Consistency Across Blocks
Many quilts consist of multiple blocks that are repeated throughout the design. Accurate cutting ensures consistency across these blocks.
Video Instructions
The latest on Youtube:
You can find a short video with cutting instructions on my YouTube channel.
Supplies Needed
You’re going to need a few quilting supplies to get started (I’ve linked my favorite tools):
- Rotary Cutter: A rotary cutter is a circular blade tool for smooth and accurate fabric cutting.
- Cutting Mat: A self-healing cutting mat provides a protective surface for your work area and extends the life of your rotary cutter blade.
- Fabric: Choose high-quality quilting fabric and ensure it is well-pressed before cutting.
- Clear Acrylic Ruler: A clear ruler with precise measurements helps maintain accuracy in cutting fabric strips and shapes. If you can only buy one ruler, buy one that is 24″ long.
- Cut Glove: This is placed on the hand that does not use the rotary cutter to protect your hand if the blade slips. In my opinion, this is a MUST for new quilters.
Not sure which ruler to get? Check out our list of must-have quilt rulers.
Should I Starch My Fabric Before I Cut It?
Starching fabric before cutting is a common practice in quilting and sewing, and it serves several purposes that can benefit the overall quality of your project.
- Starching fabric adds stability and firmness to the material. This is particularly useful when working with lightweight or flimsy fabrics, as it helps prevent distortion and ensures that the fabric maintains its shape during cutting and piecing.
- It reduces fraying, making it simpler to cut accurate shapes and pieces. The added stiffness of the fabric provides a smoother and more controlled cutting experience.
- Starched fabric tends to have less stretch and distortion.
- Starched fabric often responds well to pressing, resulting in crisper seams.
It’s important to note that while starching can be beneficial, it’s a personal preference, and not all quilters choose to use starch.
Some may prefer a softer feel to their fabric or find that certain fabrics do not benefit as much from starching.
I use Faultless Premium Spray Starch, but Mary Ellen’s Best Press is a very popular starch alternative that many quilters love.
Steps to Cut Fabric with a Rotary Cutter and Ruler
Step One: Select Your Fabric
Choose the fabric for your quilting project and ensure it is wrinkle-free. Iron the fabric to create a smooth and flat surface. I like to use spray starch on my fabrics before cutting out my quilt pieces.
Step Two: Prepare Your Workspace
Lay the cutting mat on a flat and stable surface. Ensure there is enough space to maneuver the rotary cutter and ruler.
If you don’t have a dedicated sewing area, a kitchen countertop makes a great cutting station. I prefer to use a kitchen counter over a kitchen table because the countertop height is easier on my back.
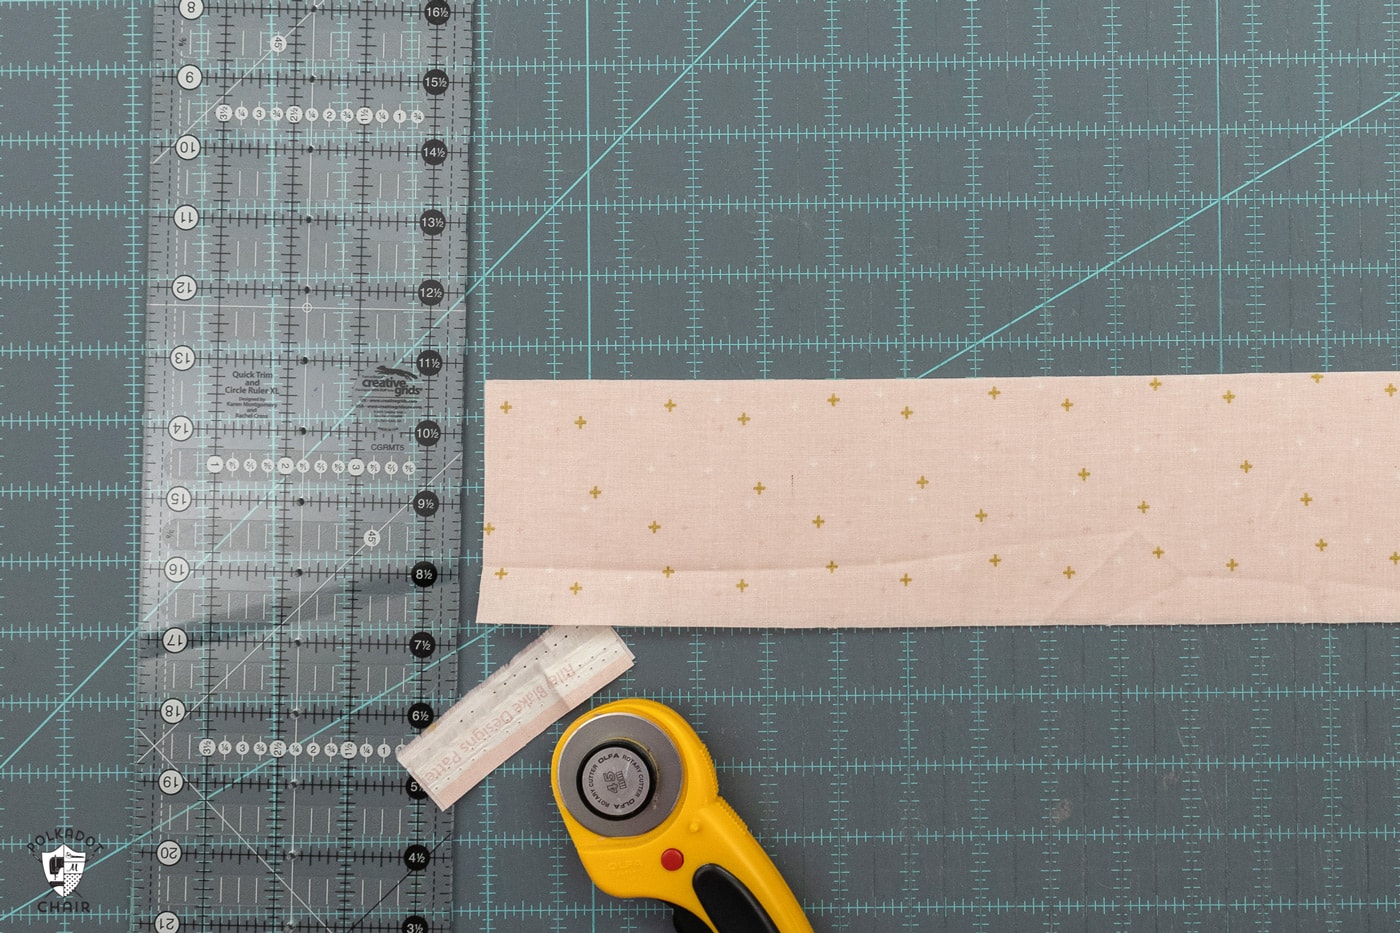
Step Three: Align the Fabric on the Cutting Mat
In this example, I am cutting 3 1/2″ squares of fabric.
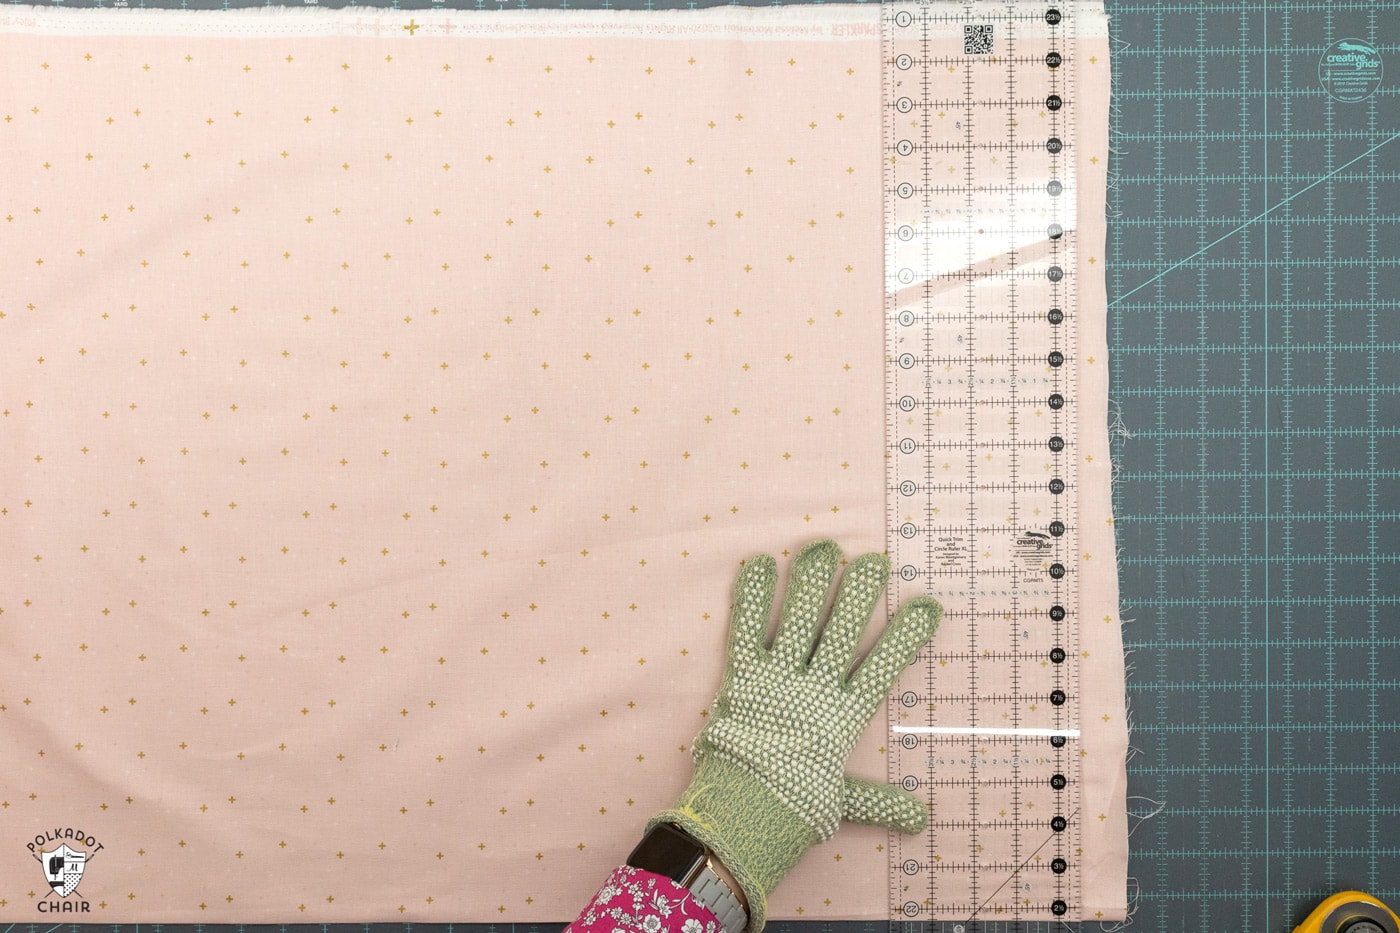
Place the fabric on the cutting mat, aligning the selvage edges parallel to the mat’s horizontal lines for straight cuts.
Most fabric is not cut evenly when it arrives at your house, so you’ll need to trim the edge of the fabric with your quilt ruler so you have a straight, squared-off edge to work with.
I use the lines on my cutting mat for this step. I prefer to use the measurements on the ruler whenever possible, as they are more accurate, but this is not always possible with larger pieces of fabric.
Since I’m right-handed, after this step, I’ll flip the fabric over so that the straight edge (the one I just cut) is on the left (so I can continue cutting on the right side of the ruler with my right hand).
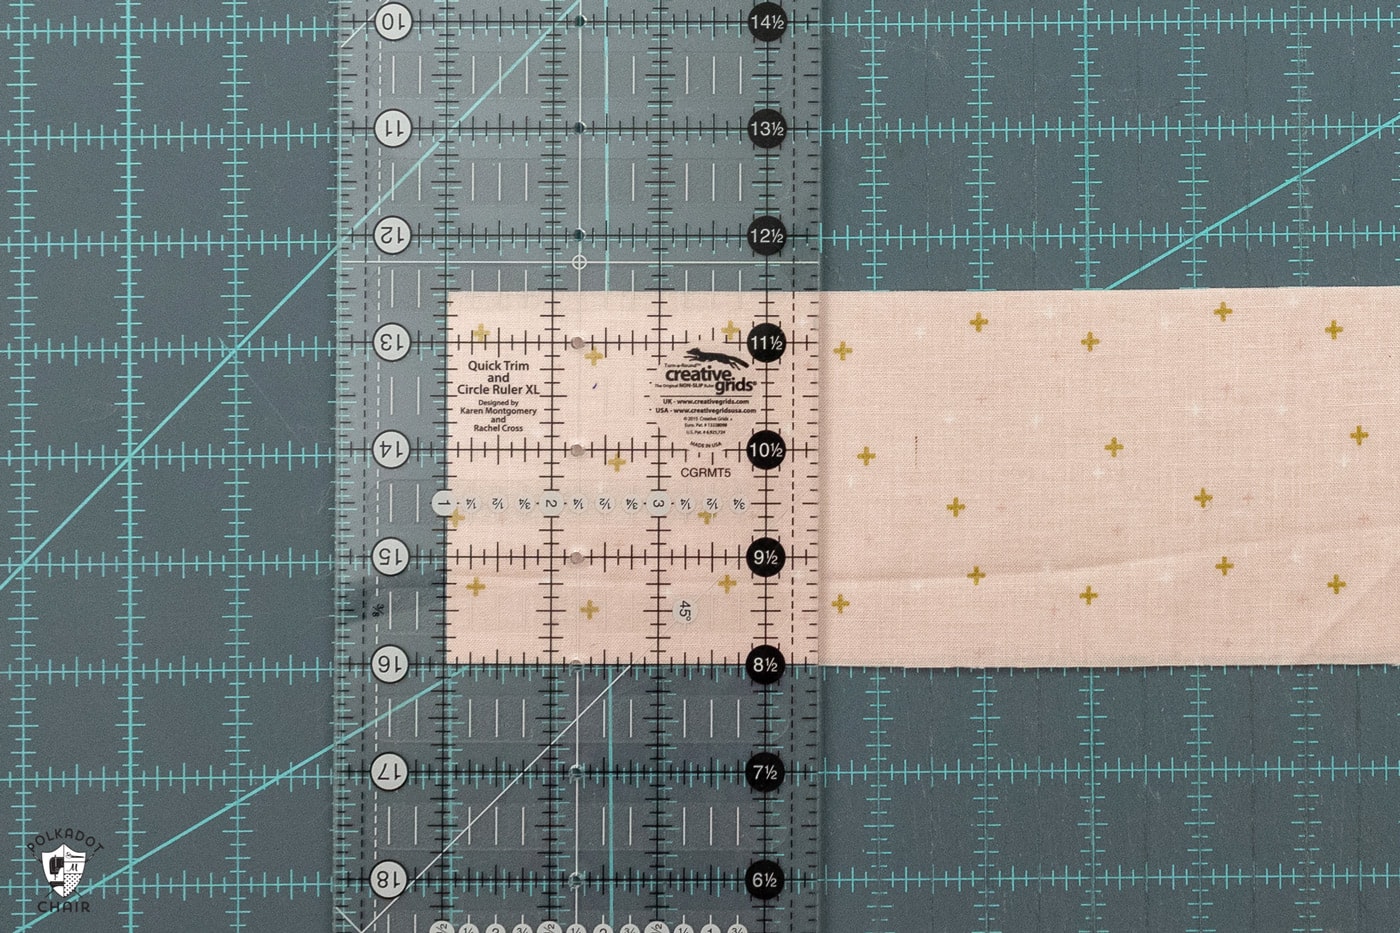
Step Four: Measure and Mark
Use the clear acrylic ruler to measure and mark the desired width of the fabric strips or shapes. Align the ruler accurately along the fabric edge.
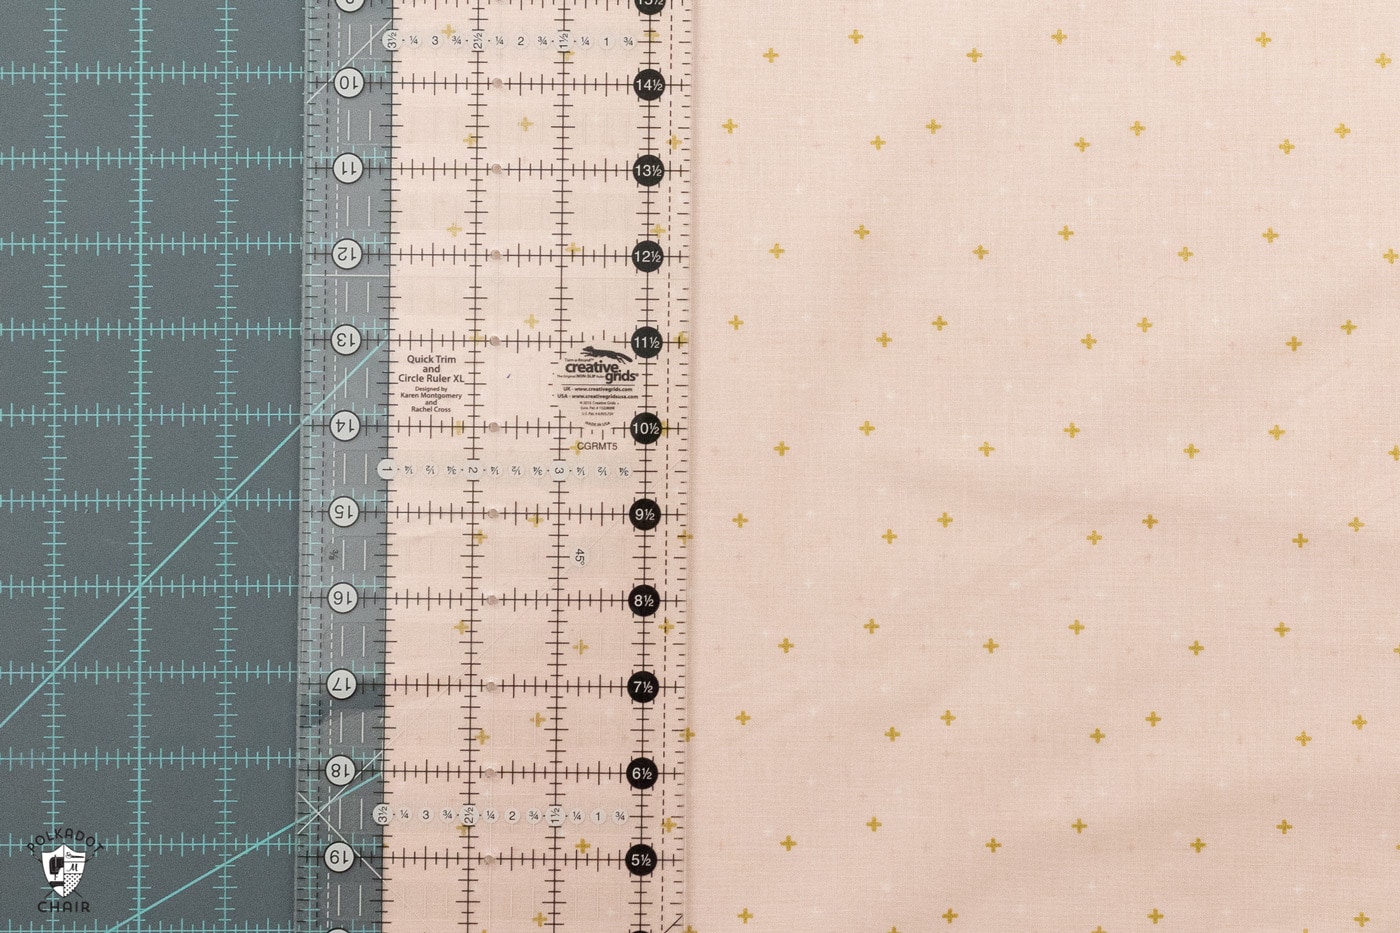
If you need a 3 1/2 wide piece of fabric, the edge of the fabric should be aligned along the 3 1/2″ line on the ruler.
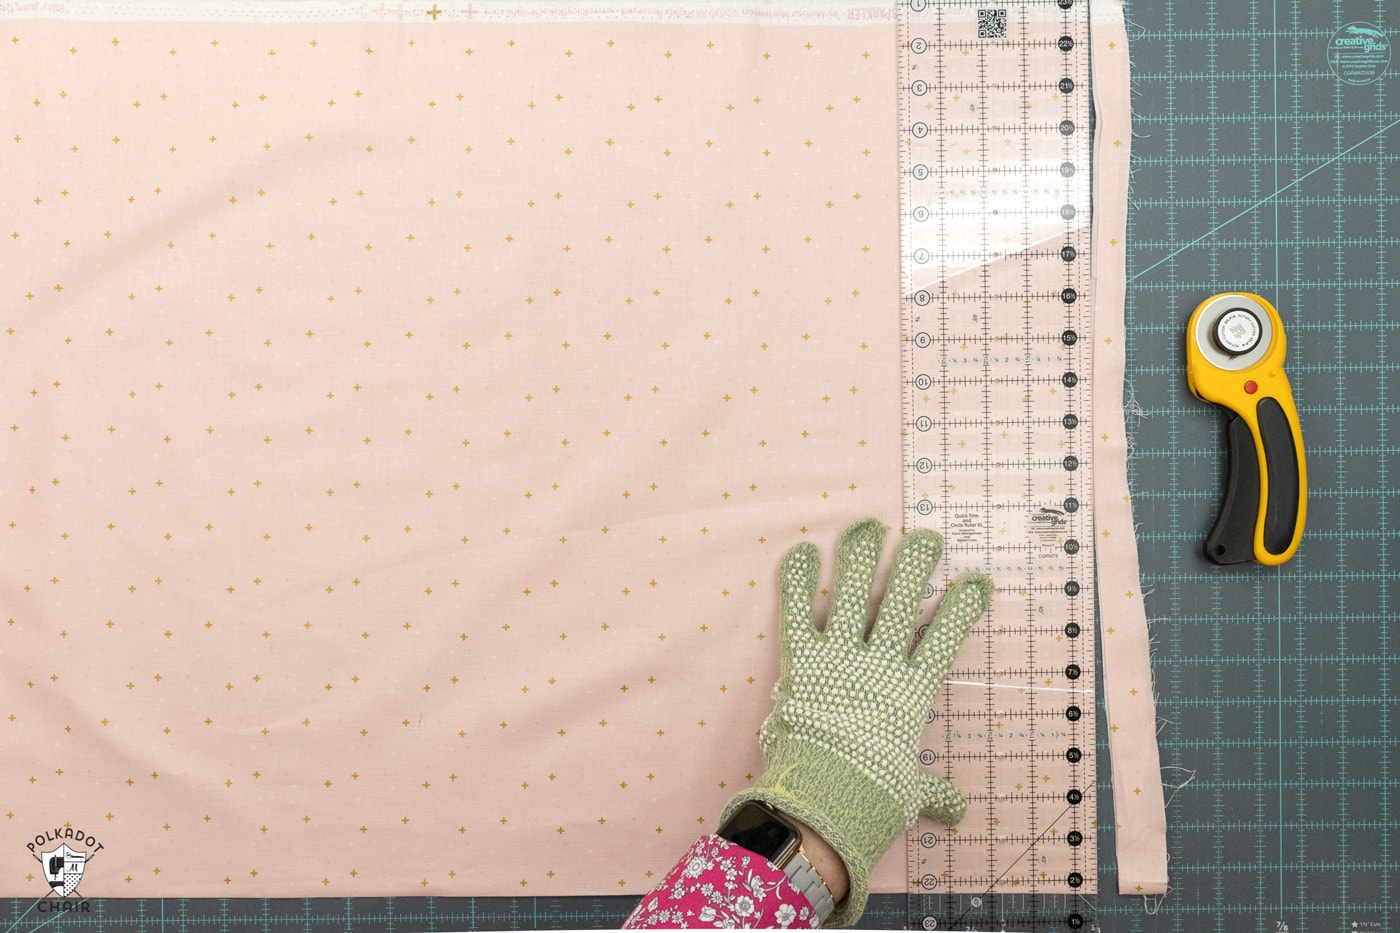
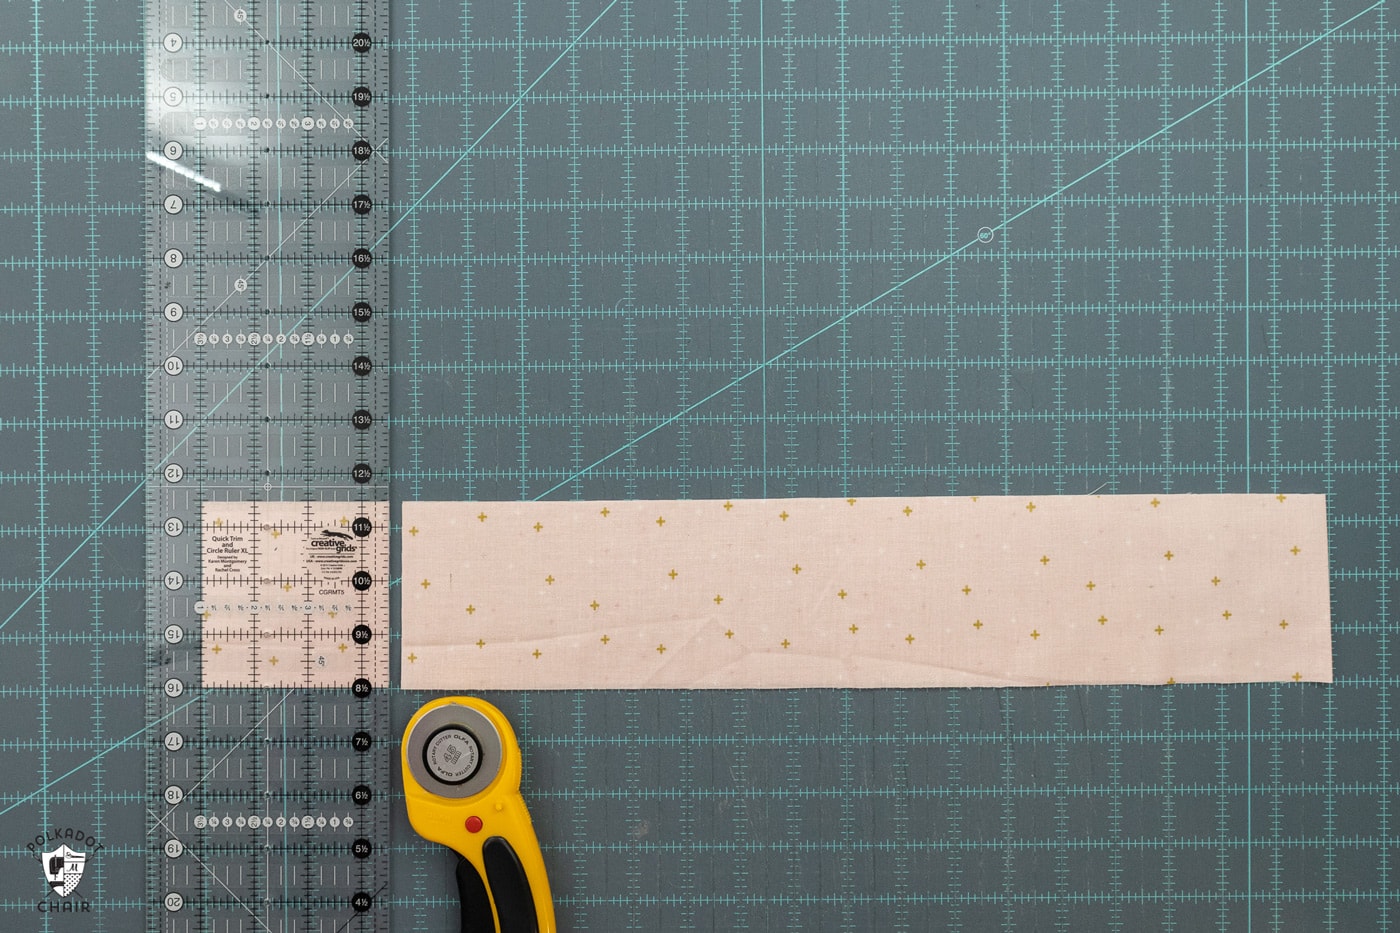
Step Five: Cut
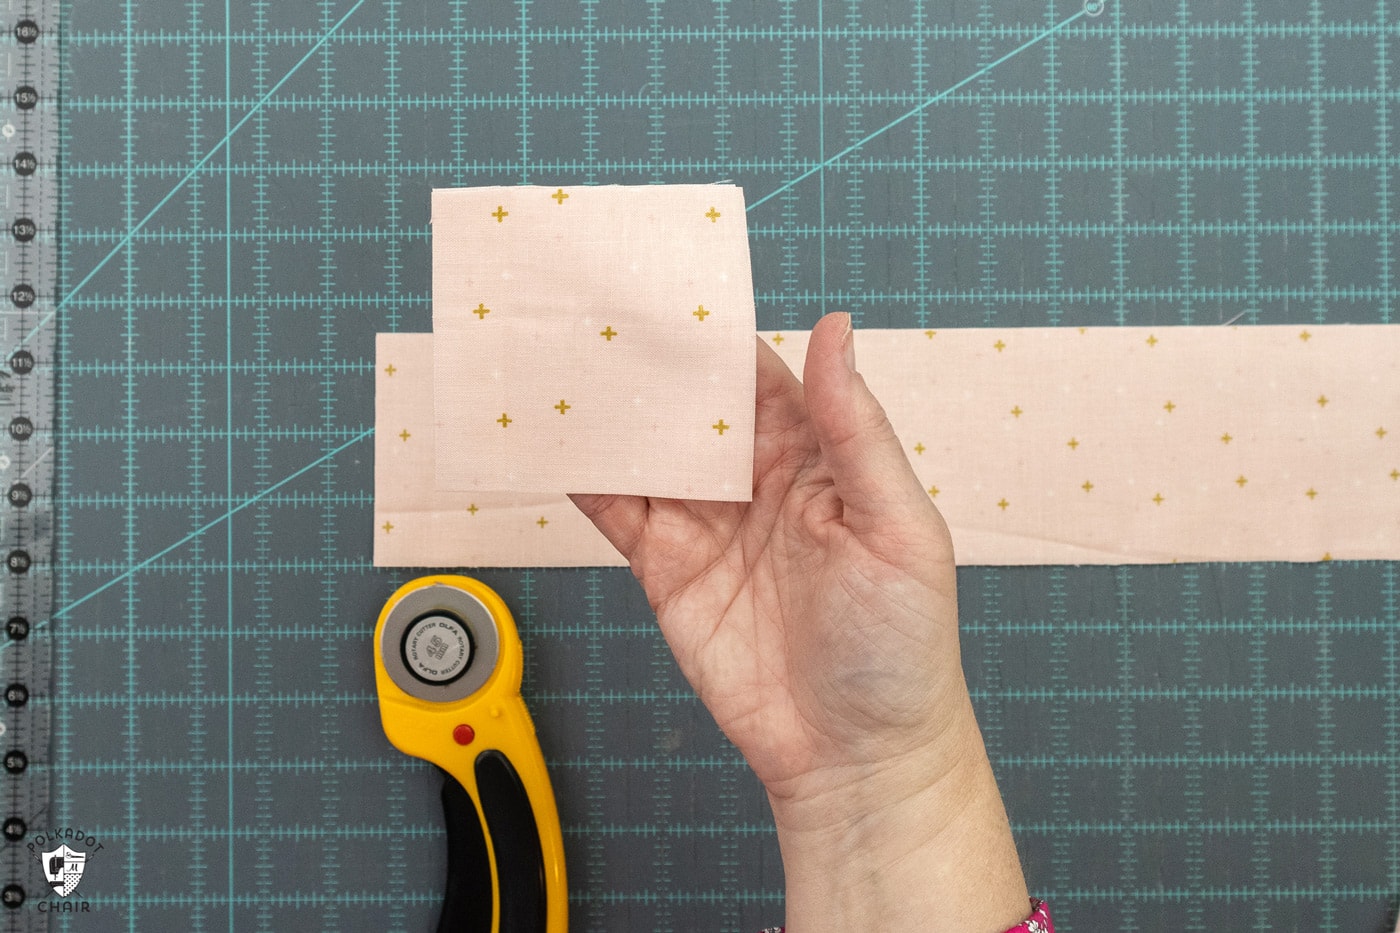
To cut 3 1/2″ squares, first cut a 3 1/2″ x WOF (width of fabric) strip, then sub-cut those strips into 3 1/2″ squares.
Hold the ruler firmly in place, ensuring it does not shift during cutting.
Hold the rotary cutter perpendicular to the ruler’s edge with a steady hand and make a firm, continuous cut along the marked line. Apply gentle pressure to avoid jagged edges.
Repeat the process, aligning the ruler with the marked measurements, until you have the required number of fabric strips or shapes.
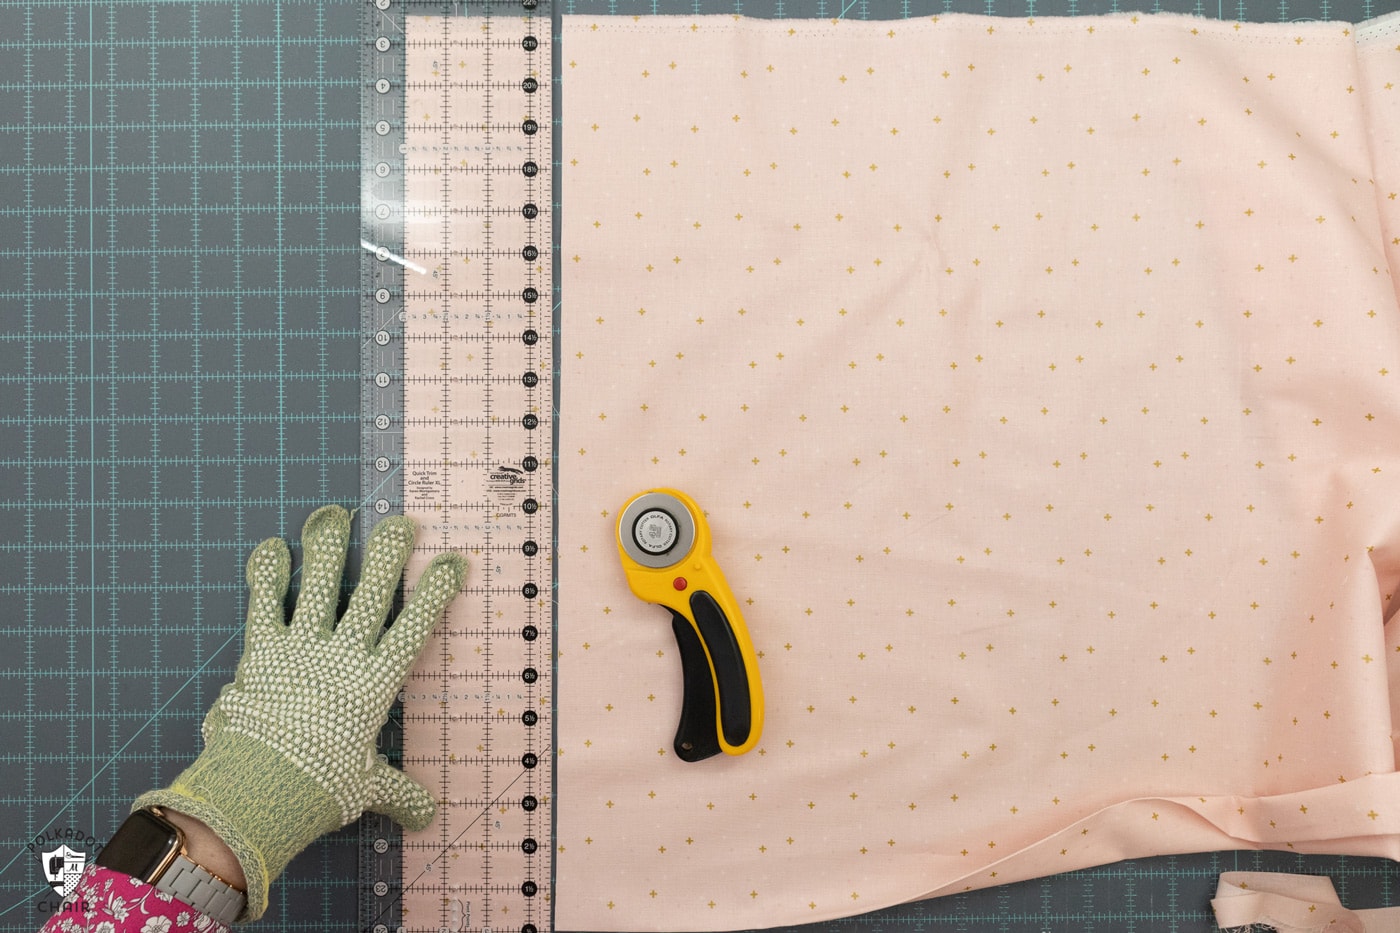
After you have cut your initial strip, rotate the fabric 90 degrees and begin cutting it in the other direction.
Once again, you will need to cut some fabric off the end of the strip so that you have a squared-off edge to work with.
Align the ruler again, and cut.
Always retract the rotary cutter blade when not in use, and store it in a safe place. Exercise caution to avoid accidents, and keep the blade away from fingers and hands during cutting.
Be sure to check out our Must Know Safety Tips for Quilters.
A Few Cutting Tips
TIPS
Mastering the art of cutting fabric with a rotary cutter and ruler is essential for achieving precision in quilting projects. Following these steps and incorporating safety measures can make a big difference as you learn how to quilt.