

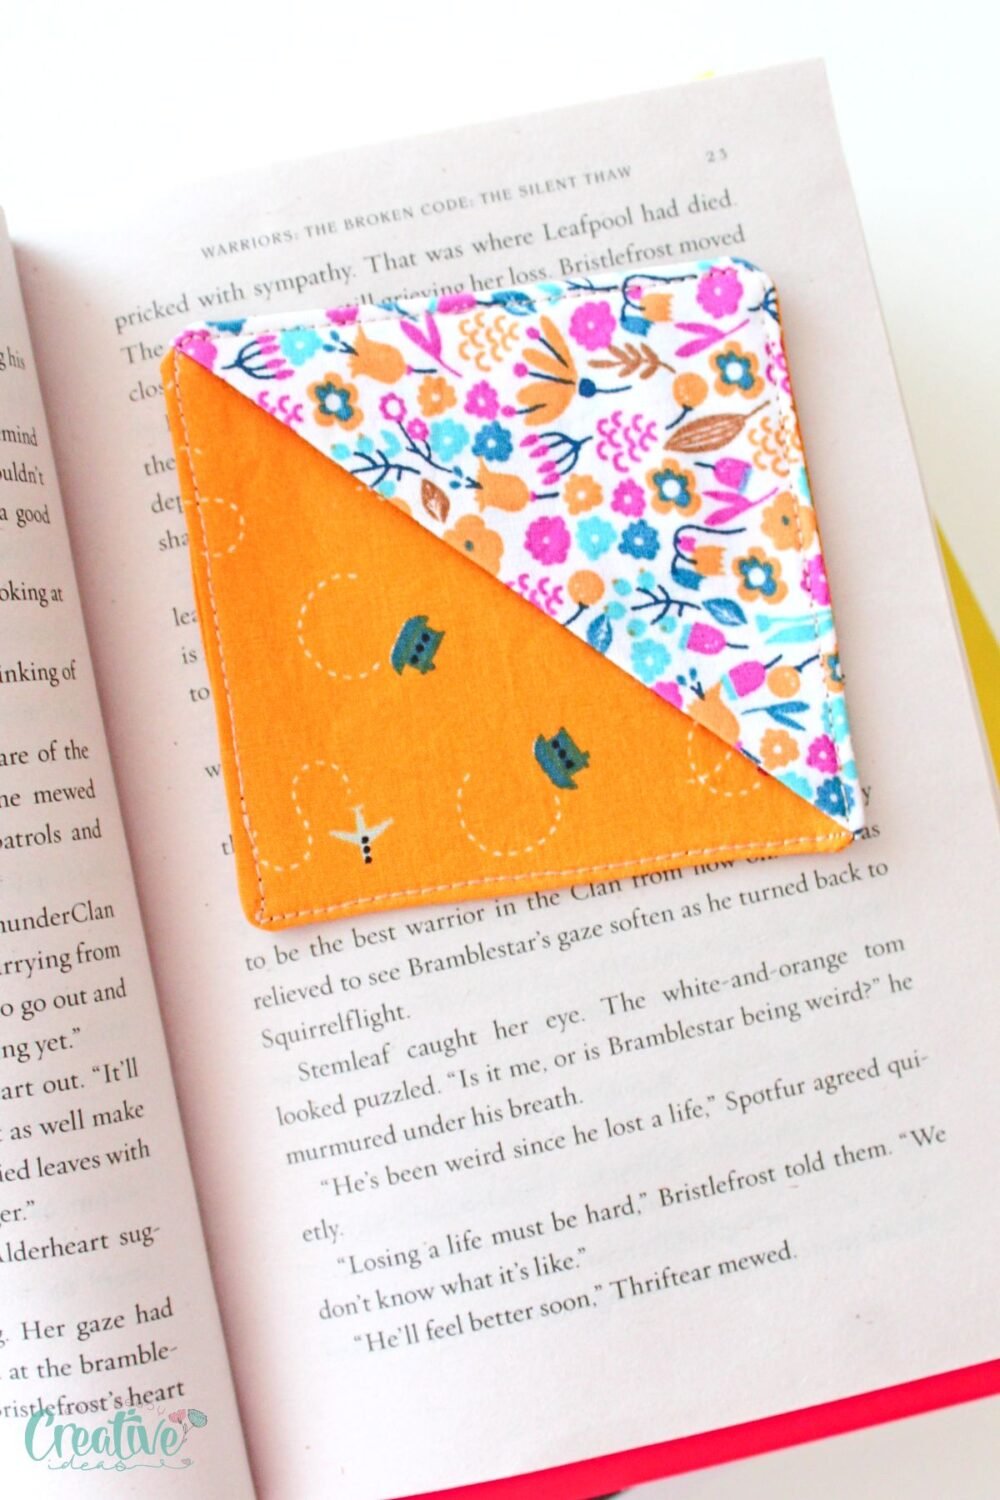
How to make corner bookmarks with fabric scraps
If you’re wondering how to make corner bookmarks from fabric, especially if you’re an avid reader or a lover of all things cute and crafty, then you’ve likely landed on the right page. Wonder no more, because I have all the details on sewing your own fabric bookmarks, using fabric scraps.
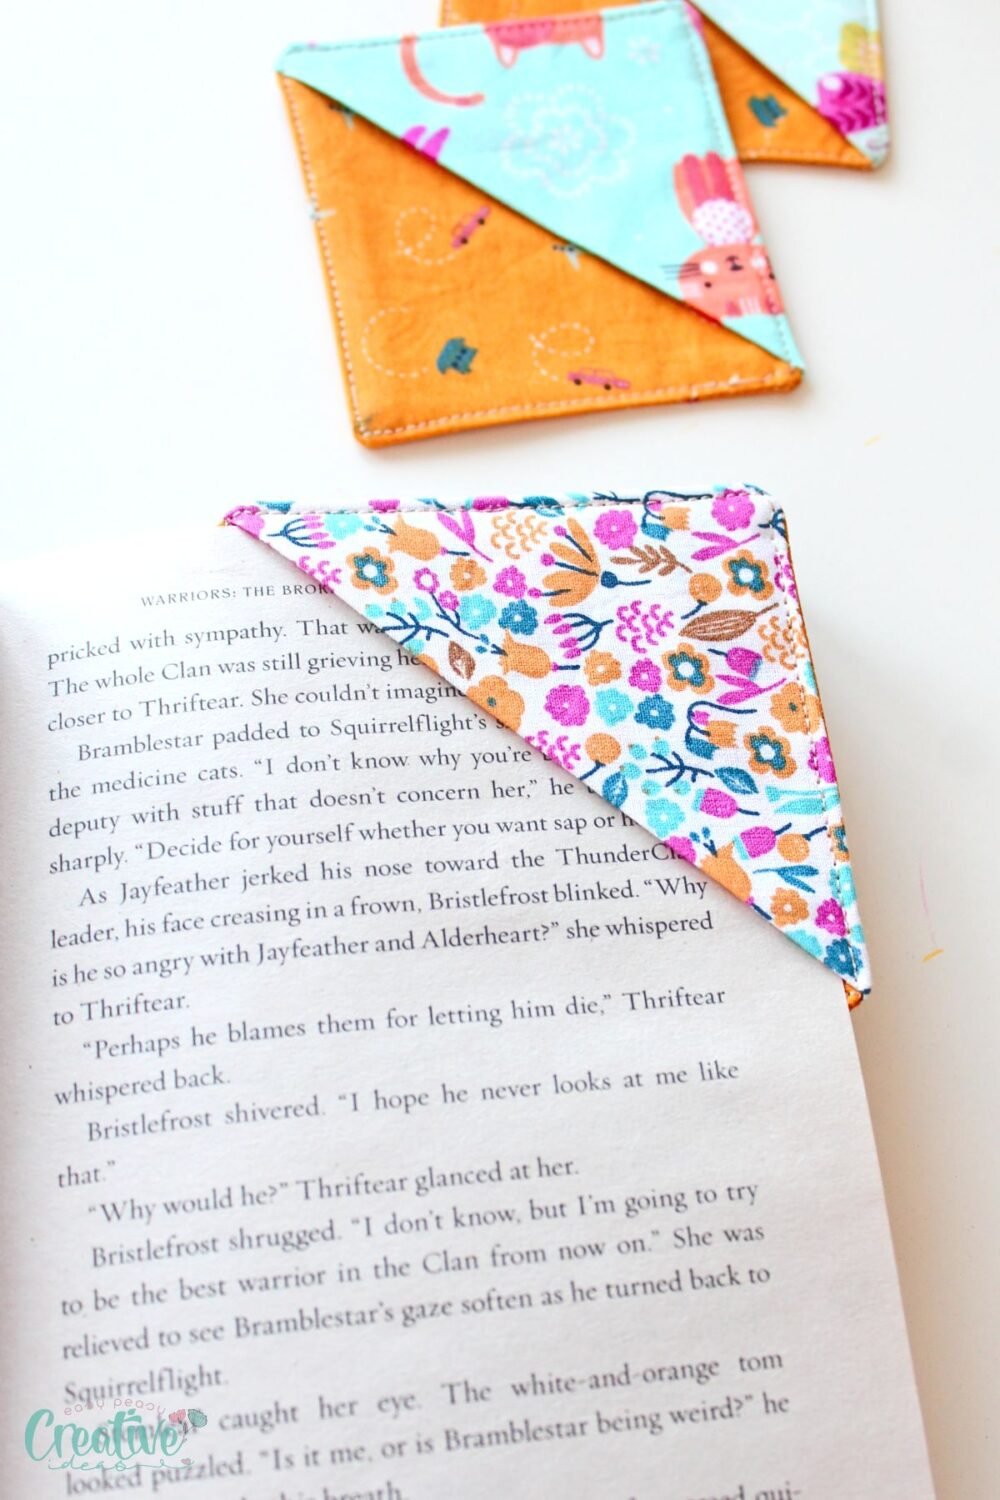
Learning how to make corner bookmarks is a fantastic hobby that enhances your reading experience in a fun, personalized way. These fabric corner bookmarks are not only easy and cost-effective to create, but they also introduce a cute and practical element to any book. Moreover, you have the freedom to customize them with your preferred fabrics and patterns!
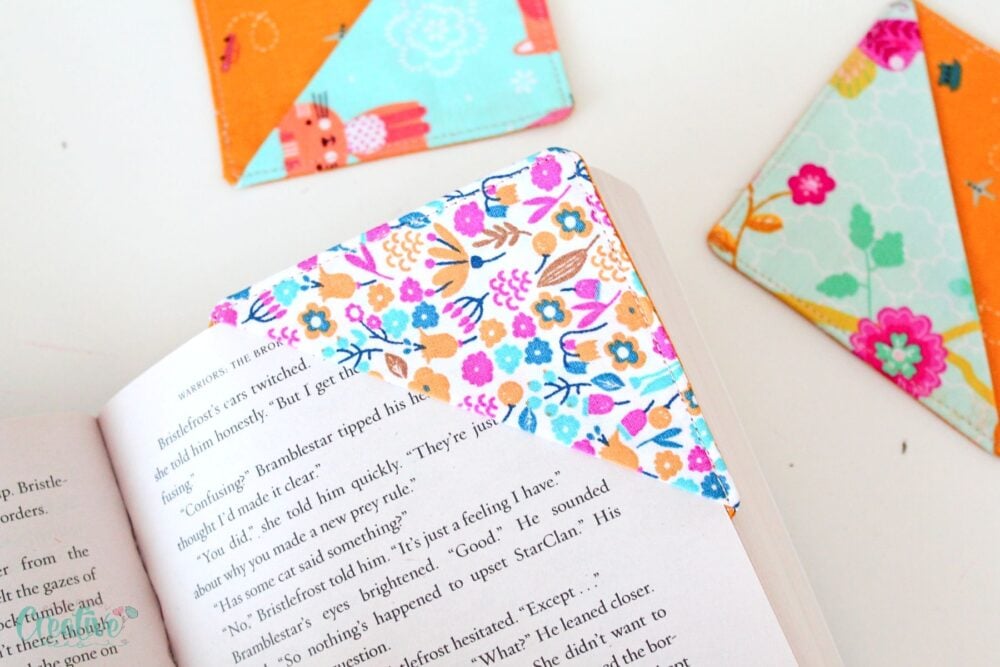
Crafting your own fabric corner bookmarks is not just a fun and creative activity but also an environmentally friendly way to use up scrap fabric. Plus, they make thoughtful gifts for friends and family. With a little practice, you’ll soon be learning how to make a fabric corner bookmark in less than 15 minutes, in a variety of designs and colors, perfectly customized to your reading style! Let’s get started!
How to make corner bookmarks with fabric
Materials Needed
To make your own fabric corner bookmarks, you will need the following materials:
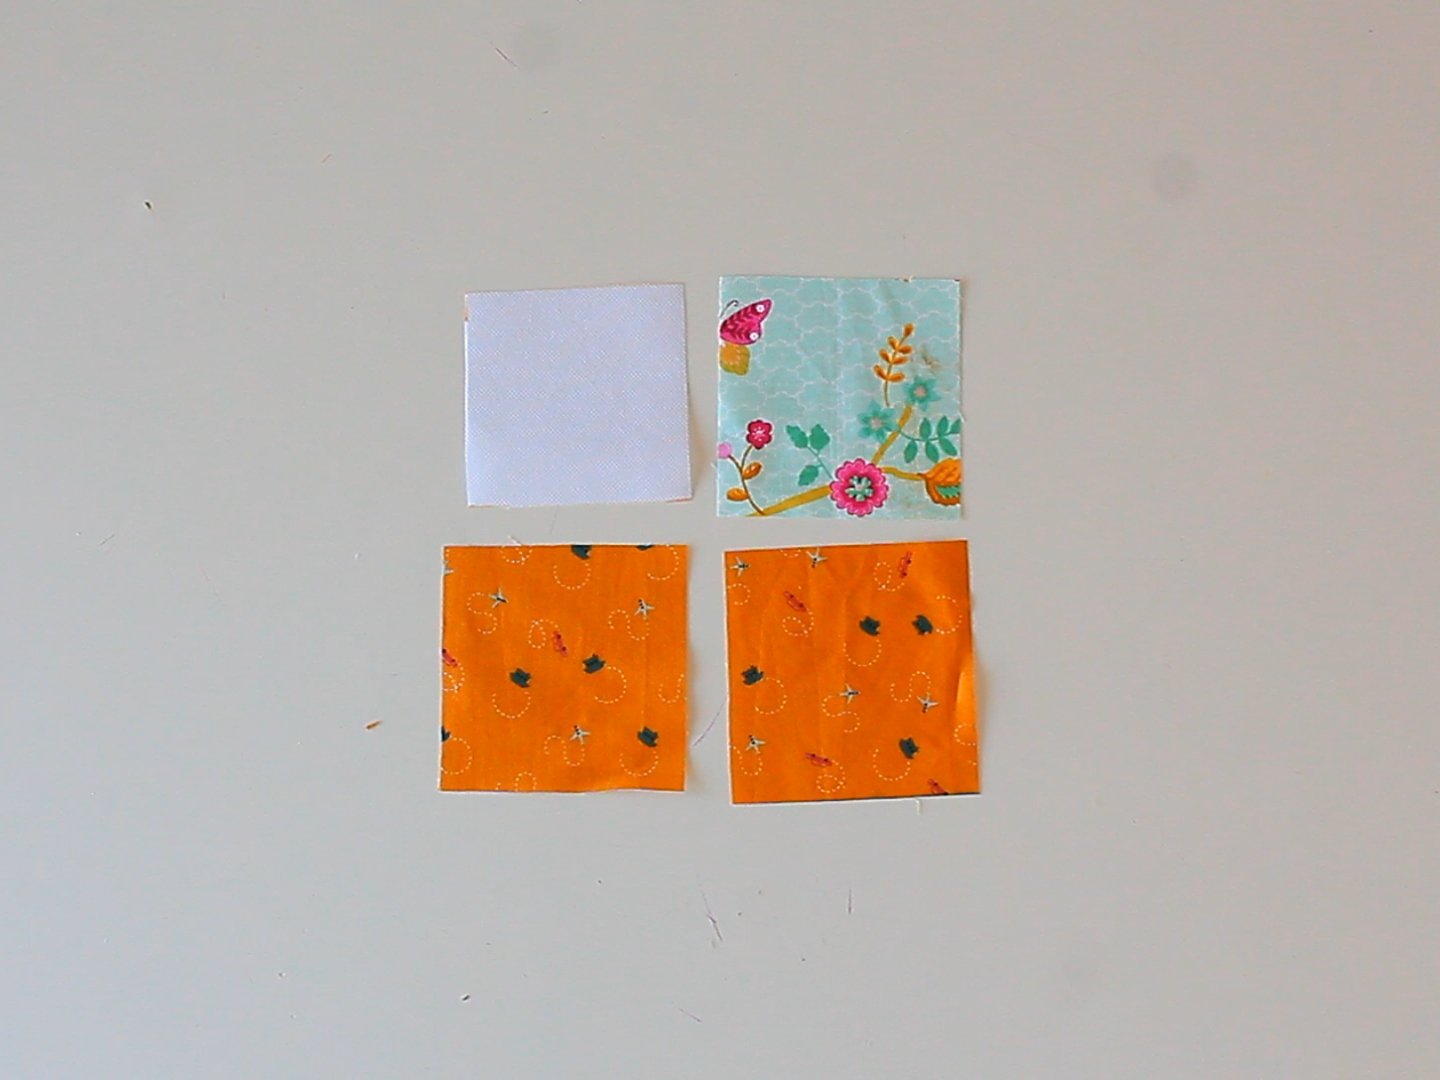
- Fabric scraps: 3 cotton fabric scraps measuring 4″ by 4″ (two for the back panel of the bookmark and one for the front)
- Interfacing: 1 piece of interfacing measuring 3 1/2″ by 3 1/2″. If you feel like your fabric is not sturdy enough, interface the front side of the corner bookmark too.
- Matching thread: Sewing thread that complements your fabric scraps so that your stitches are not too prominent.
Substitutes
If you don’t have the exact materials listed, don’t worry—it’s easy to make substitutions:
- For the fabric, virtually any mediumweight fabric scrap will do, such as cotton or linen.
- If interfacing is not available, you could use a piece of felt, batting or fusible fleece for added thickness, though it will not have the same crispness. Fuse it to the fabric with double sided hemming tape.
- Similarly, if you don’t have matching thread, choose a color that blends well with your fabrics or a neutral color such as beige or grey.
Equipment needed
To create your fabric corner bookmarks, the following equipment is essential:
- Ruler: to measure and mark your fabric
- Pencil or fabric marking pen: to draw the pattern on your fabric
- Cutting board: A sturdy surface to ensure precise cuts.
- Rotary cutter and scissors: The rotary cutter can make quick, straight cuts through the fabric, while scissors will be handy for more detailed work and trimming.
- Pins: To hold your fabric layers together before sewing.
- Sewing machine: For a quick and durable stitch, though these bookmarks can also be hand-sewn if preferred.
- Point turner tool: This tool is invaluable for pushing out corners and smoothing seams for a crisp finish.
- Iron: Essential for pressing and creating neat, sharp edges.
Instructions
Preparations
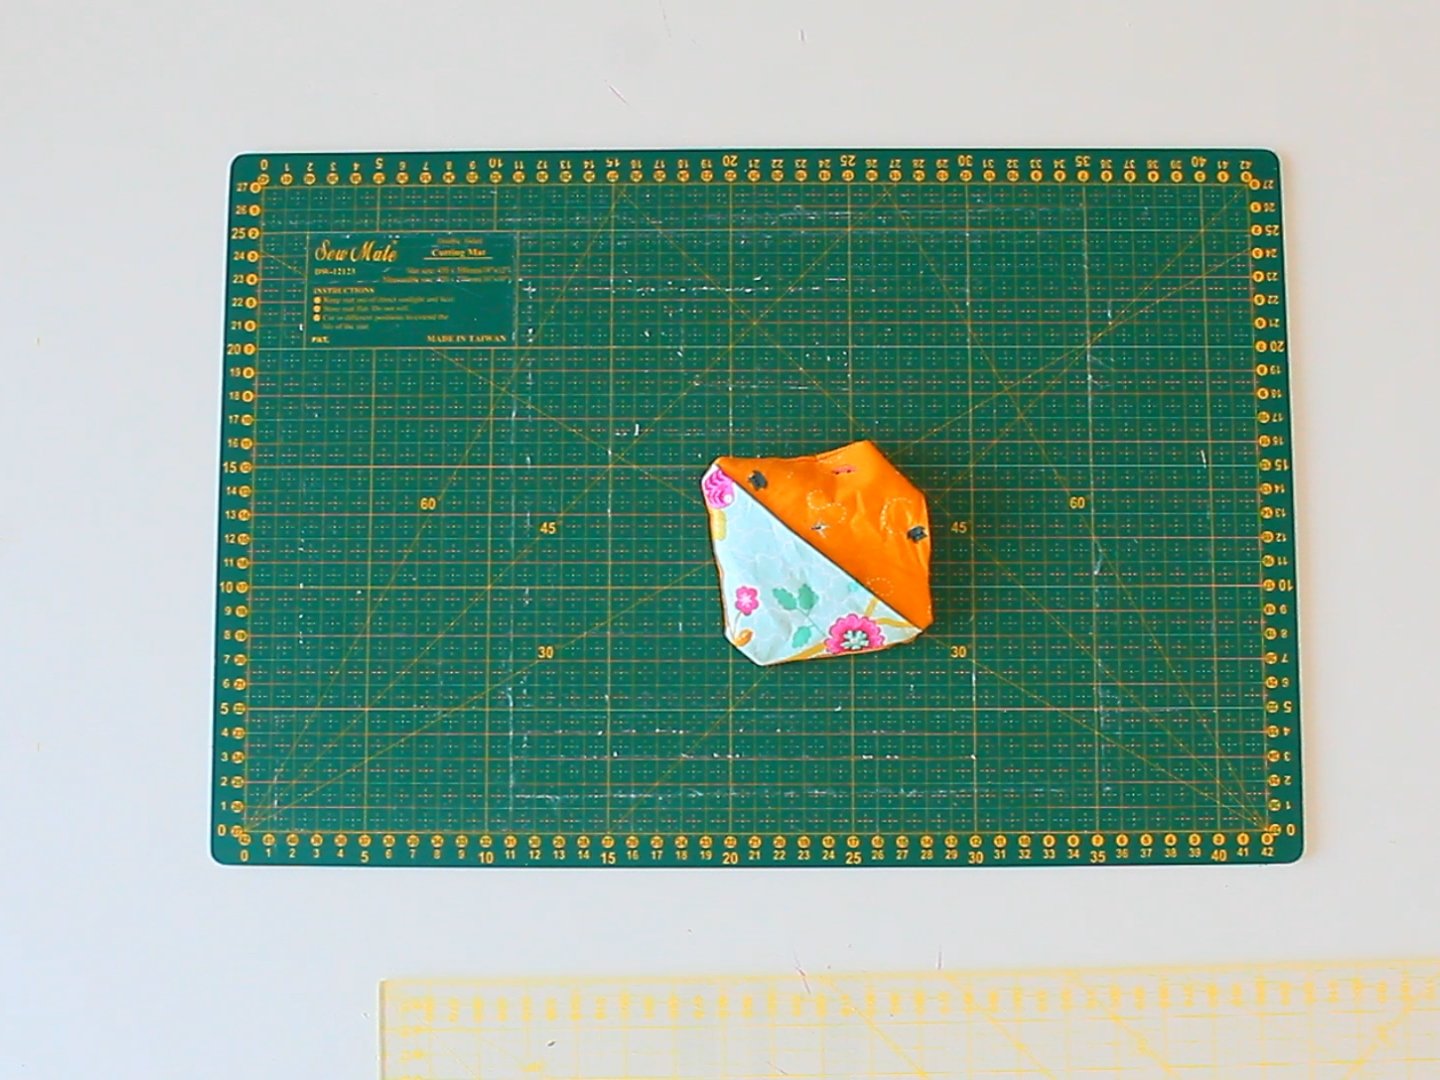
Start by gathering all your materials and equipment. Ensure your fabric pieces are washed, dried and ironed before cutting. Use your cutting board and rotary cutter to cut the fabric and interfacing to the specified sizes.
Sewing the corner bookmarks
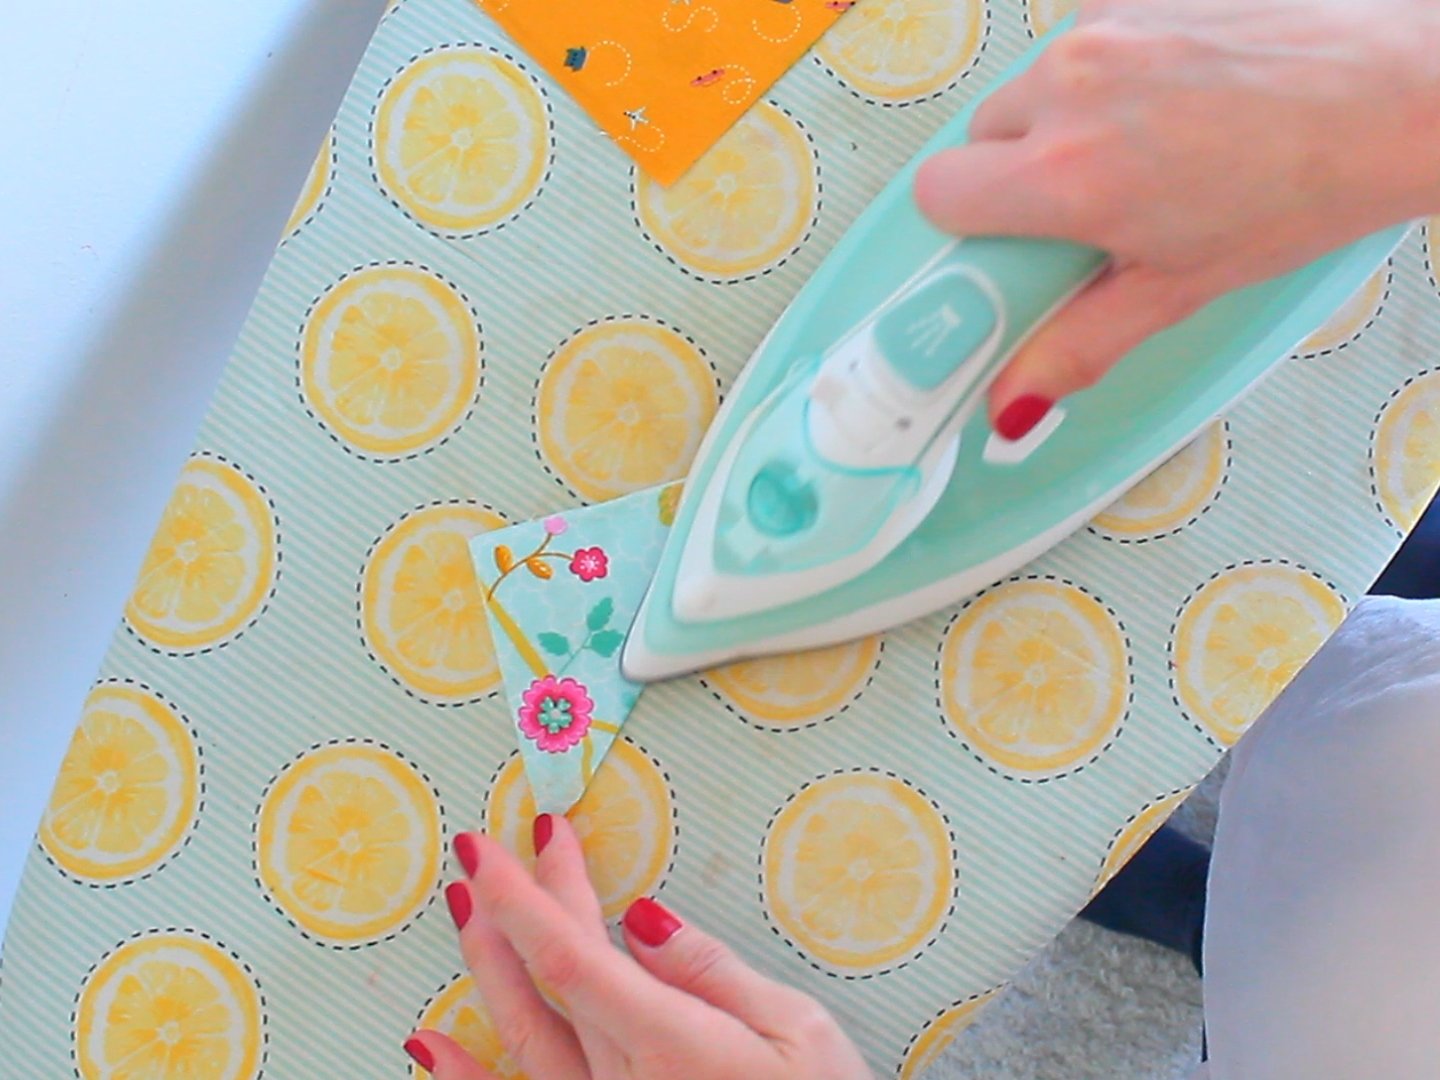
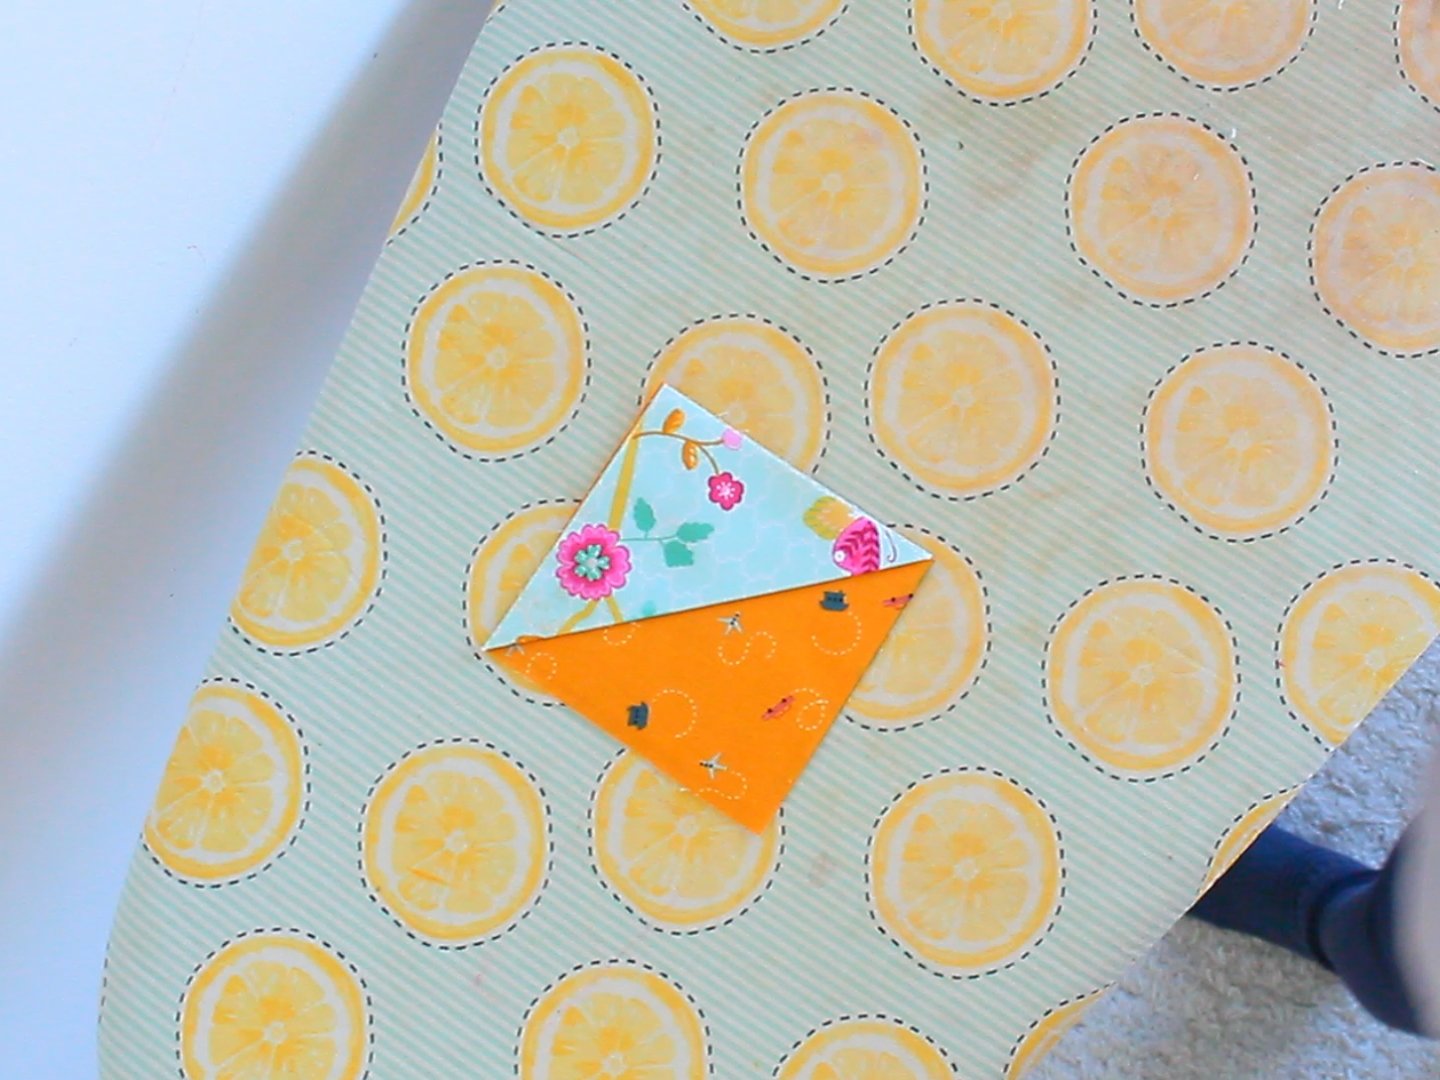
- Fold the top fabric piece into a triangle, ensuring the right side of the fabric is facing out.
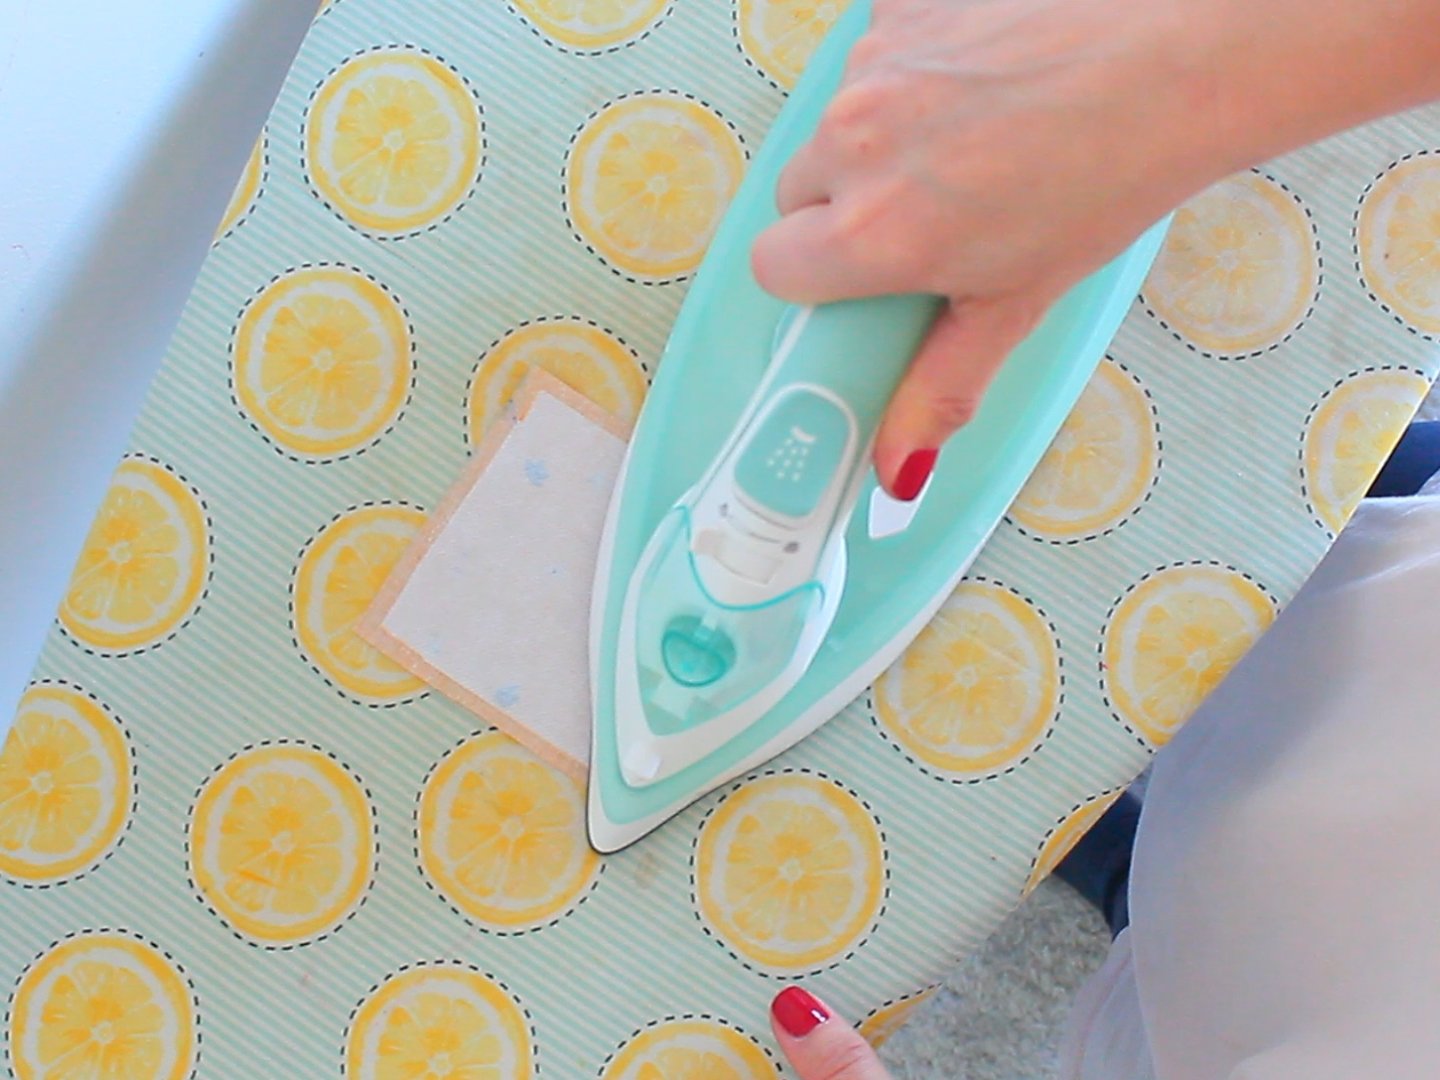
- Take one of the back pieces of fabric and apply the interfacing to the wrong side, then place it right side up.
- Place the folded triangle on top of the interfaced fabric piece.
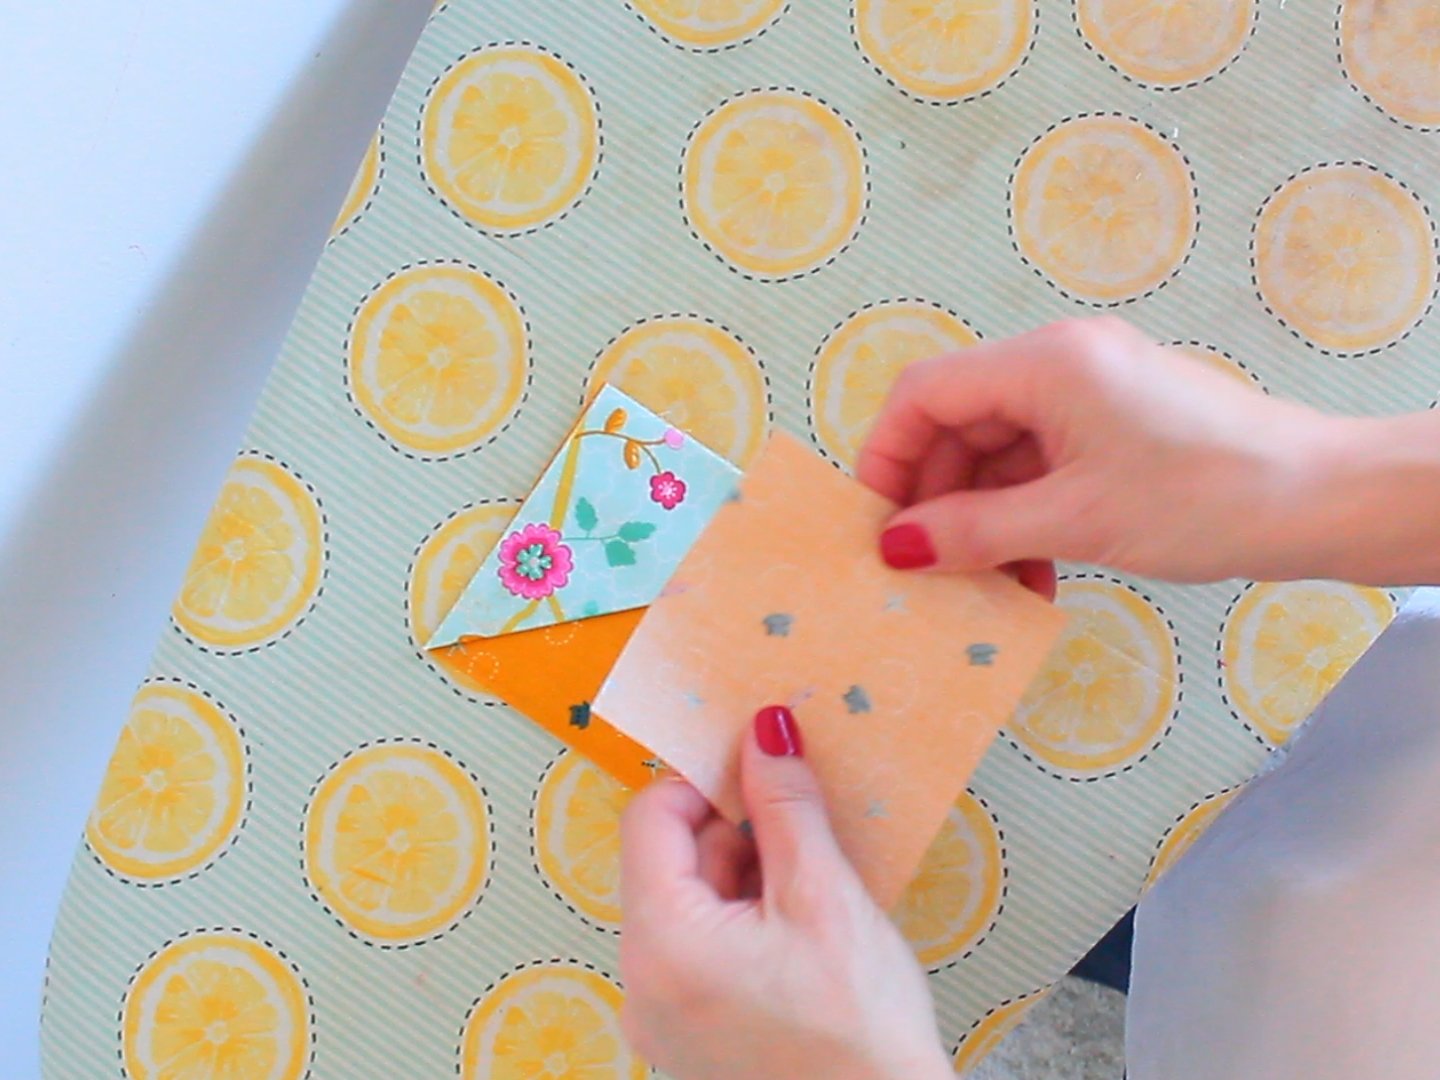
- Cover with the second back fabric piece, but this time with the wrong side facing out.
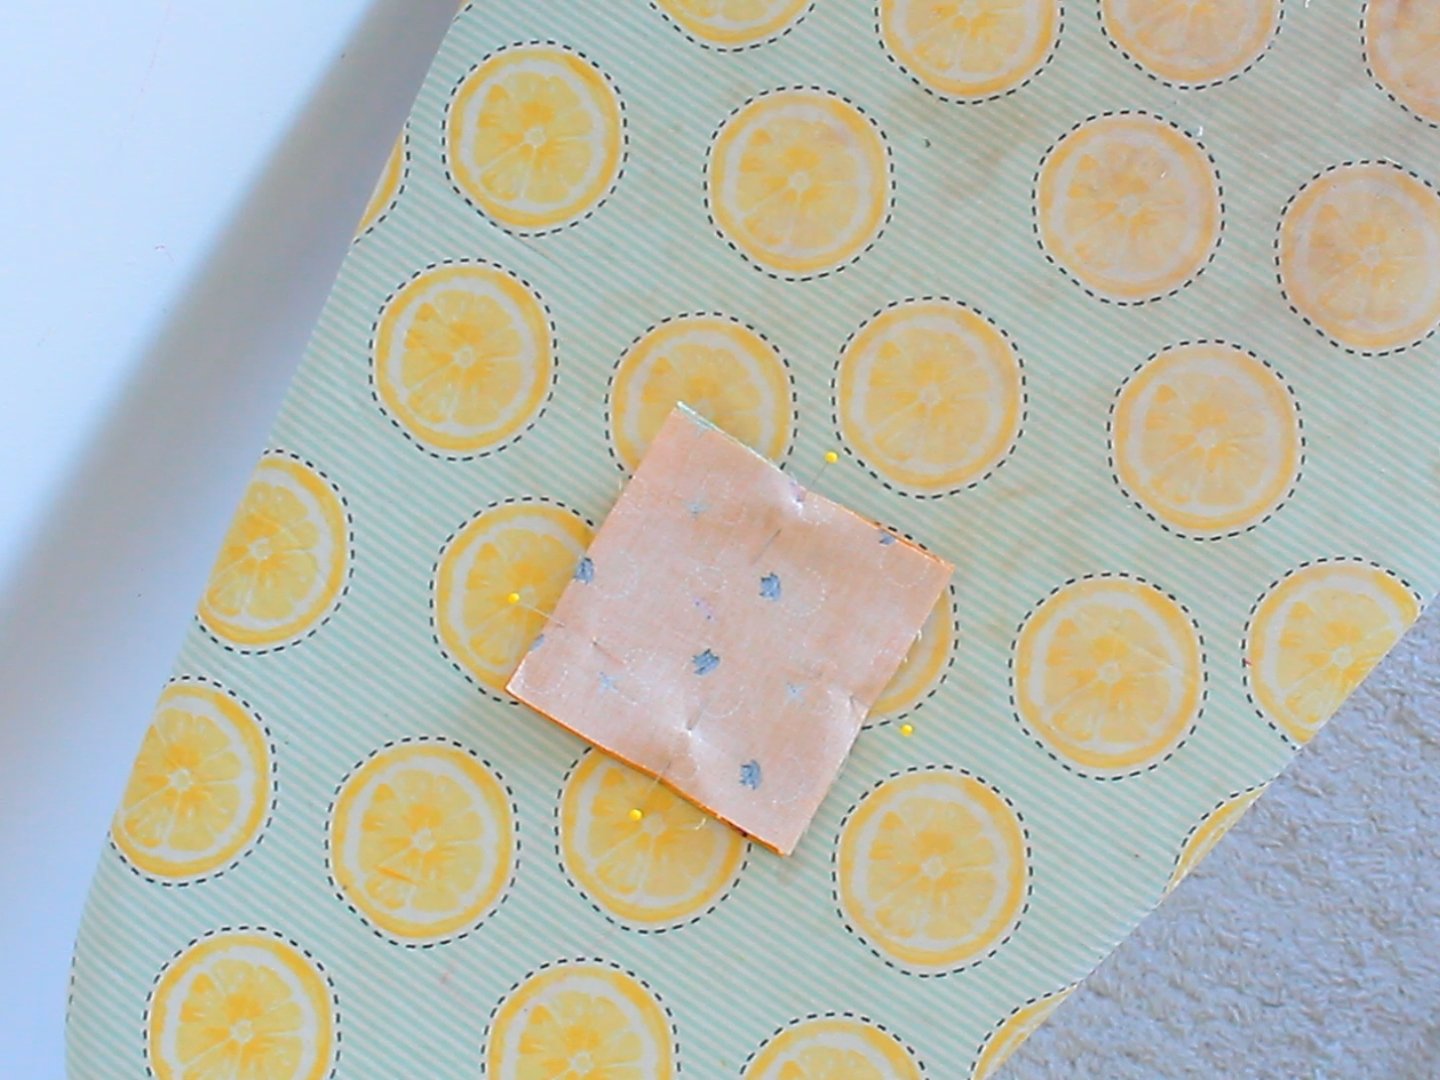
- Pin all the sides together, leaving a 1 1/2″ gap on one side for turning the bookmark right side out later.
- Sew around the edges with a 1/4″ seam allowance, remembering to skip over the gap. Back stitch and reinforce the seam at the beginning and the end of the gap to prevent it from unraveling when turning the bookmark out.
- Clip the corners off close to the stitching to reduce bulk, then trim the seam for a cleaner finish.
- Carefully turn the bookmark right side out through the gap, using the point turner tool to push out the corners and smooth the seams.
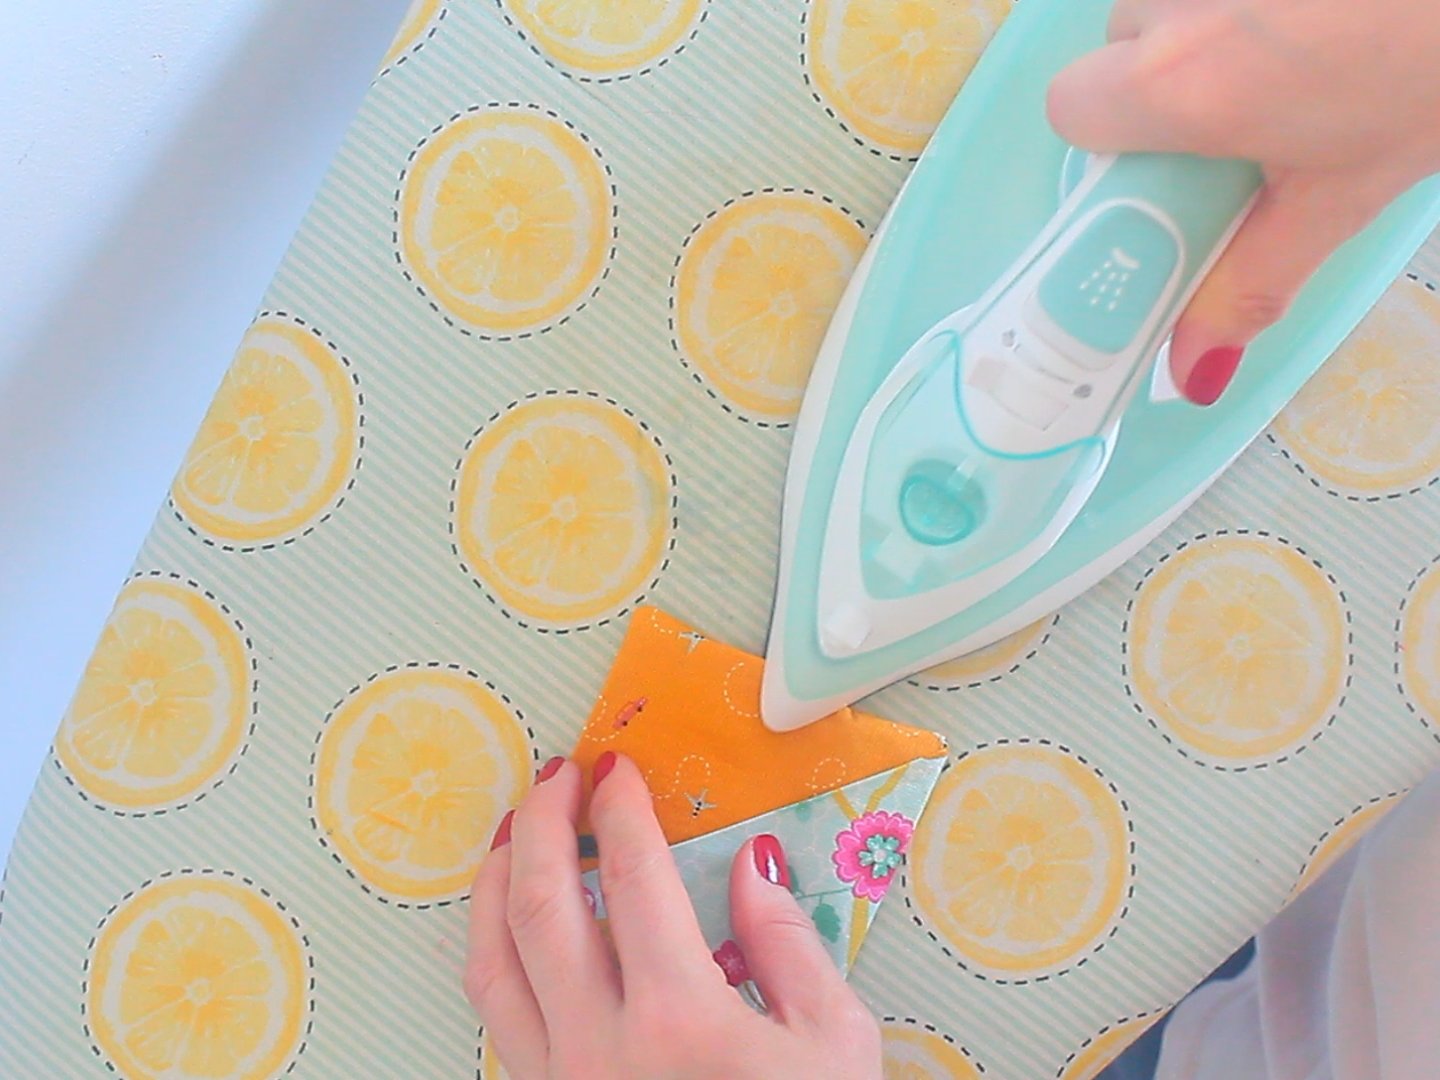
- Fold the fabric at the gap inward to align with the sewn sides, then press the bookmark flat with an iron.
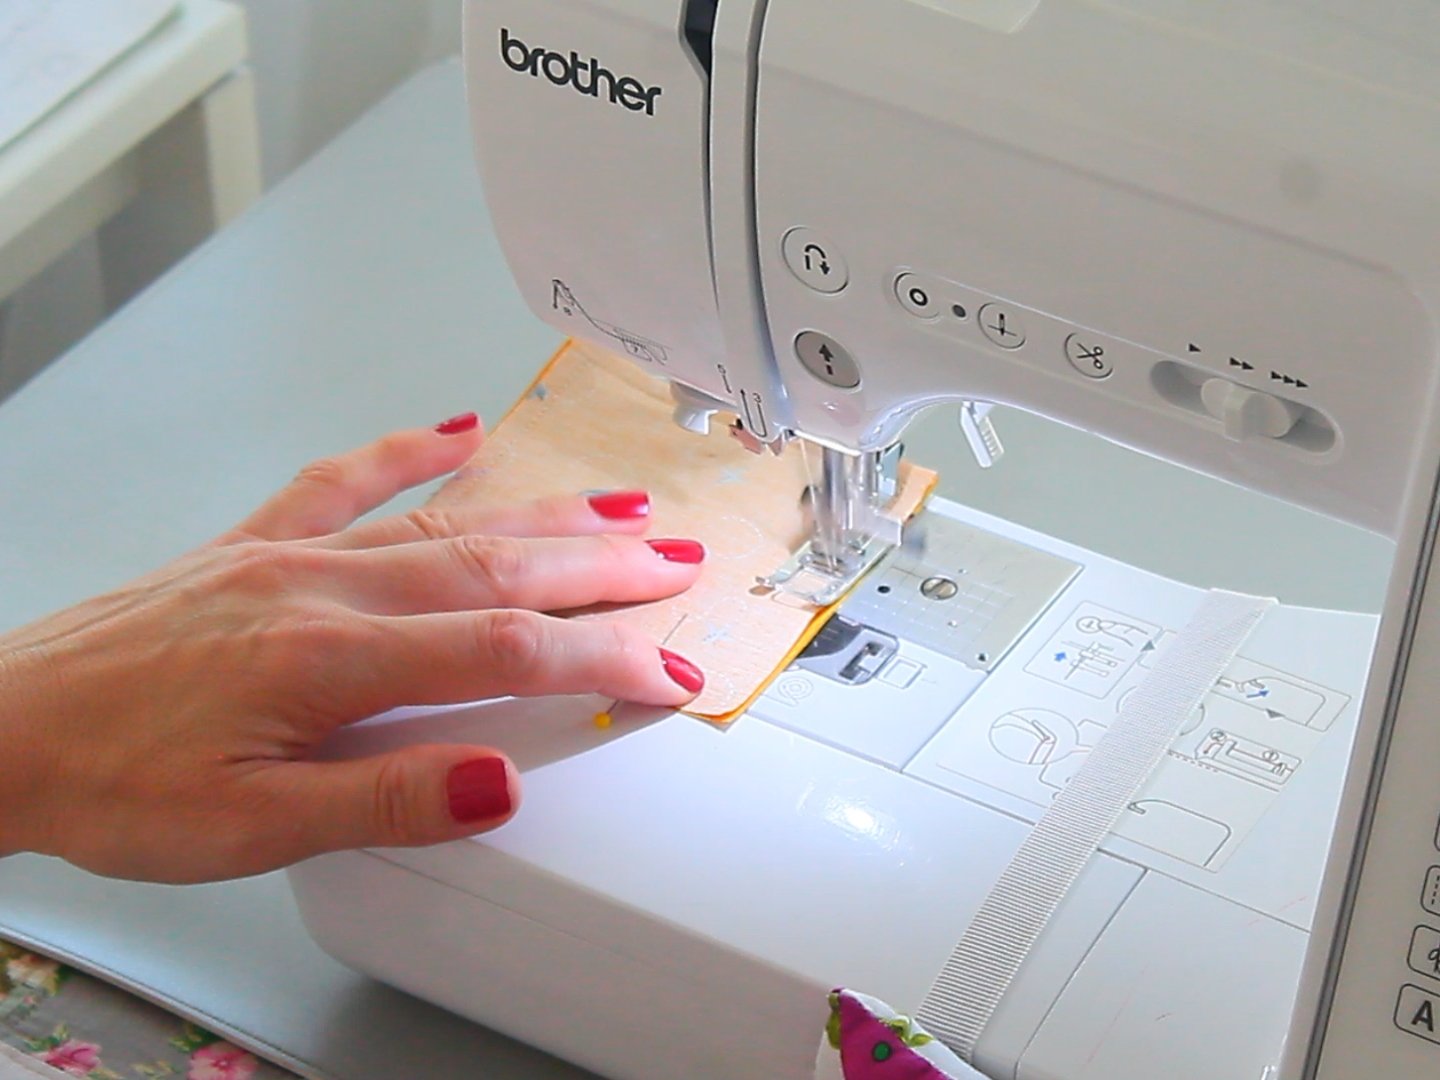
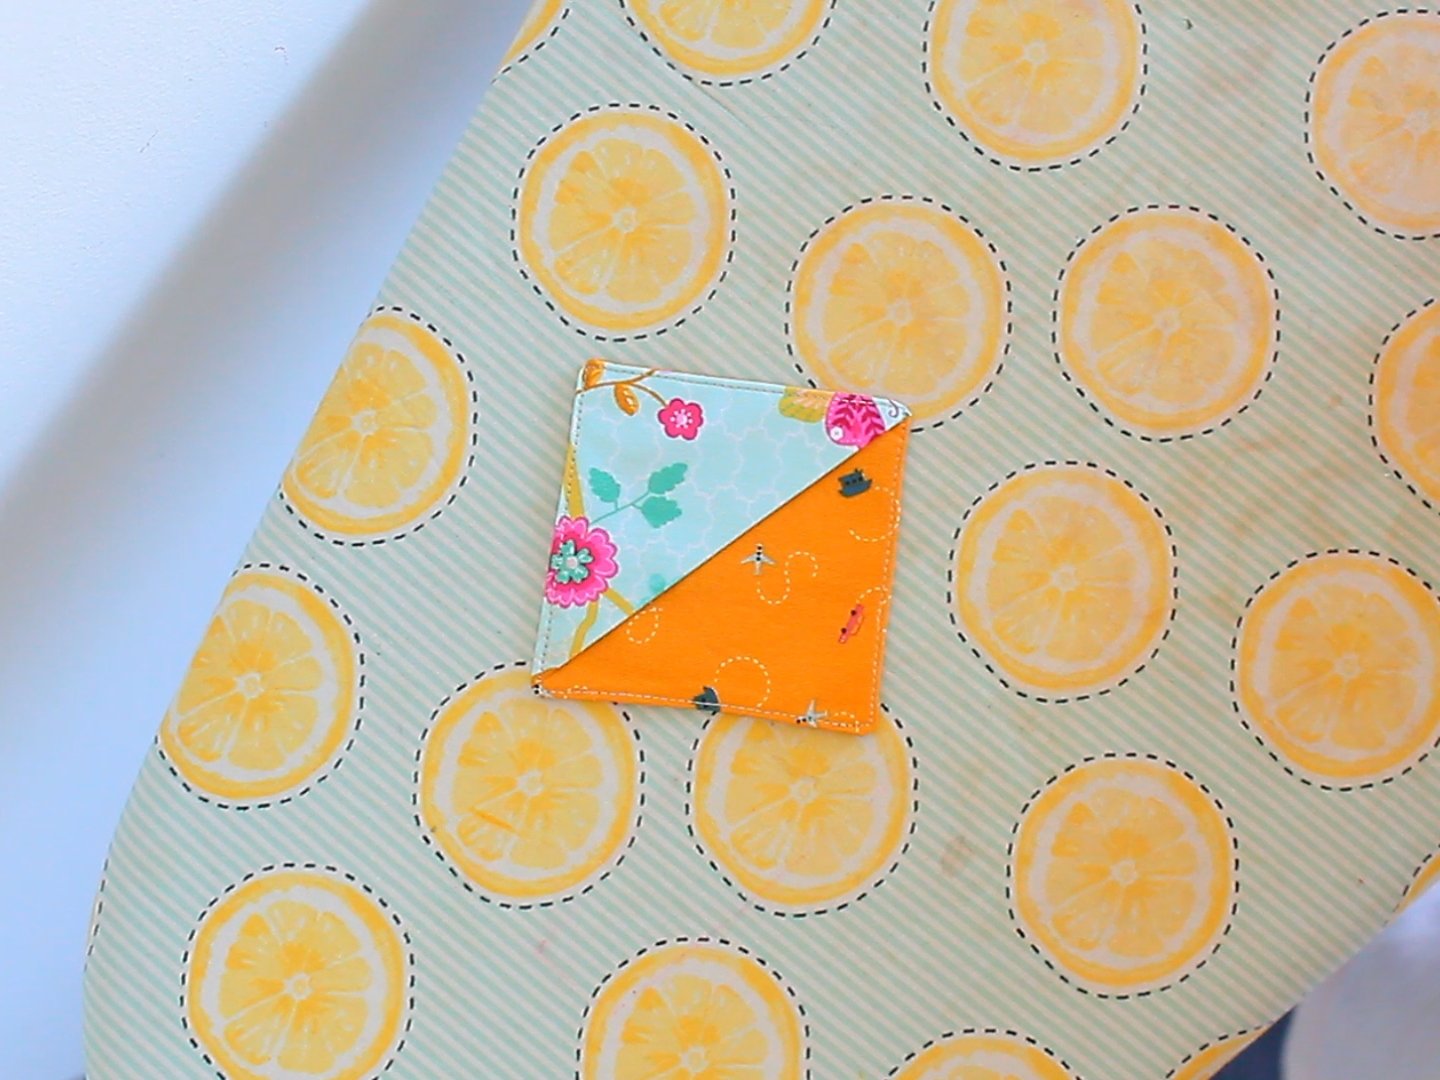
- Edge stitch around the entire bookmark to close the gap and give it a finished look.
Tips
- For a more durable bookmark, consider double stitching the edges. This not only adds strength but also gives the bookmark a more refined appearance. You can use a twin needle if you like.
- Experiment with different types of fabric for unique textures and effects.
- To make larger bookmarks, simply increase the size of your fabric and interfacing pieces accordingly. You can also use different shapes, such as rectangles or circles.
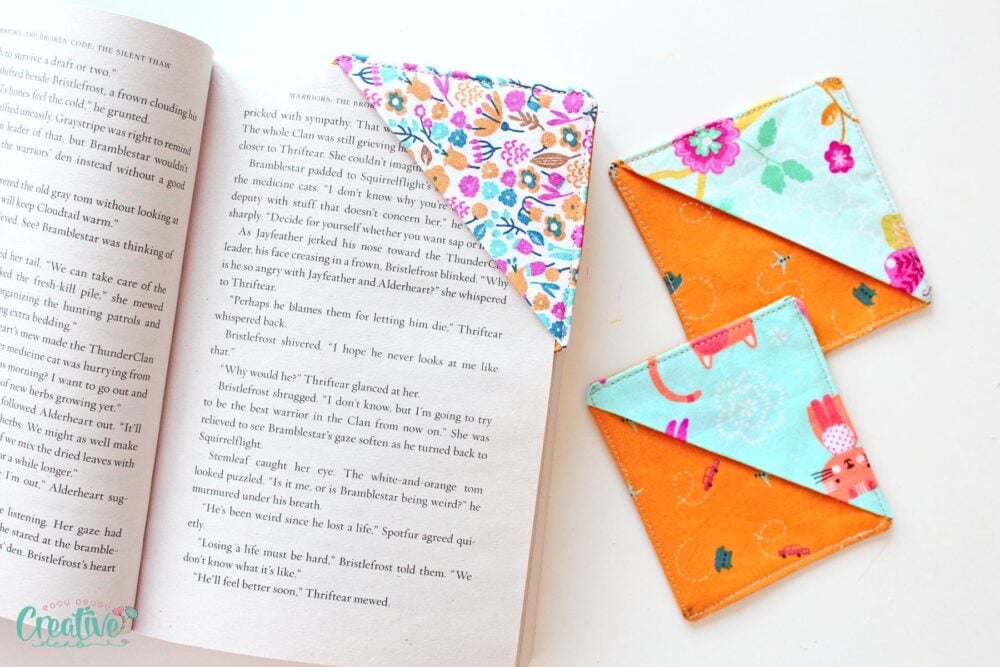
Project variations
Of course, you don’t have to stick to the classic triangle shape for your bookmarks. Here are a few variations to consider:
- Heart-shaped bookmark: Use heart-shaped fabric pieces instead of squares and sew them together in a similar manner.
- Animal ears bookmark: Add two small triangles on top of the back fabric piece to create cute animal ears peeking out of the book.
- Tassel bookmark: Add a tassel to one corner by folding a small strip of fabric in half and sewing it into the seam before turning the bookmark right side out.
Frequently Asked Questions
- Can I make these without a sewing machine?
Yes, you can hand-sew these bookmarks if you prefer. Simply follow the same steps, but use a whipstitch instead of a machine stitch.
- What type of fabric works best for these bookmarks?
The best fabric for these bookmarks is mediumweight cotton or linen because they are sturdy enough to hold their shape yet flexible enough to fold. However, feel free to experiment with different types of fabric to see what works best for you. Just remember that very thick fabrics may be difficult to sew and turn, while very thin fabrics may not be durable.
More sewing projects you’ll enjoy
If you’re looking for even more fun sewing projects, here are some ideas:
- Selvage fabric bookmarks
- Scrappy fabric bookmarks
- Notebook pencil pouch bookmark
- Notebook pen holder bookmark
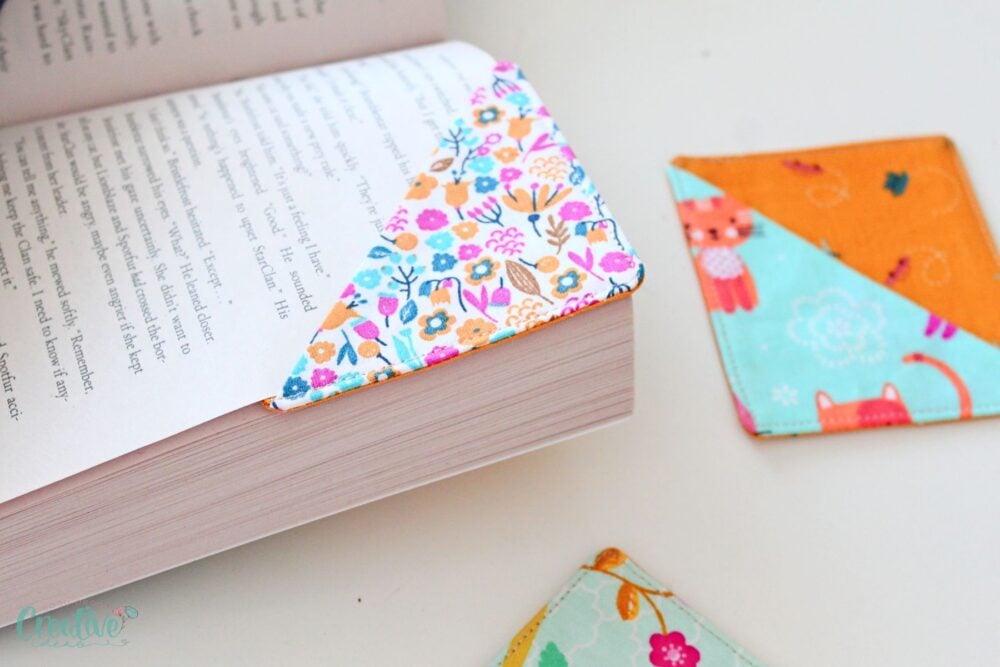
Now that you know how to make corner bookmarks, all that’s left is to give this project a try! So gather your materials and start creating unique bookmarks to add some personal flair to your reading experience. Happy sewing!
How to make corner bookmarks
Materials
- 3 pieces cotton fabric scraps measuring 4" by 4" two for the back panel of the bookmark and one for the front
- 1 piece interfacing measuring 3 1/2" by 3 1/2" If you feel like your fabric is not sturdy enough, interface the front side of the corner bookmark too.
- Matching thread
Tools
- ruler
- Pencil or fabric marking pen
- scissors
- Point turner tool
- Iron
Instructions
- Ensure your fabric pieces are washed, dried and ironed before cutting. Use your cutting board and rotary cutter to cut the fabric and interfacing to the specified sizes.

- Fold the top fabric piece into a triangle, ensuring the right side of the fabric is facing out.
- Take one of the back pieces of fabric and apply the interfacing to the wrong side, then place it right side up.
- Place the folded triangle on top of the interfaced fabric piece.
- Cover with the second back fabric piece, but this time with the wrong side facing out.
- Pin all the sides together, leaving a 1 1/2" gap on one side for turning the bookmark right side out later.
- Sew around the edges with a 1/4" seam allowance, remembering to skip over the gap. Back stitch and reinforce the seam at the beginning and the end of the gap to prevent it from unraveling when turning the bookmark out.
- Clip the corners off close to the stitching to reduce bulk, then trim the seam for a cleaner finish.
- Carefully turn the bookmark right side out through the gap, using the point turner tool to push out the corners and smooth the seams.
- Fold the fabric at the gap inward to align with the sewn sides, then press the bookmark flat with an iron.
- Edge stitch around the entire bookmark to close the gap and give it a finished look.

Video
Article may contain Amazon & affiliate links. As an Amazon Associate I earn from qualifying purchases at no additional cost to you.
ABOUT PETRO
Hi, I’m Petro, author and founder of Easy Peasy Creative Ideas. Sewist, crafter, avid DIY-er, foodie, photographer, homemaker and mommy to one. I’m an expert at coming up with quick, clever sewing tips, recycling crafts and simple, easy recipes! You can find my ideas featured in reputable publications such as Country Living, Good House Keeping, Yahoo News, WikiHow, Shutterfly, Parade, Brit & Co and more. Thanks for stopping by and hope you’ll stay for a while, get to know me better and come back another time. Stick around for real fun projects! Read more…