
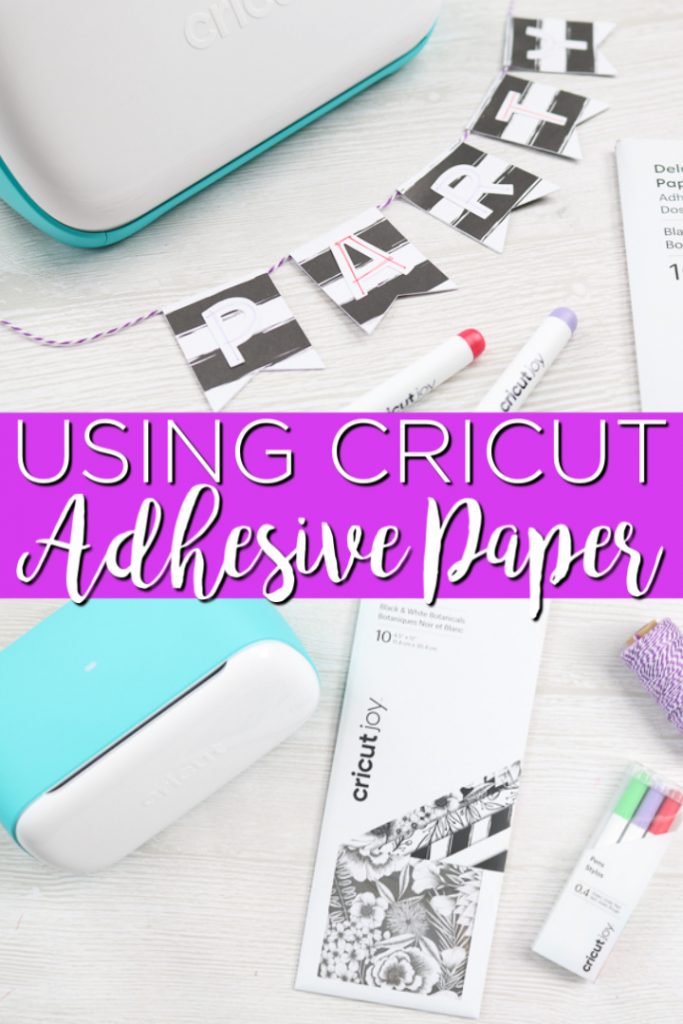
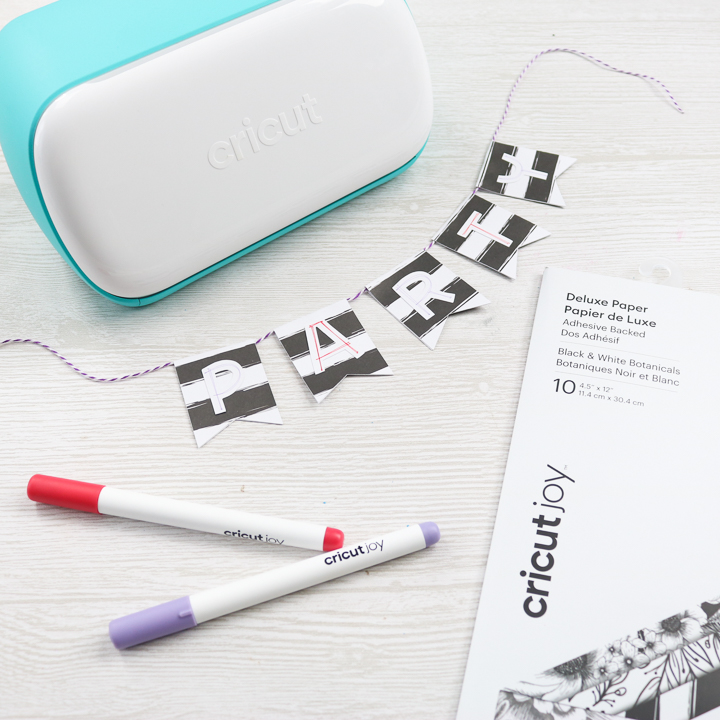
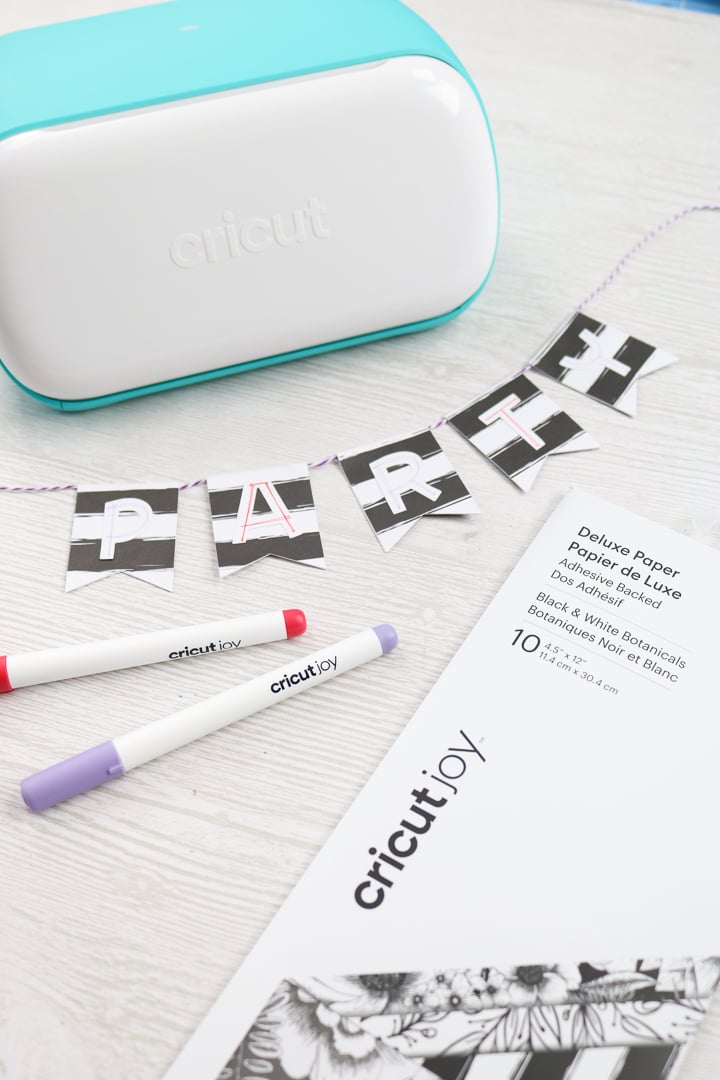
Have you heard of Cricut’s Adhesive Backed Paper? It’s a great way to make crafts quickly. You can make party crafts in minutes when the adhesive is already on the paper.
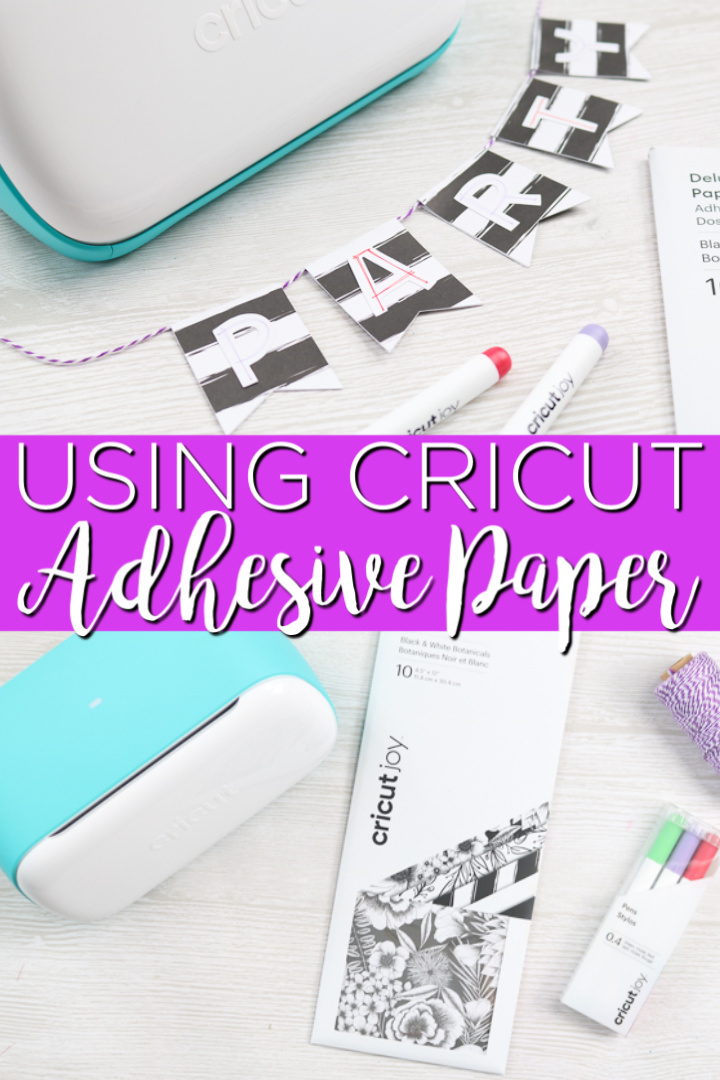
Adhesive Backed Paper comes in tons of different colors and patterns. I’m going to show you how to make a party banner with the self-adhesive paper. We are going to use the Cricut Joy for this project. Learn more about the Cricut Joy here if you haven’t heard of it yet.
You can also scroll to the bottom of this post as it is party week here and we have a great selection of Cricut party crafts that you don’t want to miss.
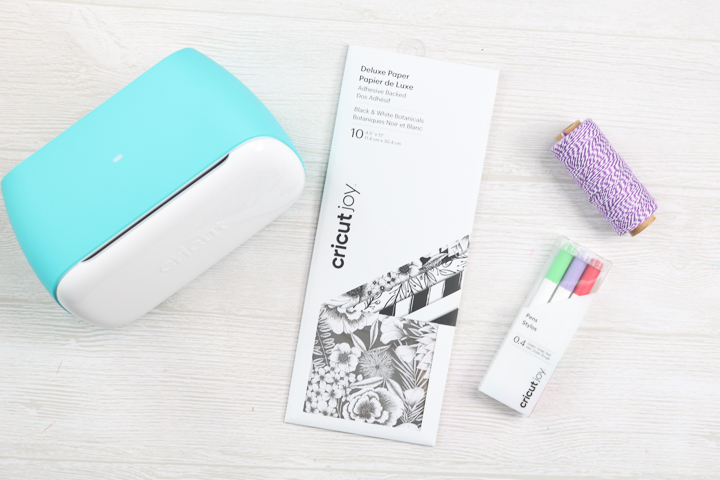
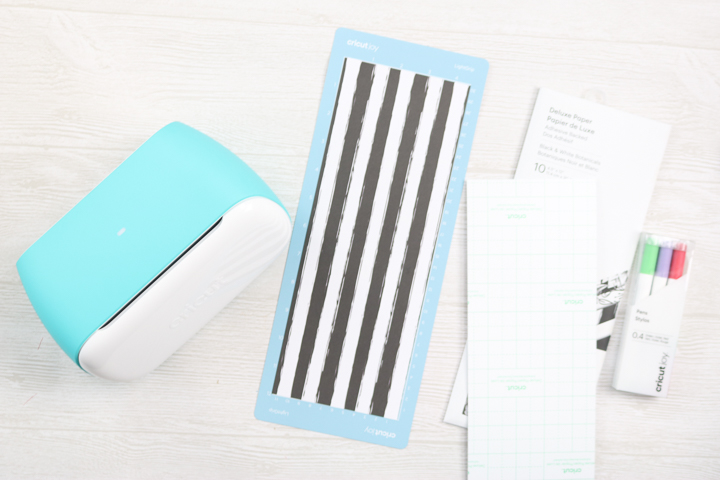
Supplies needed to make a paper party banner:
- Cricut Adhesive Backed Paper
- Cricut Joy
- Baker’s Twine
- Cricut cut file (you can find the one I used here)
- Cricut Joy Pens
- Scissors
How to Use Cricut Adhesive Backed Paper:
The paper is fairly simple to use. It’s just like any other paper however it has adhesive backing. This allows you to make crafts quickly and easily with no glue required.
Self-Adhesive Paper Video
If you want to see me use the Cricut adhesive backed paper to make a party banner, just watch the video below.
Can’t watch the video or miss some of the steps? Then you can also see our step-by-step instructions below.
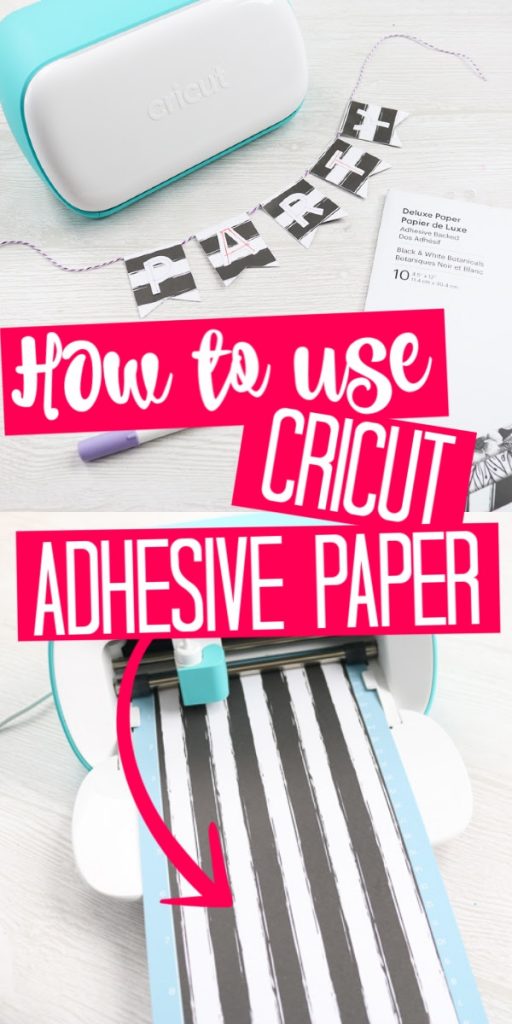
How to Cut Cricut Adhesive Paper with the Cricut Joy:
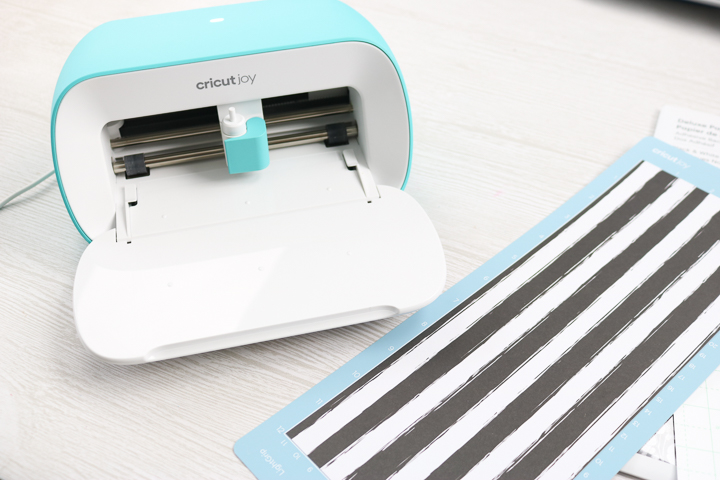
To cut the self-adhesive paper with the Cricut Joy you will need a mat. The 12-inch mat works best, however, this is not the one that comes with the machine. You can cut your paper strips in half if you would like and use the smaller mat.
The Cricut adhesive paper comes in sizes specifically designed for the Cricut Joy. You can, however, also use this with the Cricut Explore series of machines or the Cricut Maker machines.
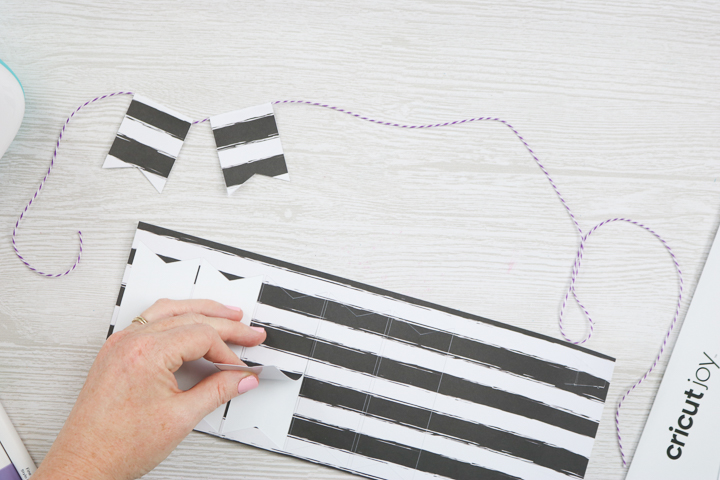
Just put the paper on the mat. It goes with the grid side down and the patterned side up.
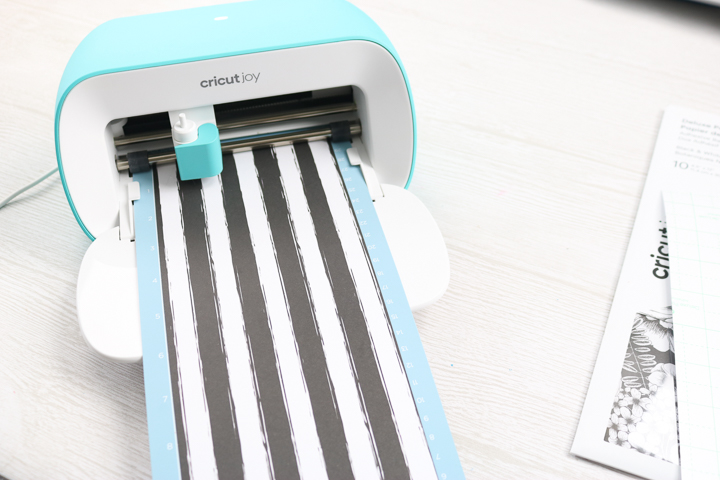
Then cut your design like normal. Be sure to take into account the pattern of the design when cutting your pieces. You don’t want your pattern to end up upside down or sideways. You can see more about cutting with the Cricut Joy here.
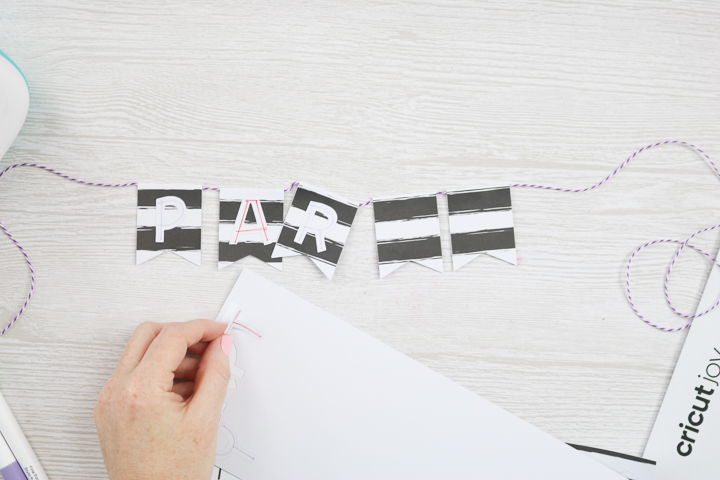
If you want to use the pens to draw on the paper while cutting, use the Cricut Joy pens and add them to the blade holder when prompted in Cricut Design Space. Don’t forget the front/top corners of your Cricut Joy are magnetic. Your blade housing will stick there while you’re using the pen.
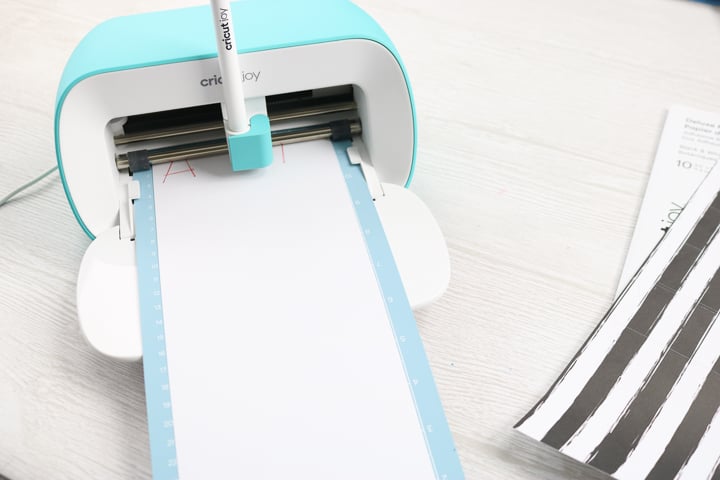
Then draw and cut your design out of the Cricut adhesive backed paper.
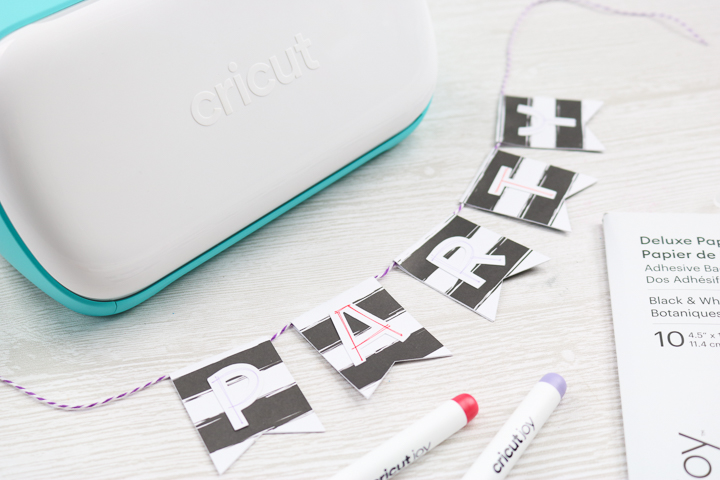
How to assemble your party banner:
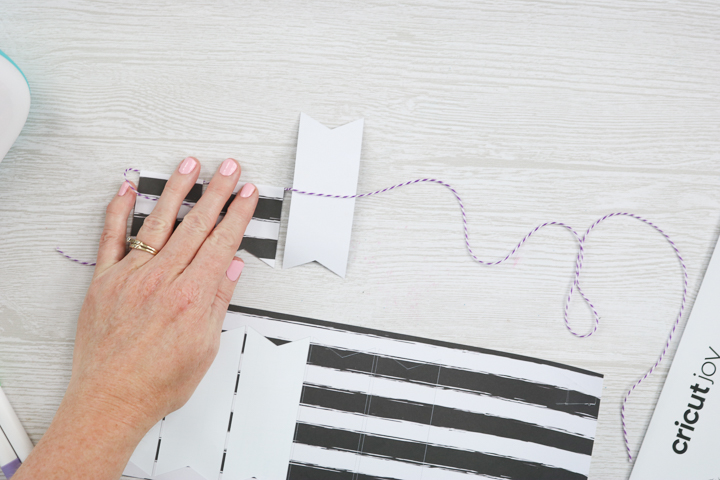
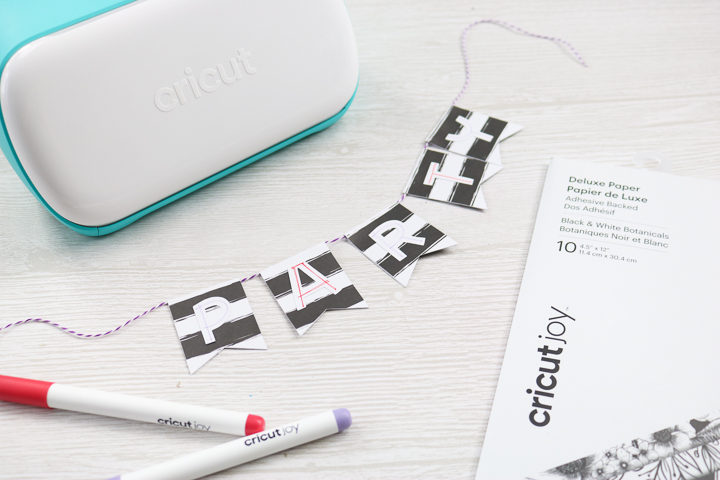
Add the banner flags around the baker’s twine.
Peel away from the backing and you now have a paper sticker. Position this on your baker’s twine.
Secure into place by sticking the front and the back together and creasing down the center. Make sure to press them together well top to bottom.
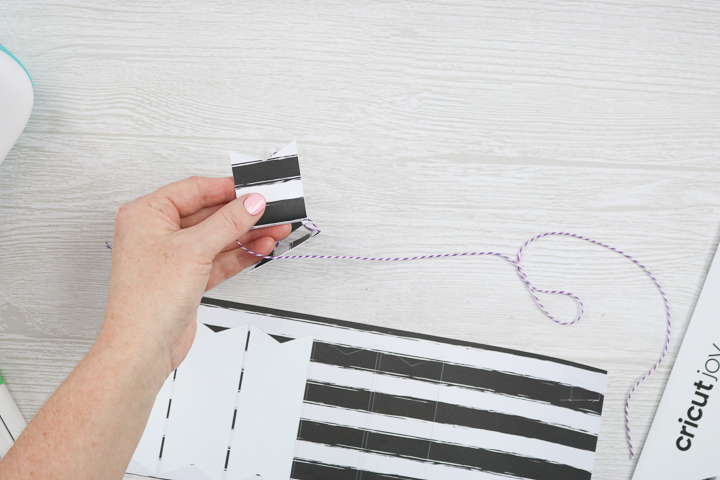
Repeat this same procedure for as many flags as are in your banner.
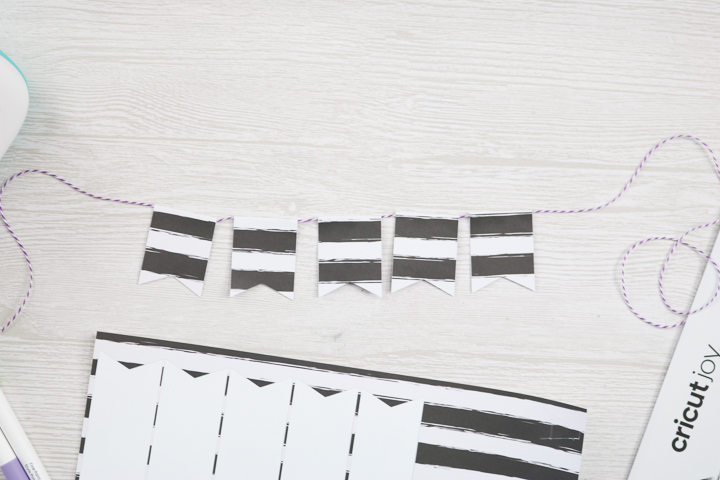
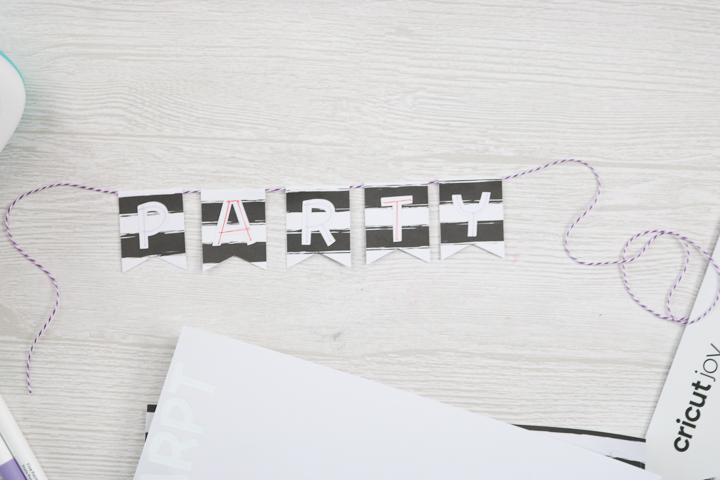
Then peel away the letters and stick them to the banner flags.
Once all the letters are in place, your party banner is ready to hang or add to the top of a cake.
So make a party banner with your Cricut adhesive backed paper or use it in your other crafts like cards or scrapbook pages. I think you’ll really like it!
Will you be trying this new Cricut product on any of your craft projects? I would love to hear what you plan on making with it.
I can’t wait to try some of the other fun colors and patterns as well.
Stay tuned as I have so much more planned for the Cricut Joy and the other new products. The Cricut adhesive backed paper is just the beginning y’all!
So, are you looking for more Cricut party crafts? Try the links below as well!
You can just click on each of the images below to get to the instructions for each of the Cricut crafts.
New to Cricut?

Sign up for our email list to download the Beginner's Guide to Cricut Design Space for FREE today!
Sign up to get the guide emailed to you!


