
Learn how to easily make a watercolor masterpiece with the Cricut watercolor markers and watercolor paper cards with your Cricut machines!
I know Cricut watercolor pens have been out for a while, but I finally got my hands on these new products and I have to admit, I’m impressed by my first watercolor cards!
I love watercolor designs and paper crafts but I fully admit, I’m not an artist, I don’t have nice handwriting, and I can’t draw very well (thus my need for my Cricut!)
And the best part is there is a marker set for each size of a Cricut machine, so you can make beautiful freehand watercolor effects with all Cricut machines.
You’ll need the watercolor brush set that is compatible with your machine, a Cricut card mat, some watercolor paper cards, a splash of water, and a paper towel. That’s really it for these gorgeous cards!

Disclosure: This post contains affiliate links from Shareasale, Cricut, Awin, CreativeFabrica, and Amazon.com. I receive a small commission at no cost to you when you make a purchase using my links (purple text). As an Amazon Associate, I earn from qualifying purchases.
If you have a Cricut Joy machine, you’ll use the Cricut Joy card mat and the new Cricut watercolor markers made for use with the Cricut Joy.


First, we will go over how to use the Cricut watercolor marker and brush set, and then make sure to keep reading to check out how to design images to use with watercolor images after the tutorial.


How to Use Cricut Watercolor Markers and Cards!
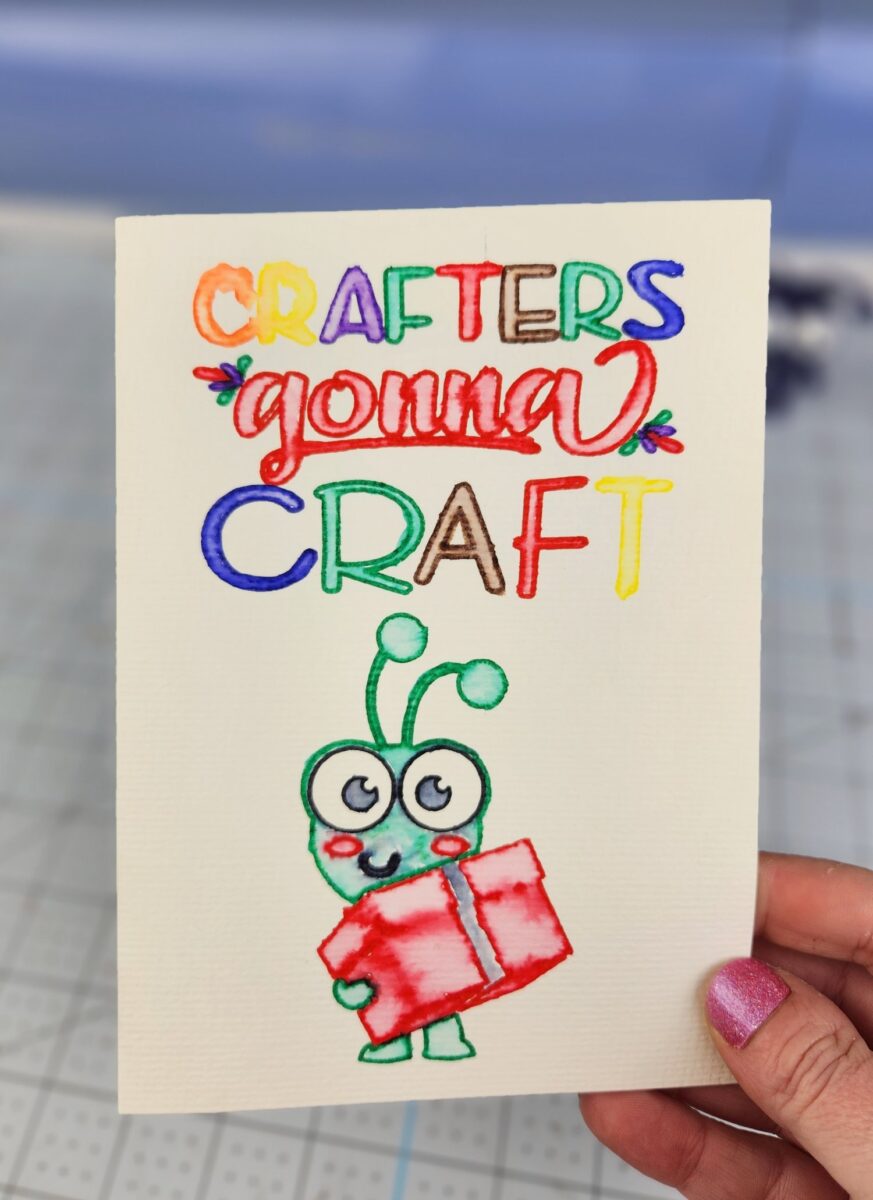
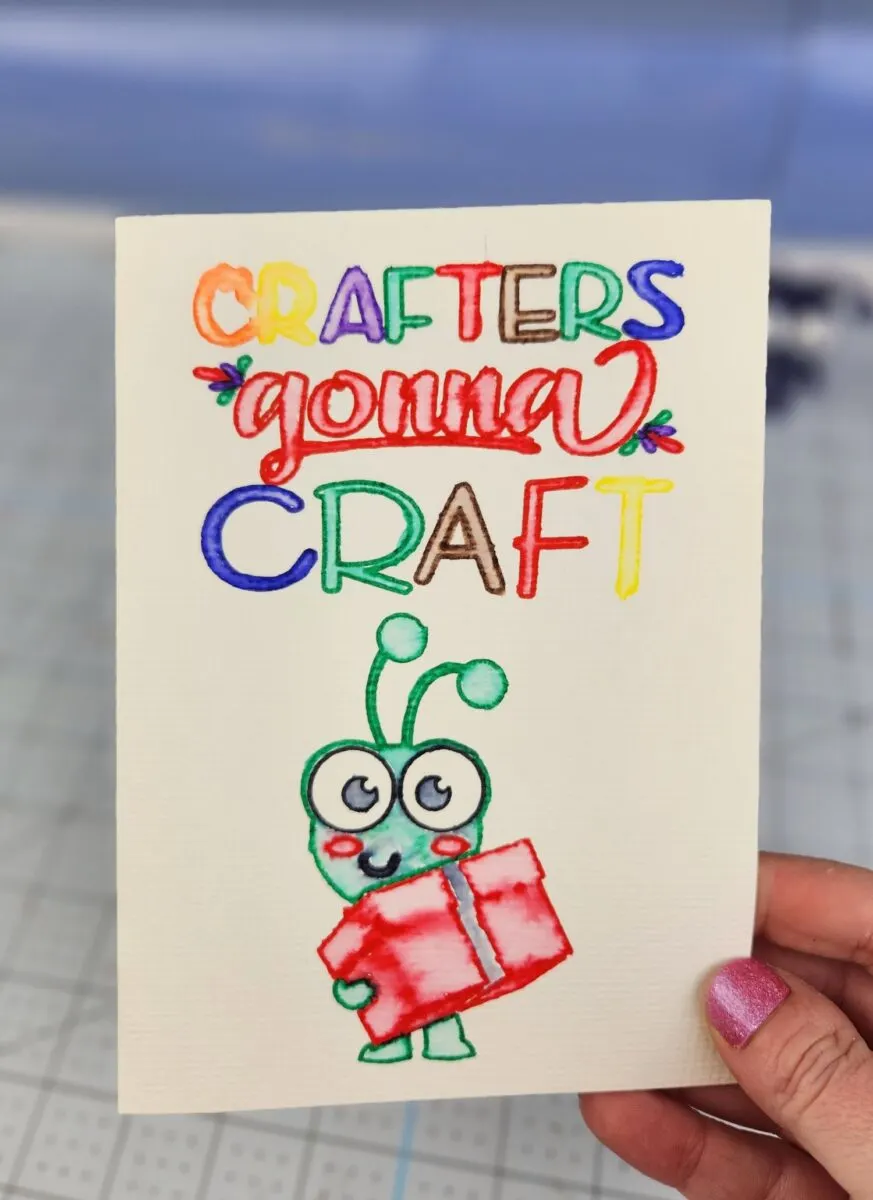
In the following tutorial, I will be showing you how to make the Crafters Gonna Craft but all three Cricut cards are available in my Cricut Design Space project below. If you have a Cricut Access subscription, it will be free.
Materials
Tools
Instructions
- To use my project in Cricut Design Space click here. See below in the post about designing watercolor cards in Cricut Design Space.
 Delete or hide any of the images you don't want to use. If you are using a size different than R40, resize the images to fit. Click Make It.
 - On the Prepare Screen, click on card mat and select size of Cricut watercolor cards if prompted.

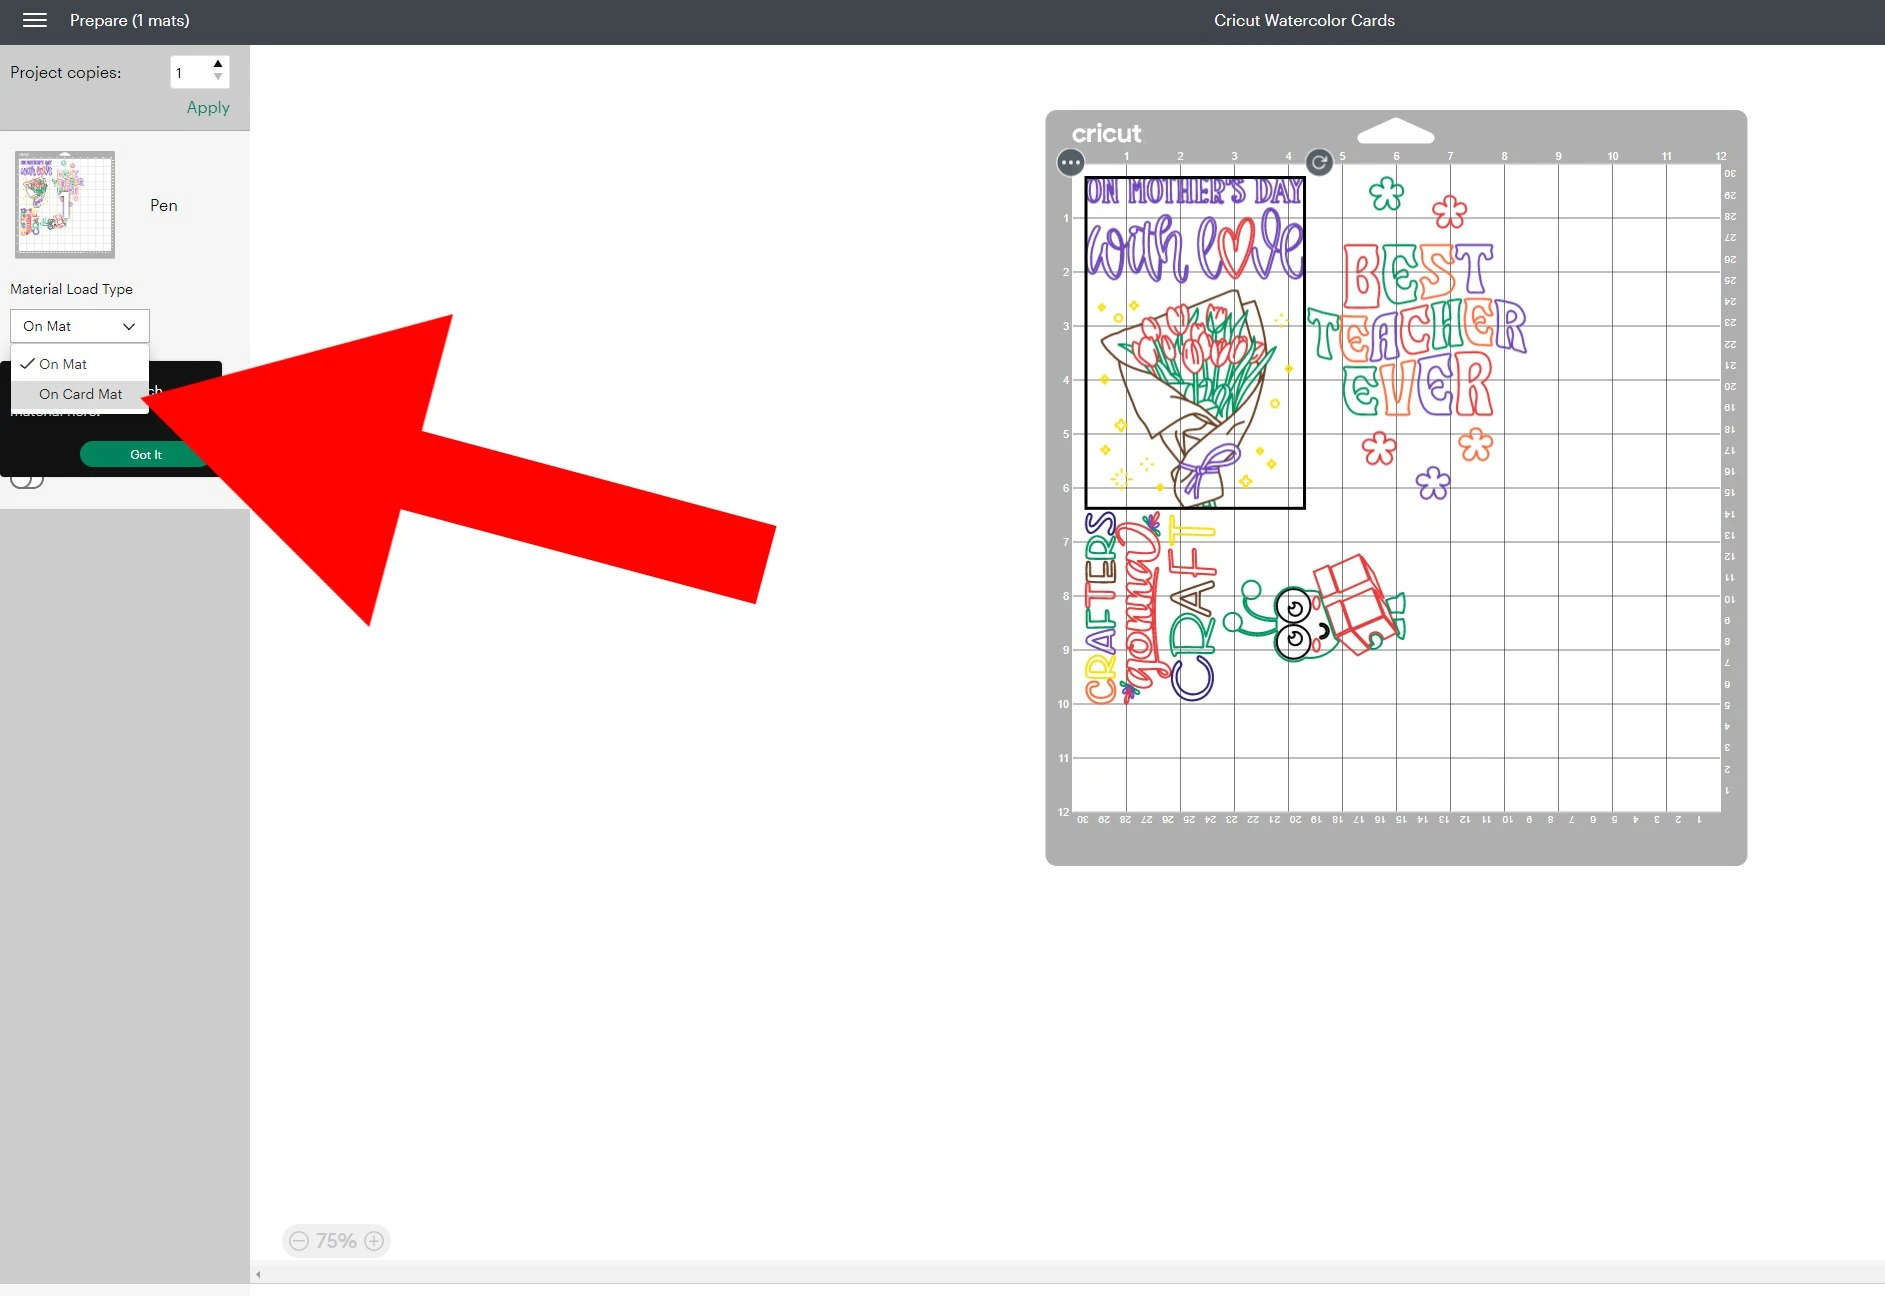 CDS will automatically center the designs on the cards.
- Click Continue. If using a Cricut Explore Air, set your setting wheel to custom to use the material setting drop-down menu. Use watercolor insert cards as your setting.
- Open the card and slide the backside under the plastic divider on the card mat. Push all the way in and up so that it fits snuggly and adhere the front of the card to the mat.

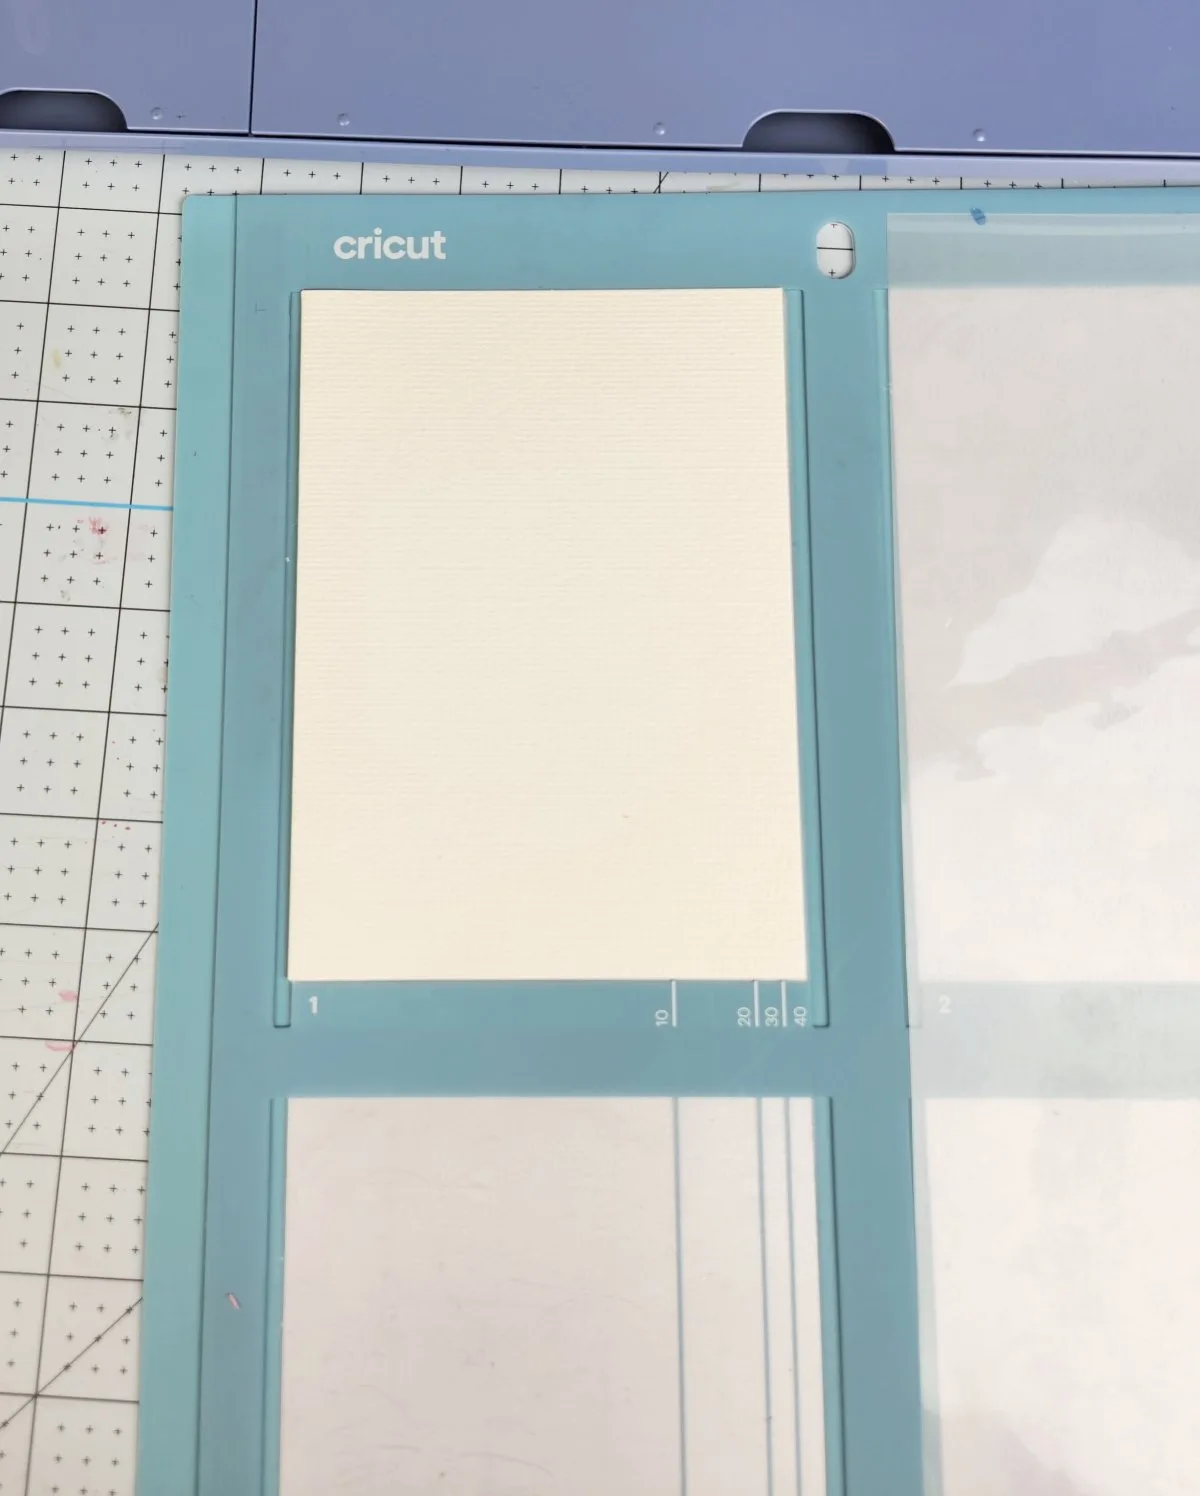 If this doesn't make sense, make sure to watch the YouTube video below!
 - Now you are going to follow all of the onscreen prompts from Cricut Design Space to change all the watercolor markers. Insert the color of the watercolor pen it tells you to in Clamp A until it clicks down.
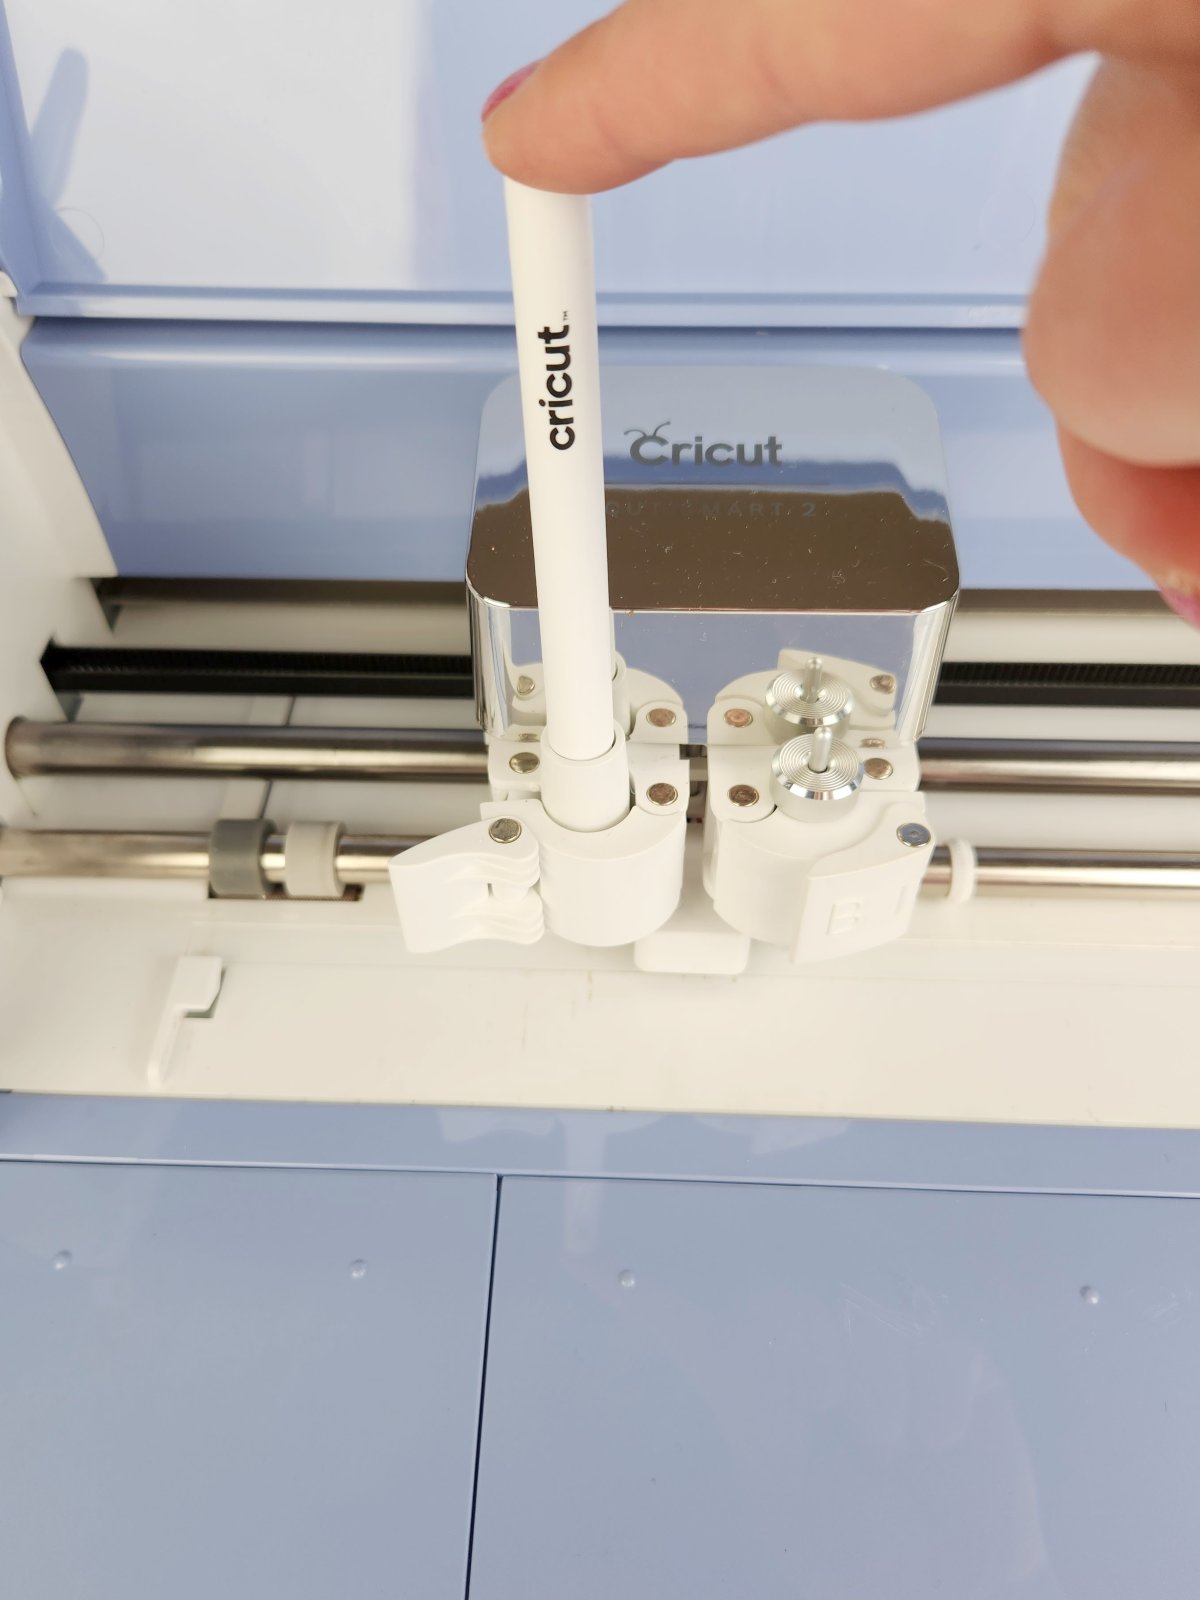

- Move the white rollers of your Cricut to the middle so they line up with the middle of the card mat or over to the side if just making one card (this is so the wheels don't smudge any of the pens writing!) Load your mat and press the blinking Go button.


- After the first color is done drawing, the machine will pause and the light will start blinking. CDS will also pause and you'll get a pop up screen telling you what color marker to load next. DO NOT UNLOAD THE MAT. Simply remove the first pen and replace it with the next. Press the blinking light to continue.


- Repeat changing out the pen when design space tells you to. When the card is finished, the unload button will start blinking. Unload the mat with the card. For best results, remove the card from the cutting mat.


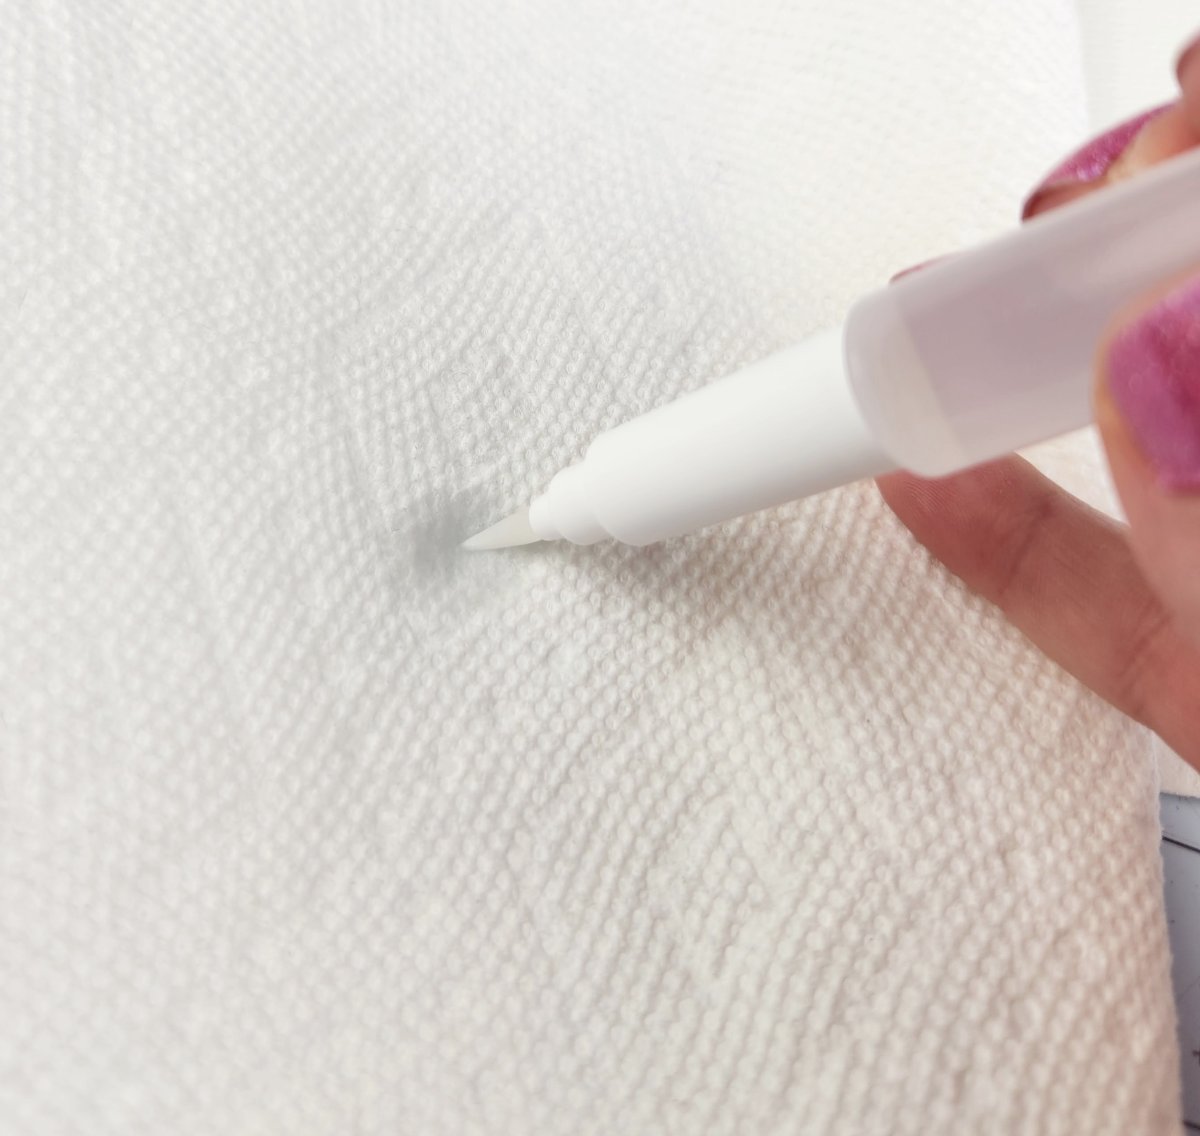
- Now is time for the fun part! Remove the lid from the included water brush and fill with tap water. Have a paper towel close by! To start the water flowing, gently squeeze the water brush and dab on a paper towel until you see a water spot.

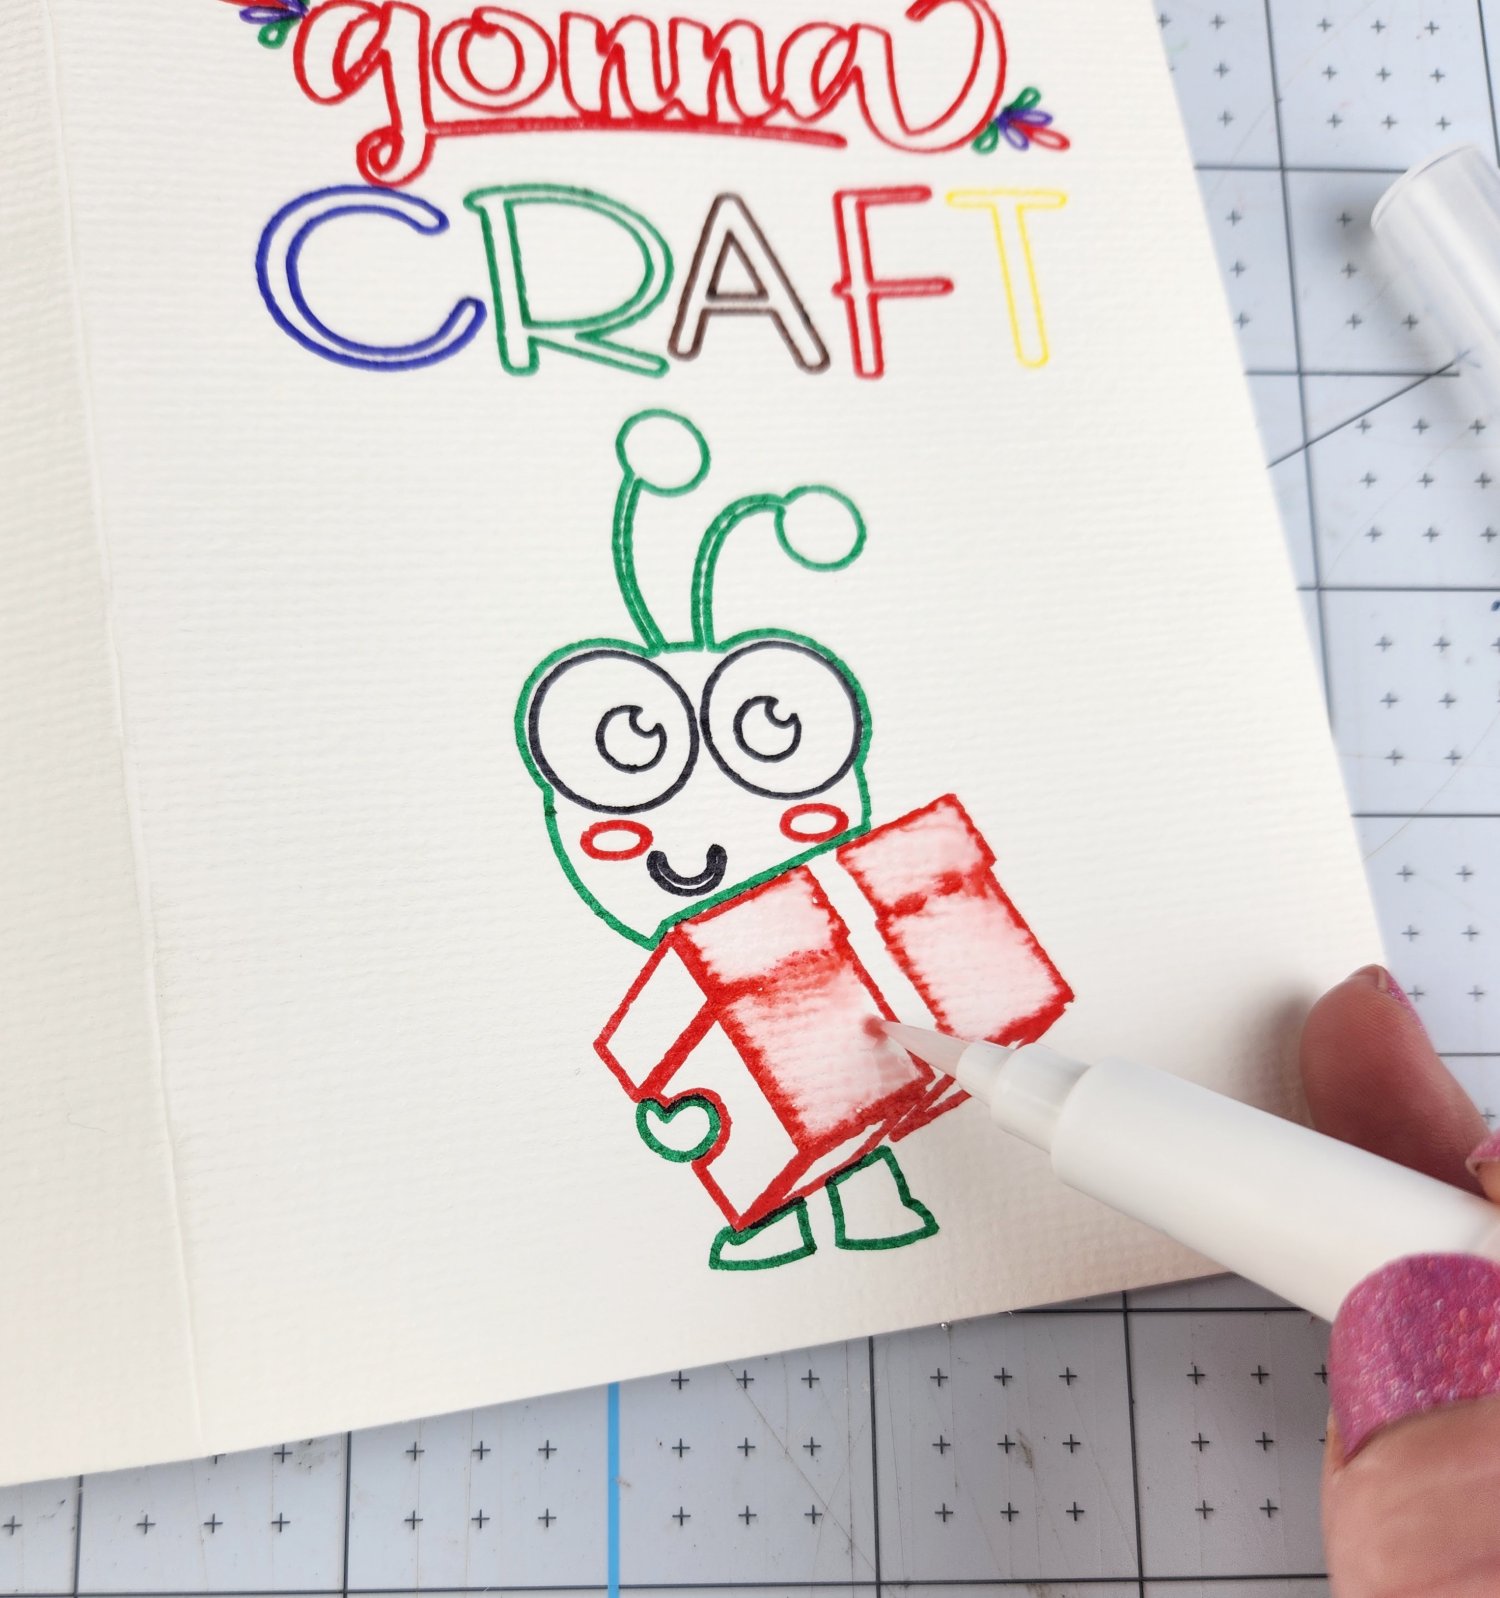
- You are going to mix one color at a time. Dab the tip of the water brush on to one of the colors and pull it into the design. Bring in as much color or little as you want! Keep "painting" with the watercolor marker ink until all of the first color is done.

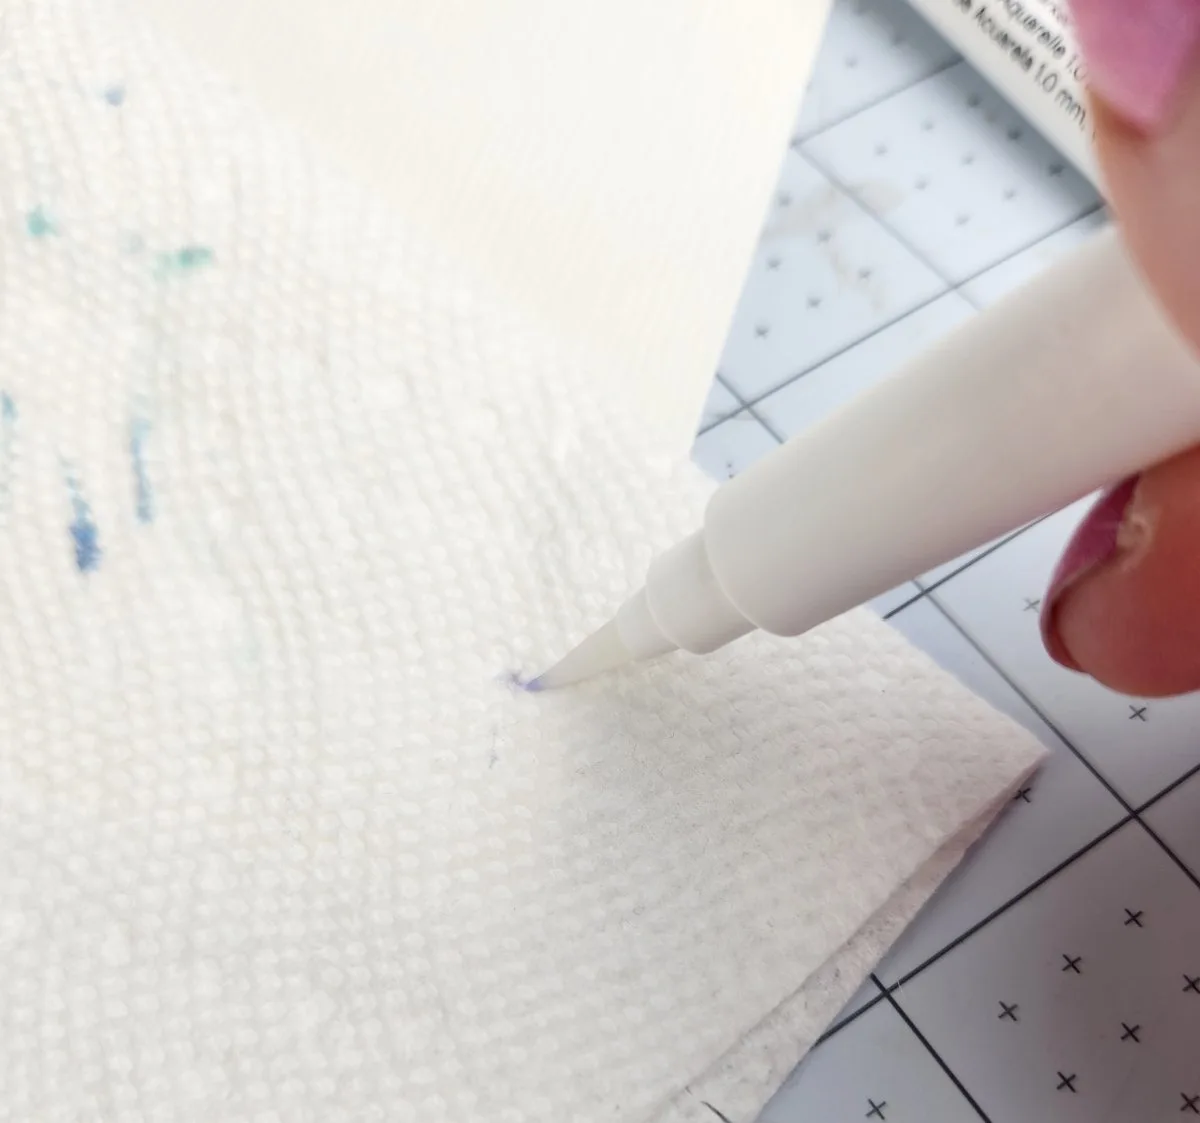
- When you are done with a color, dab the water brush back on the paper towel until the color runs clear. Usually should just be 2-3 dabs. The water pushes out the ink on the bristles so it's ready for the next color!

- Keep repeating the steps until you have all of the parts of the image that you want to be filled. That's it! Let the card dry before you give it to the lucky recipient!

 The finished results are beautiful!

Notes
Keep scrolling down for pictures of all the cards and to learn how to change images within design space to use with watercolor cards. And don't forget to click the play button to watch the video!
Recommended Products
As an Amazon Associate and member of other affiliate programs, I earn from qualifying purchases.

Designing Watercolor Cards in Cricut Design Space
Now that you know how to use the Cricut watercolor markers, let’s go over some tips on how to create beautiful cards of your own.
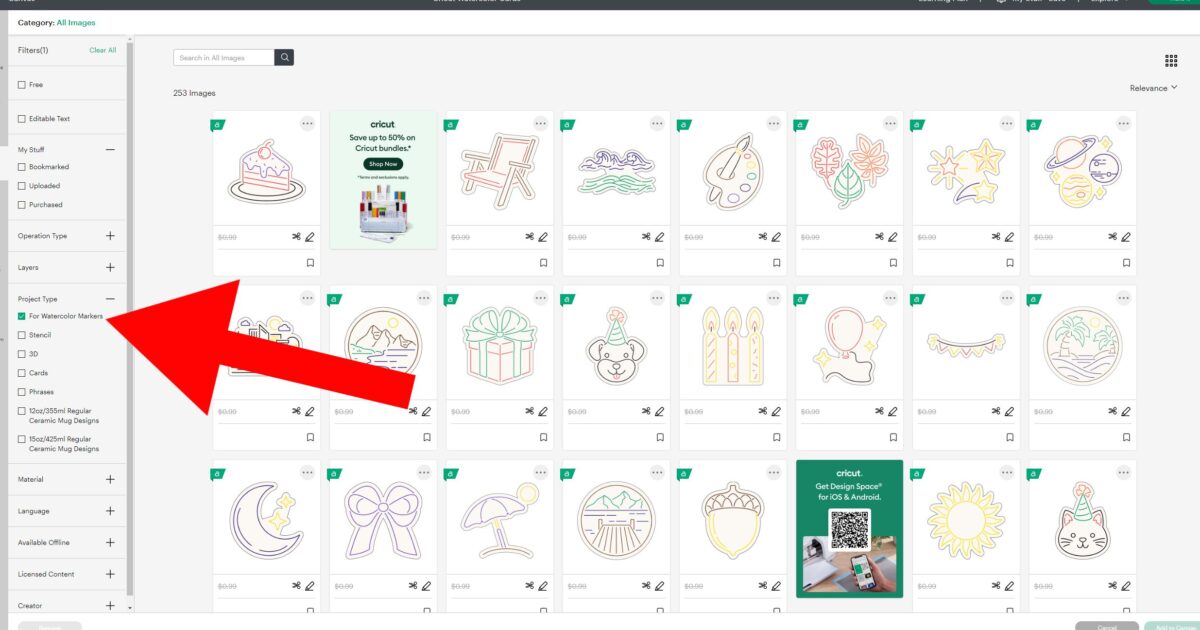
If you have Cricut Access, there are hundreds of images that are designed just for use with watercolor markers.
When you are browsing Images, click on Project Type on the left side to filter. Then click on Watercolor Markers.

Another great option to use if you can’t find any in that section is to filter to Draw Only projects. Click on Operation Type and then check the Draw Only filter.


But you are not limited to those either. There are a lot of images that you can convert to make watercolor designs. For optimal results, you’ll want images that have lines that don’t touch so the colors won’t blend together too much.
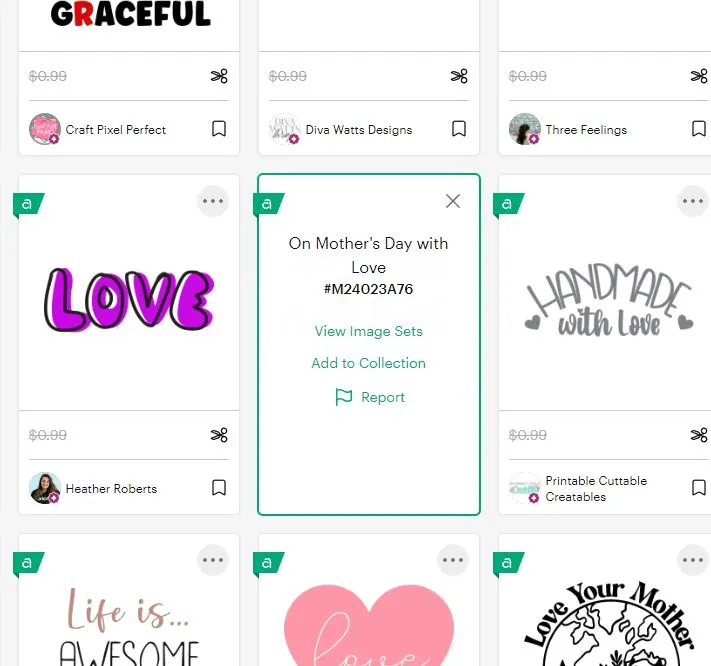
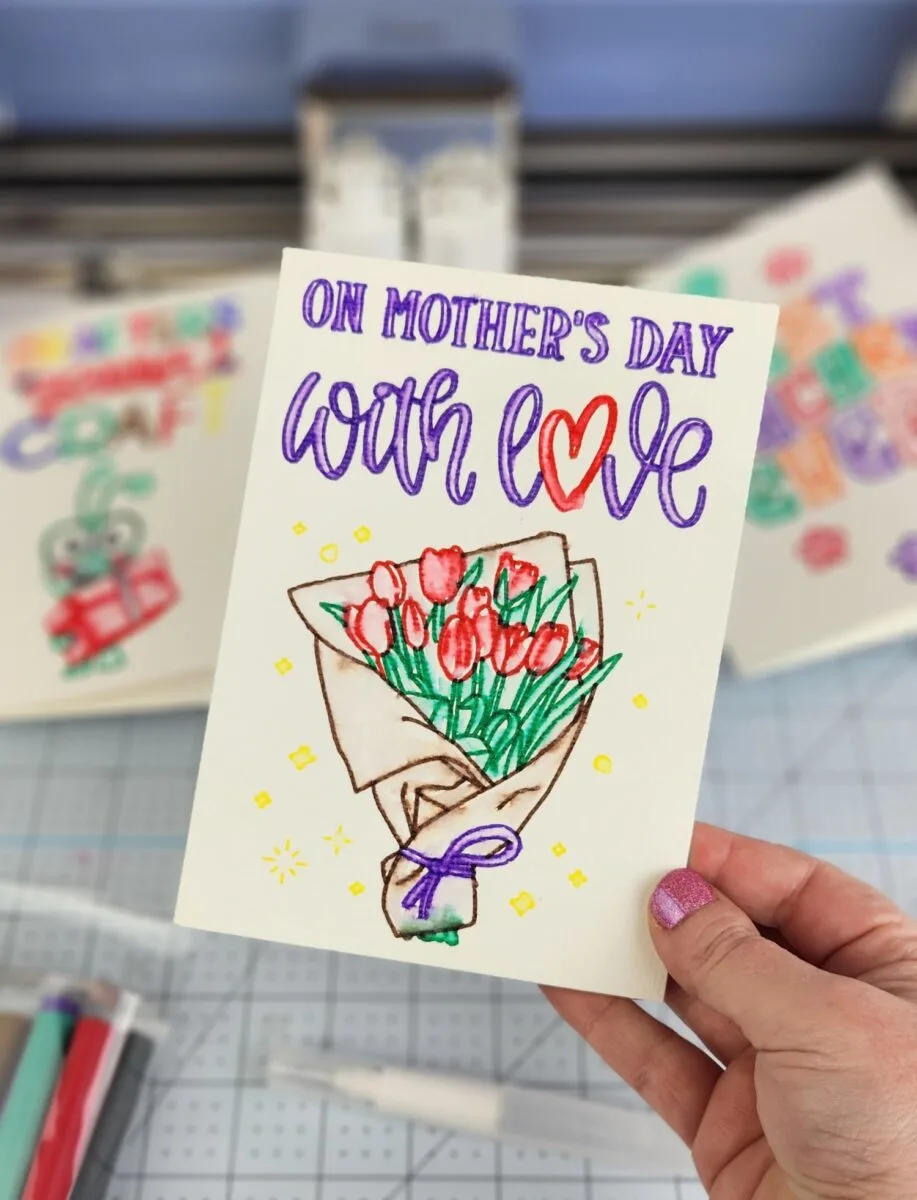
To design the Mother’s Day card, I used a combination of the two. I first found beautiful floral designs that I wanted to use by typing tulip bouquet in the image search bar.
I used image #M289C2167 called Tulips Bouquet. This image is already meant to be used for the Draw function (you can tell by the little pen on the bottom right side corner).


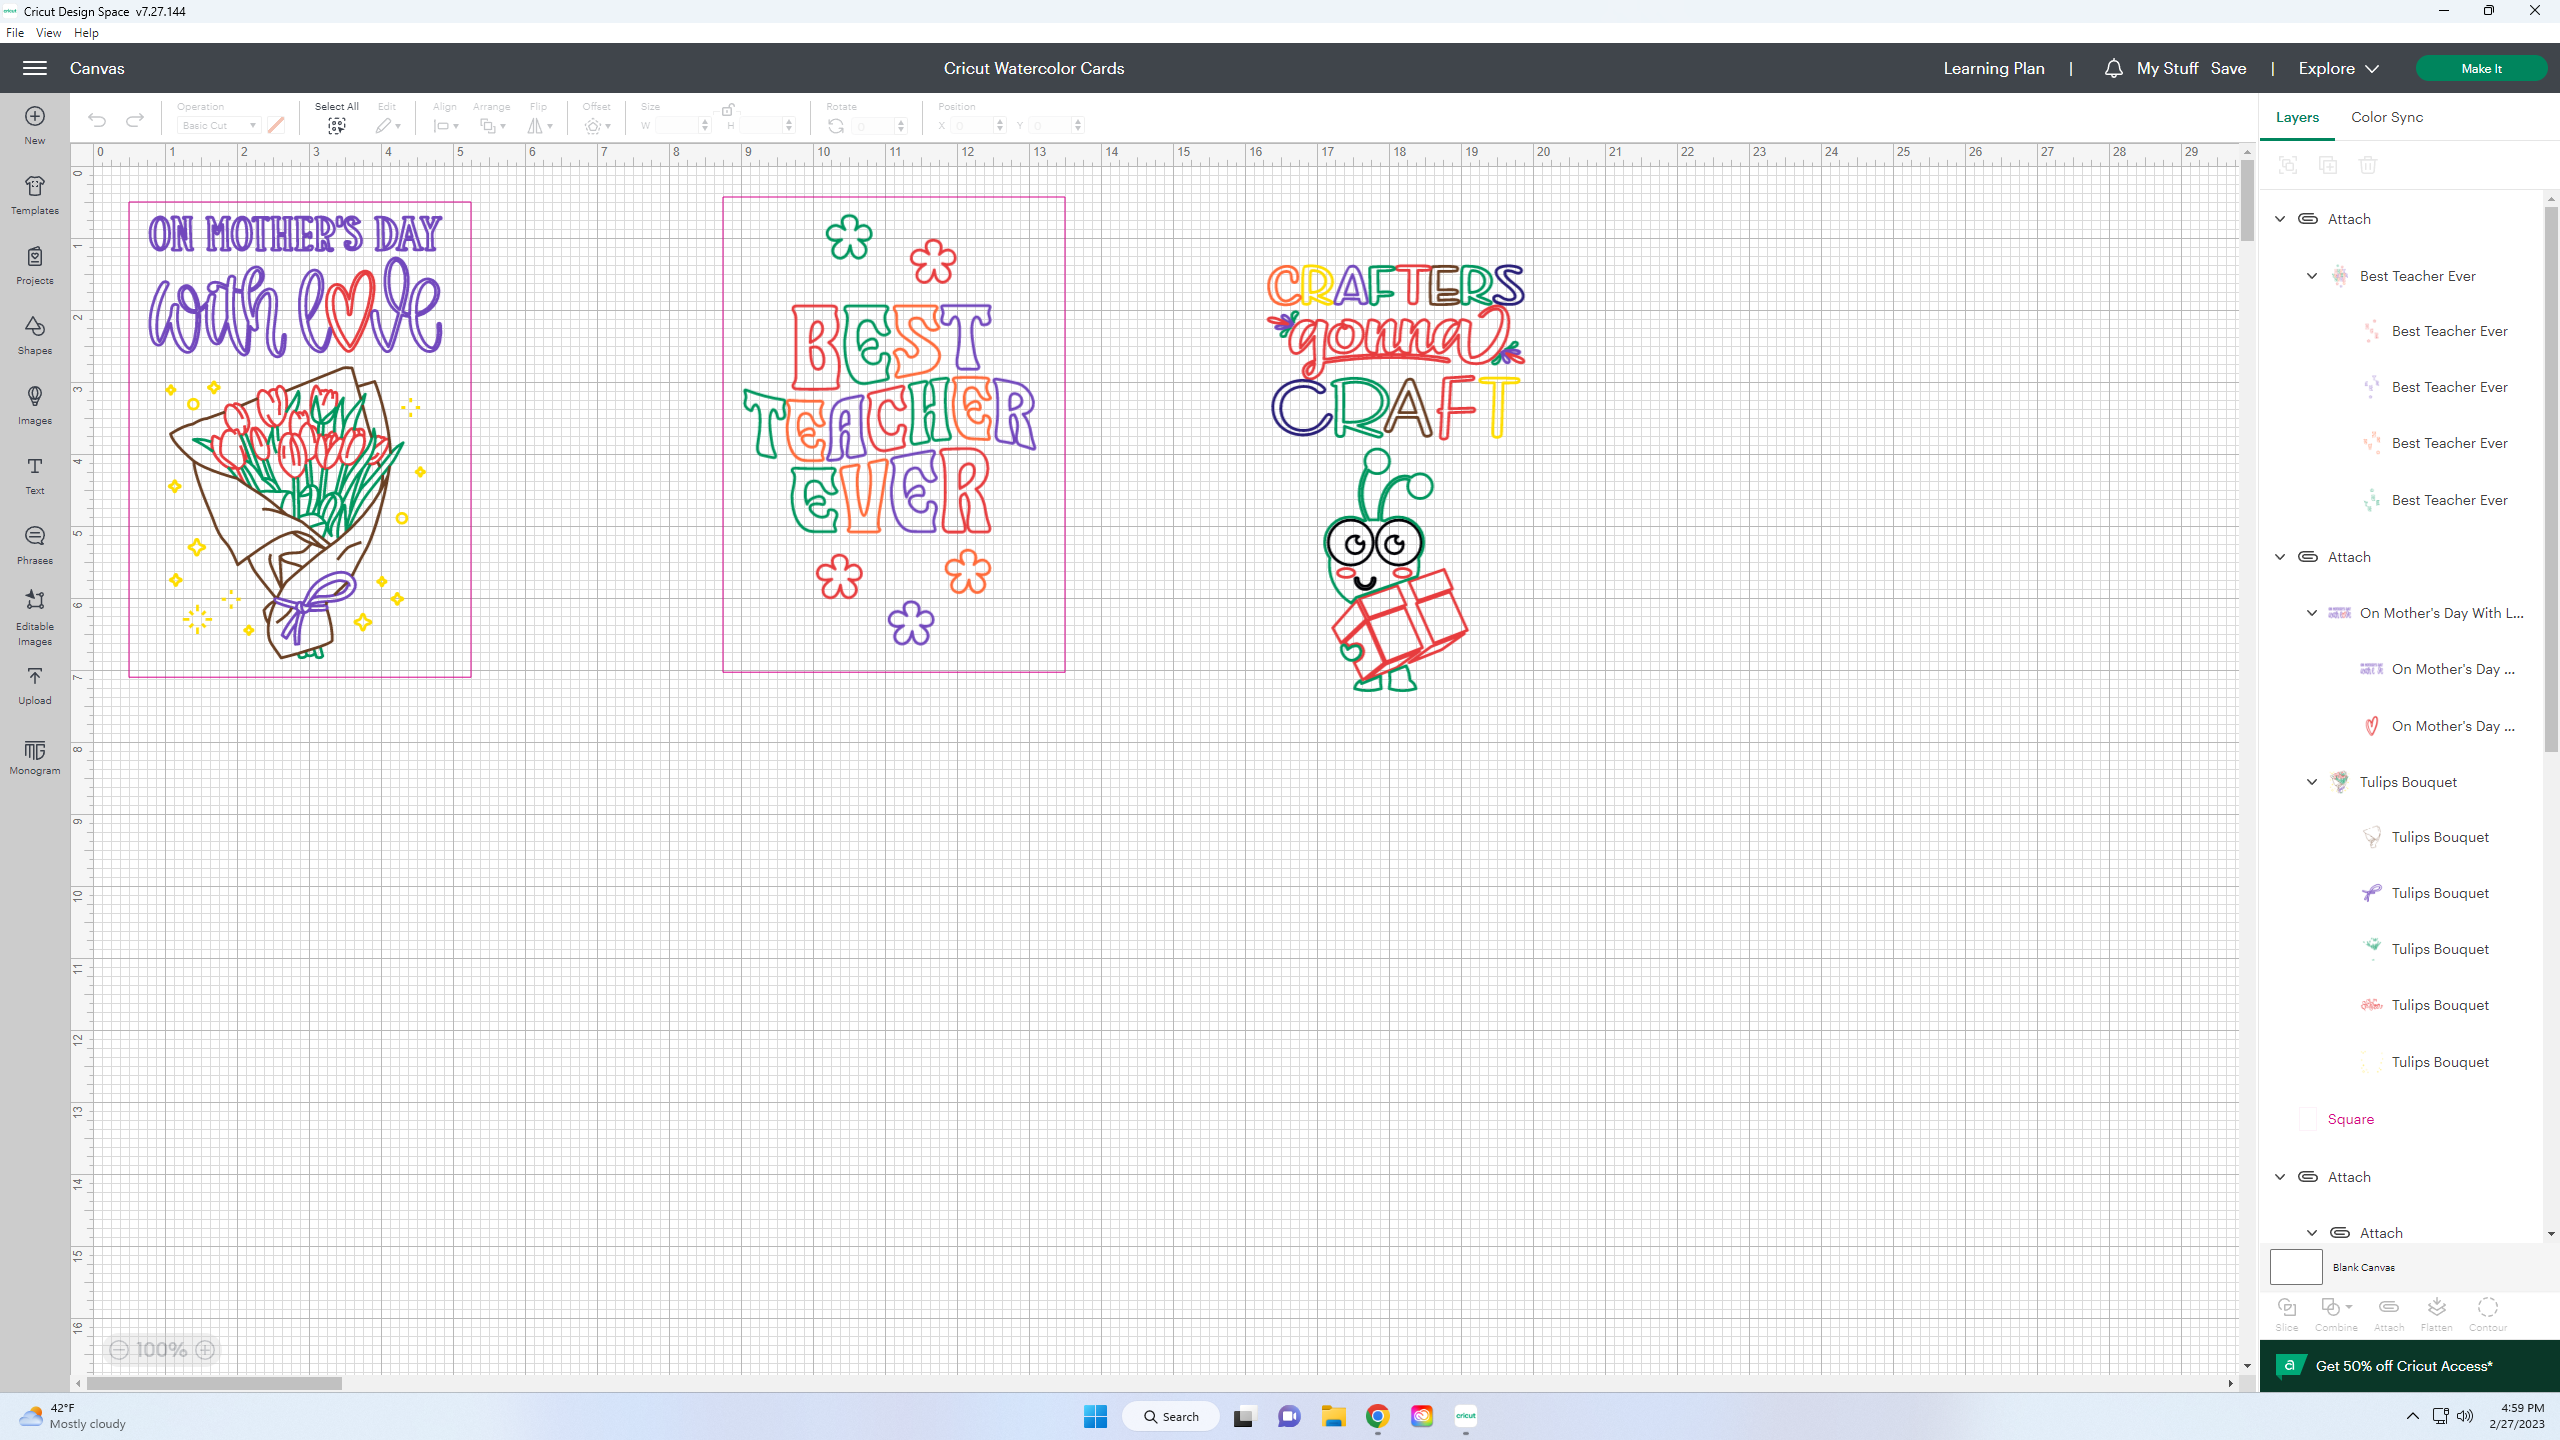
Then I found a sentiment that is meant to be a cut image and added both of them to my canvas. (If you are new to using the Cricut software, make sure to check out my guide on getting started in Cricut Design Space.)

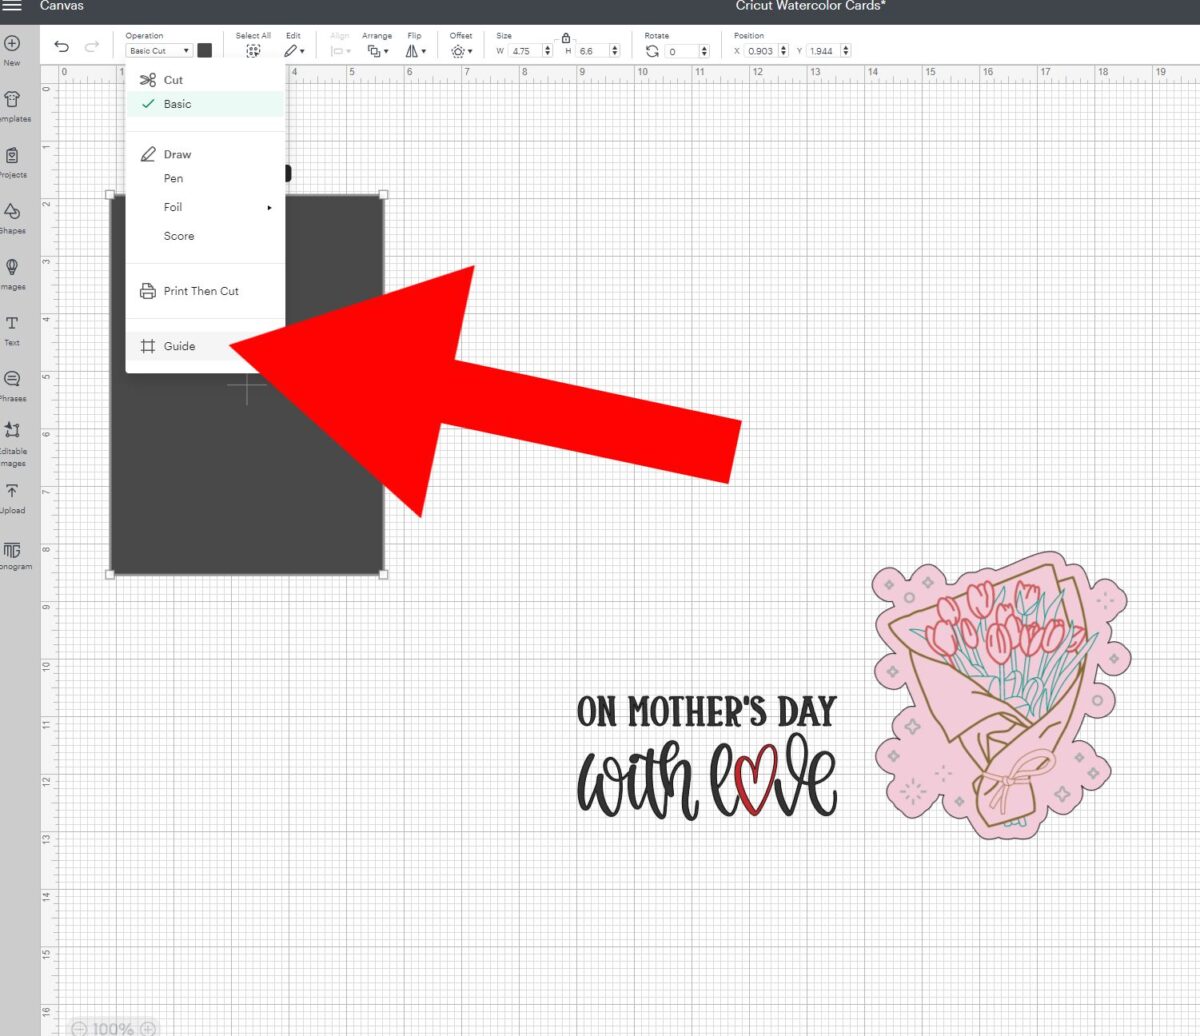
To correctly size the images on my card, I insert a square from the Shapes button and size it to match my card. So I unlocked the size lock and changed it to 4.75 inches wide by 6.6 inches tall (which is the size of R40 cards)
Then so I don’t have to worry about hiding the rectangle later, I clicked on the Operation drop-down menu and changed it to Guide. Now I just have the outline and it won’t write, draw, cut, or anything!

I don’t want to cut the bouquet image out, so I clicked on the eye icon on the layers panel to hide it.

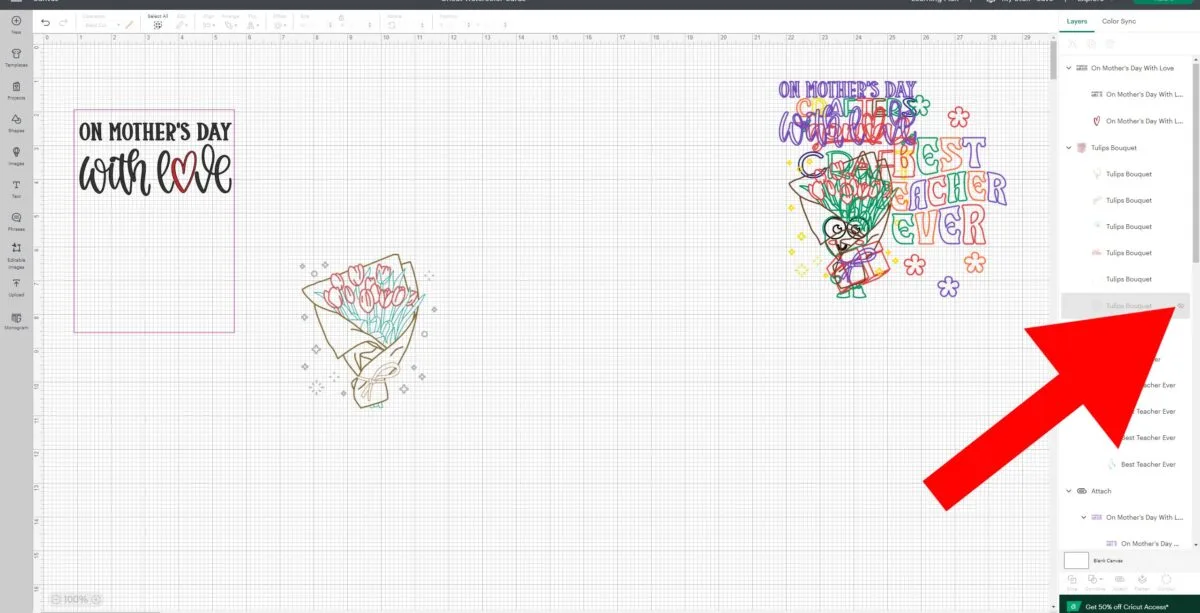
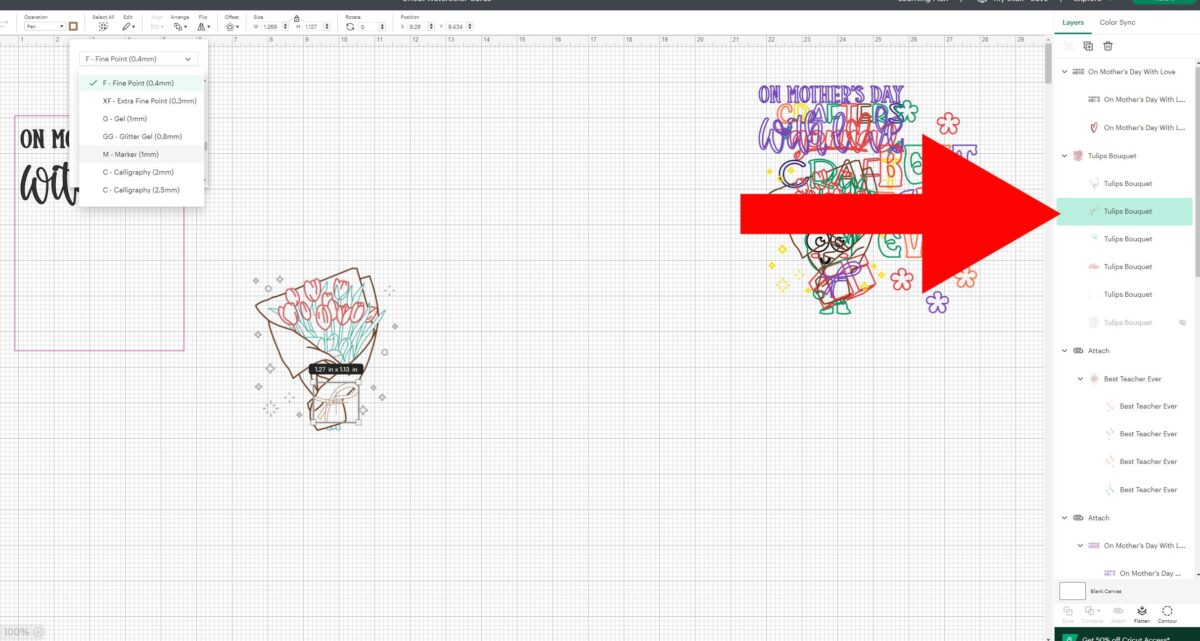
Now we are going to work on changing all the draw lines to the exact watercolor color I want. With grouped images, I prefer to click on the different layers in the layers panel. (You will need to repeat the next few steps for each layer of the image).
The first thing I did was click on the top most layer under my Tulips Bouquet which happened to be the wrapping.
While that layer is selected, click on the color box next to Pen in the top left corner, click on Marker on the drop-down, then on the next drop-down scroll all the way down to the bottom. There you will find all the vibrant markers in the watercolor pack. I selected Brown (watercolor) for the packaging.


Now I am going to repeat those steps for each layer under Tulip Bouquet, just clicking each part of the image from the layers panel. Then changing to Marker and then to the color I want that section to be.

Once I have all the layers of the Tulip Bouquet changed to watercolor marker colors, I am going to work change the sentiment.

For any image that is not already a draw image, you’ll need to change the Operation from Basic Cut to Pen (under Draw) while it’s selected.
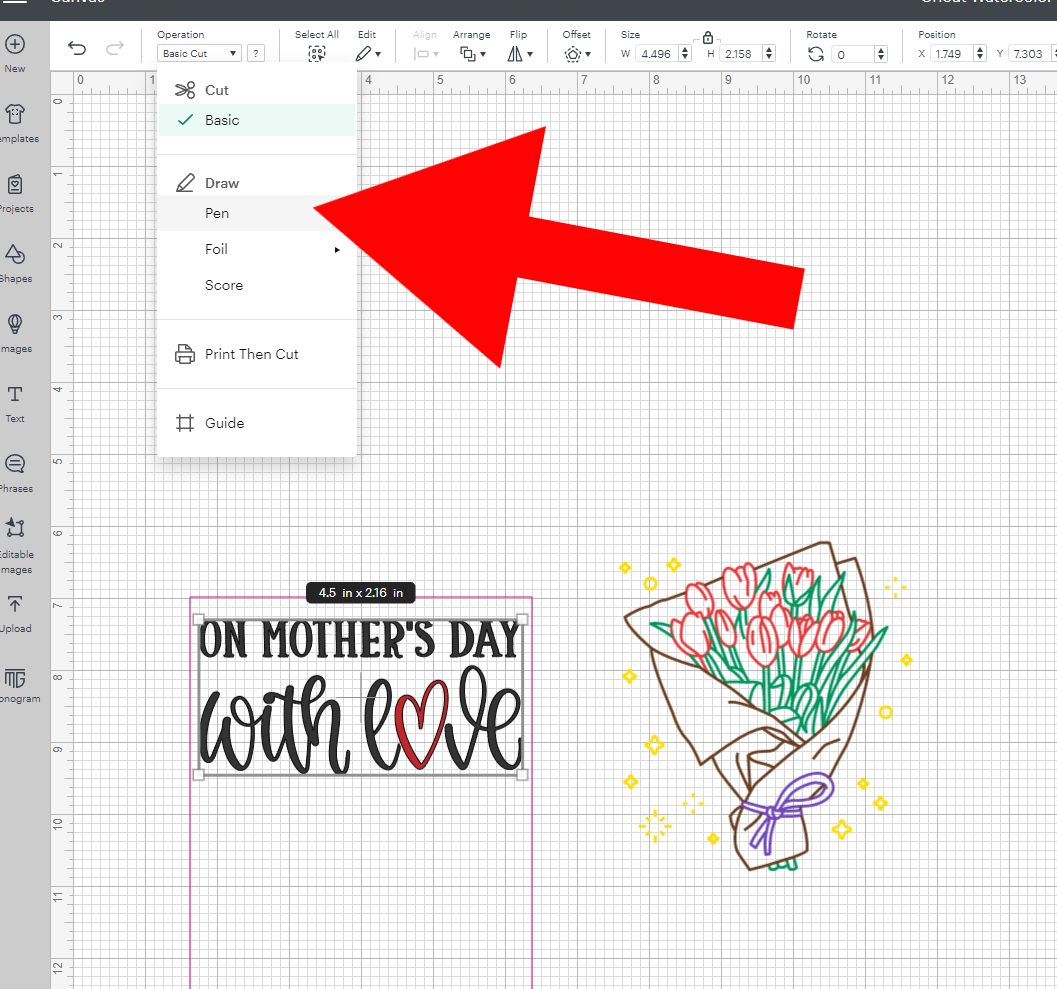

It will then convert the image to Draw and only contain the outlines of the letters (which is actually great to make watercolor designs out of!)
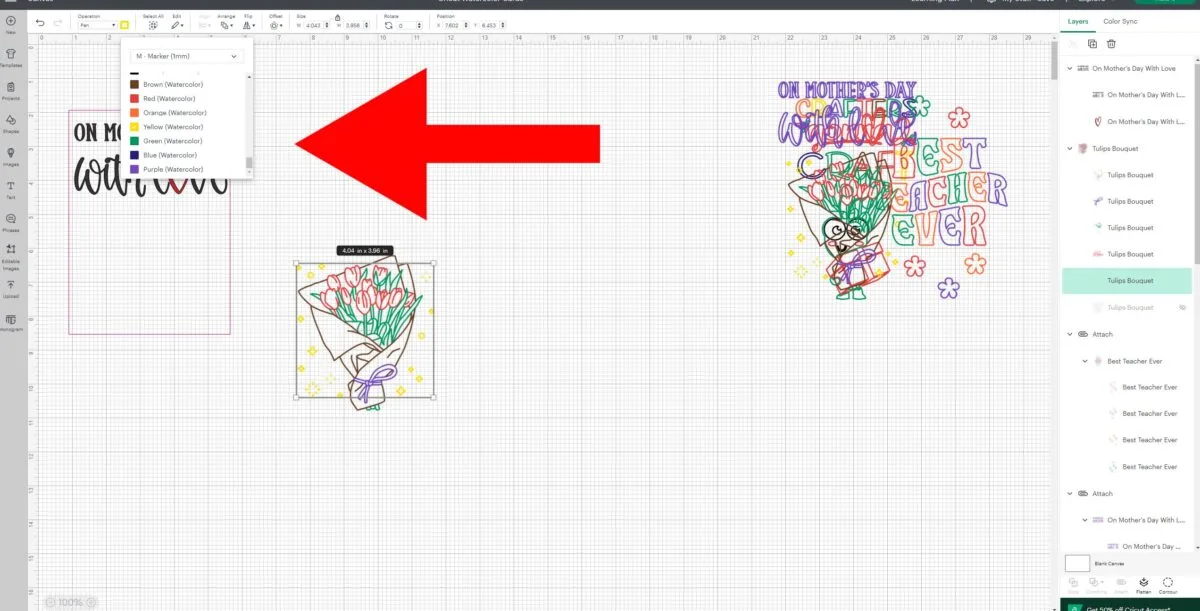
Since there were two different sections to the sentiment, I first selected the letters, clicked on that square next to the Operation menu and selected Marker.
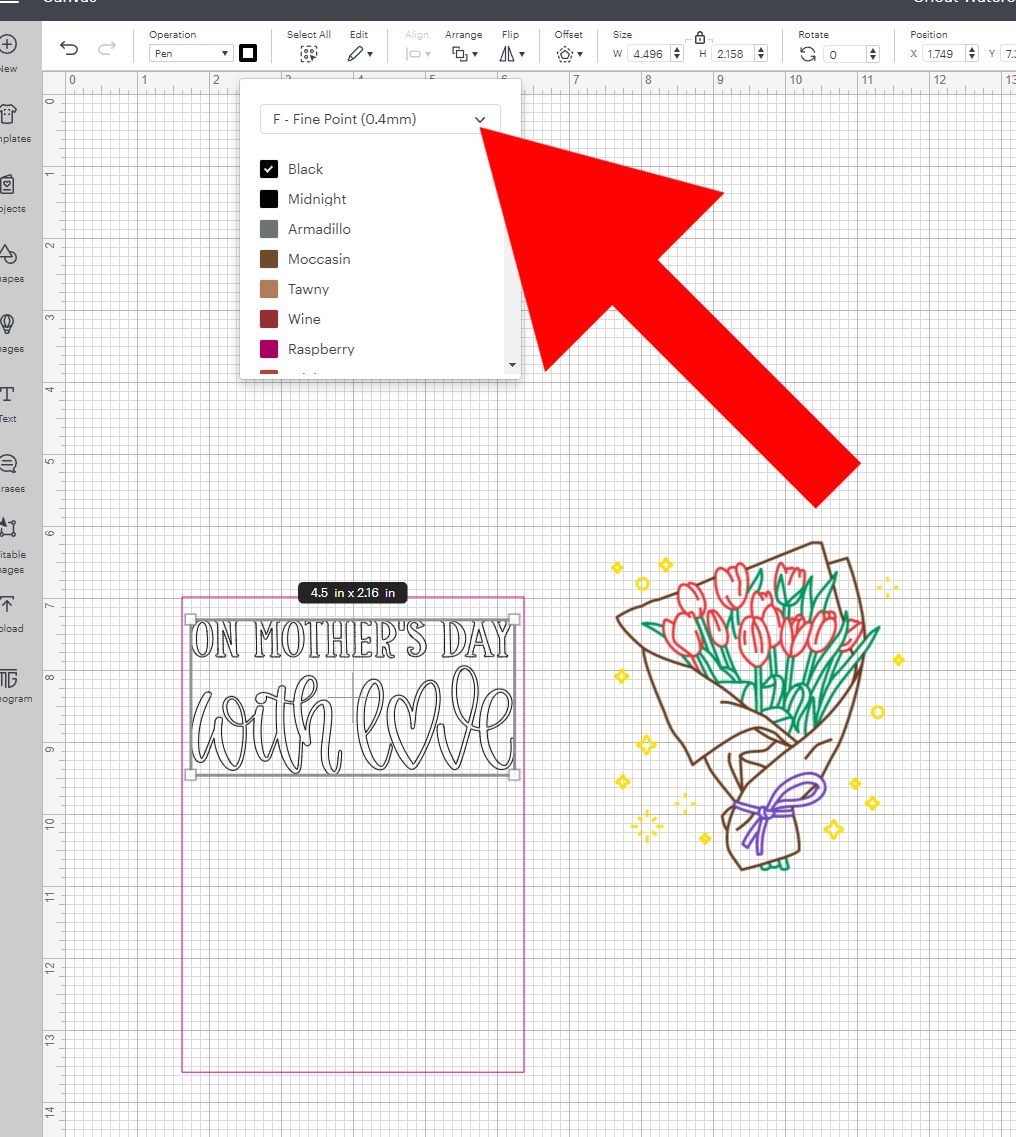


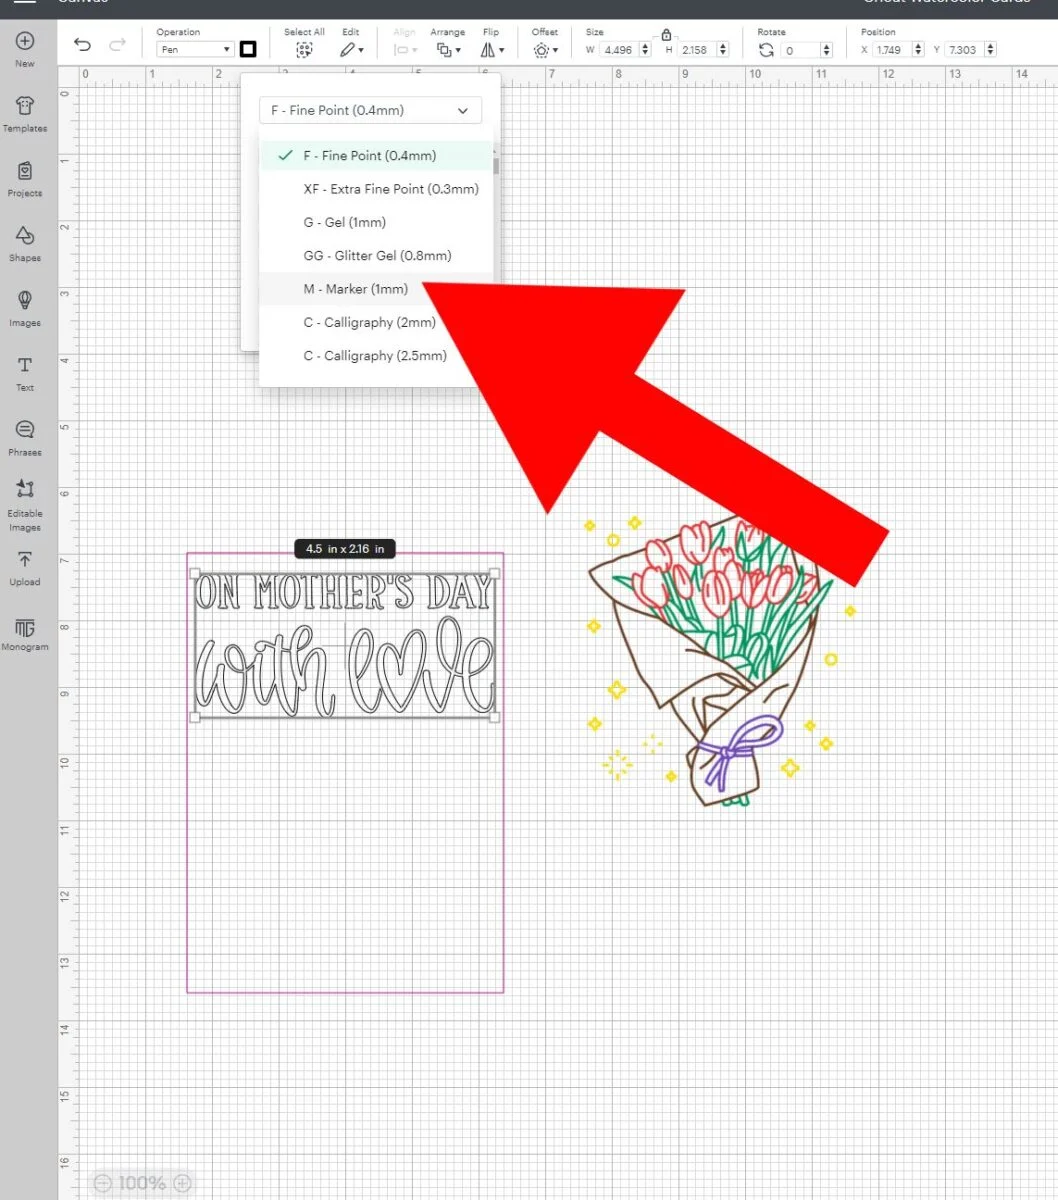
Then on the next drop-down menu, I selected the purple watercolor option.


Ok, so now we have all the images converted to watercolor, but I want to make sure they stay together exactly how I see them on my screen. So I select both (drag your cursor over both) and then click on Attach in the bottom right corner (more about the attach vs weld feature here).


Next, you click on Make It and follow all the same steps we did in making the card above.
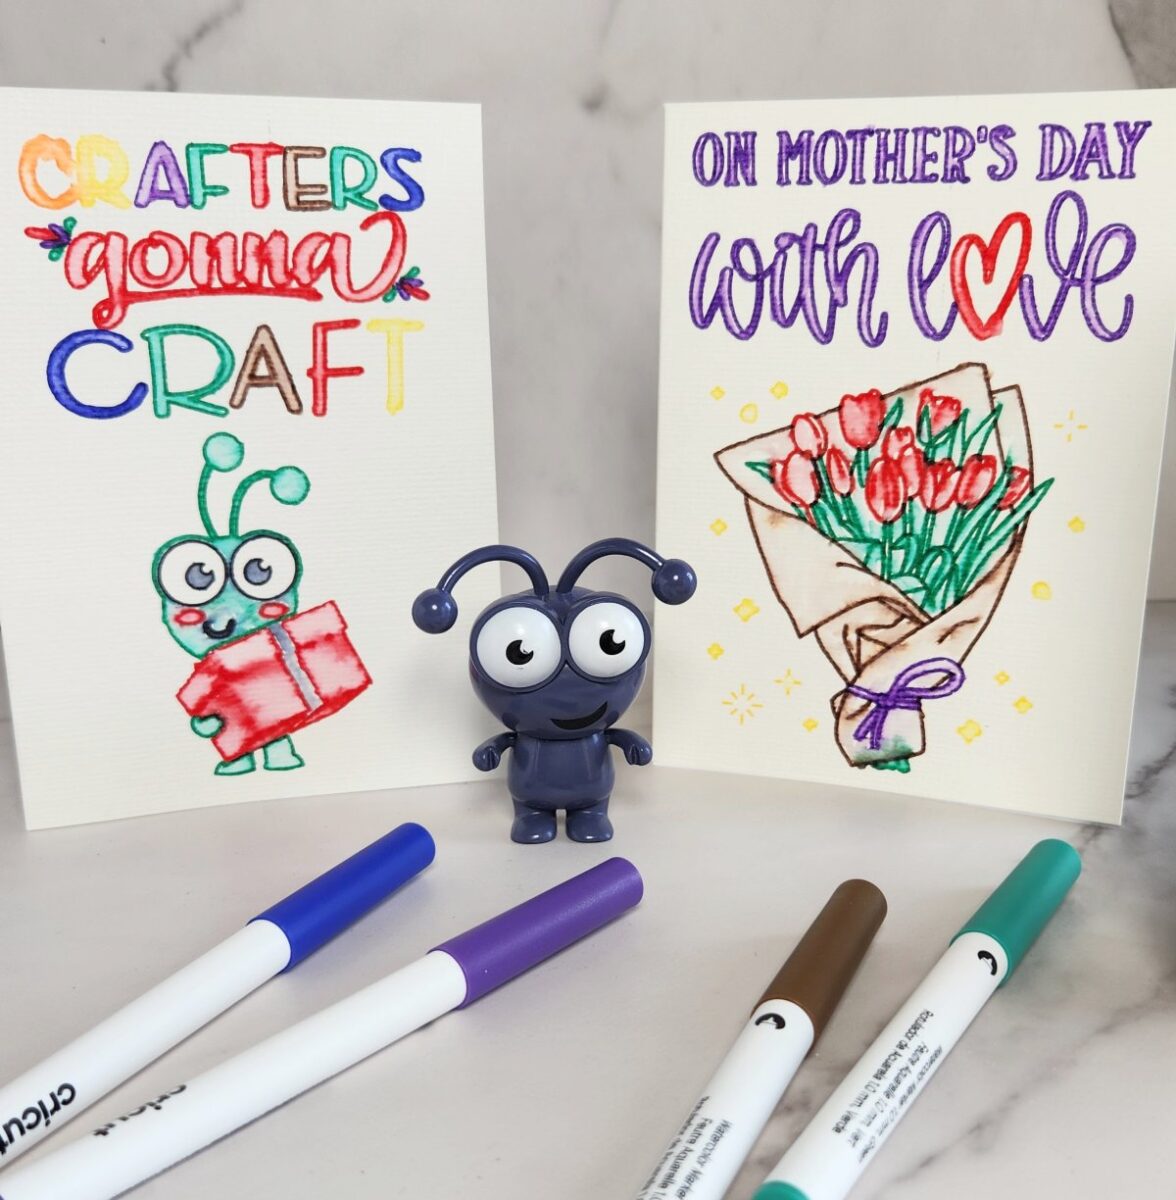
And here are the finished watercolor cards! I can’t decide which one is my favorite and I can’t believe they only took a few minutes to make (just like our stained glass cards)!
Give the card along with our free Mother’s Day coloring sheets that your kids can color in!

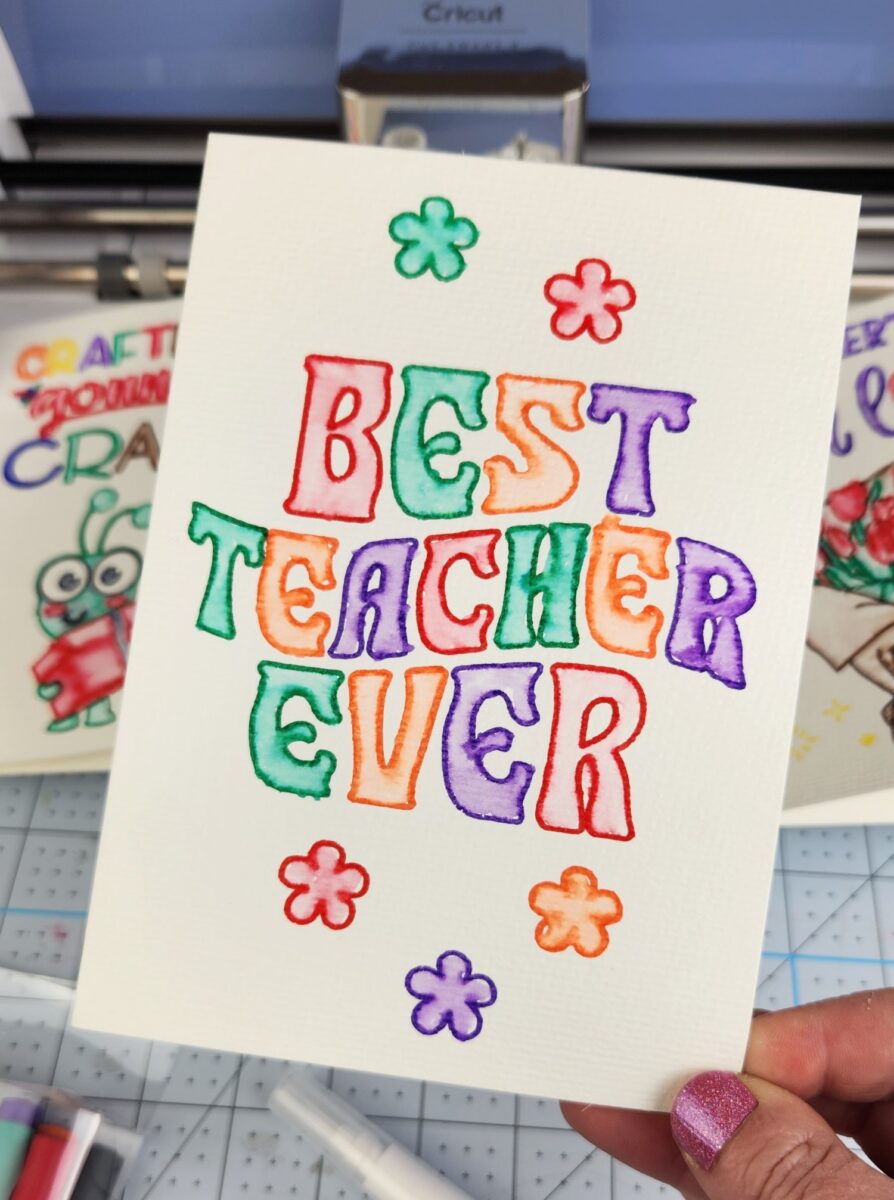
Fun teacher card to give with another handmade teacher basket or gift!

And they photographed so well I couldn’t decide which pictures I like the best, lol!


I hope this post inspires you to try out some new mediums that maybe you haven’t tried with your Cricut! It really can do so much!

For more Cricut card ideas, make sure to check out our Cricut Joy Christmas card tutorial and post about the 2×2 Cricut Maker and Cricut Explore card mat.
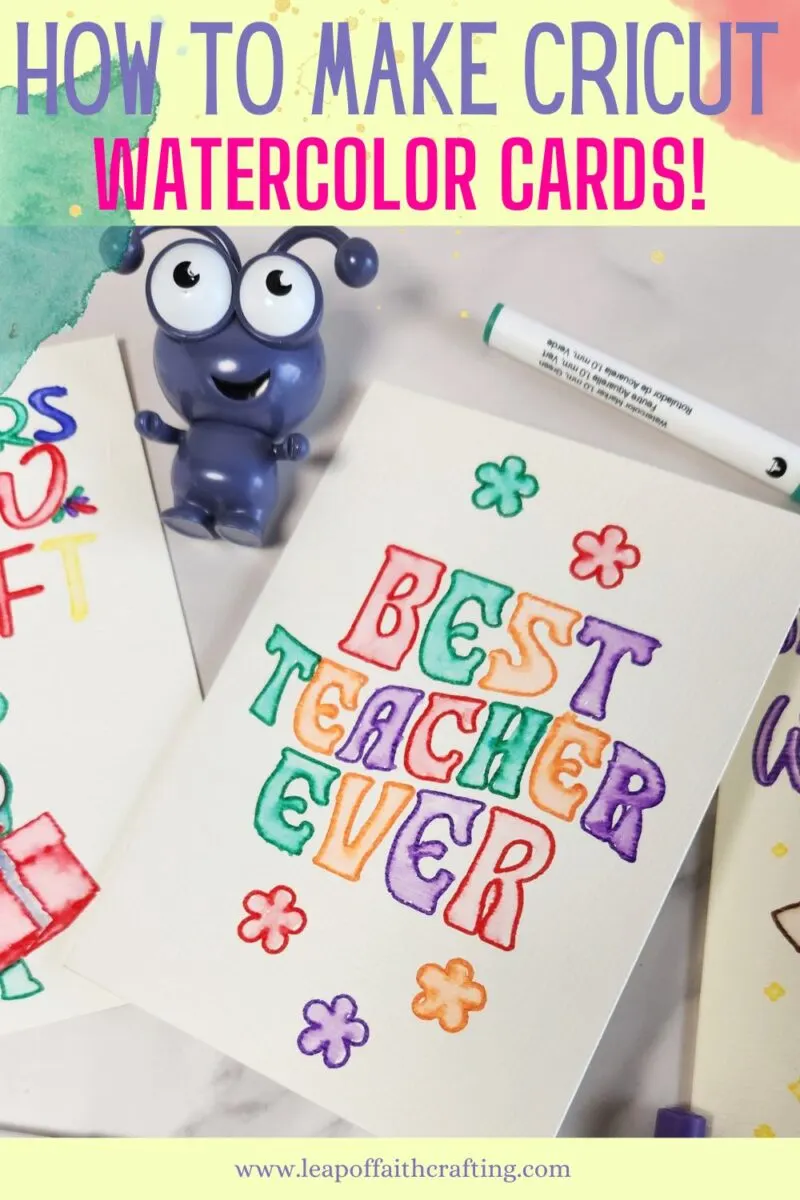
If you’d like to save this watercolor card tutorial with Cricut for later, simply hover over the image below and PIN It now!

Thanks for stopping by and have a creative day!


")
")

