

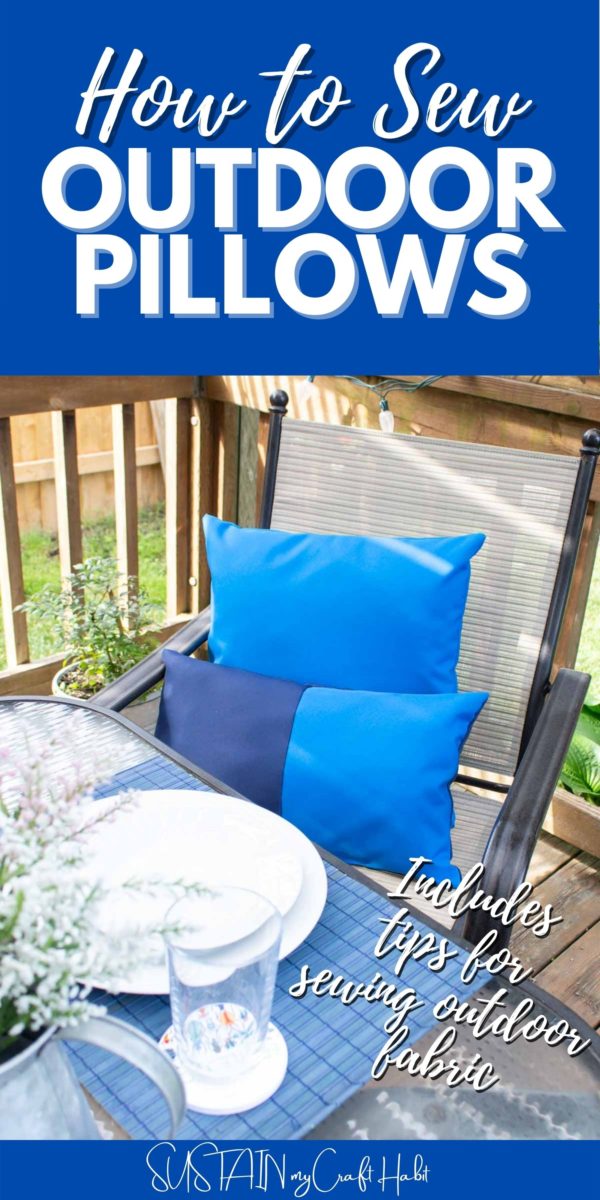
Give your patio a pick-me-up without breaking the bank with cozy DIY outdoor pillows using durable, weather resistant fabric in coordinating colors.

Making Outdoor Pillow Covers
Summers here in South Western, Ontario are pretty short lived. It seems we wait all year long for just a couple of hot, Summer months. And although I want nothing more than a relaxing backyard oasis to enjoy the sunshine in, I have a budget to consider. That’s where DIY projects come into play!
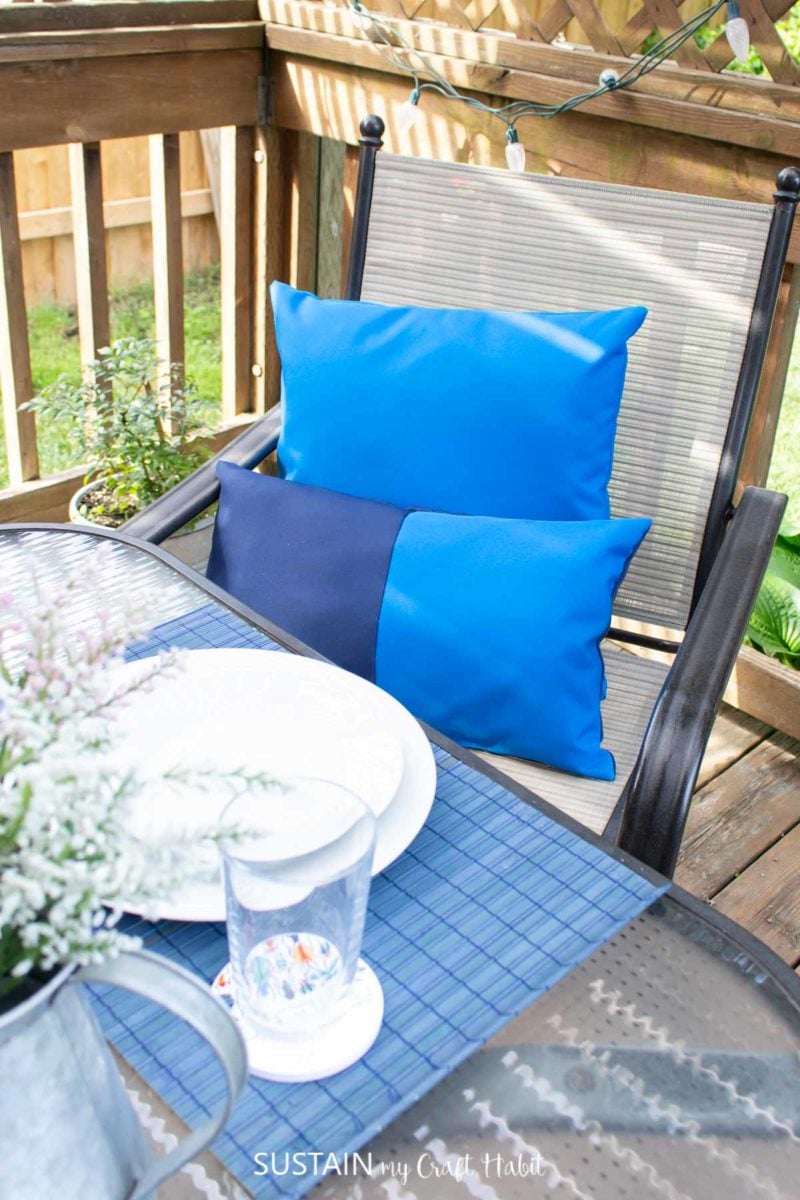
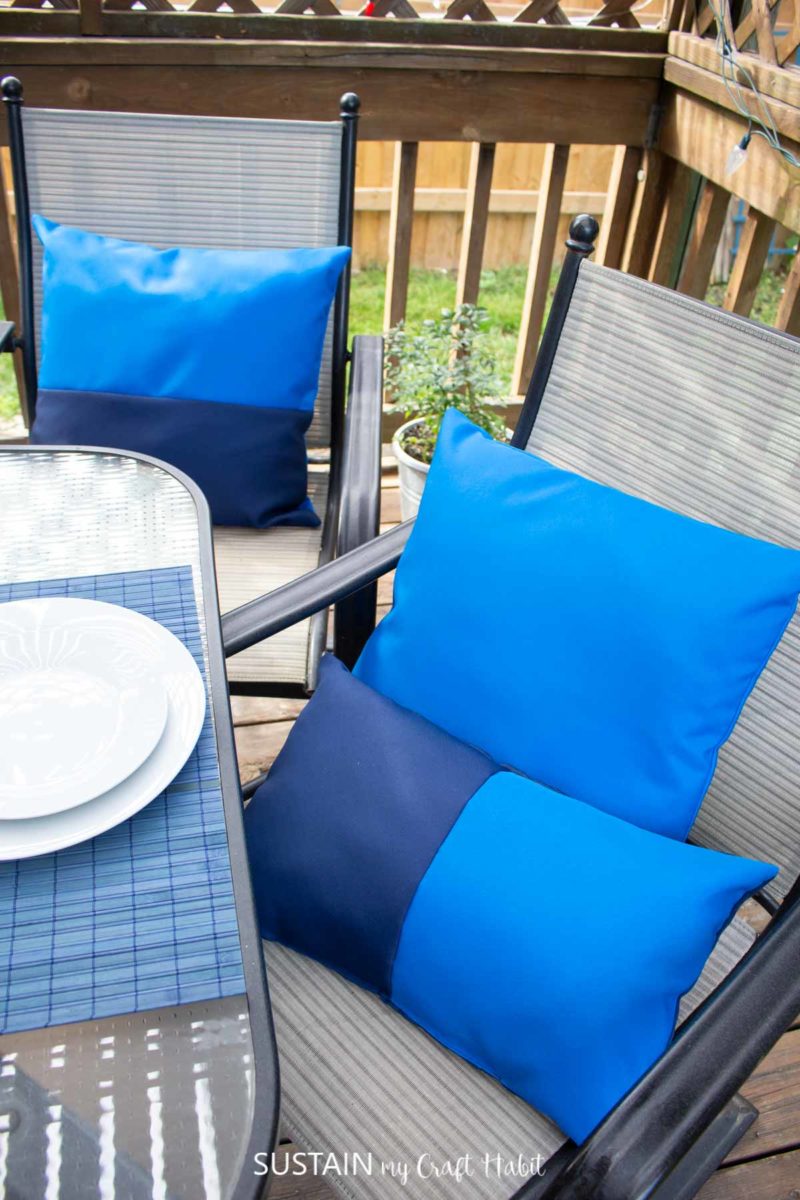
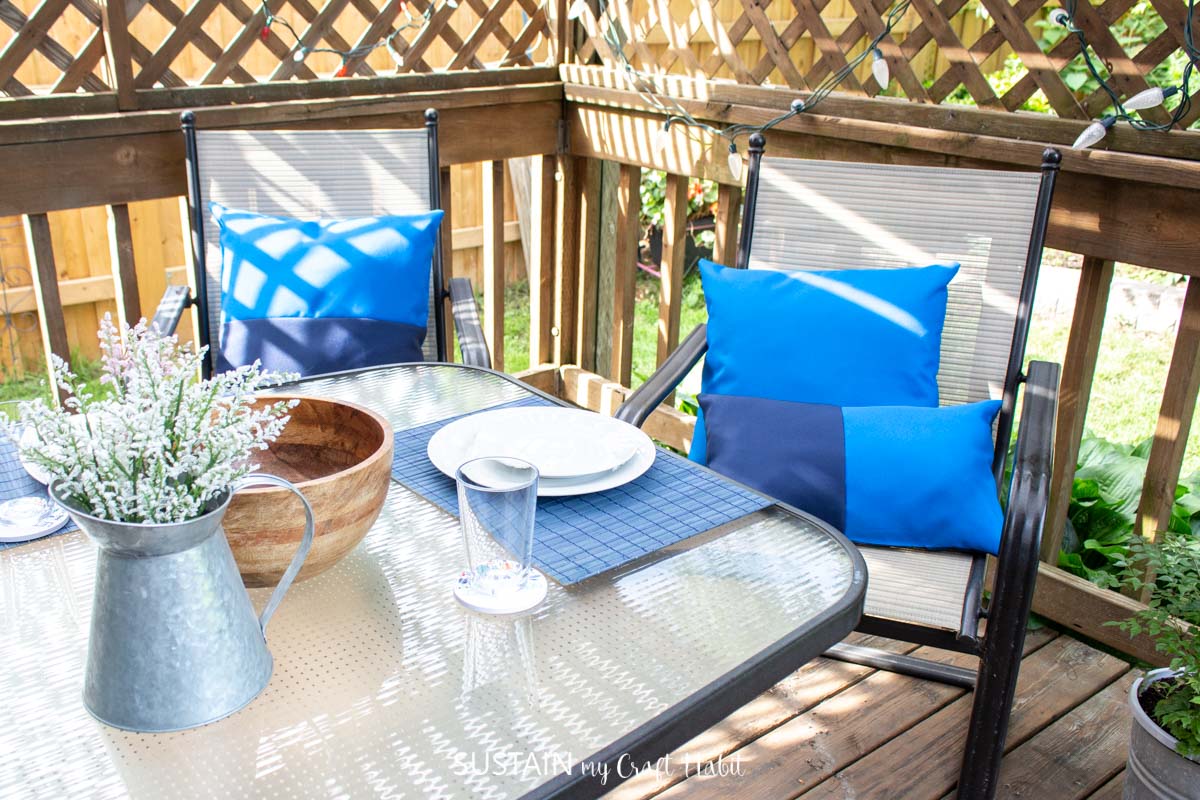
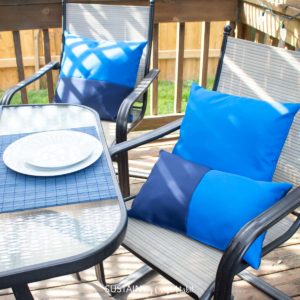
Partnering with Canvas Etc to use their high quality awning material to make these simple outdoor pillow covers. I chose royal blue and navy blue colors as it matches my backyard color scheme the best. The fabric is ideal for harsh outdoor elements, featuring UV protection, is waterproof and mildew resistant.

Tips for Sewing Outdoor Fabric
Fabrics that are coated in a waterproof finish, such as polyurethane like the one I’m using for this project can be tricky to sew with. It’s not as straightforward as other non-coated woven fabrics and you may come across certain challenges. Here is a list of challenges and solutions when sewing outdoor fabrics:
Issue:
Fabric sticks as you sew; does not glide smoothly between the presser foot and feed dogs
Possible Solutions
- Use a teflon (plastic) presser foot or add scotch tape to the bottom of your standard metal foot
- Rub candles on your seam line before you sew over it. The wax will make the fabric glide more freely.
- Use longer stitch lengths, like 4.0
- Cut narrow strips of tissue paper or parchment paper or printer paper or wax paper to work as a stabilizer and sandwich the fabric in between the paper to help the fabric glide more smoothly. Tear the paper off after sewing the seams.
- Add a bit of talcum powder to the surface of the coated fabric to reduce the grabbiness of the fabric
- Use a sharp needle, one that is intended for heavier weight fabrics, such as US16 but keep in mind the bigger the needle the larger the holes it leaves behind in the fabric
- Use silicone spray on the needle plate but wipe down your needle frequently with rubbing alcohol.
Issue:
Needle is left with a gucky, sticky coating during and after sewing
Possible Solutions
- Use lots of alcohol wipes/rubbing alcohol & cotton balls to wipe off the built up coating
- Use longer stitch lengths, like 4.0
- Oil the needle using Sewer’s Aid or similar product


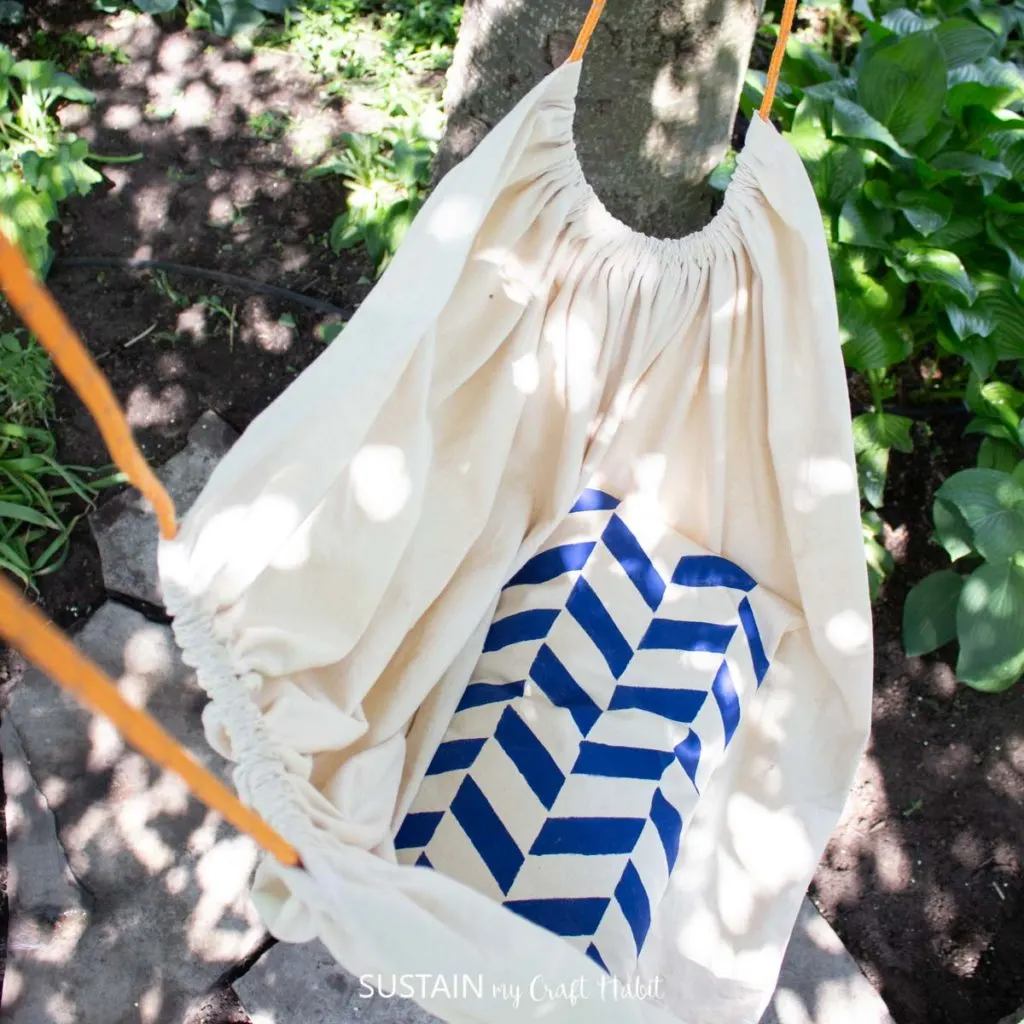
Last month, I shared the tutorial for making this hanging hammock chair so now along with these DIY outdoor pillows, I feel like my backyard oasis is really coming together. I used a bunch of extra pillow inserts I had from old throw pillows to stick to my budget. Alternatively, I could have made my own pillow inserts in different sizes similar to how I made these DIY pillow forms.
Materials Needed:
Disclosure: This post continues affiliate links for your shopping convenience. You can find our full disclosure policy here.
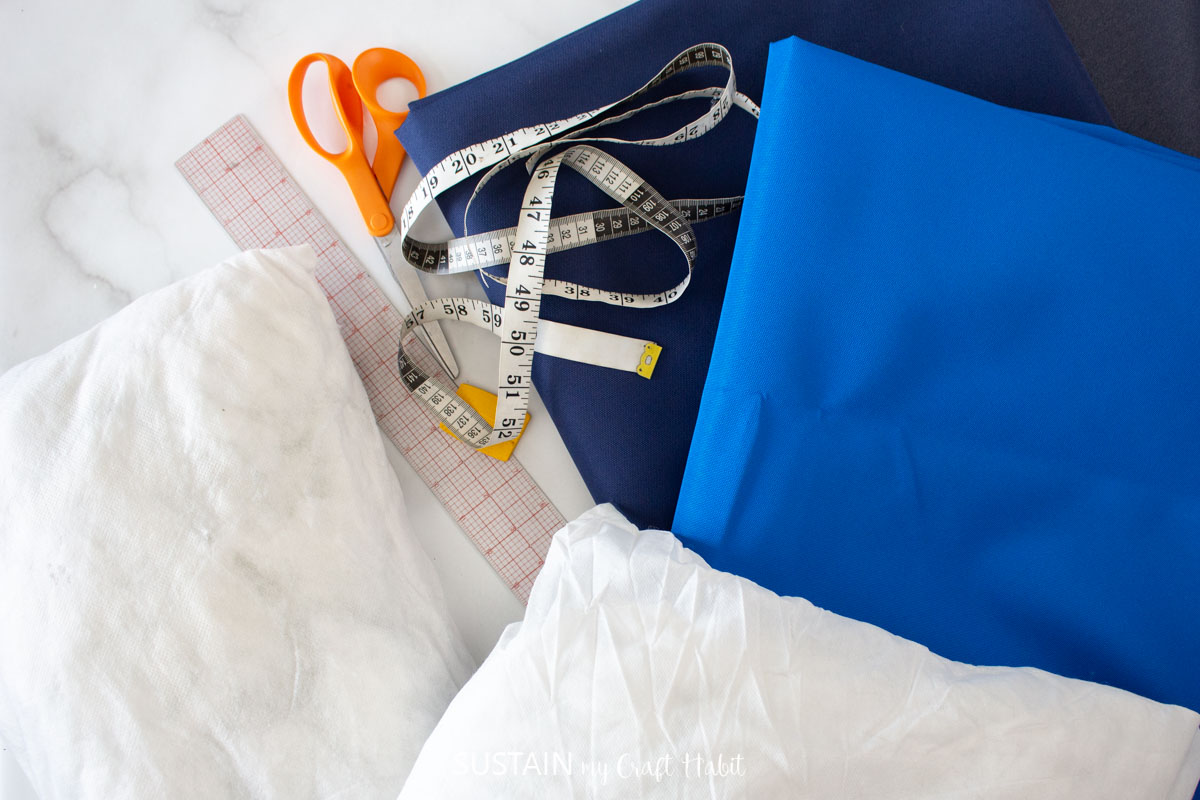
- ½ yard Canvas Awnings Fabric, Solution Dyed, 60″ Width, navy blue or royal blue
- Fabric Scissors
- Sewing machine and matching polyester or outdoor thread
- Pillow Insert in any size (I used rectangular 12” x 20” and a couple of square 19”x19”) (or make your own pillow form by upcycling pillows)
- Rules, Measuring Tape and wax
How to Make Outdoor Pillows:
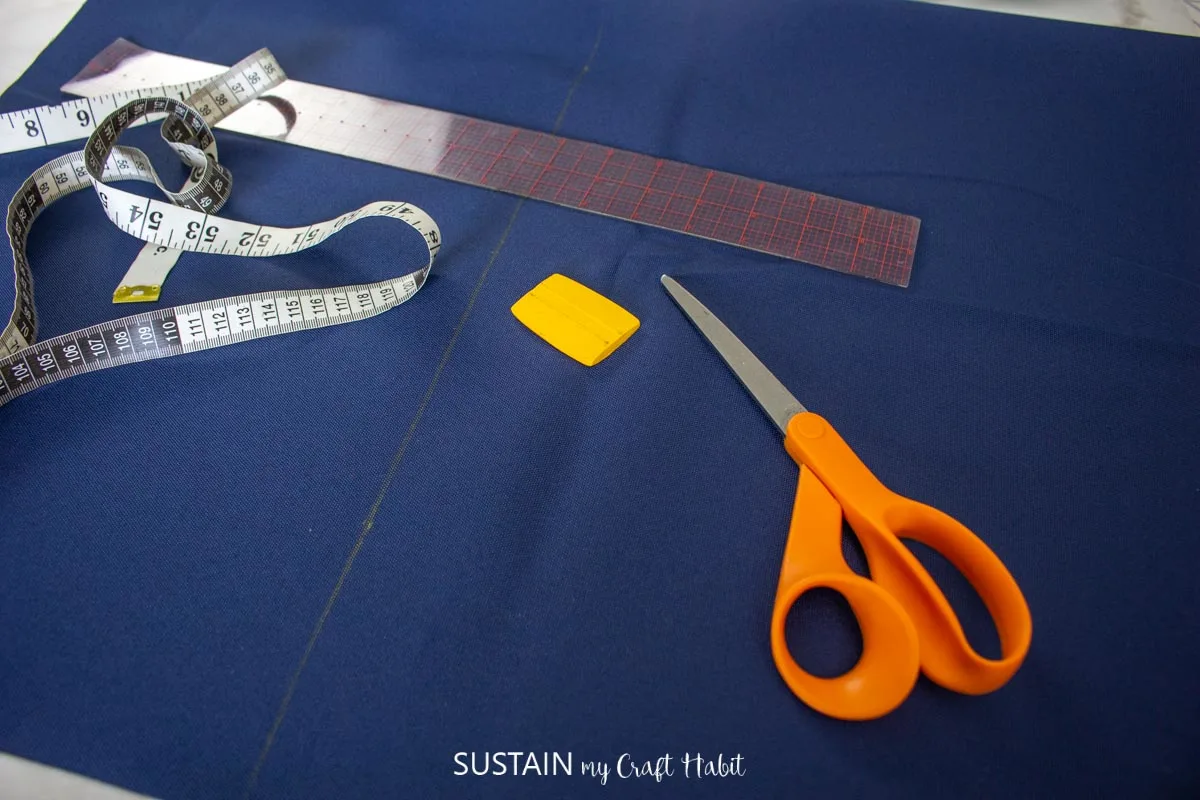
Cutting
Use weights or clips to hold the material while cutting. Pins will leave holes in your fabric that could allow for the fabric to leak.
Measure the pillow insert to make a pillow cover to fit over.

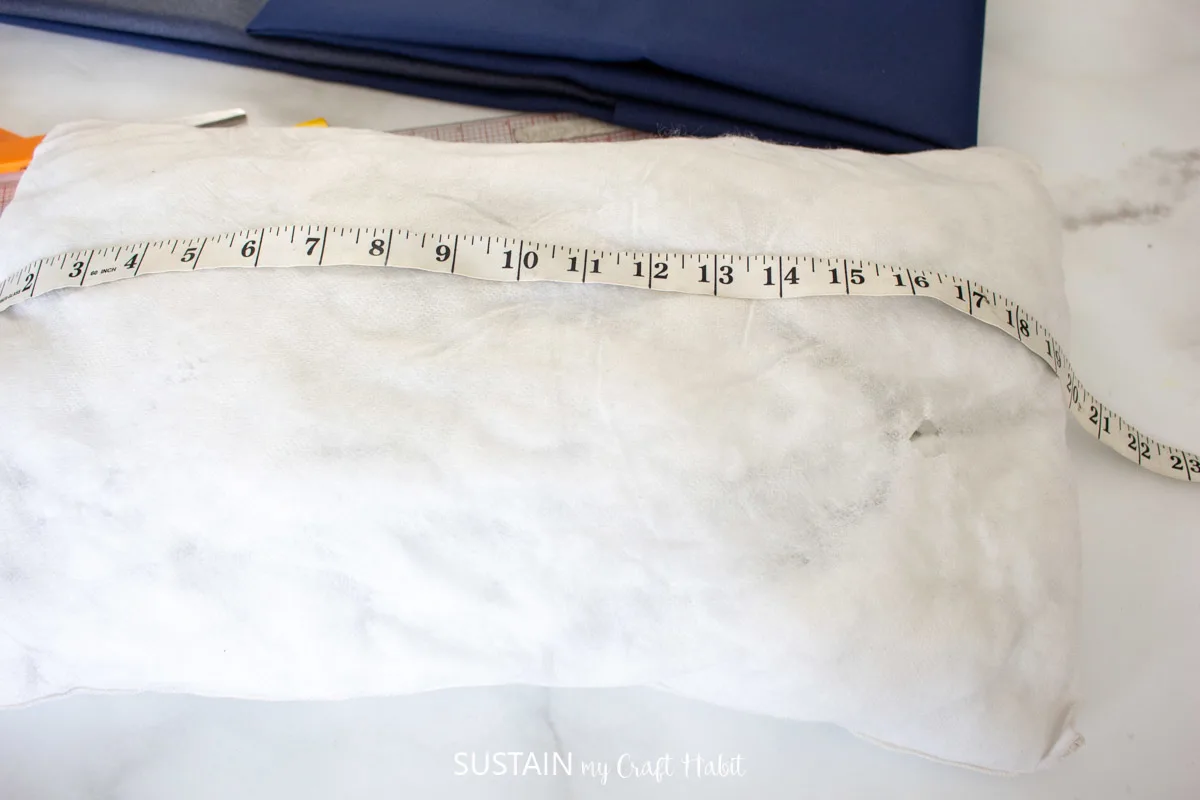
Measure and mark the fabric to the size of the pillow form, adding ½” seam allowance around the perimeter.


To make color blocked pillow covers, divide the front pillow cover in half widthwise. Measure and mark the fabric, adding ½” seam allowance around the perimeter.
Sewing
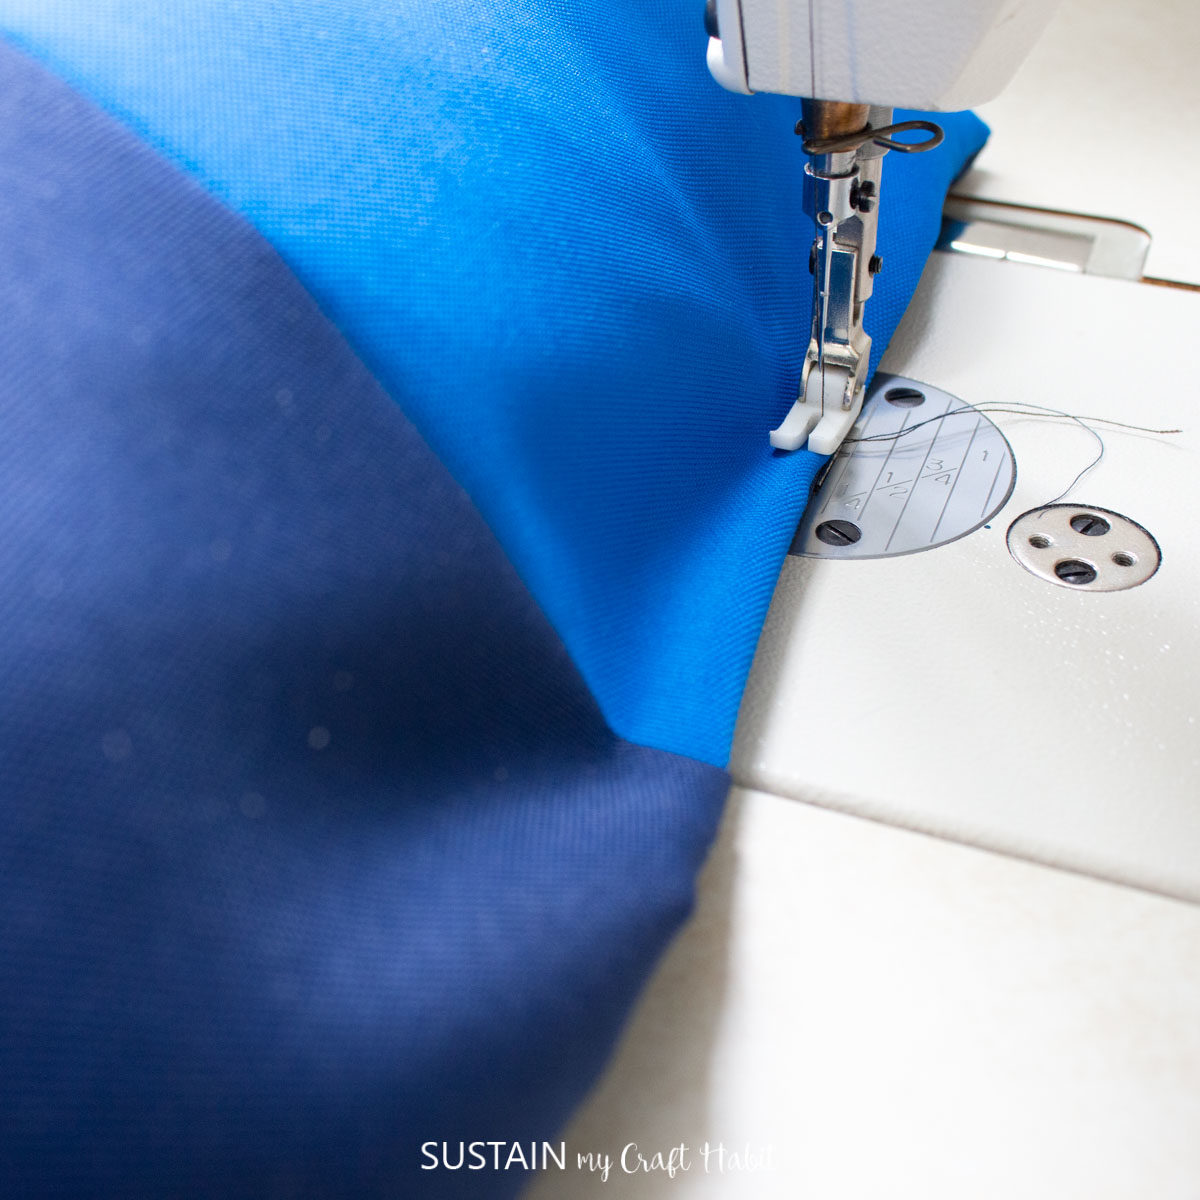
As with cutting, avoid using pins on the fabric as it’ll leave holes. Instead hold pieces together firmly in your hands as you sew.
Use a sharp needle in the smallest size possible that is able to stitch the fabric without skipping. Since the bigger the needle, the bigger the hole it leaves in the fabric. Also, use a polyester thread or a specific outdoor thread, something that is strong, durable, UV and mildew resistant.
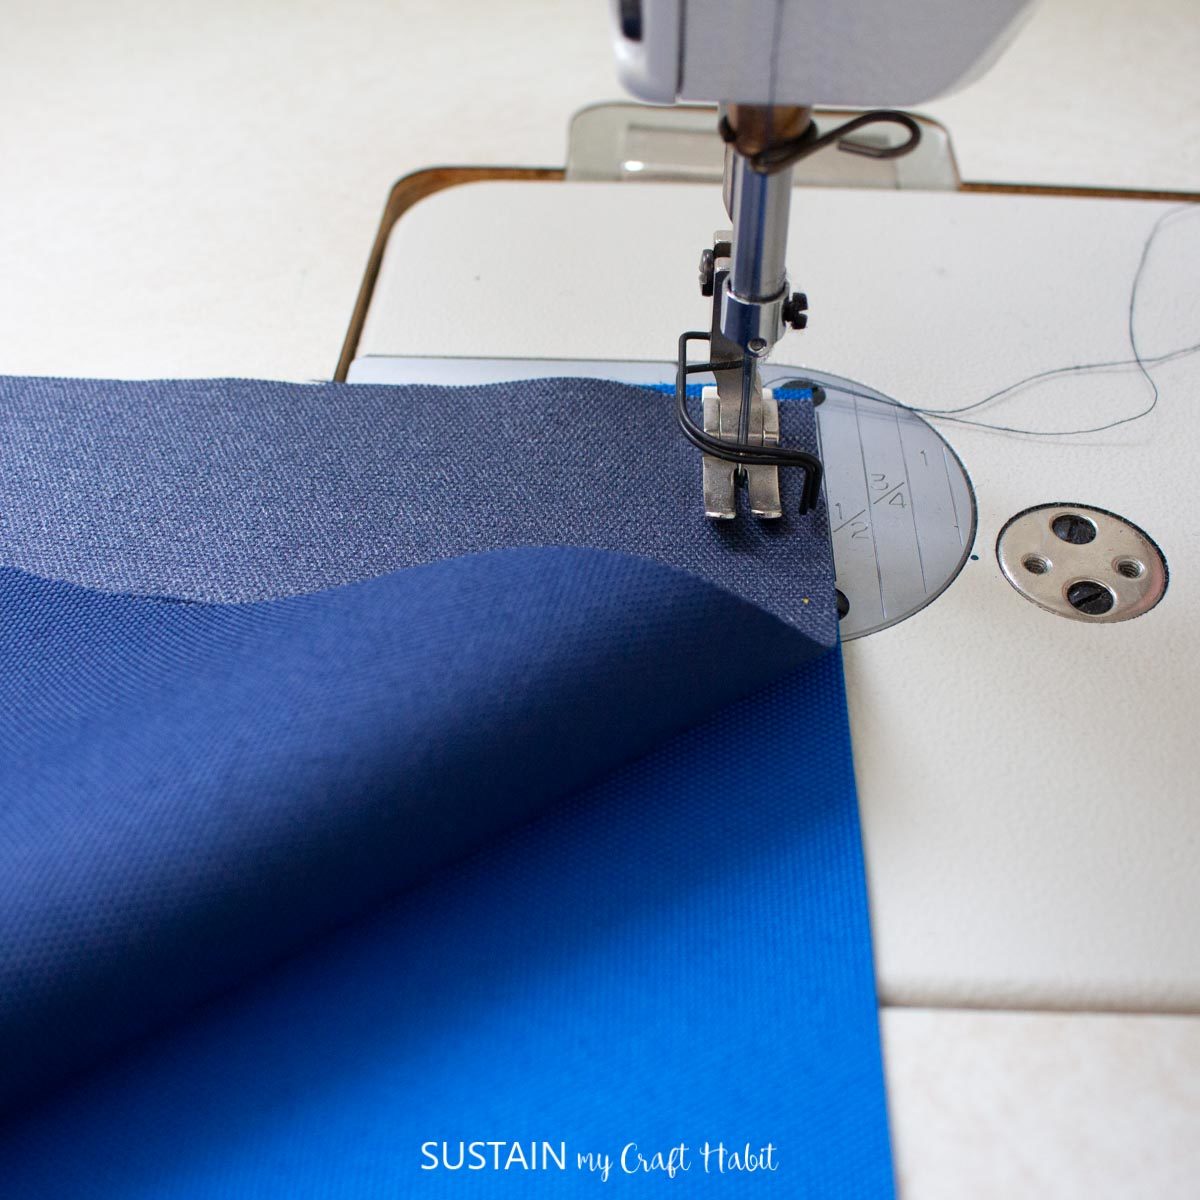
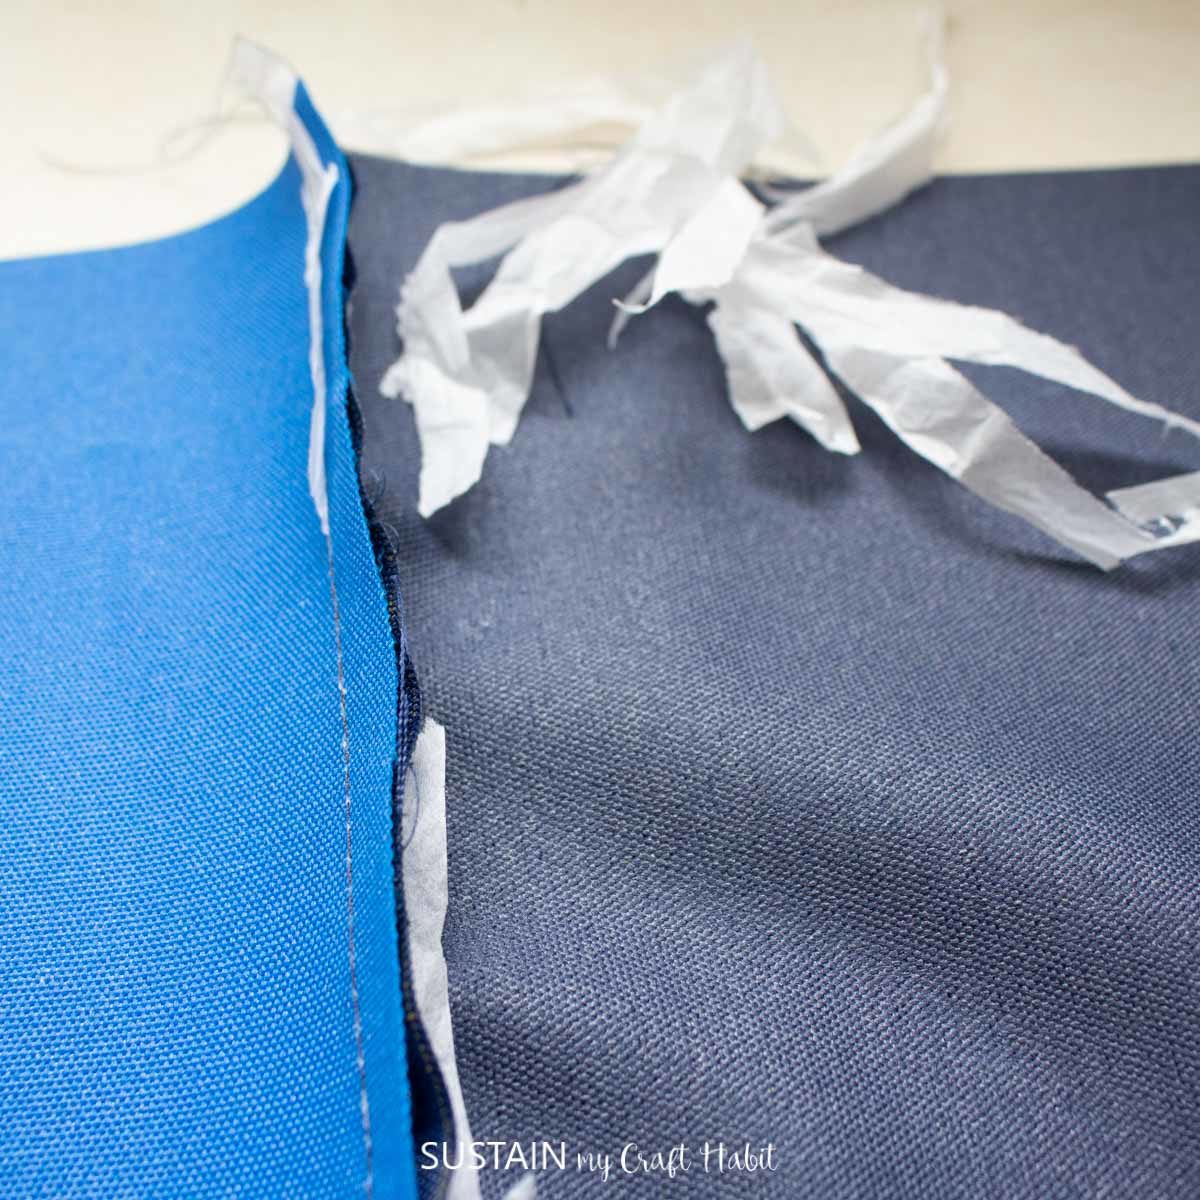
Join the two sides of the front cover if doing a similar color block design. Match RIGHT sides together and stitch with a ½” seam allowance.

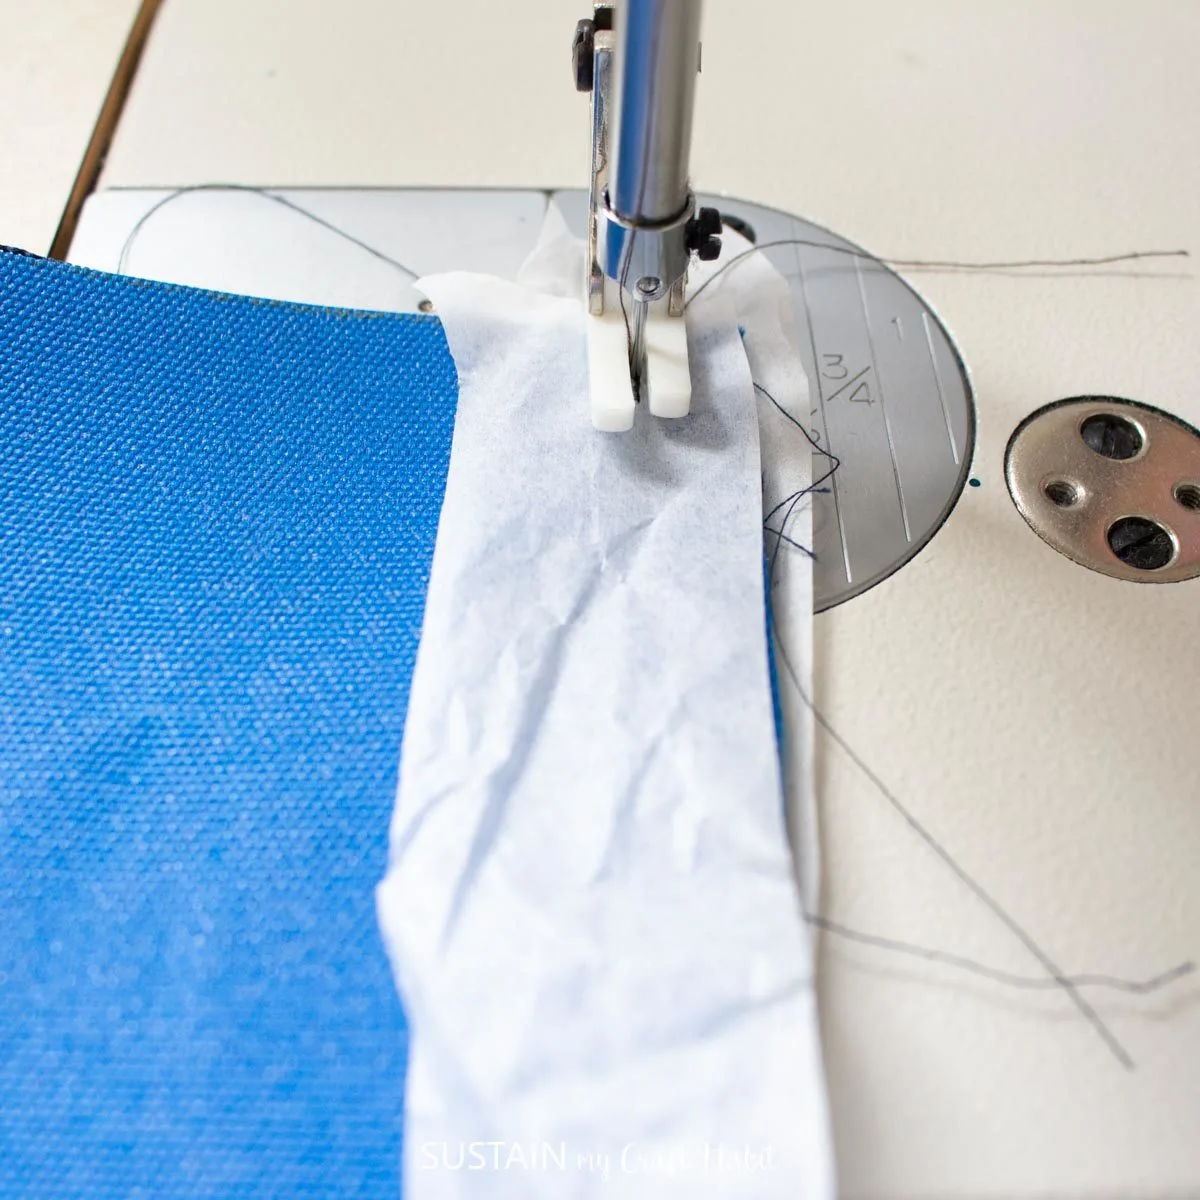
If finding fabric sticks and not gliding smoothly, see tips above. Sandwich the fabric in between layer of tissue paper and sew. Hold the fabric firmly to avoid differential stretch as you sew.

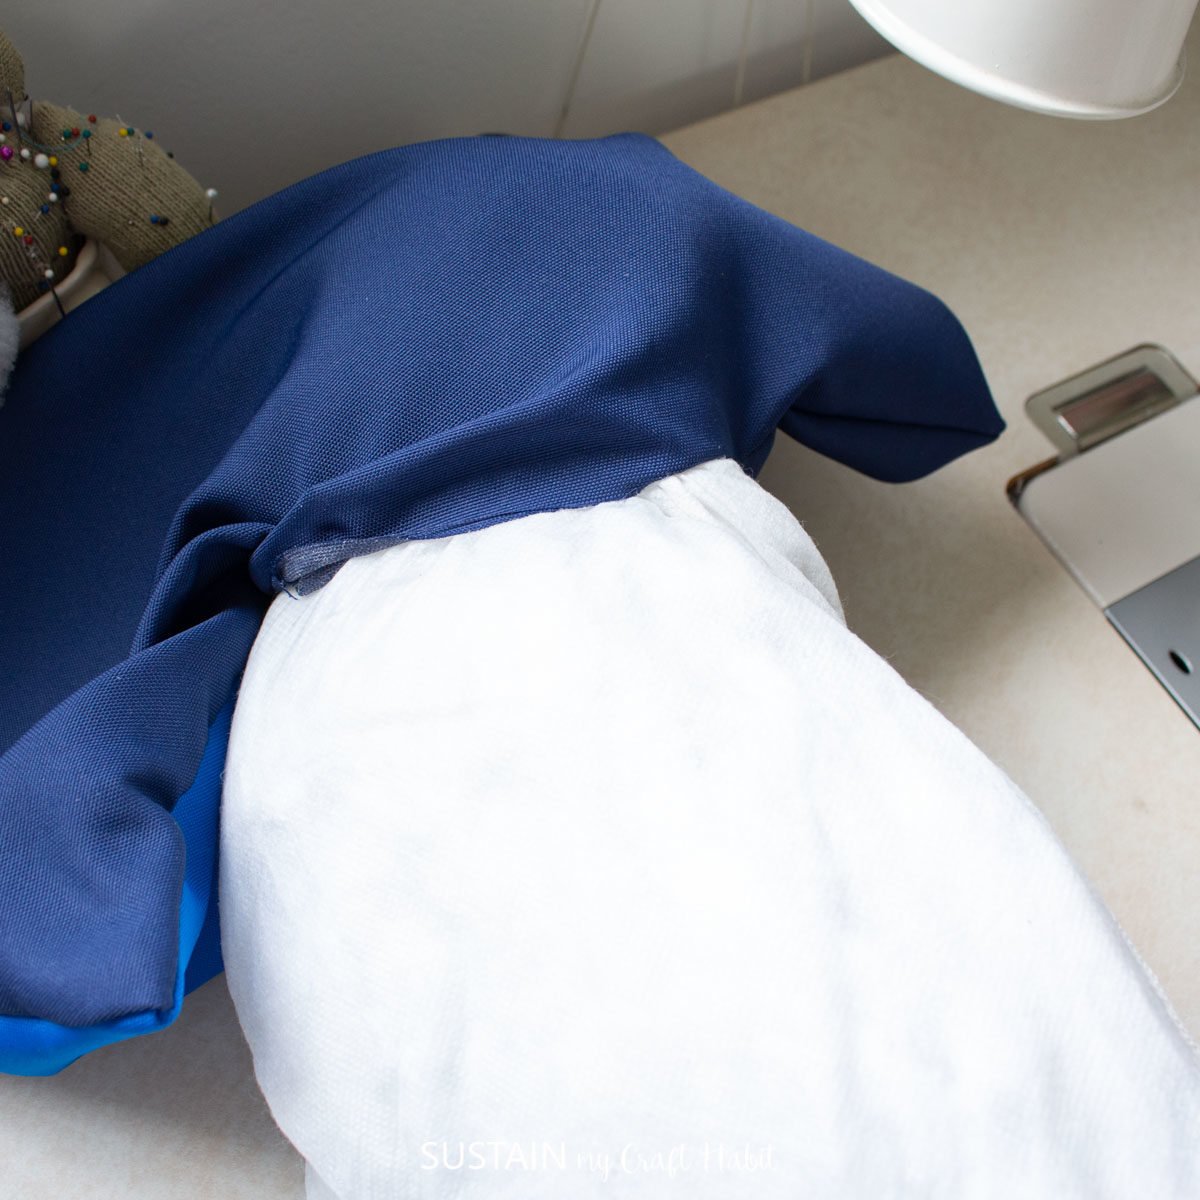
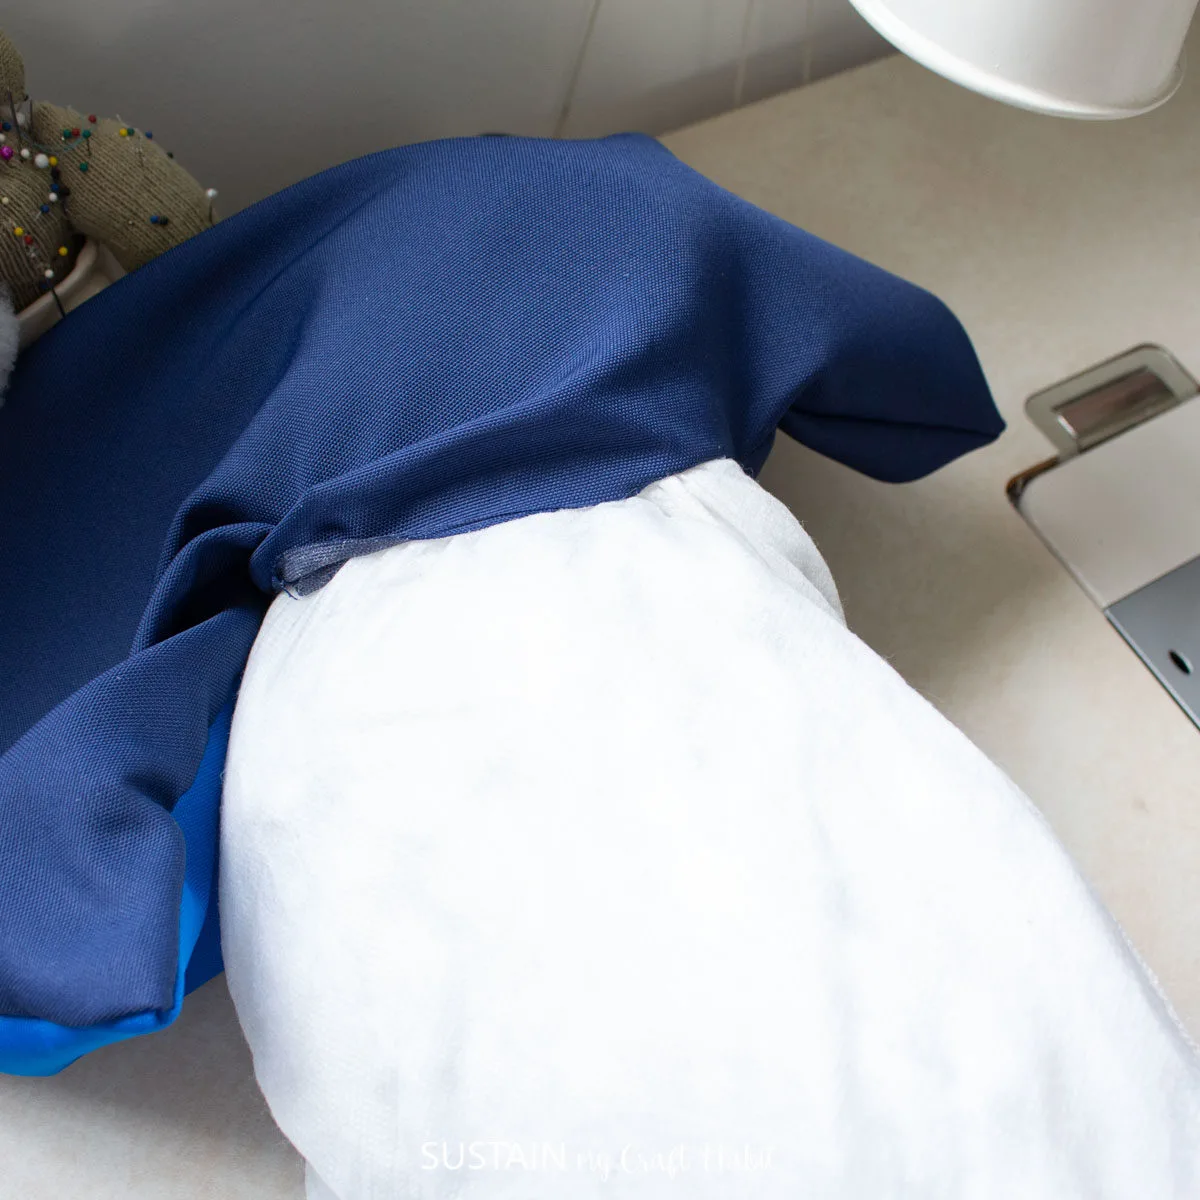
Lay the FRONT and BACK pieces RIGHT sides together and sew along all three edges with a ½” seam allowance.

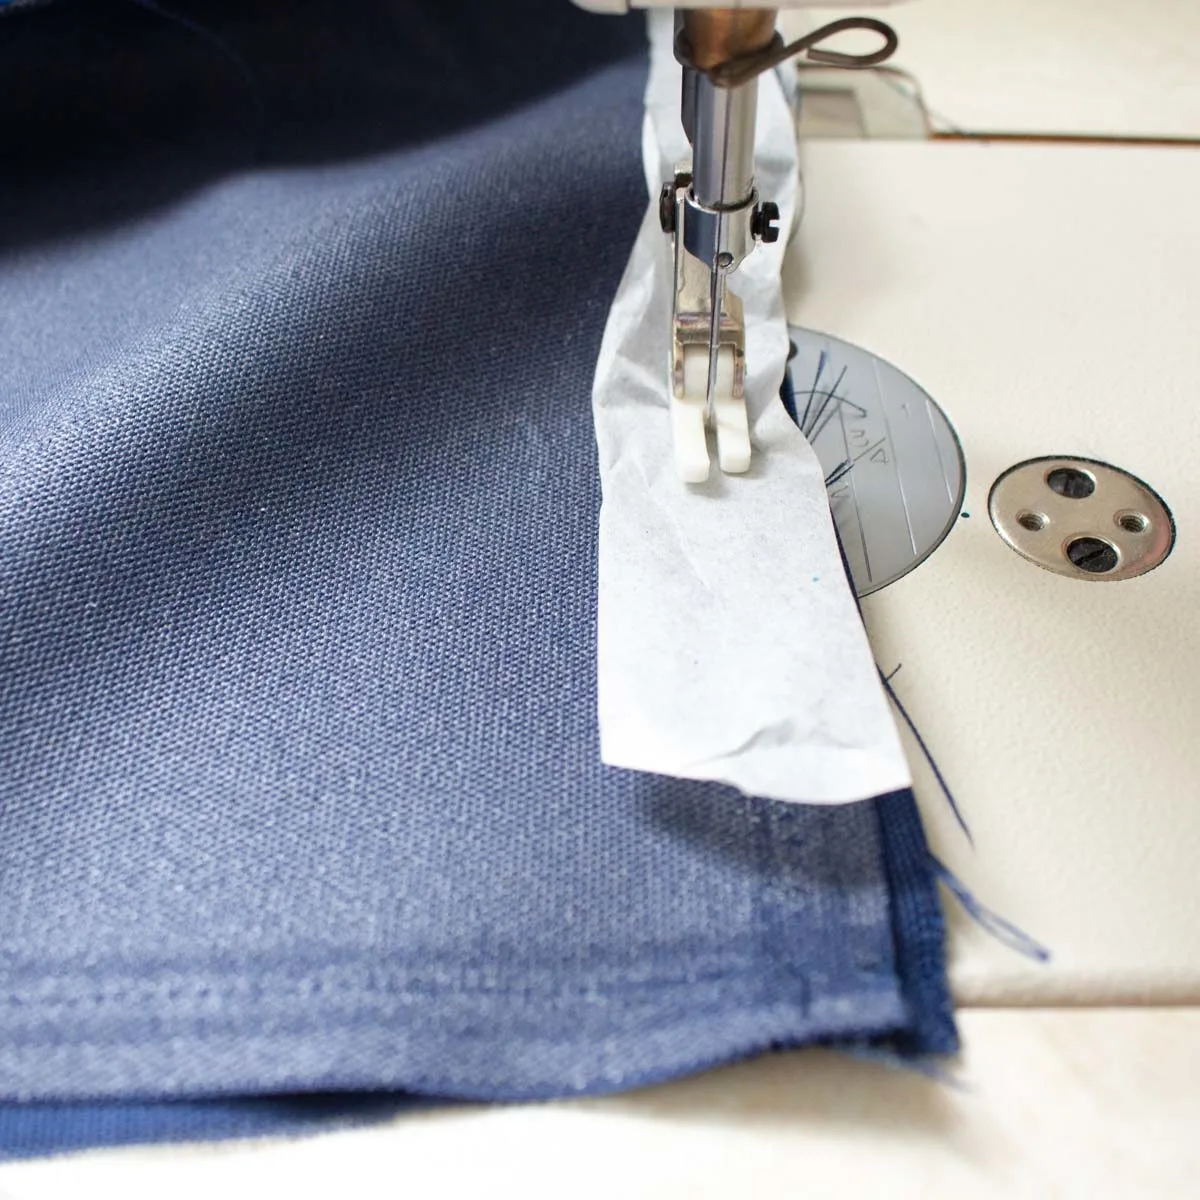
Tear off the paper after sewing.
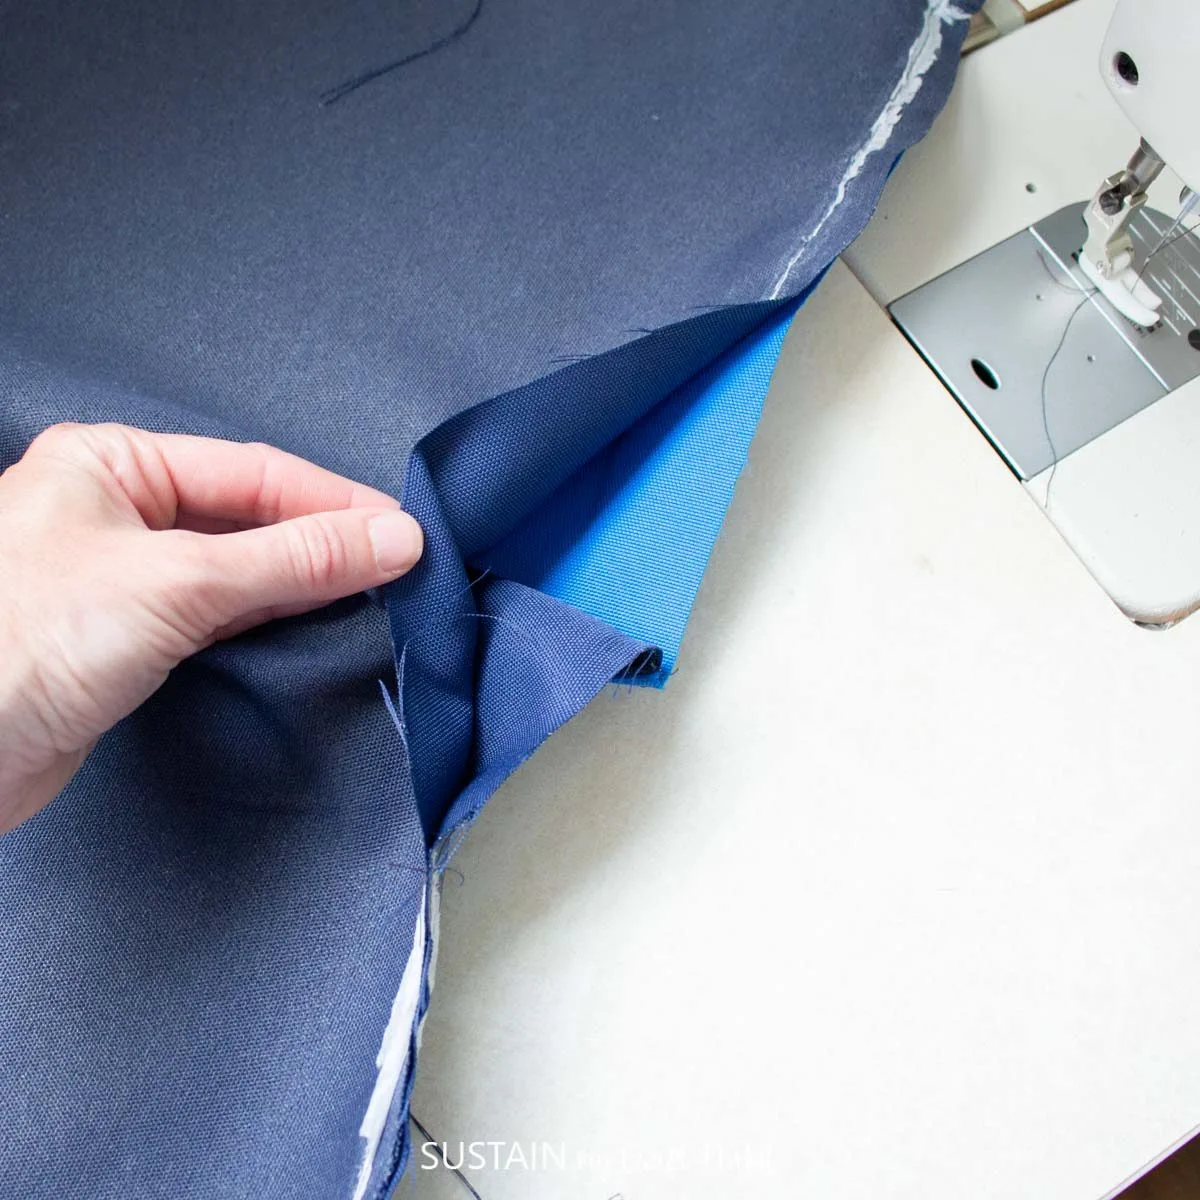
Sew the final edge partially closed leaving enough of a gap to squeeze the pillow insert into.

Before turning the piece right side out, consider adding a waterproof sealant to the seams to avoid water seeping through.
Clip the corners and turn the pillow cover right side out, poking the corners out with a pair of tweezers and then stuff the pillow insert inside.
Lastly, sew the opening closed with an edgestitch.

Make as many outdoor throw pillows as you want or need. For now, I’ve made these three pillows for the chairs in my backyard, which makes the space much more cozier and inviting.

More DIY Outdoor Patio Ideas
Looking for more budget friendly DIY ideas to give your outdoor space a pick me up? Check out these creative outdoor projects.
- Upcycling outdoor decor with spray paint
- Personalized Budget friendly patio planters
- Hammock chair
- Rock’n tic-tac-toe game
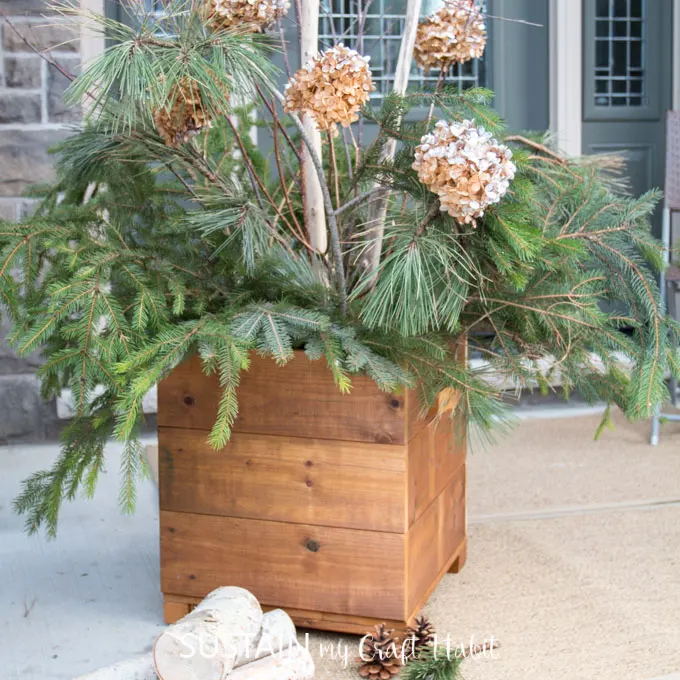
- DIY planters for Outdoor Floral Arrangements
- Painting a BBQ caddy
- Welcome mat
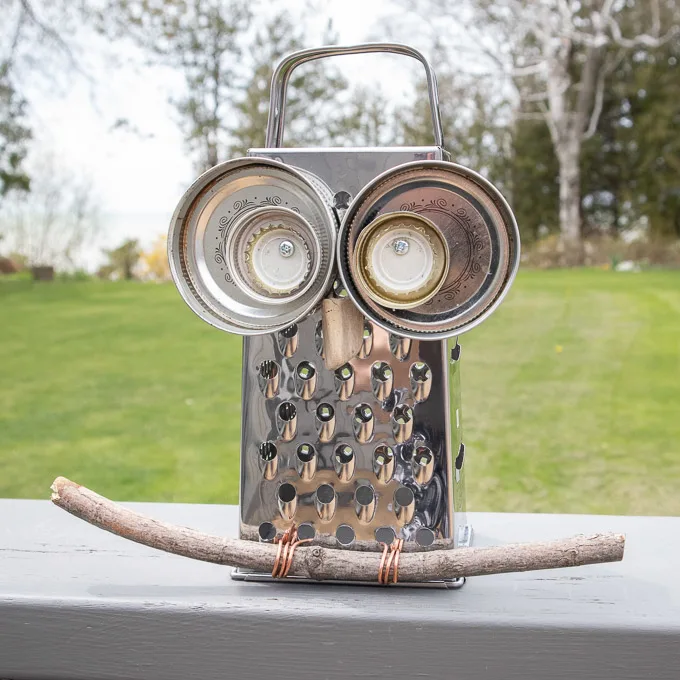
- Owl garden decor
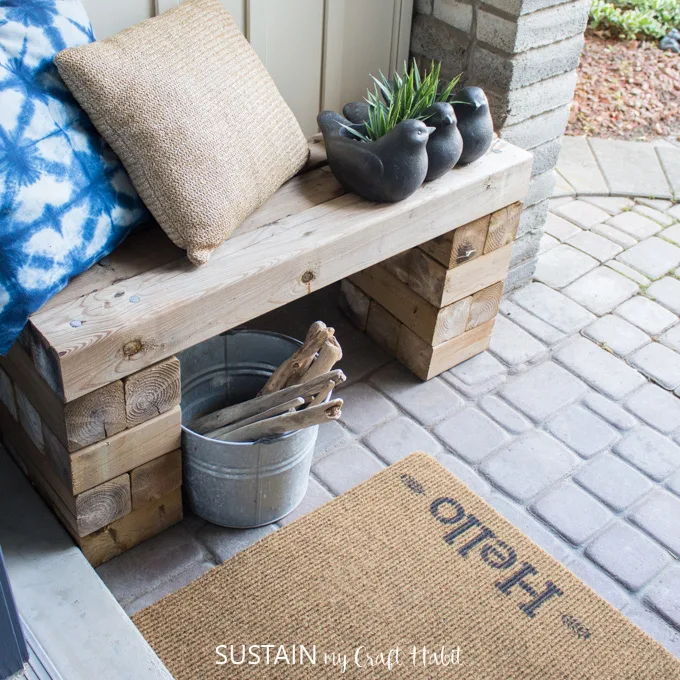
- Wooden planter box
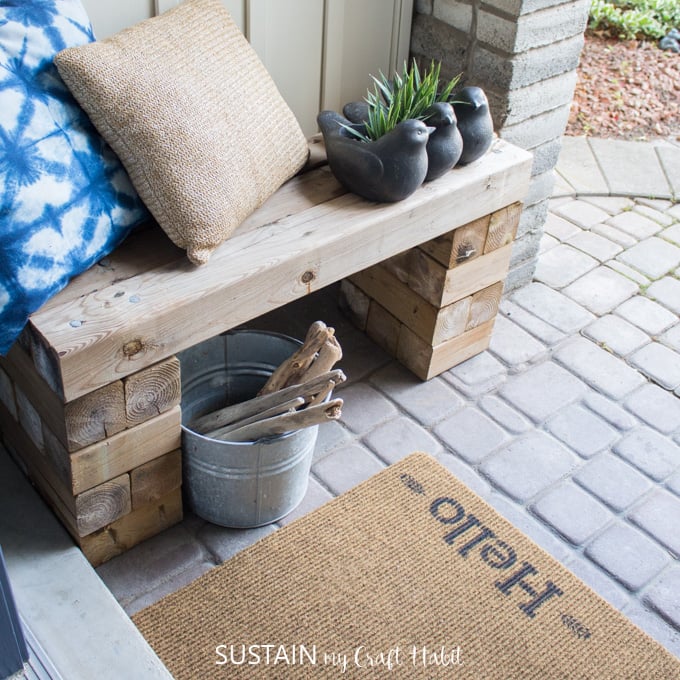

Foot door welcome mat 

DIY Hammock Chair 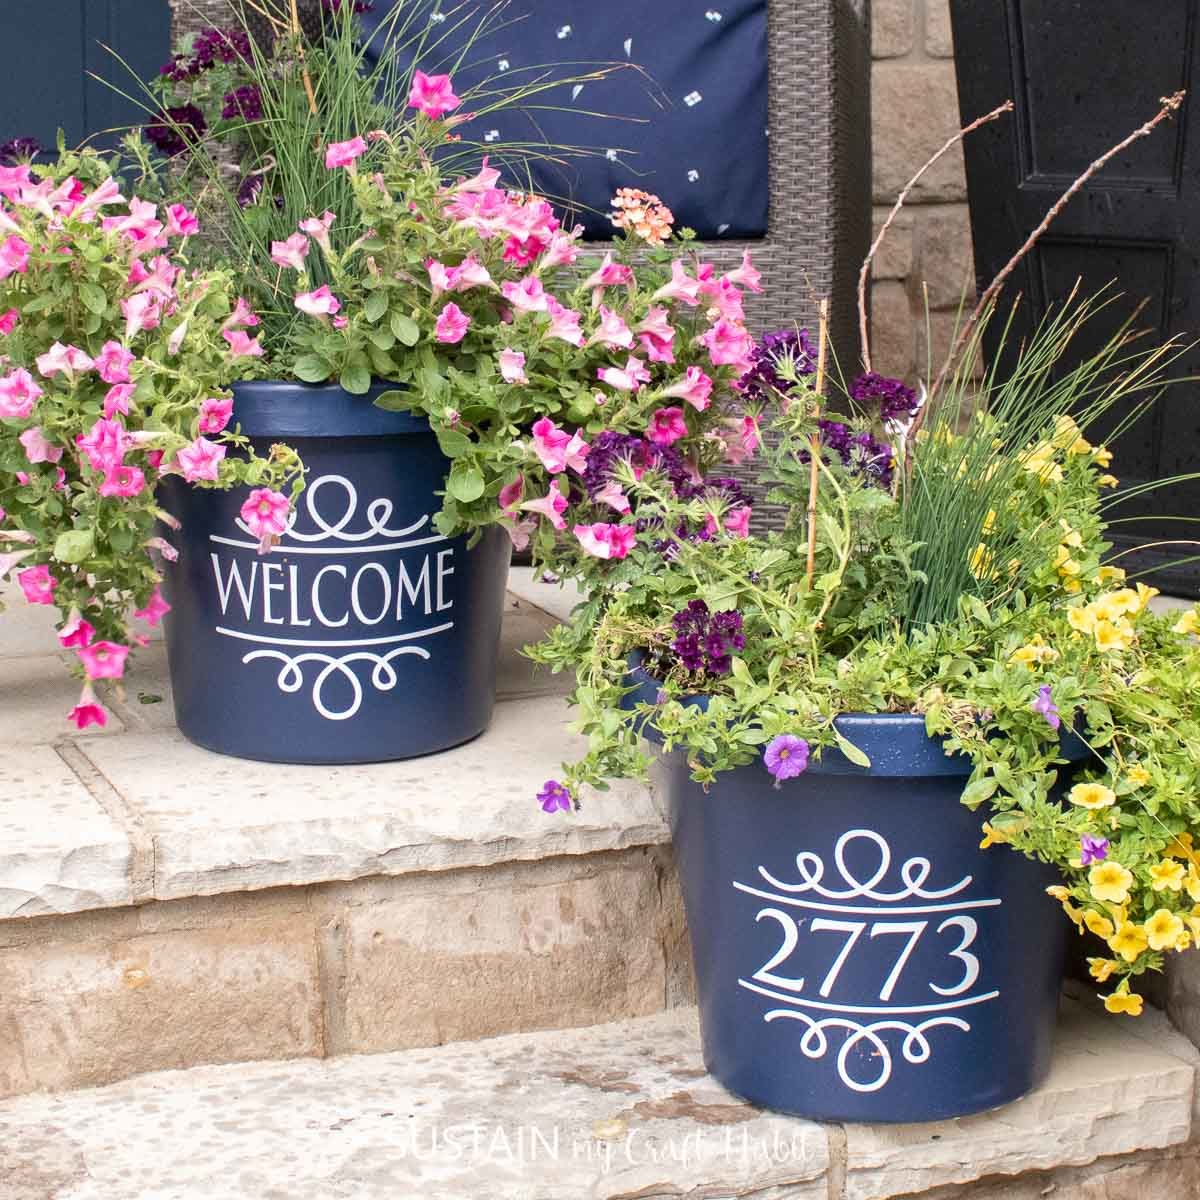

Personalized Planters 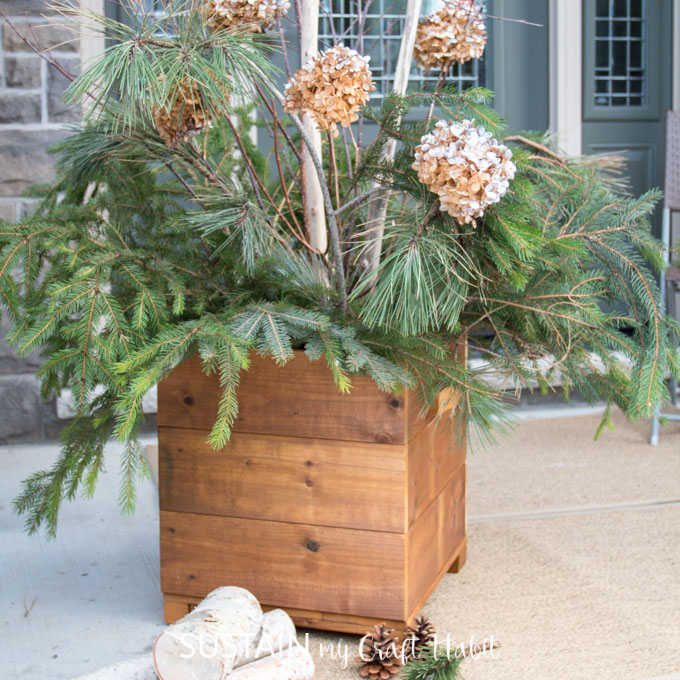
Cedar Planter Box 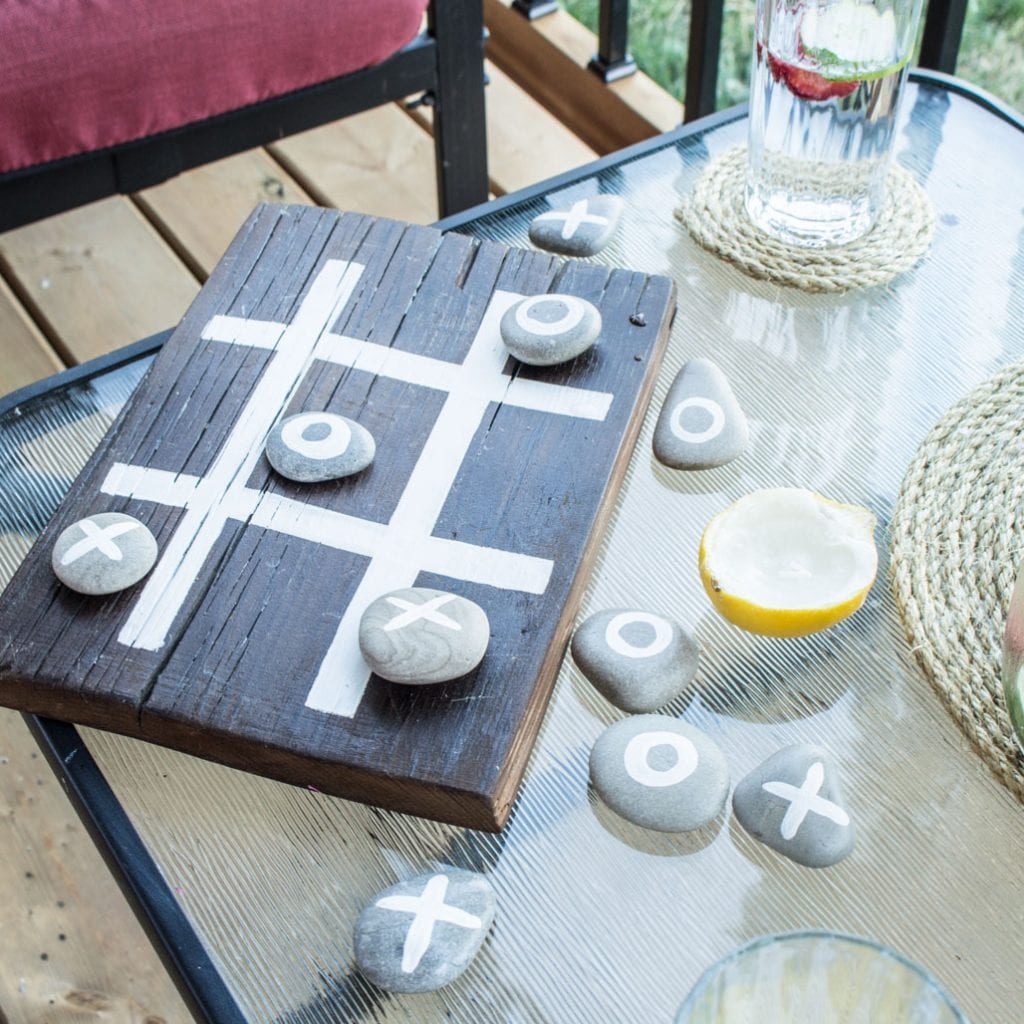
Tic-Tac-Toe Rocks 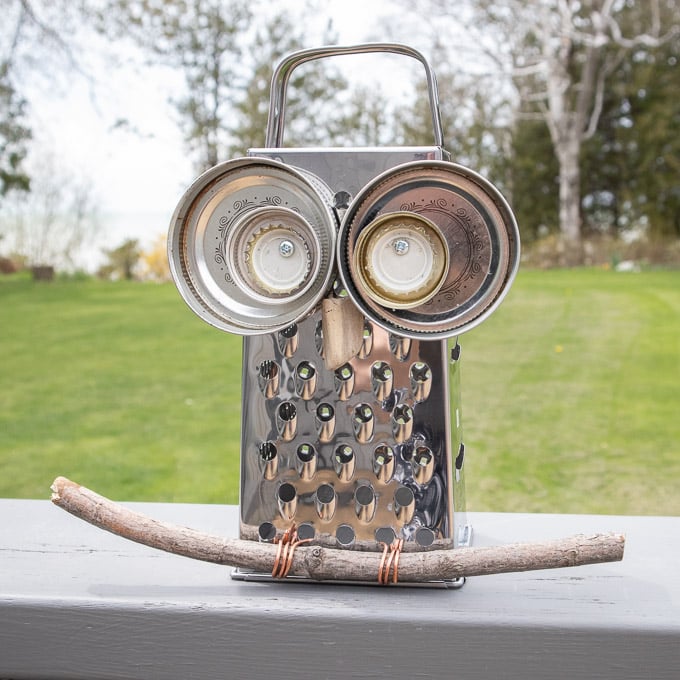
Upcycled Cheese Grater Owl Garden Decor


Like it? Pin it for later!


Making DIY Outdoor Pillows
Materials
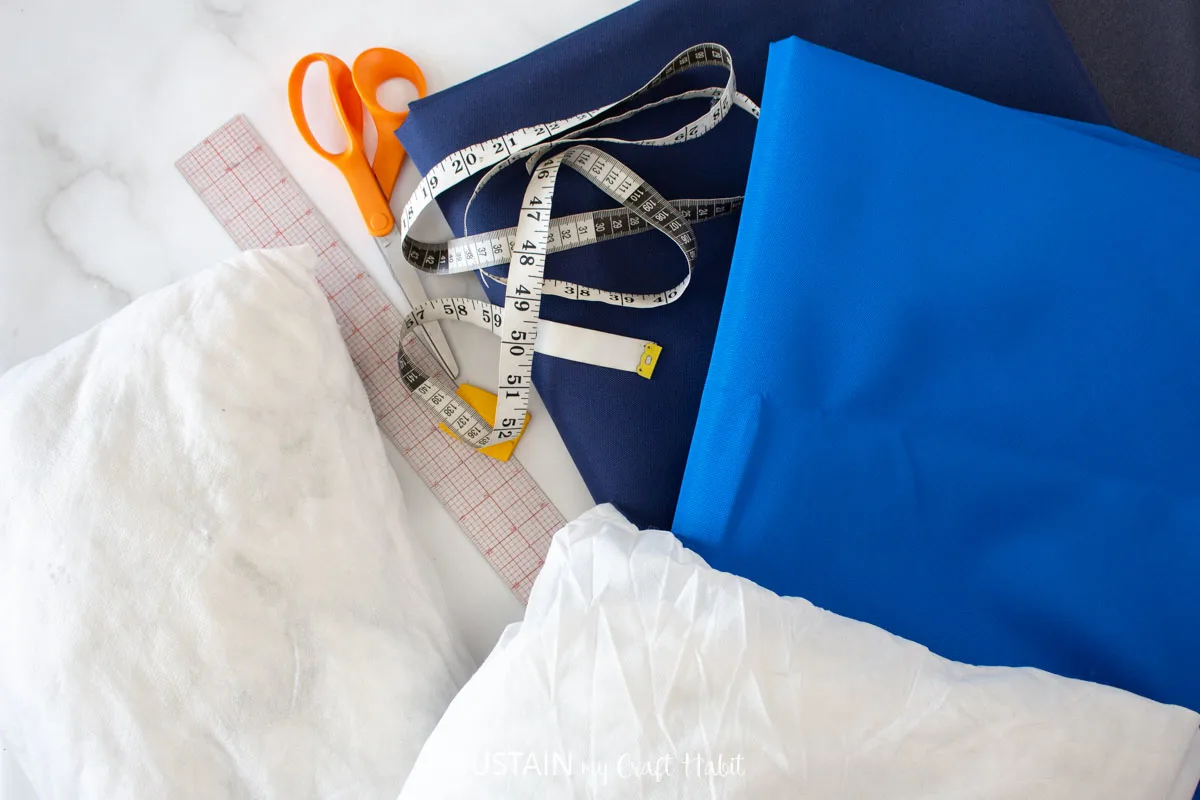
- ½ yard Canvas Awnings Fabric Solution Dyed, 60″ Width, navy blue or royal blue
- Fabric Scissors
- Sewing machine and matching polyester or outdoor thread
- Pillow Insert in any size
- Ruler Measuring Tape and wax
Instructions
Cutting
- Use weights or clips to hold the material while cutting. Pins will leave holes in your fabric that could allow for the fabric to leak.
- Measure the pillow insert to make a pillow cover to fit over.
- Measure and mark the fabric to the size of the pillow form, adding ½” seam allowance around the perimeter.
- To make color blocked pillow covers, divide the front pillow cover in half width wise. Measure and mark the fabric, adding ½” seam allowance around the perimeter.
Sewing
- As with cutting, avoid using pins on the fabric as it’ll leave holes. Instead hold pieces together firmly in your hands as you sew.
- Use a sharp needle in the smallest size possible that is able to stitch the fabric without skipping.
- Join the two sides of the front cover if doing a similar color block design. Match RIGHT sides together and stitch with a ½” seam allowance.
- Sandwich the fabric in between layer of tissue paper and sew. Hold the fabric firmly to avoid differential stretch as you sew.
- Lay the FRONT and BACK pieces RIGHT sides together and sew along all three edges with a ½” seam allowance.
- Tear off the paper after sewing.
- Sew the final edge partially closed leaving enough of a gap to squeeze the pillow insert into.
- Before turning the piece right side out, consider adding a waterproof sealant to the seams to avoid water seeping through.
- Clip the corners and turn the pillow cover right side out, poking the corners out with a pair of tweezers and then stuff the pillow insert inside.
- Lastly, sew the opening closed with an edge stitch.