What’s not to love about the simple craft of decorating jars for Thanksgiving? We’ll show you how to paint and distress empty glass jars for filling with faux florals to make a beautiful arrangement for Fall.
Disclosure: This post is sponsored by Bernardin Canada. All opinions are our own.
A Pretty Fall Centerpiece with Upcycled Glass Jars
It seems we can’t get enough of these types of mason jar crafts these days. Perhaps it’s because it tends to be an inexpensive way of crafting or maybe it’s because the end result tends to be so pretty! Just take these pressed hydrangea jars or these decoupage napkin jars or even these simple glitter painted jars as a few examples.
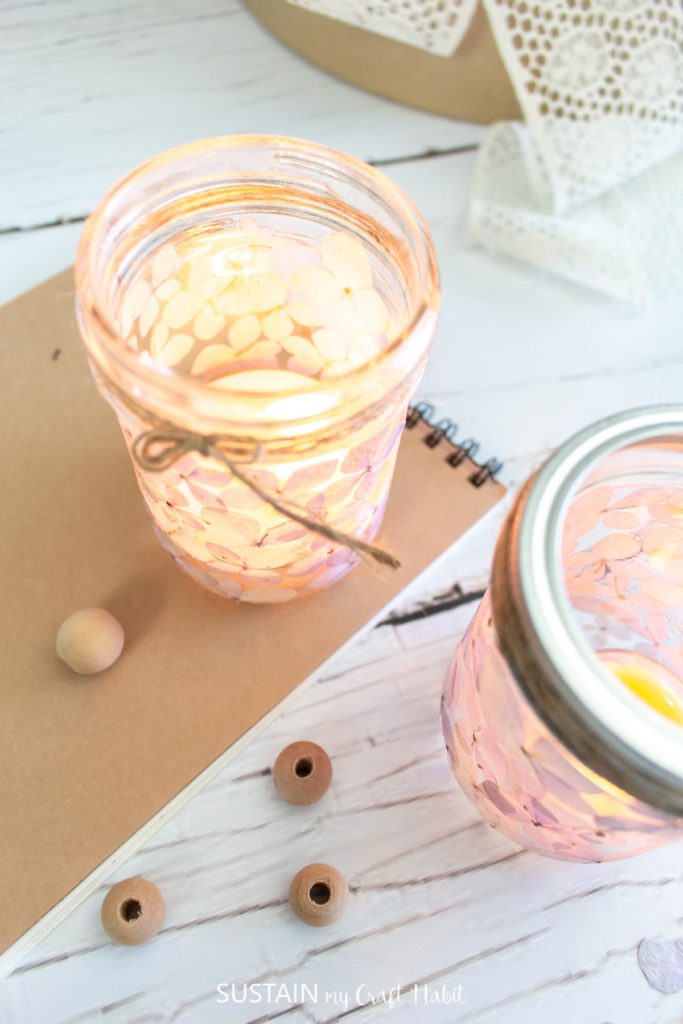

Pressed Hydrangea Candle Holders 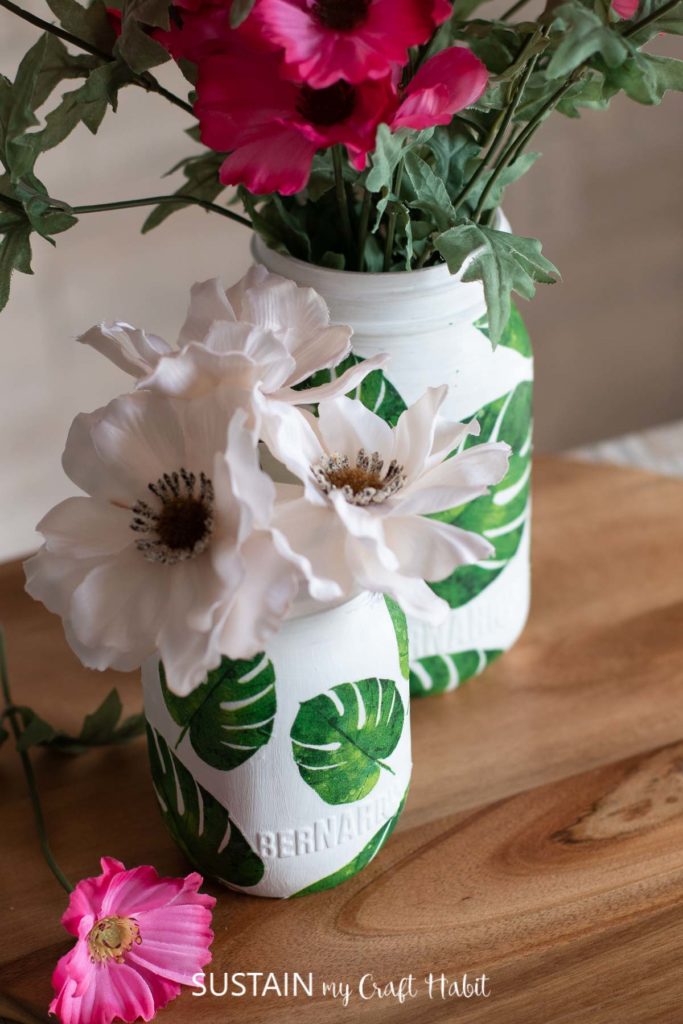

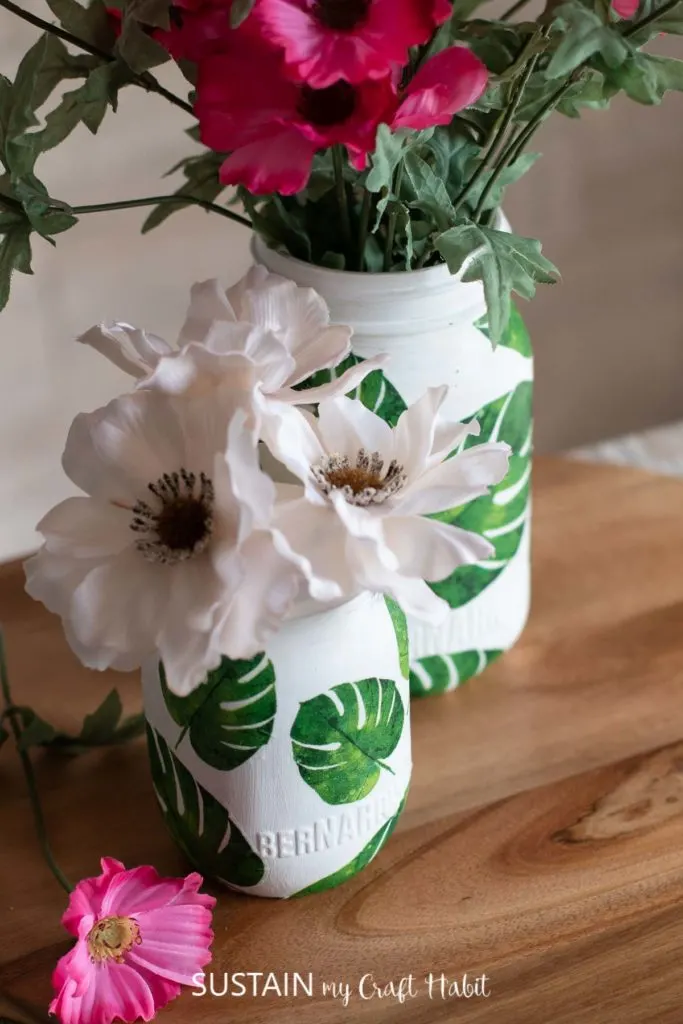
Mod Modge Napkin Jars 
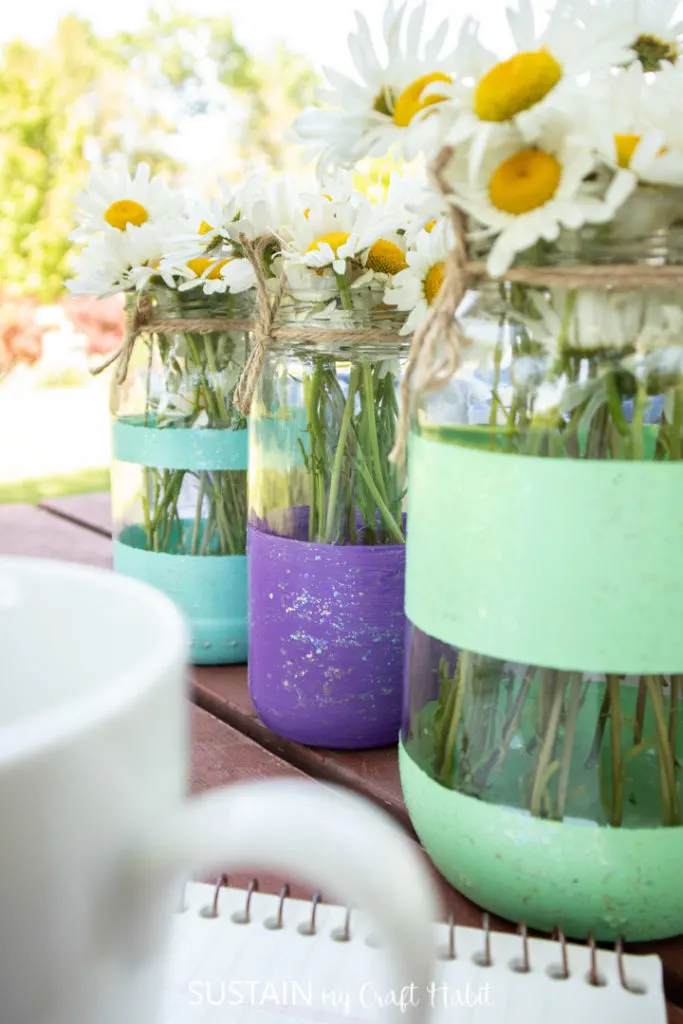
Painted Glitter Jars
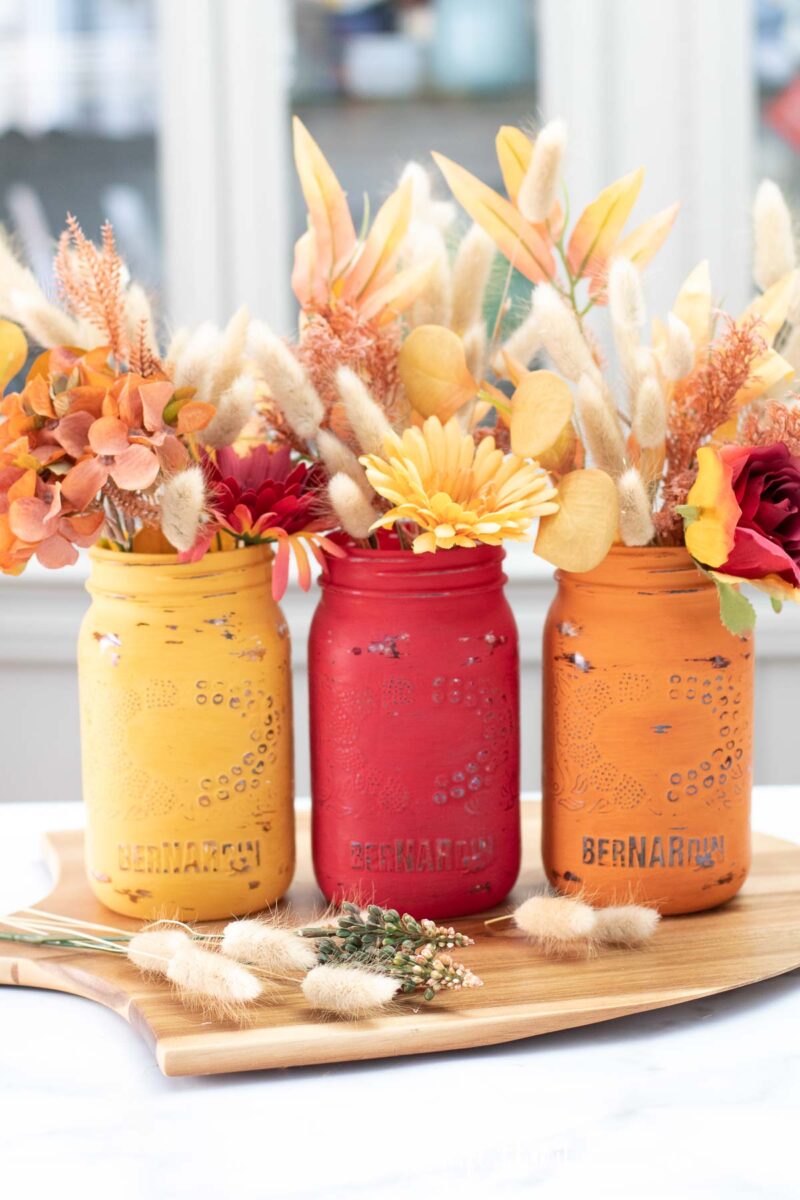
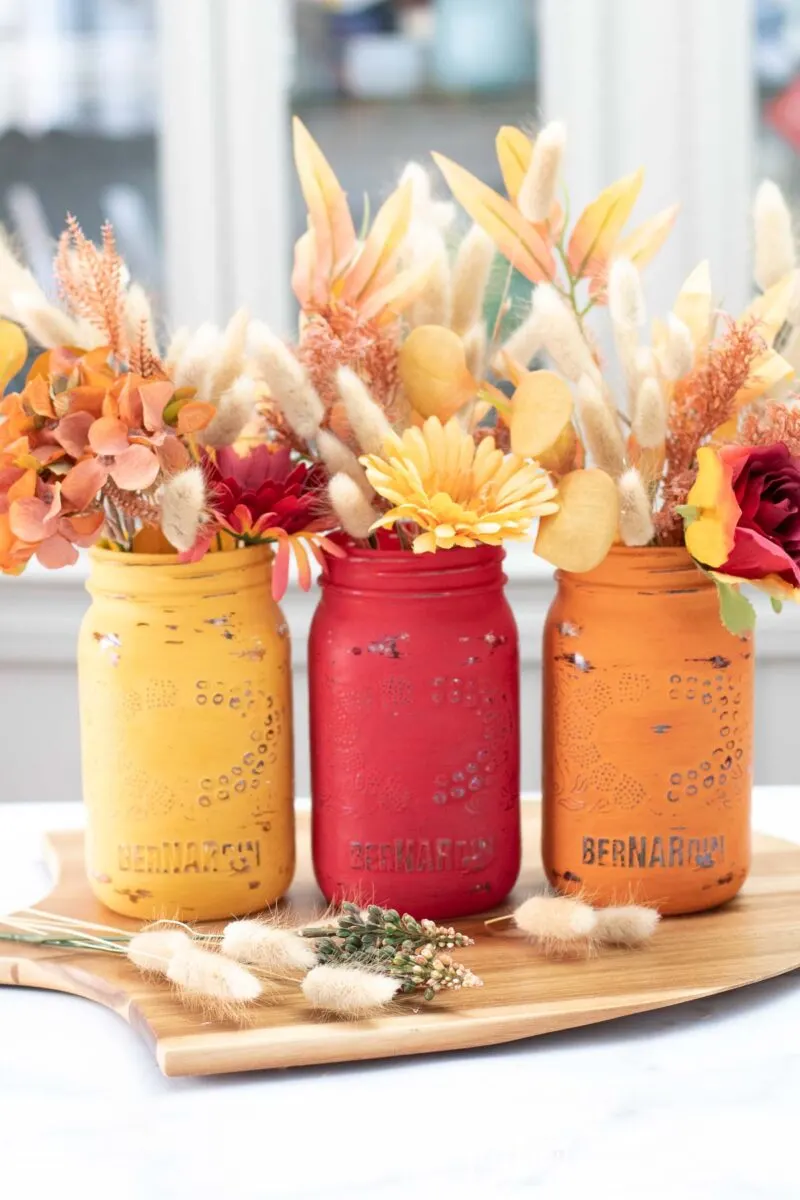
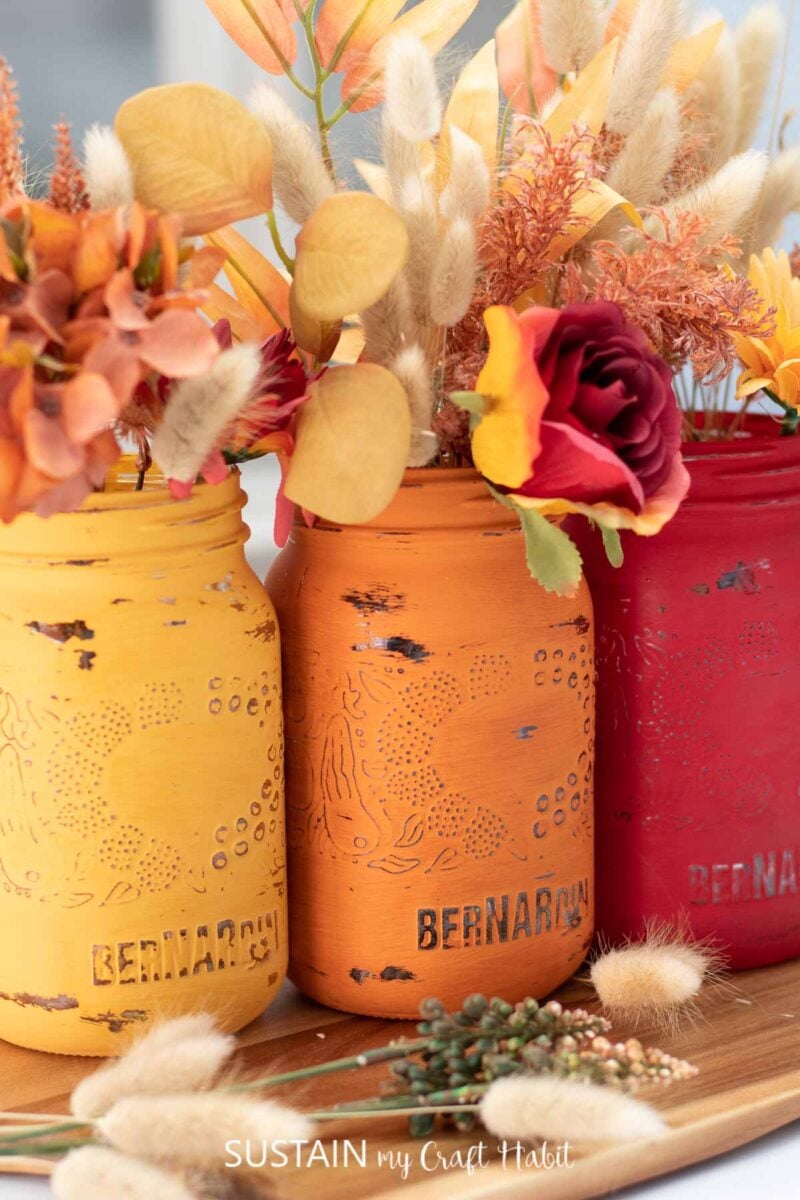
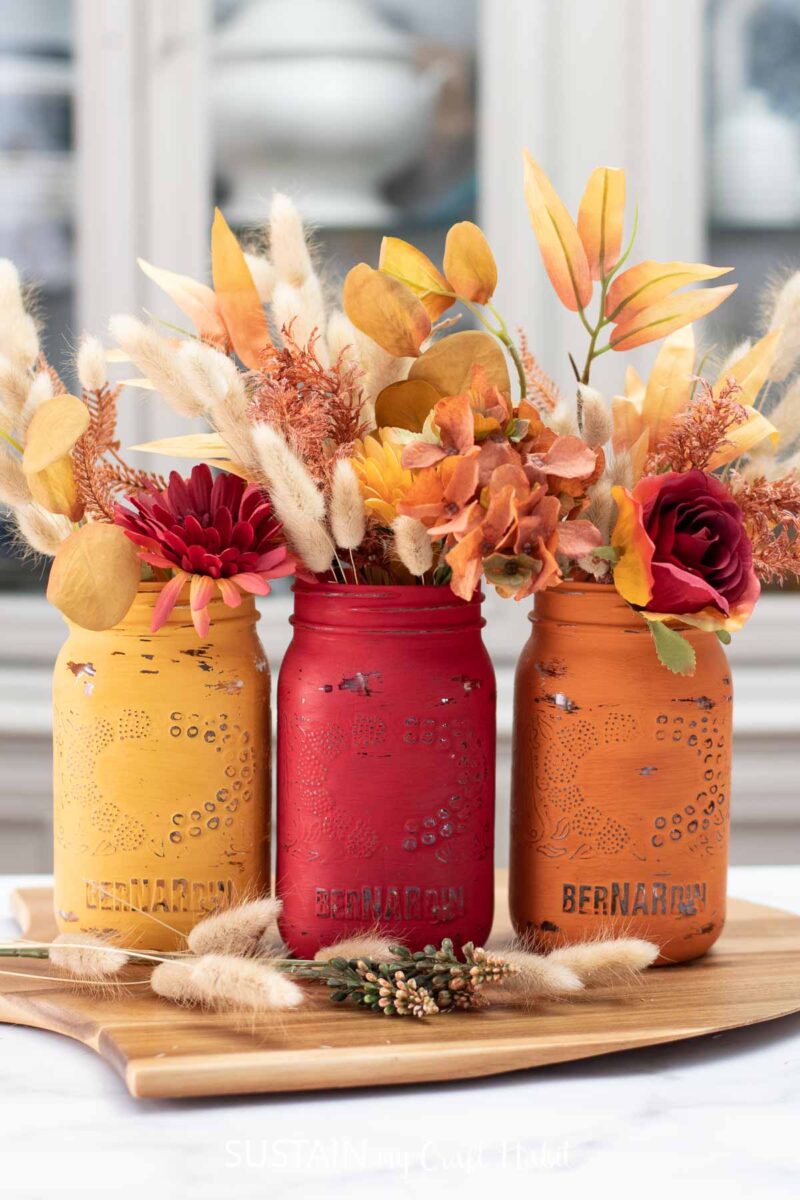
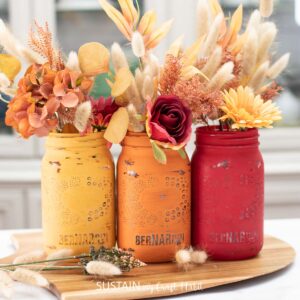
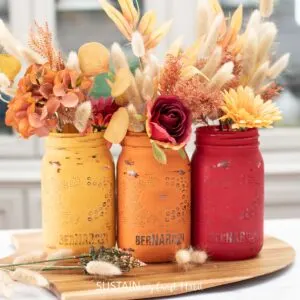
These Thanksgiving jars, made with three different colors of chalky paint are a nice addition to your Fall decorating. Using the Chalky Finish paint gives them a really nice matte look that distresses really well. They turned out so great that I even added them to my mom’s budget friendly Fall porch a few weeks ago.

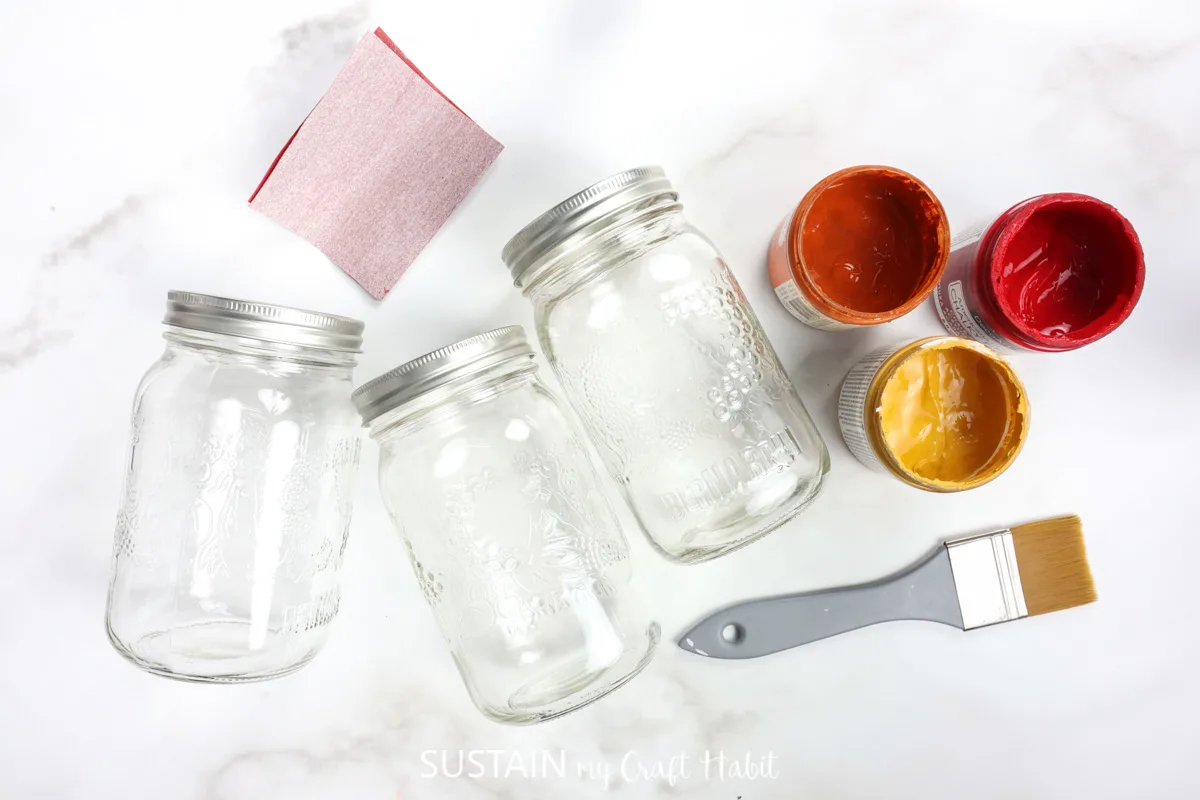
Materials Needed
Disclosure: This post contains affiliate links for your shopping convenience. Should you choose to purchase through them, we will make a small commission at no extra cost to you. You can read our full disclosure here.
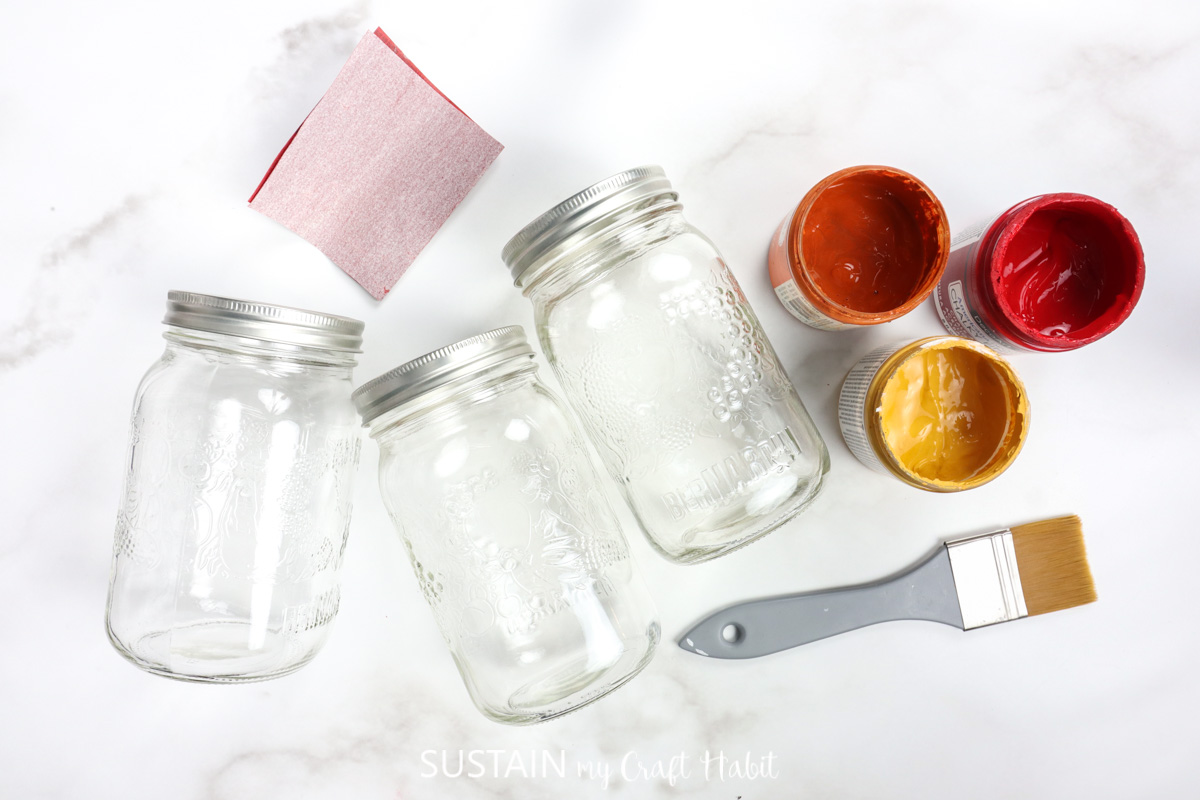
- Set of 3 Jars, 1L Decorative, with shoulders; lids removed
- Chalky paint in red, burnt orange and deep yellow (we used Americana Decor Chalky Finish in Romance, Heritage and Inheritance)
- Paintbrush
- Sandpaper, 200grit
- Faux Fall florals and faux lagurus bunches
How to Make Painted Jars for Thanksgiving
Thoroughly wash jars with soap and hot water and let them dry completely before using. Additionally, use rubbing alcohol and a clean paper towel to wipe away any prints or smudges.
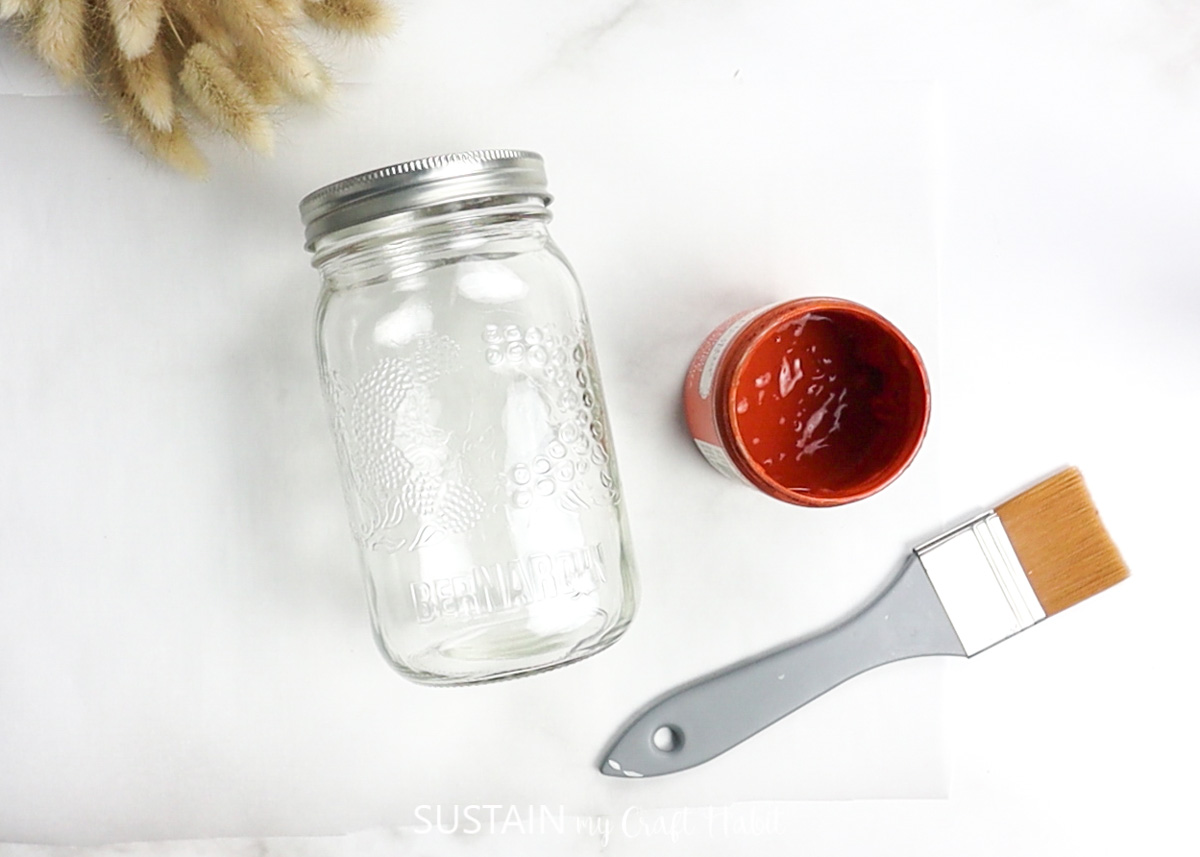
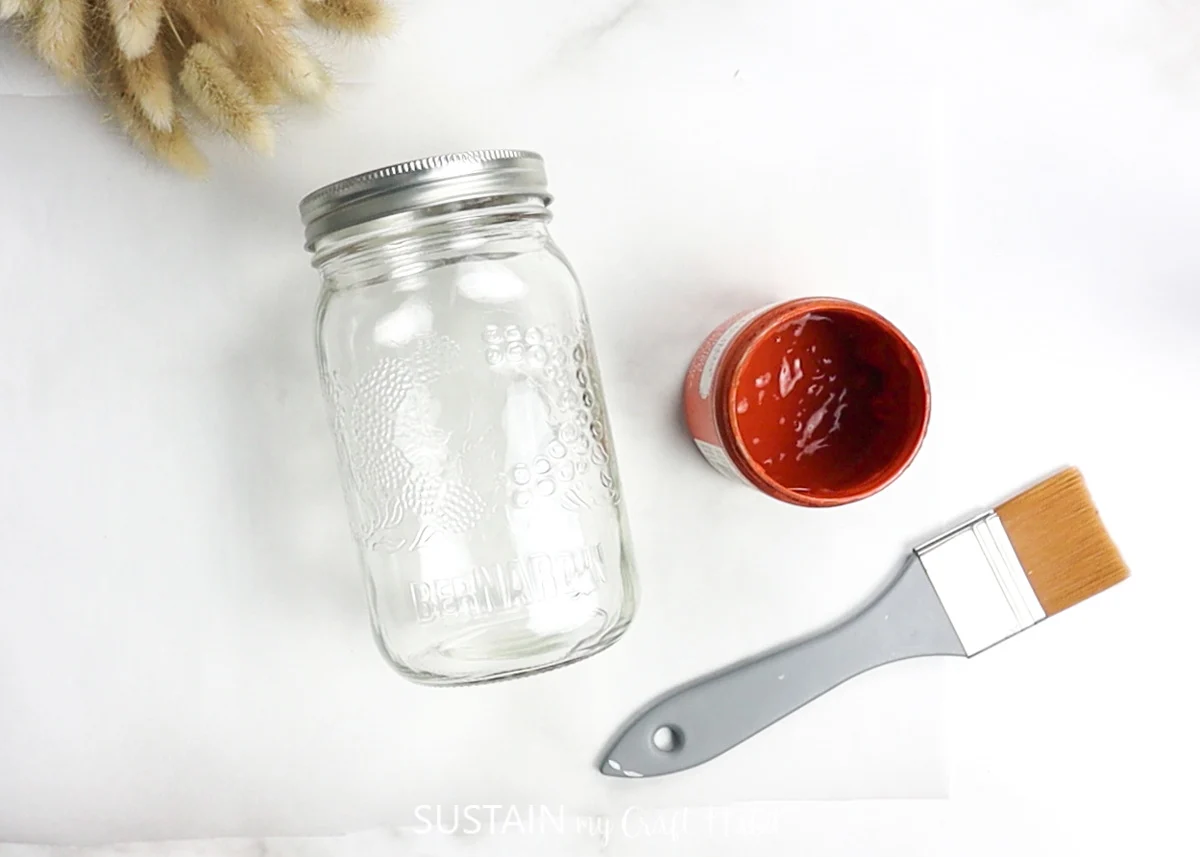
Using a medium sized paintbrush, apply chalky paint in red over the entire surface of one jar. Paint a second jar in orange and the third jar in yellow.
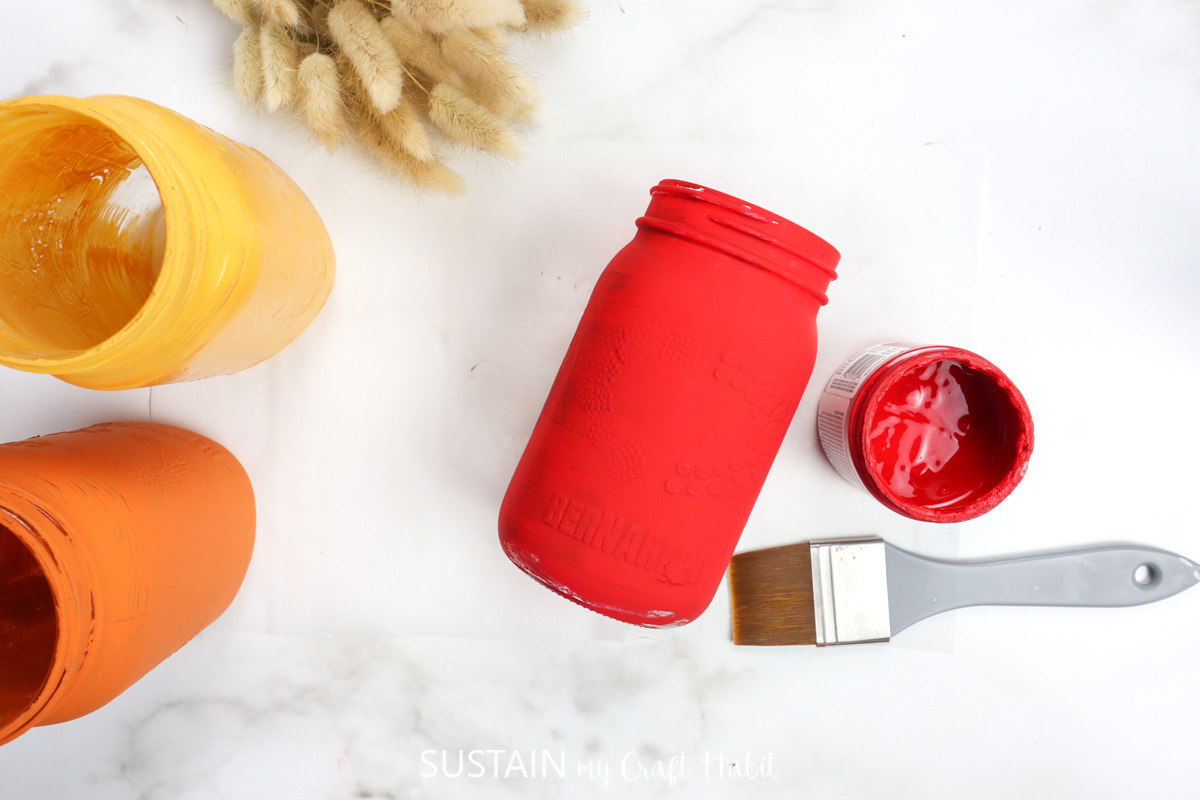


Allow paint to fully dry before applying a second coat of paint and before moving on to the next step.
Using a fine grit sandpaper, gently sand the painted jars to distress the edges.


Fill the jars with faux Fall florals and place on a table as a pretty Fall centerpiece.

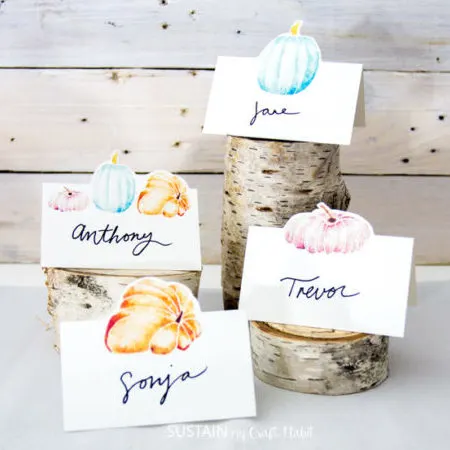
Add these painted jars as part of your Thanksgiving table, alongside this rustic birdhouse village, these free printable Thanksgiving place cards, and personalized stencil napkins.
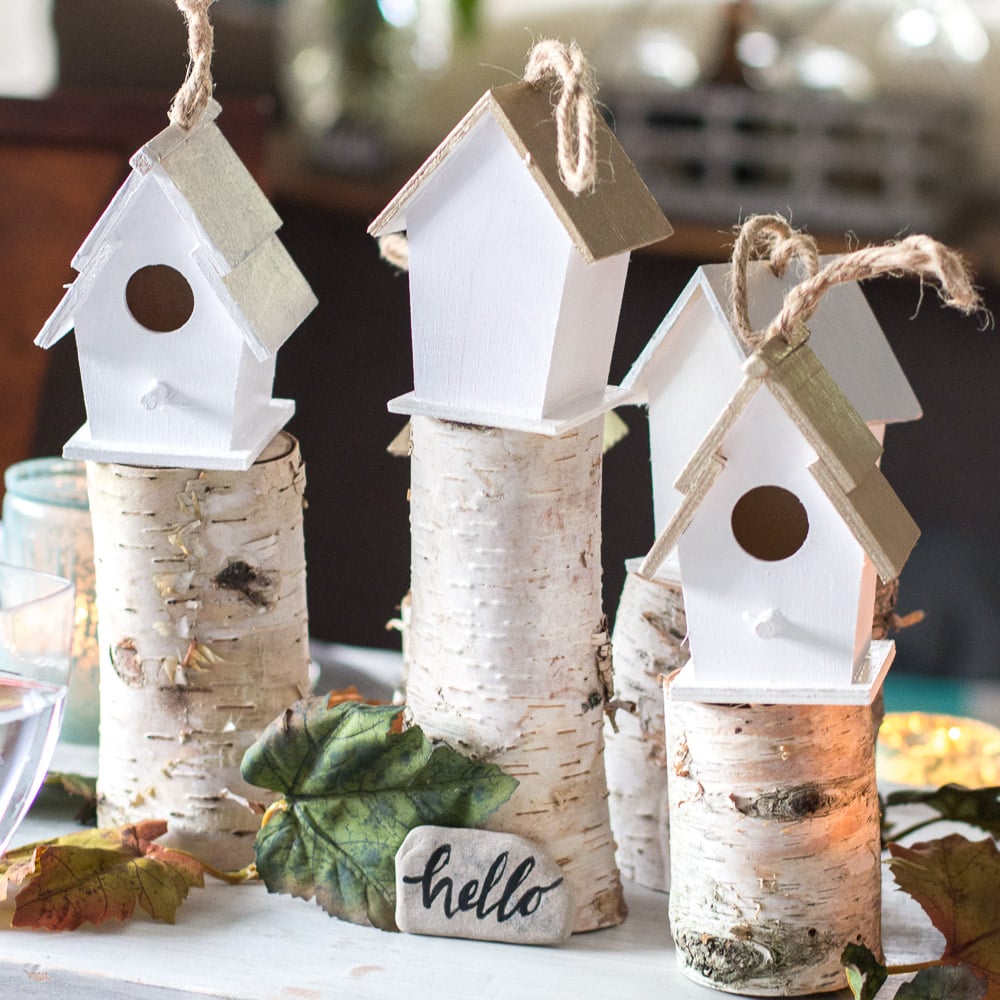

Rustic Birdhouse Centerpiece 

Thanksgiving Place Cards 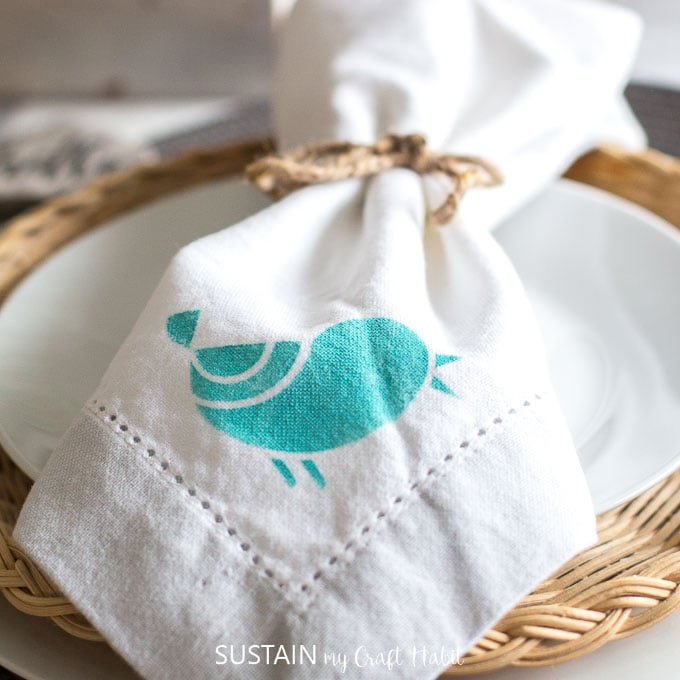

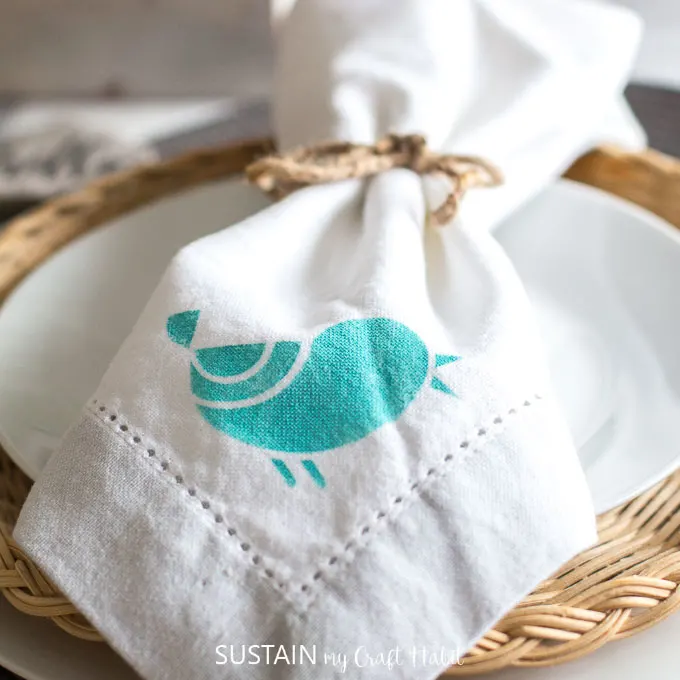
Stenciled Napkin

More Chalky Painted Glass Jars
Now that you’ve mastered the technique for chalky painted mason jars, check out these other similar craft ideas:
- useful chalky painted bathroom cantainers
- pretty chalky painted peony flower jar vase
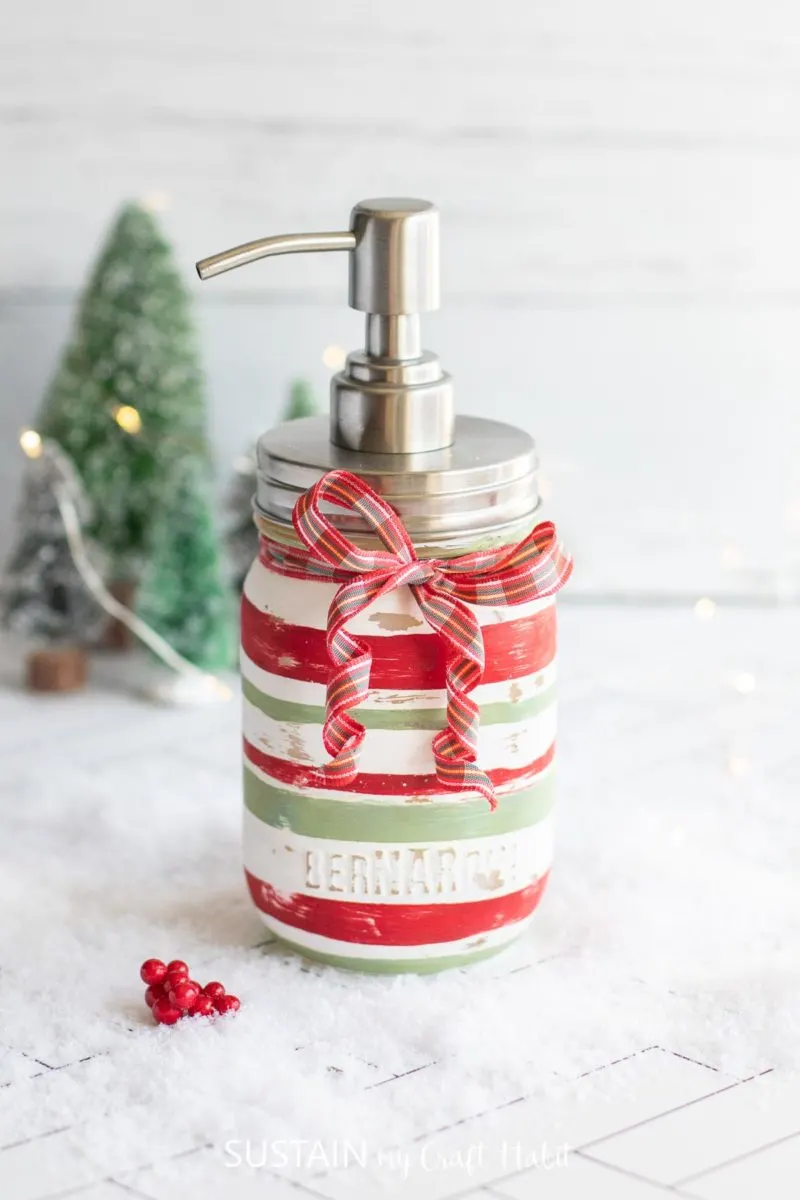
- festive chalky painted soap dispenser jar (coming soon)
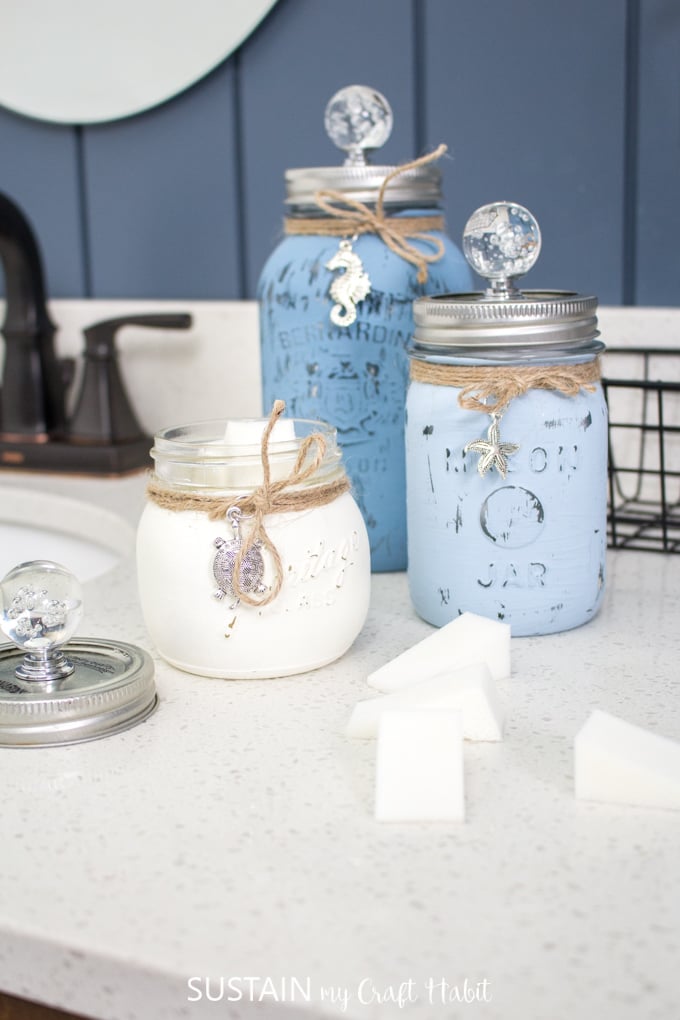

Beachy Containers 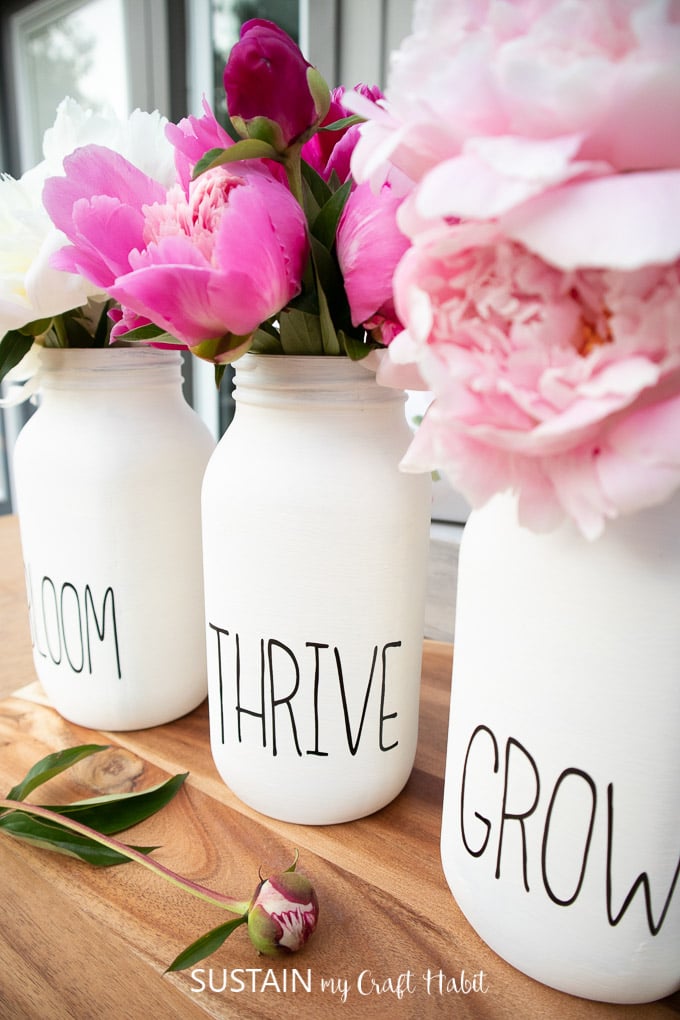
Pretty Chalky Painted Peony Jars 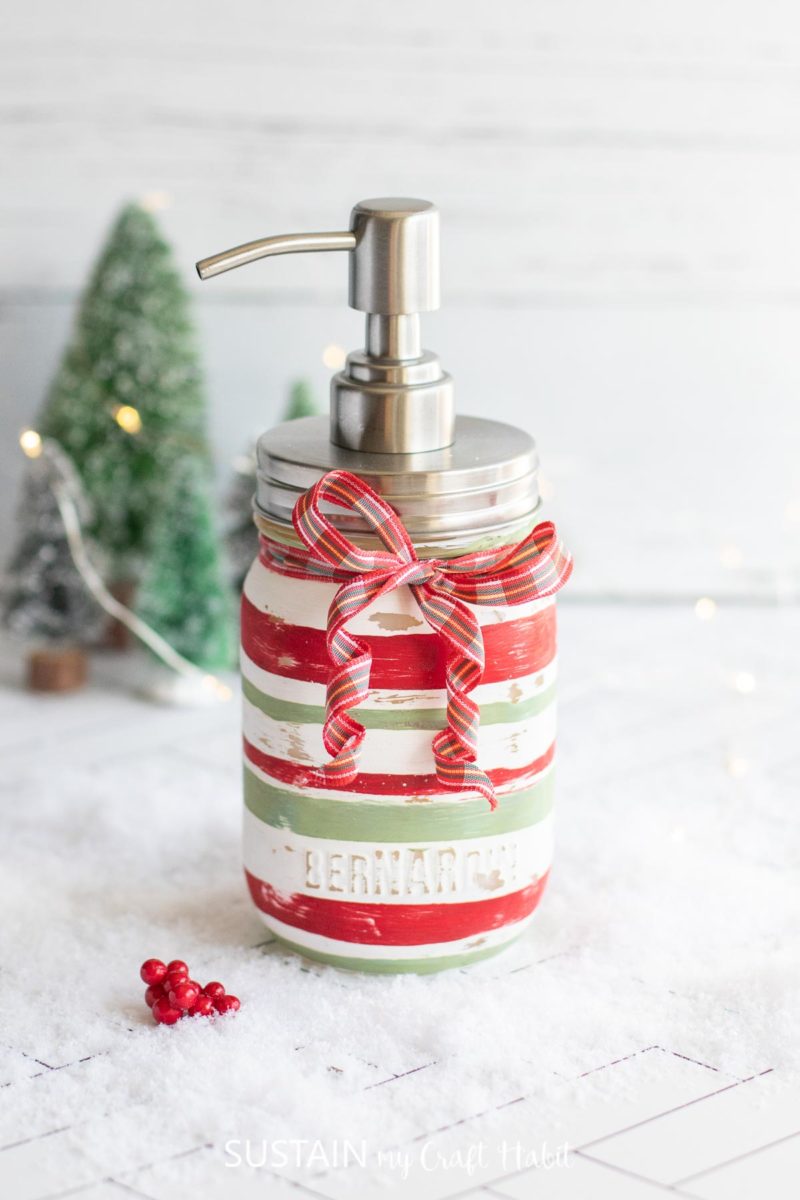

Painted Soap Dispenser Jar


Like it? Pin it for later!
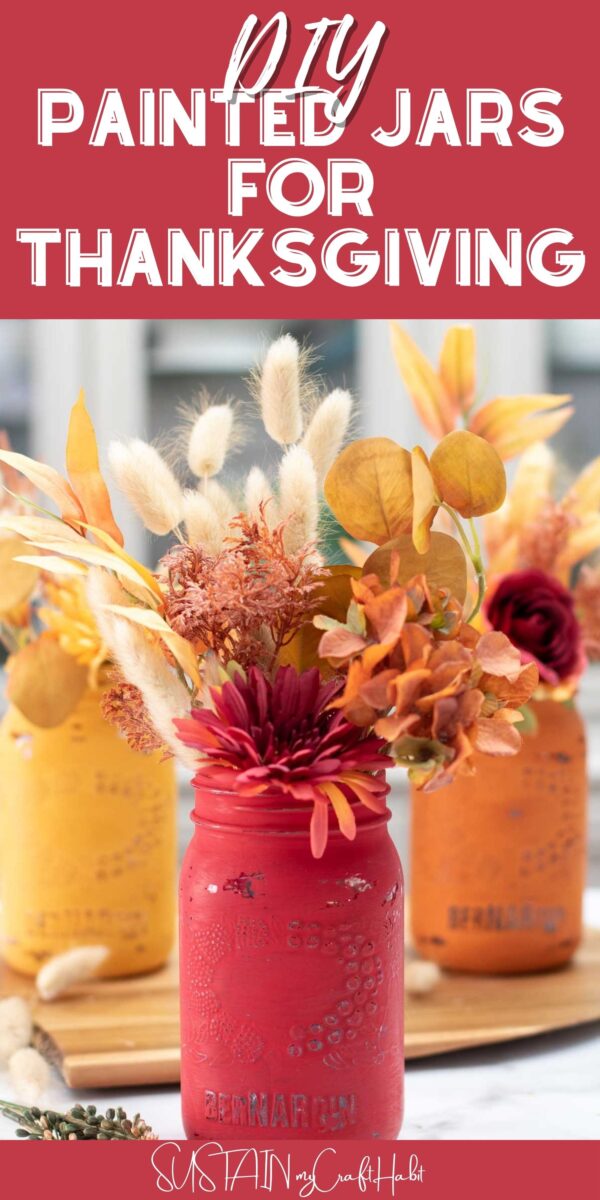

Painted Jars for Thanksgiving
Materials
- Set of 3 Jars 1L Decorative, with shoulders; lids removed
- Chalky paint in red, burnt orange and deep yellow (we used Americana Decor Chalky Finish in Romance, Heritage and Inheritance)
- Paintbrush
- Sandpaper 200grit
- Faux Fall florals and faux lagurus bunches
Instructions
- Thoroughly wash jars with soap and hot water and let them dry completely before using.
- Using a medium sized paintbrush, apply chalky paint in red over the entire surface of one jar. Paint a second jar in orange and the third jar in yellow.
- Allow paint to fully dry before applying a second coat of paint and before moving on to the next step.
- Using a fine grit sandpaper, gently sand the painted jars to distress the edges.
- Fill the jars with faux Fall florals and place on a table as a pretty Fall centerpiece.