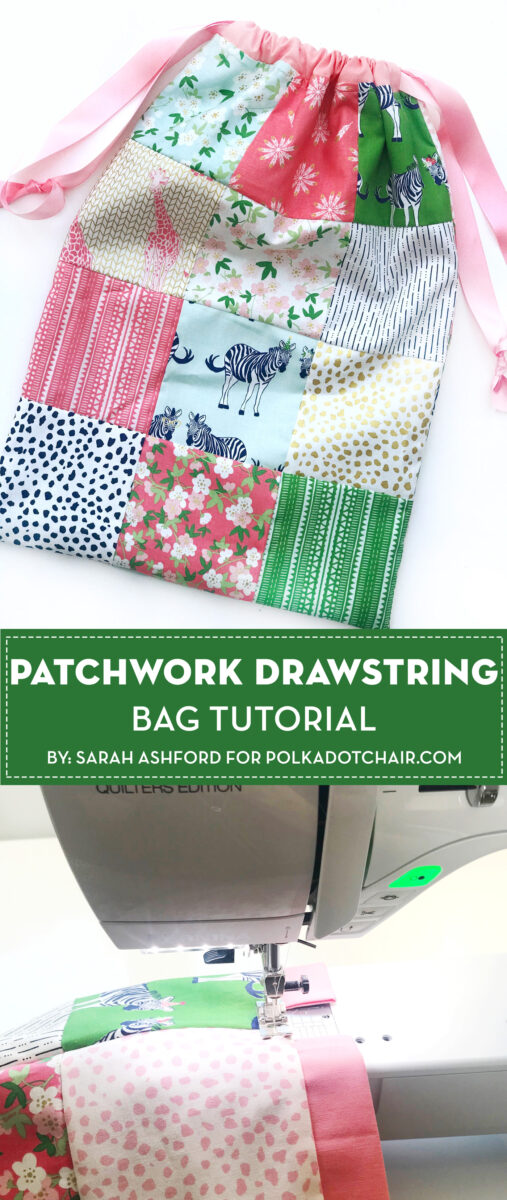
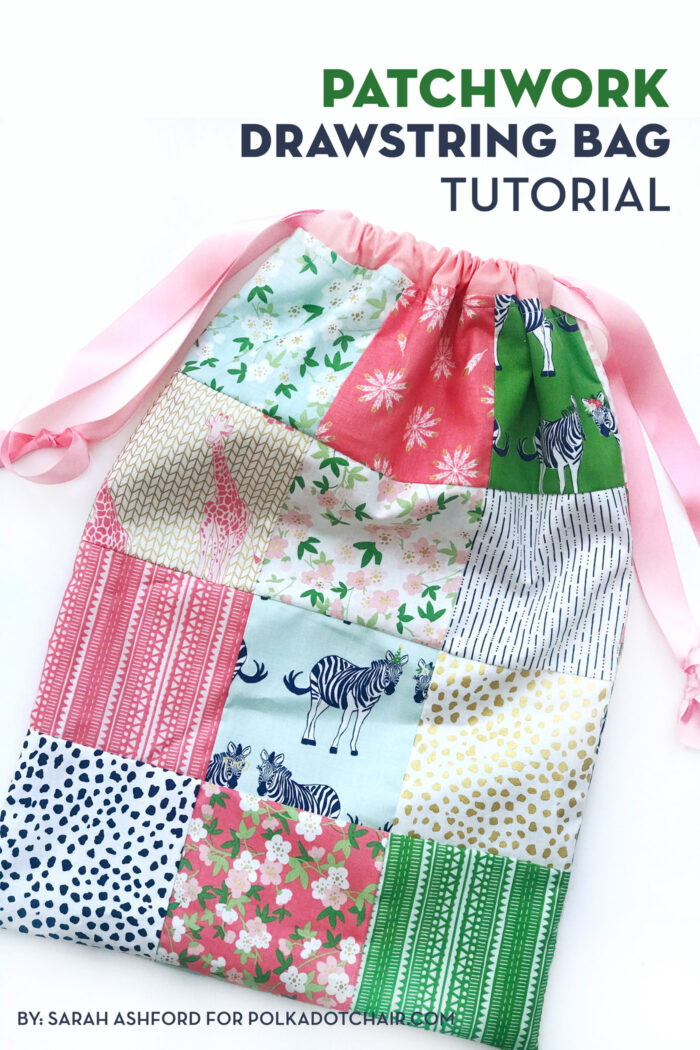
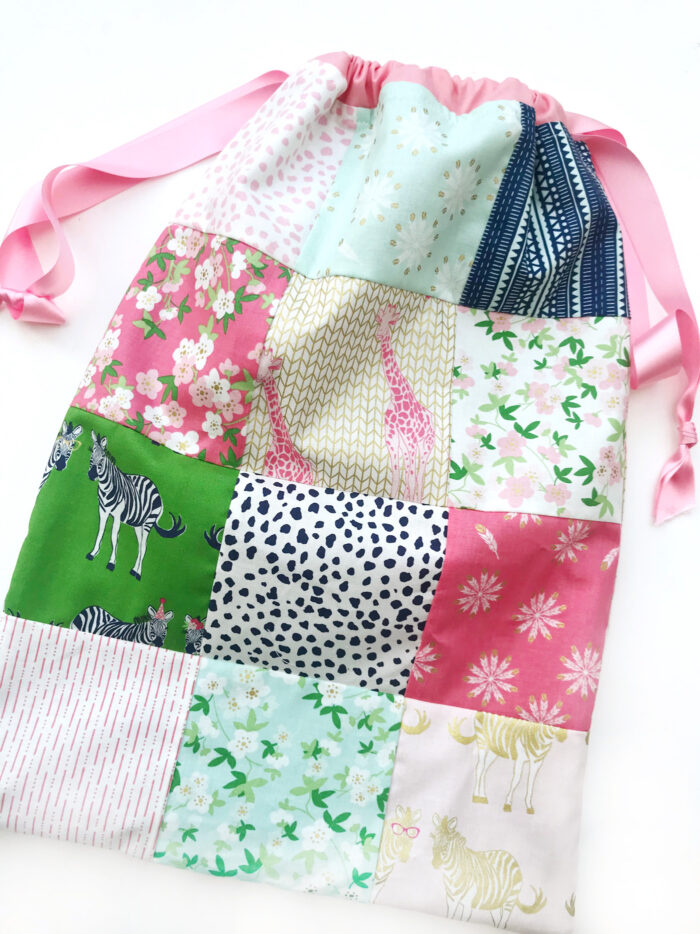
Patchwork Drawstring Bag Tutorial
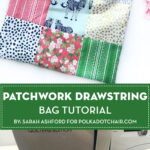
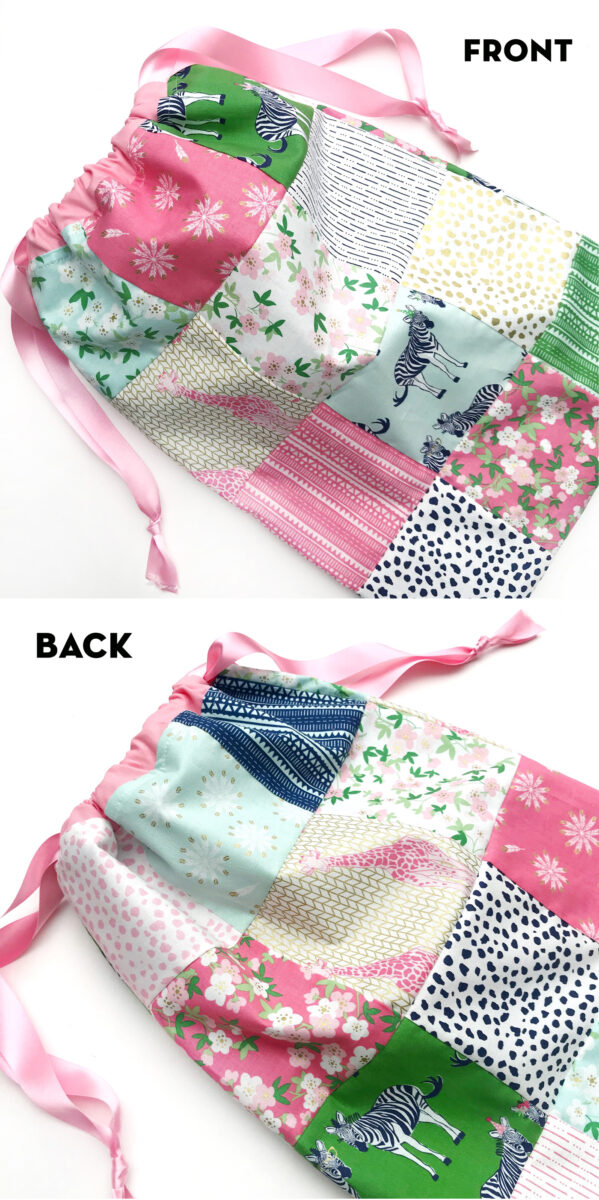
This patchwork drawstring bag is made using 5″ pre-cut squares. Sarah Ashford is sharing the pattern for the bag with you today! If you don’t have pre-cut squares you can also make it with a bunch of your fabric scraps. It’s a great scrap busting sewing project!
The holiday season is over and many of us were busy packing and unpacking our suitcases as we traveled near and far to visit family or take a vacation. So it got me thinking that it would be really nice to make a drawstring bag for when you travel, to hold pajamas, underwear, a hairdryer, even laundry!
How to Make a Drawstring Bag out of Pre-Cut Fabric Squares
I’m totally in love with Melissa’s Safari Party fabric collection for Riley Blake, and strangely enough, my parents have just returned from a trip to Africa, full of tales of all the animals that they saw on their off-road adventures. So perhaps that is what gave me the inspiration to make this drawstring bag.
I hope you enjoy making it and have lots of fun with cute prints and color combinations.
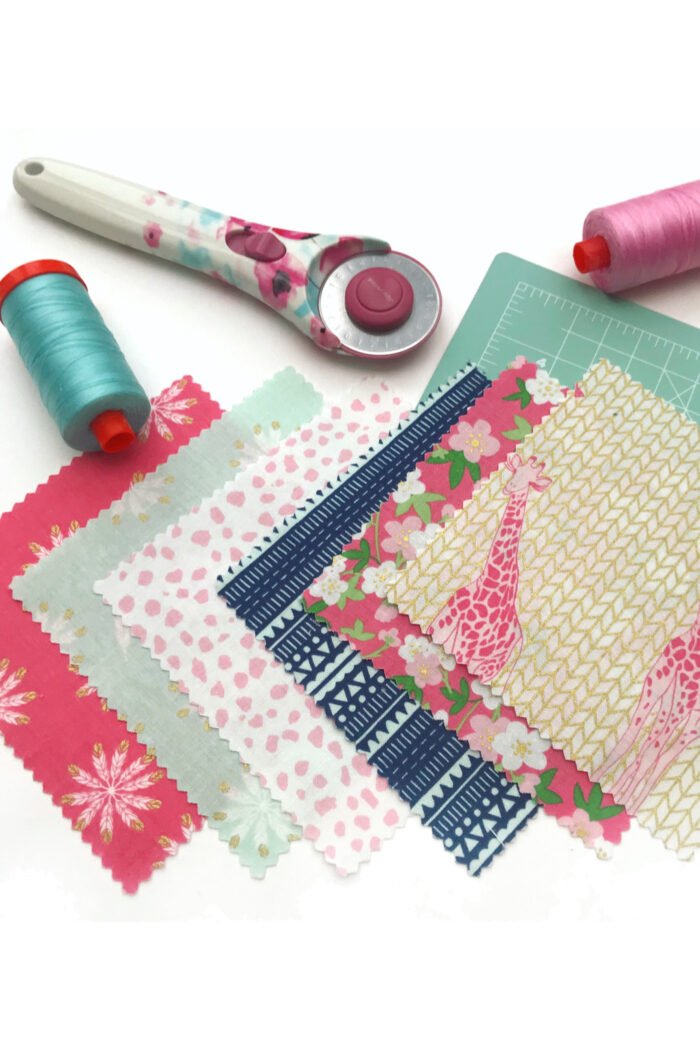
Supplies You will need
Twenty four 5” squares (I used part of a pre-cut pack for this; often referred to as a charm pack)
Lining fabric
Casing Fabric
Ribbon
Usual sewing supplies (rotary cutter, ruler, scissors, sewing machine, threads, pins etc.)
How to Make a Patchwork Drawstring Bag
Patchwork Drawstring Bag Tutorial
supplies
- 24 5 Inch Squares of Fabric I used pieces from a Safari Party 5" Pre Cut Stack
- Lining fabric – ½ metre (or 2 Fat Quarters), cut 2 rectangles 18 1/4” x 13 1/2”
- 2 casing strips 13 1/2” x 3”
- 2 pieces Ribbon cut to 40" each
Instructions
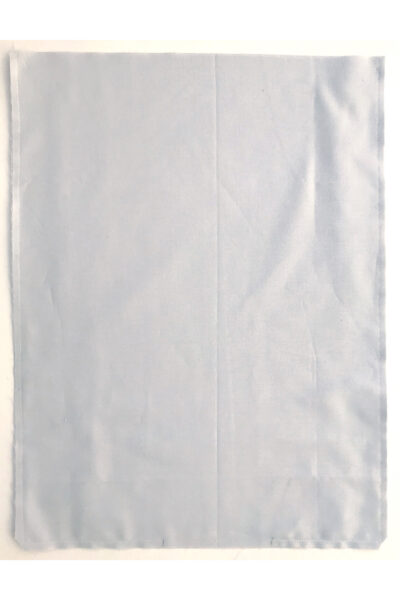
Create the Bag Lining
- First, take the two lining pieces and place right sides together with the short length at the bottom. Pin in place in the corners and stitch a 1/4” seam down each side and across the bottom, but leaving a 3” gap in the bottom for turning. Do NOT turn right sides out. Set aside for now.

Create the Patchwork For the Bag Outside Pieces
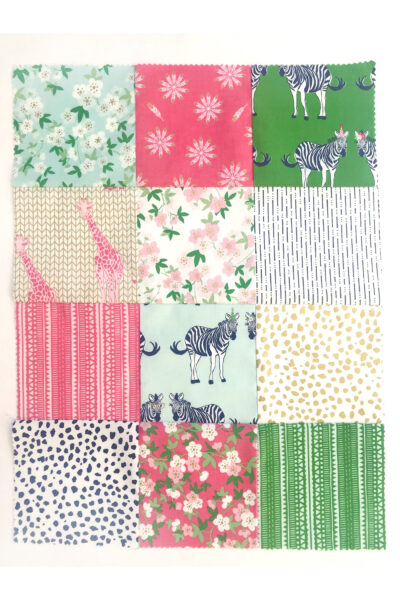
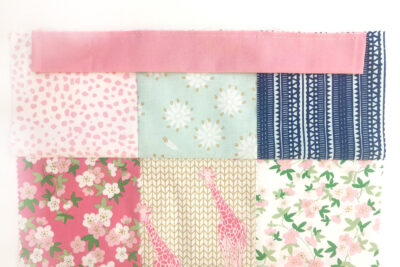
- Next, take 12 patchwork squares and arrange them in a pleasing formation. Stitch them together in rows and then stitch the rows together to form the front panel of the drawstring bag.
- Repeat with the remaining 12 squares to create your patchwork back panel.
TOP TIP:
- When pressing, stitch the top row seams to the right, the next row seams to the left, the next row to the right etc. so that when you match the rows together, the seams are nicely nested. This will ensure it lies nice and flat and it will help with getting accurate joins.
Create the Casing
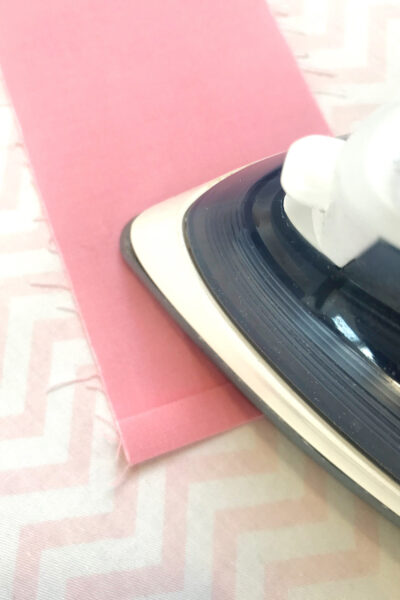
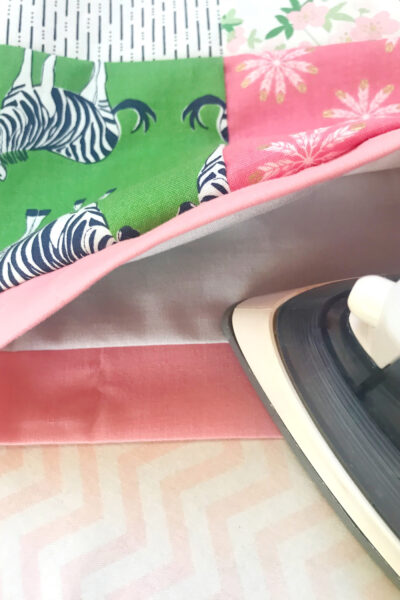
- Take the casing strip and fold a quarter of an inch at the short end, then fold again. Press in place. Repeat for the other side.
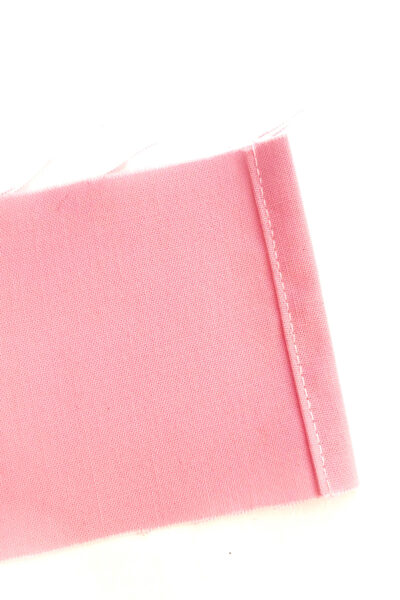
- Stitch in place, close to the folded edge. Do the same for both sides.
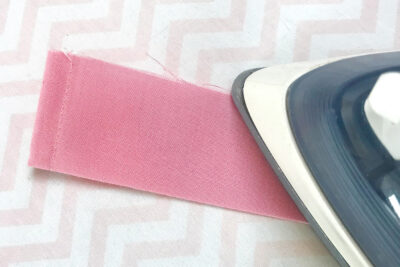
- Now fold each strip in half lengthways and press to form the casing.

Add Casing to the Patchwork Panel
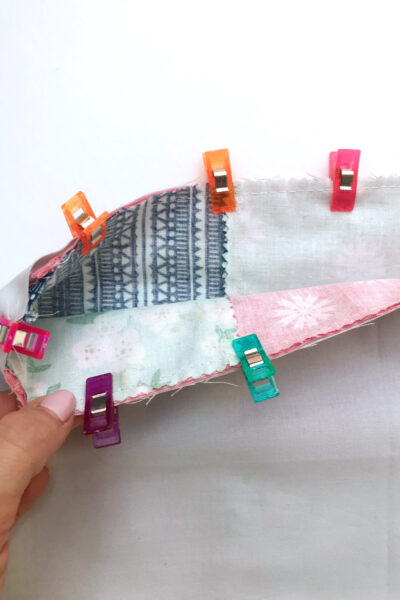
- Take the strip and place at the top of the short end of your patchwork front panel with the raw edges aligned. Ensure that it’s central. You can do this by folding a crease halfway in the patchwork and halfway in the strip and matching them up.
- Use pins or basting clips to hold in place, and baste in place with a long stitch length and a 1/8” seam allowance. This is just to secure the casing in place.
- Repeat for the back patchwork panel.
Sew Patchwork Panels Together
- Now take the front and back patchwork panels and place right sides together.
- Pin or use basting clips to secure in place, matching up the patchwork points as you go. Stitch all the way around the edge and bottom with a 1/4” seam. Don’t stitch the top as that is the opening to your bag! Clip the corners
- Turn Right Side Out
- Turn right side out, pushing out the corners with something long such as a knitting needle.
- Place the patchwork bag inside the lining bag and push it to the bottom. The right sides of the patchwork should be touching the right sides of the lining fabric. Line up the raw edges and joins at the top and clip in place.
Attach Bag Outside to Bag Lining
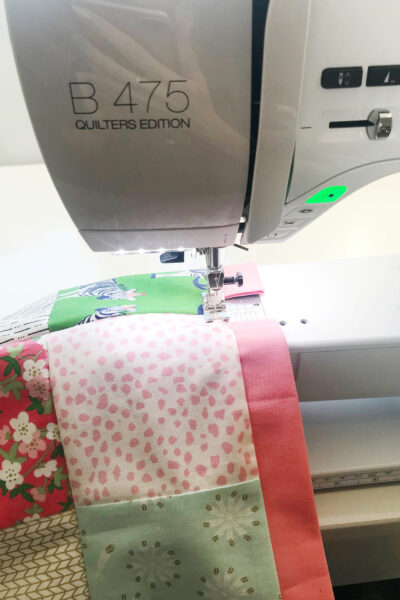
- Stitch around the top of the bag using a generous 1/4” seam. You might be able to place the bag around the body of the sewing machine so you can rotate it round more easily.
- Next, using the hole in the lining, turn the bag through, pushing the lining down inside the bag. Stitch the gap in the lining with a small slip stitch using a matching thread.
- Take a hot iron and press the lining and the top of the bag so that it lays nice and flat, ready for topstitching.
Topstitch
- Now we are going to topstitch around the top, to ensure that the lining doesn’t ‘pop’ out but stays in the bag, nice and flat.
- Start at the edge where the front and back panel meet and use a slightly longer stitch length. Stitch a 1/4” away from the casing. Bring the threads to the back, tie off and bury.
Add the Ribbon Ties
- Put a basting pin through the end of one length or ribbon and thread through from one end of the casing, into the next casing and tie the ribbon lengths together.
- Now take the second ribbon and repeat in the same way, this time starting with the other side of the casing, and finishing on the other side. Tie the ribbons together. And now, when you pull both lengths of ribbon simultaneously, the bag will ‘draw up’ and close!
I hope you enjoy making this project and that it’s useful on your travels. Happy stitching! – Sarah

Sarah Ashford is a British Quilter and embroiderer and founder of the GreatBritishQuilter challenge on Instagram. Sarah regularly contributes projects to magazines and loves to spread the joy of quilting everywhere she goes. Follow her on Instagram at @sarahashfordstudio and be sure to check out her beautiful sewing room decals in her Etsy shop www.etsy.com/shop/sarahashfordstudio
More Pre-Cut Friendly Projects that You Might Like:
How to Make a Patchwork Quilt out of 10″ pre-cut squares
Letterboard Quilt Pattern (can be made entirely from pre-cuts)
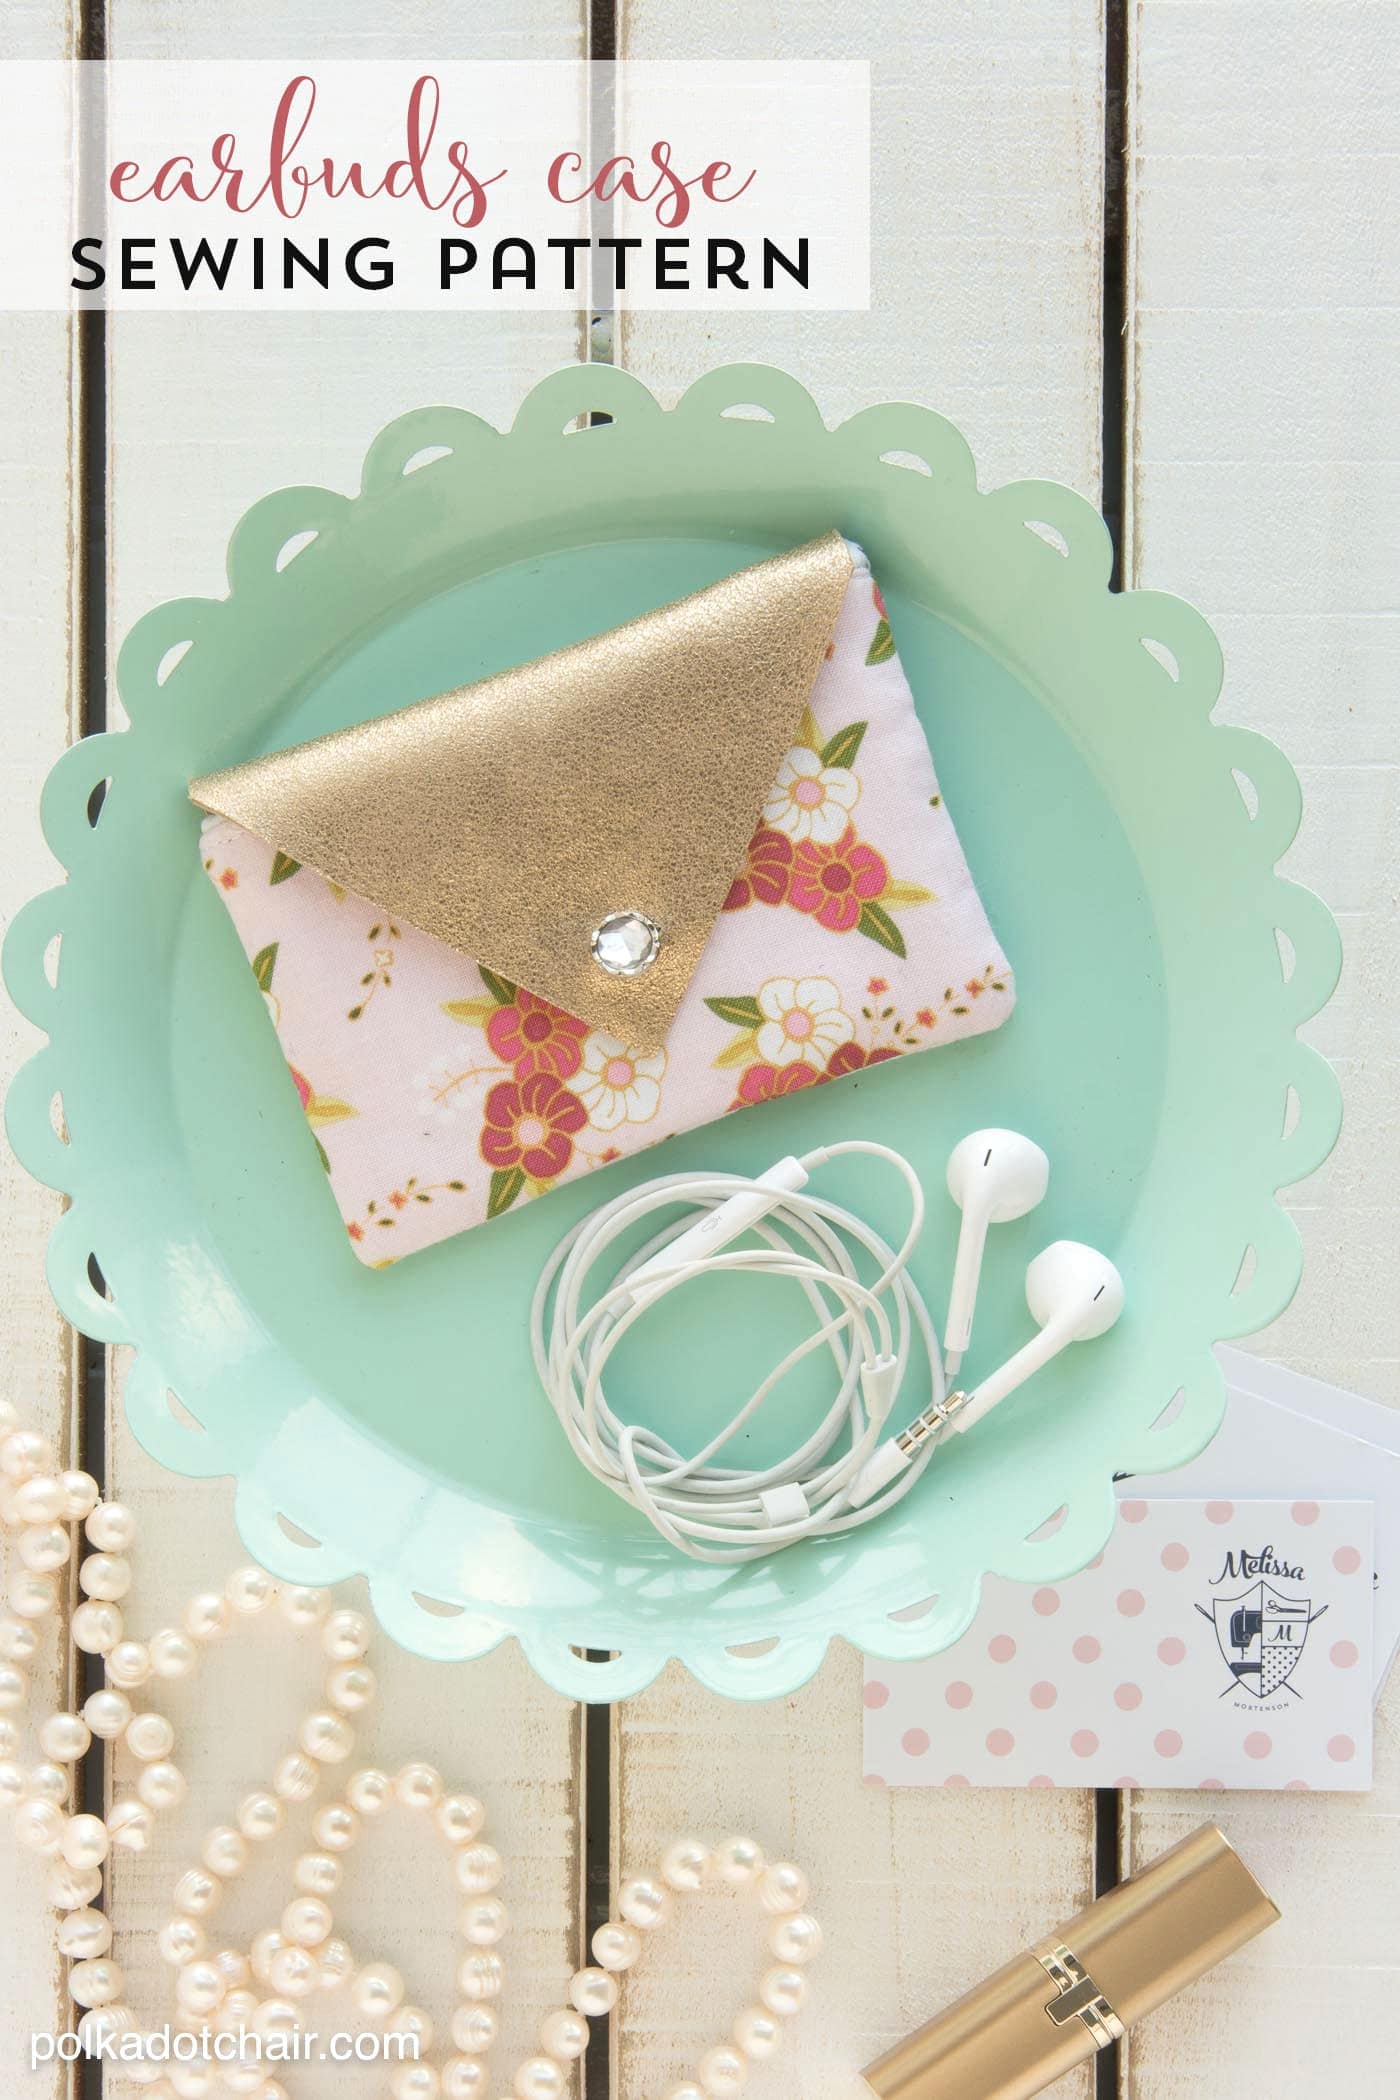
Fat Quarter Zip Pouch Sewing Pattern