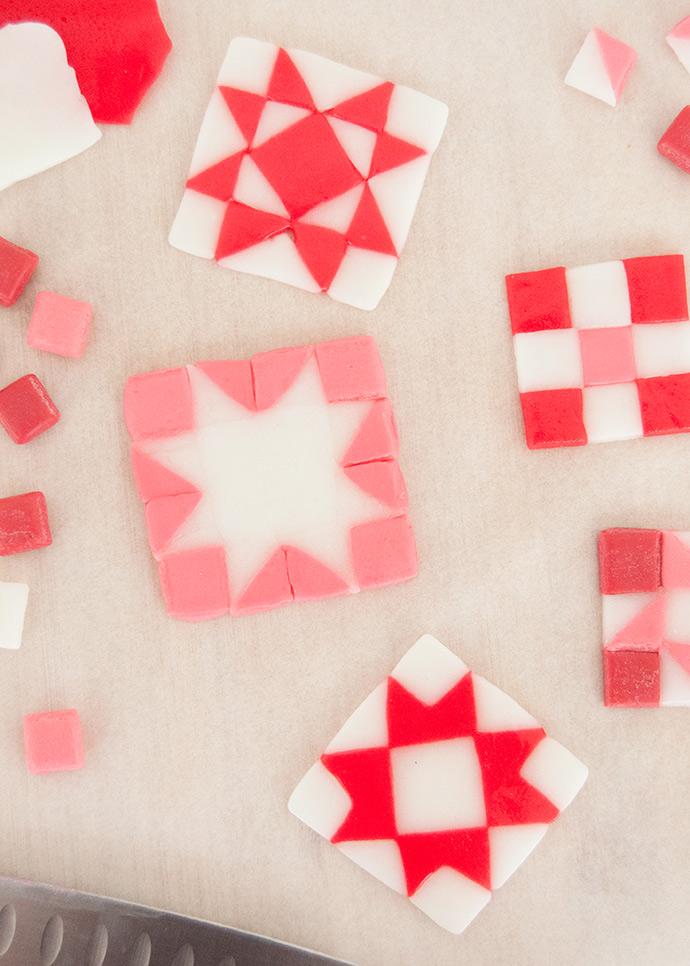
A few years ago now, Abby shared a really fun way to turn Starburst Mini candies into custom candy pops using an iron and cookie cutters. I love the technique and recently it occurred to me that it would be perfect for making min quilt blocks! I wanted to keep the designs somewhat traditional and simple, and since Starburst Minis only come in pink, red, yellow, and orange I tried adding in some Airheads so that I could also use white and a more vibrant red in the quilt designs. I love how they turned out! Check out the written instructions below, or watch the how-to video on Instagram right here.
what you need:
- Starburst Minis
- Airheads
- Parchment paper
- Knife
- Cutting board
- Iron
- Lollipop sticks
- Tea towel or cloth
how-to:
Step 1
Lay out a piece of parchment paper over your cutting board.
Step 2
Unwrap and arrange your candies on the parchment paper. Pick the color combinations you like and do an online image search for quilt blocks as inspiration for shapes and designs.
Step 3
Sometimes the Airheads candies are a bit lumpy straight from the package – use your fingers to gently press it flat, and/or place another piece of parchment on top of the candy and use your iron on a low heat setting (no steam) to help press the candy a little flatter. Let cool and remove the parchment paper, only picking up the candy once cool enough to touch.
Step 4
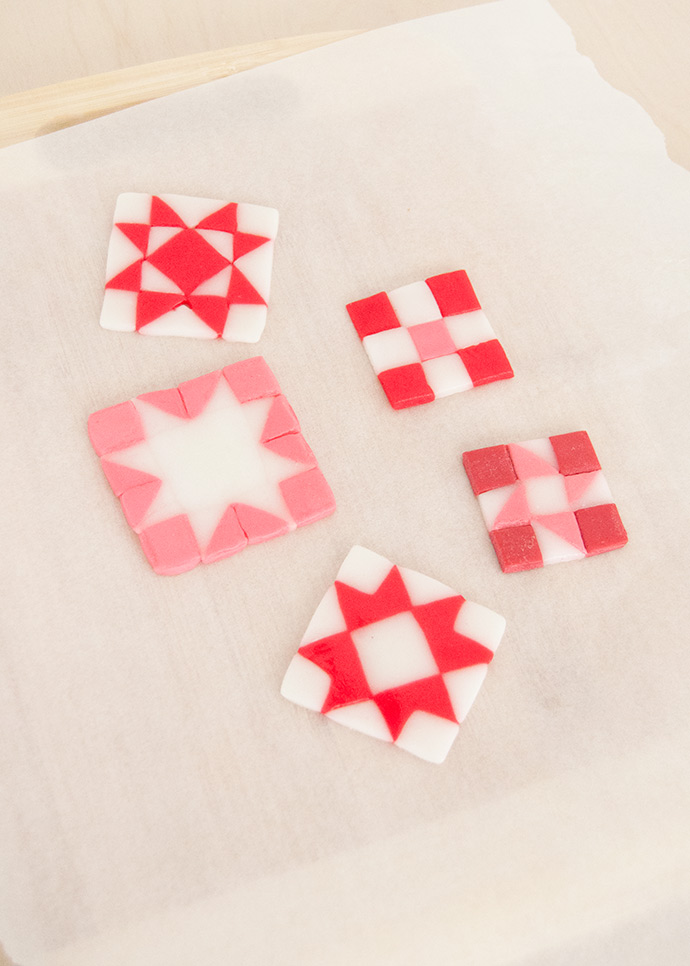
Cut the Airheads and Starburst Minis into squares, triangles, etc to go with your selected design. Arrange them on a piece of parchment as you work, keeping them snug together.
Step 5
Once the quilt block is complete, cover again with parchment paper and press the iron on top to melt the candies together. After holding the iron in place for a few seconds, carefully peel back the parchment paper and peek at the candies. If they look securely attached together, this step is done! If not, continue to iron them (flipping over to iron the other side if needed) until they are attached.
Step 6
Use your knife to trim and shape the edges of the candy, making it more square if the edges are rounded or imperfect.
Step 7
Repeat for as many designs as you like!
Step 8
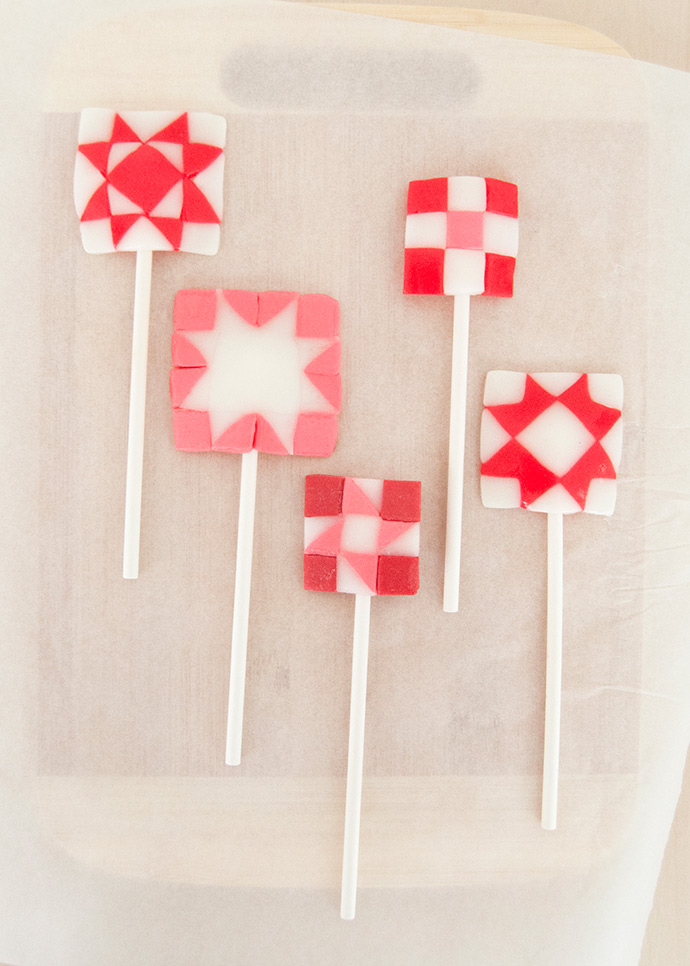
On the back of the finished quilt candies, place the end of a lollipop stick. Keep this in place with a strip of an Airhead on top, pressing this to attach to the quilt candy.
Notes:
- These are best eaten the day they’re made – the Airheads tend to get a bit sticky once they’ve been unwrapped for a while.
- Keep these in the fridge to prevent the quilt candy pops from getting too melty/floppy. The fridge will firm them right up!

Enjoy!