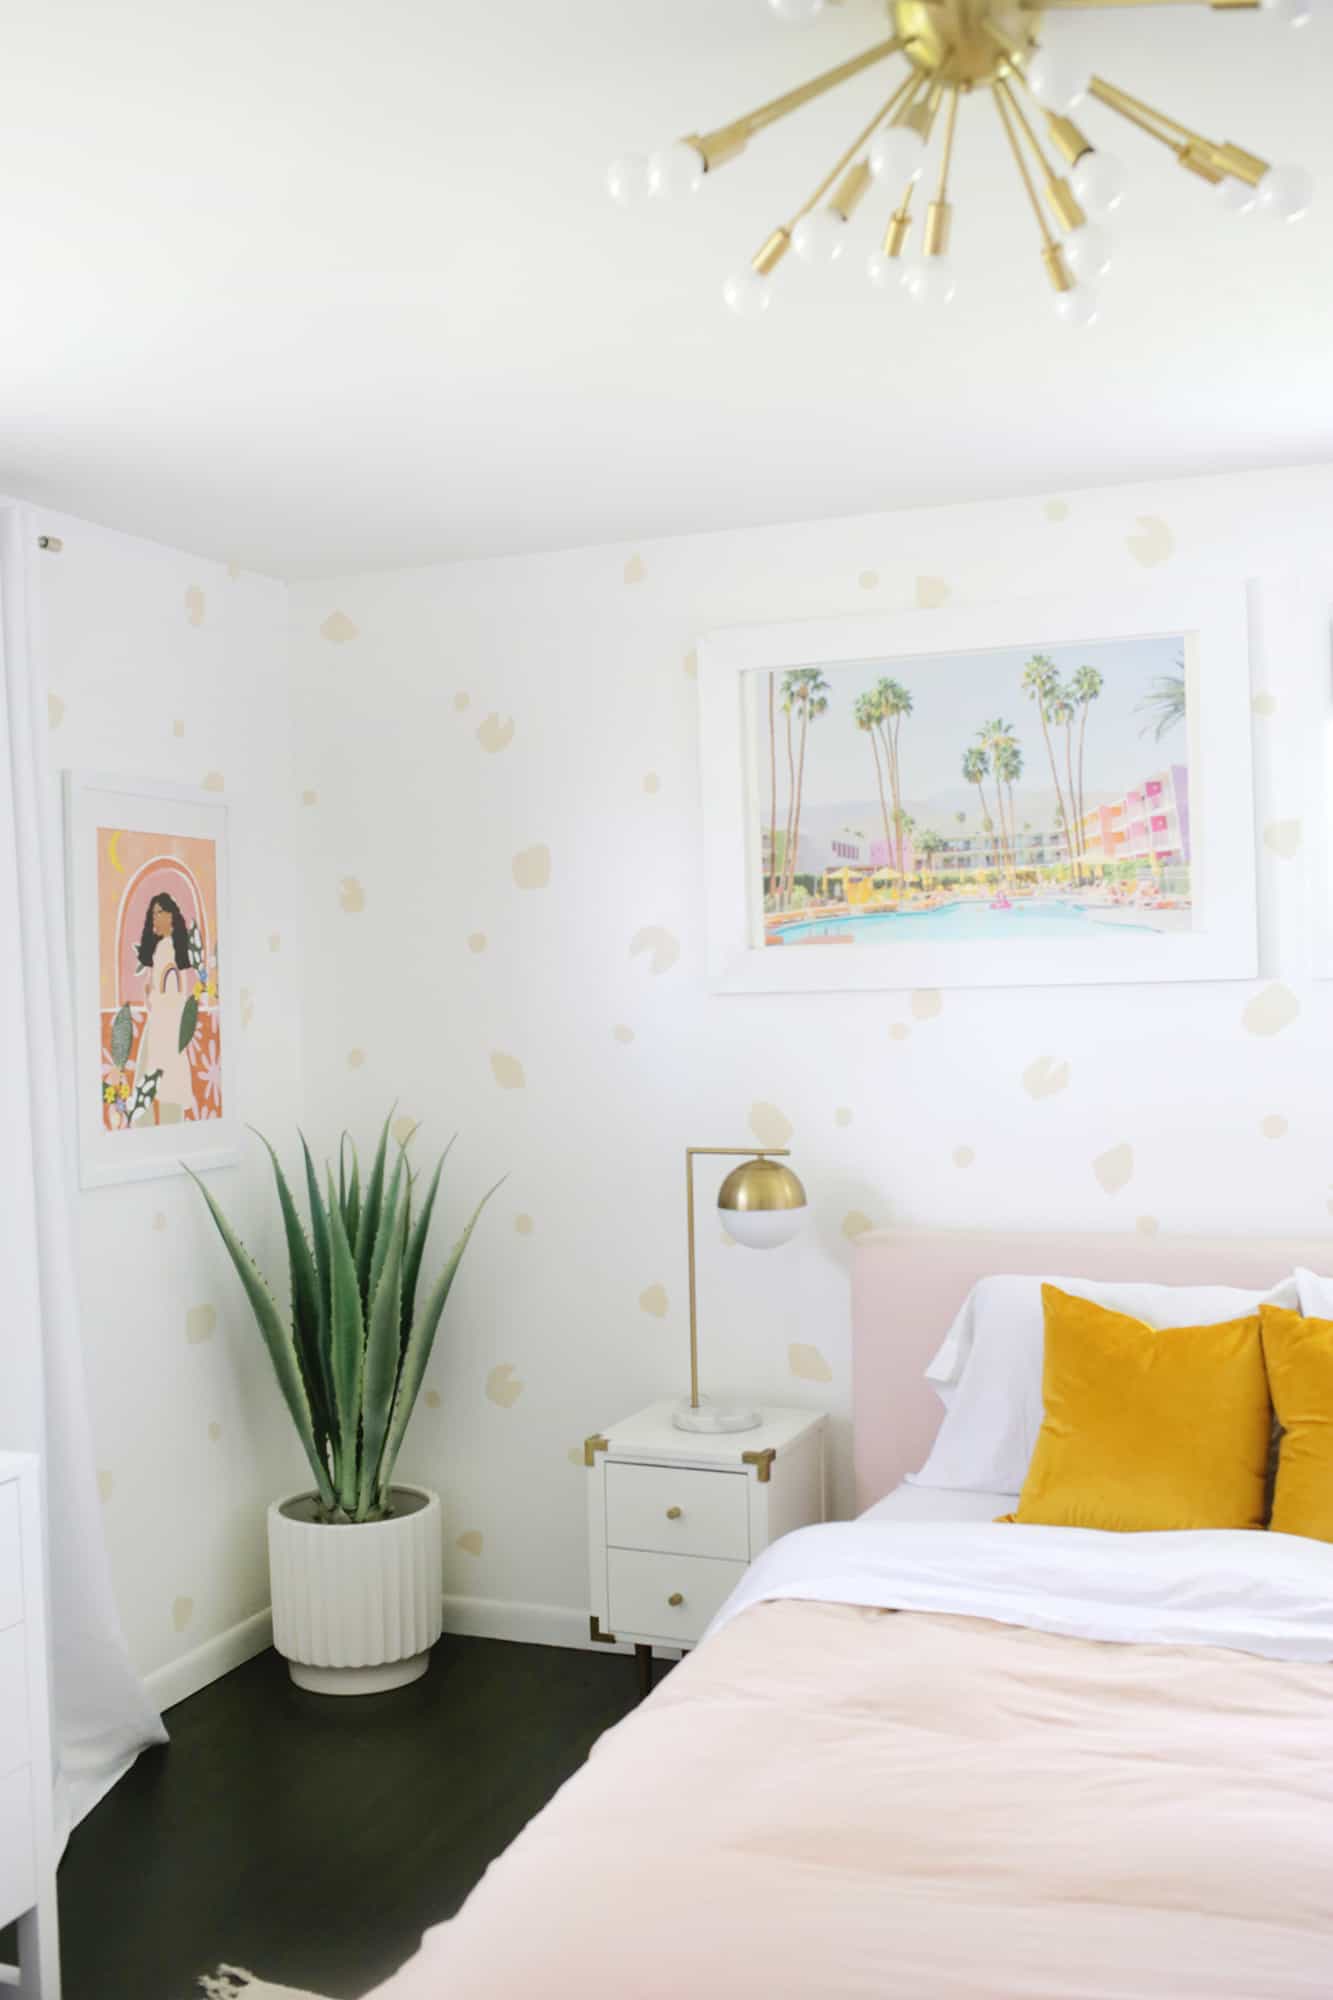
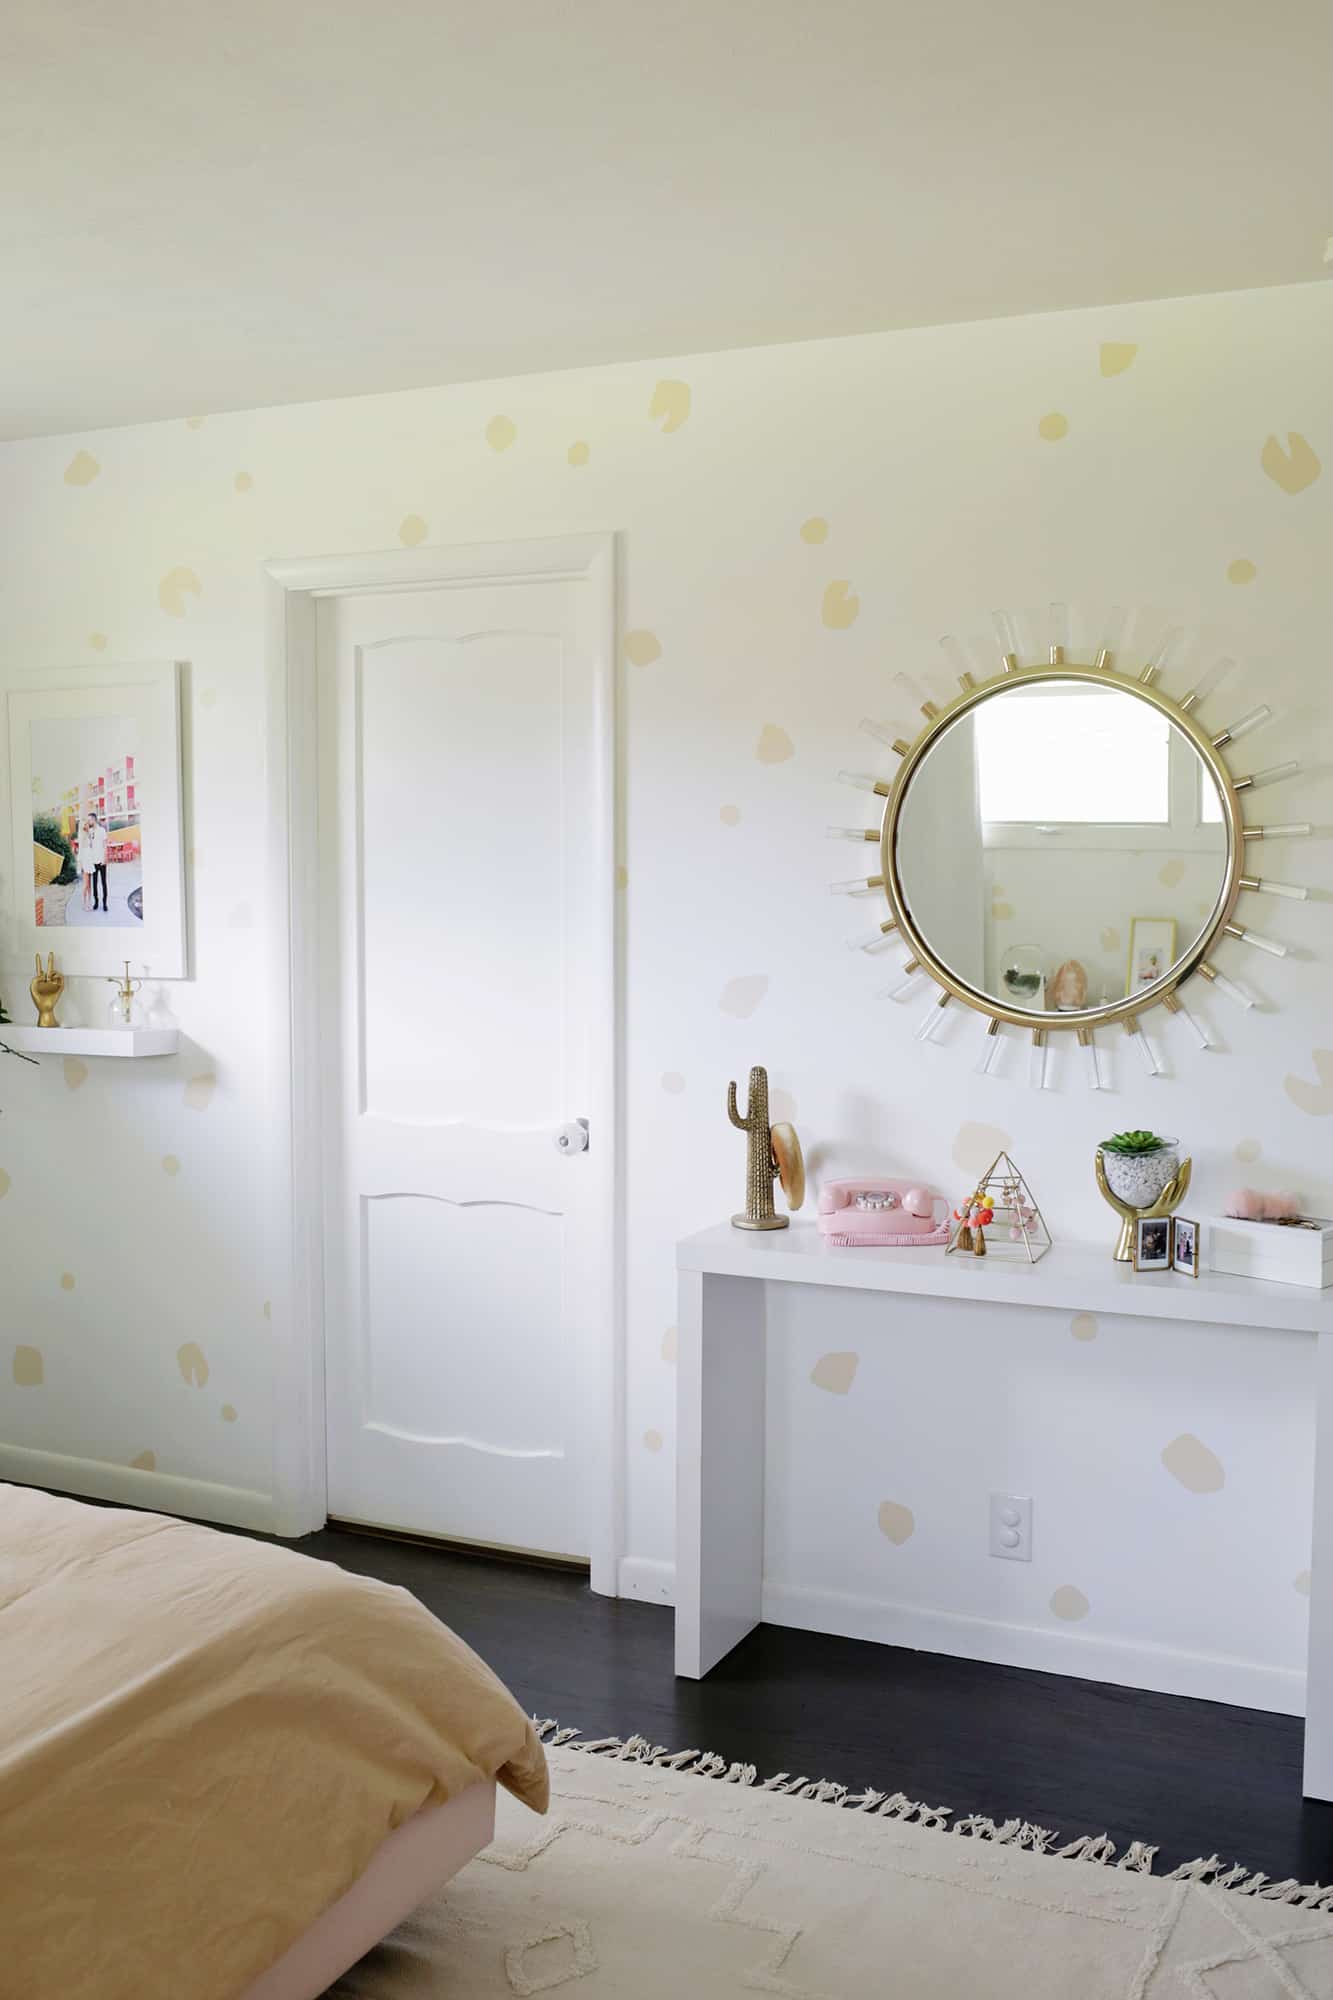
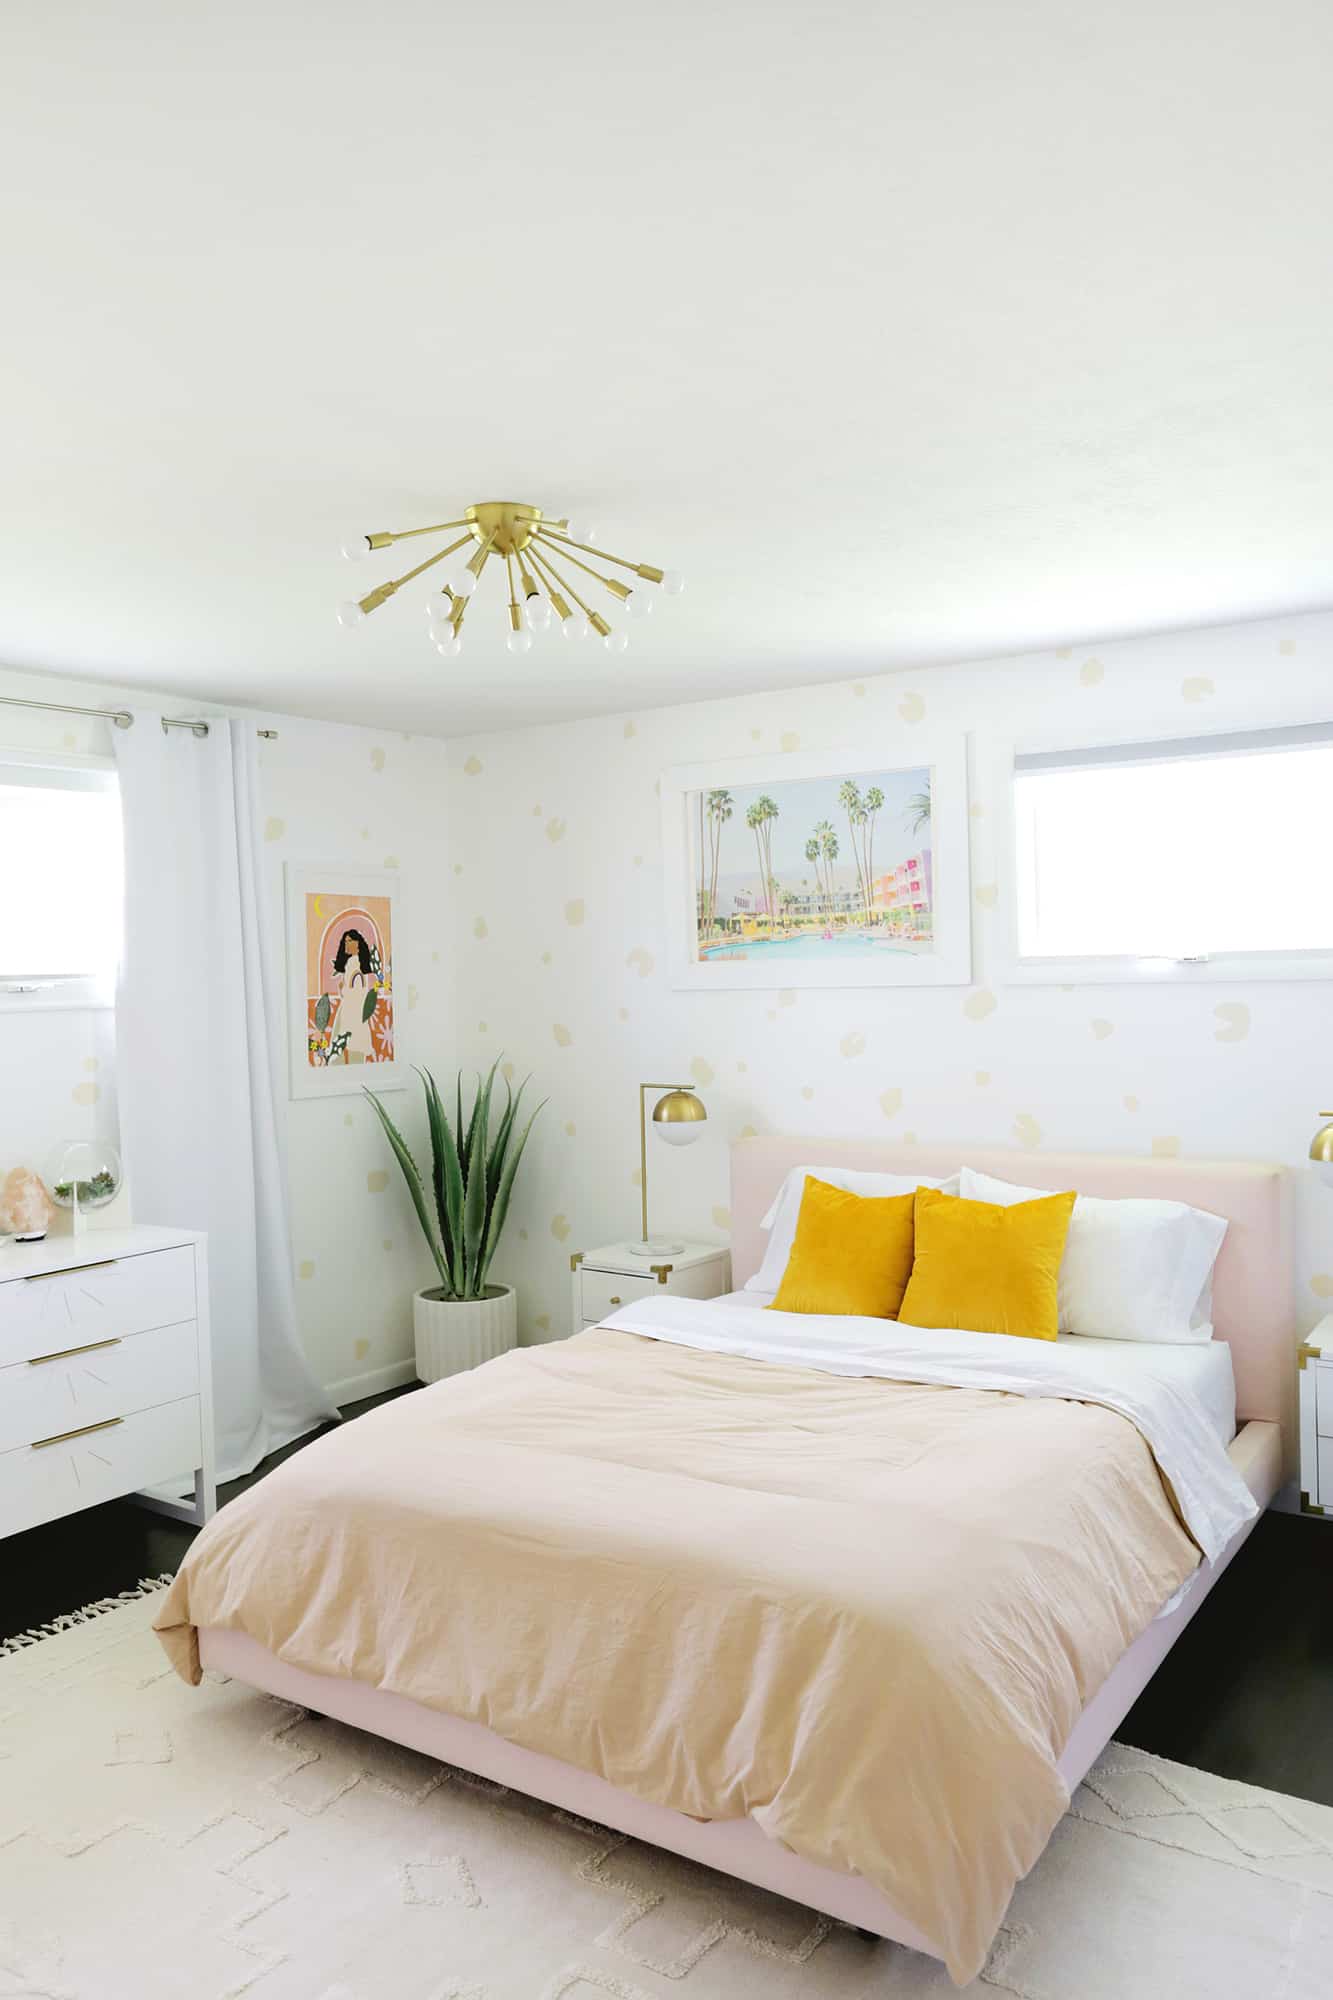
 Sometimes you want to make a change that makes a big impact (but doesn’t take a lot of time or money) and creating a temporary wallpaper look can be the perfect way to make that happen! I loved making a temporary wallpaper with removable decals in our den area so much that I decided that a pattern in our bedroom too would add a little fun to the walls. Now, I’m just about as into the leopard trend as one can be but I didn’t want to go “full leopard” for a pattern, so I created some shapes that have a leopard feel to them but don’t scream the pattern in your face. … it’s like a leopard whisper, if you will. I also chose to do the decals in a cream color on white walls for a more muted effect, but you could do a darker colored vinyl if you like for a bolder look. The amount of decals you put up will also change how subtle or busy the pattern looks, so space them out more or add more to change the look.
 Supplies:
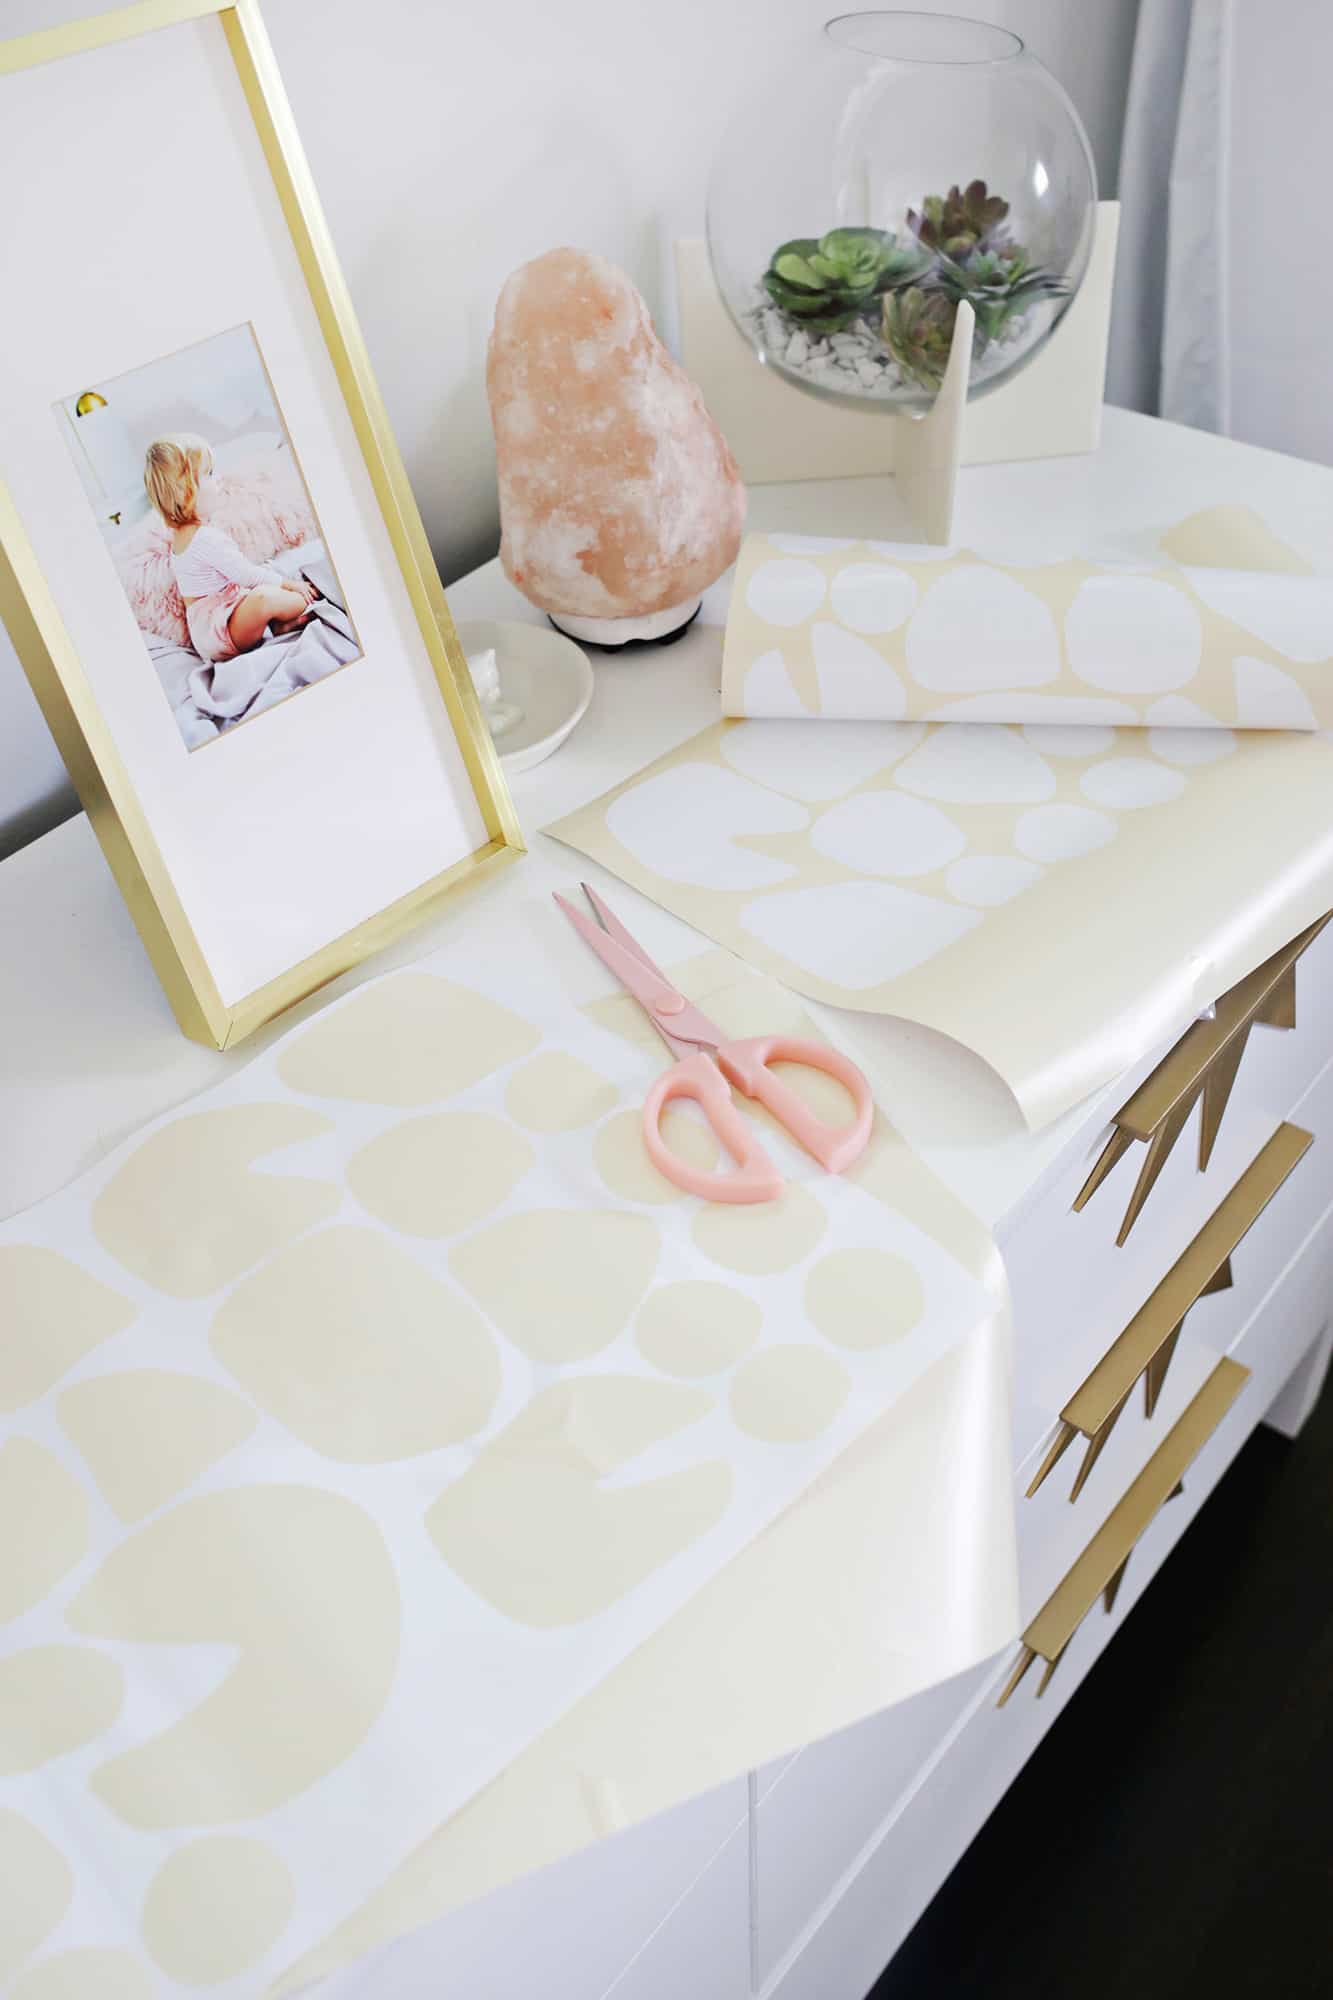
–removable wall vinyl (I used 4 rolls of the cream for my medium-sized bedroom)
-scissors or Cricut cutting machine (cutting machine is faster but optional)
–leopard wall pattern template (right click to download)
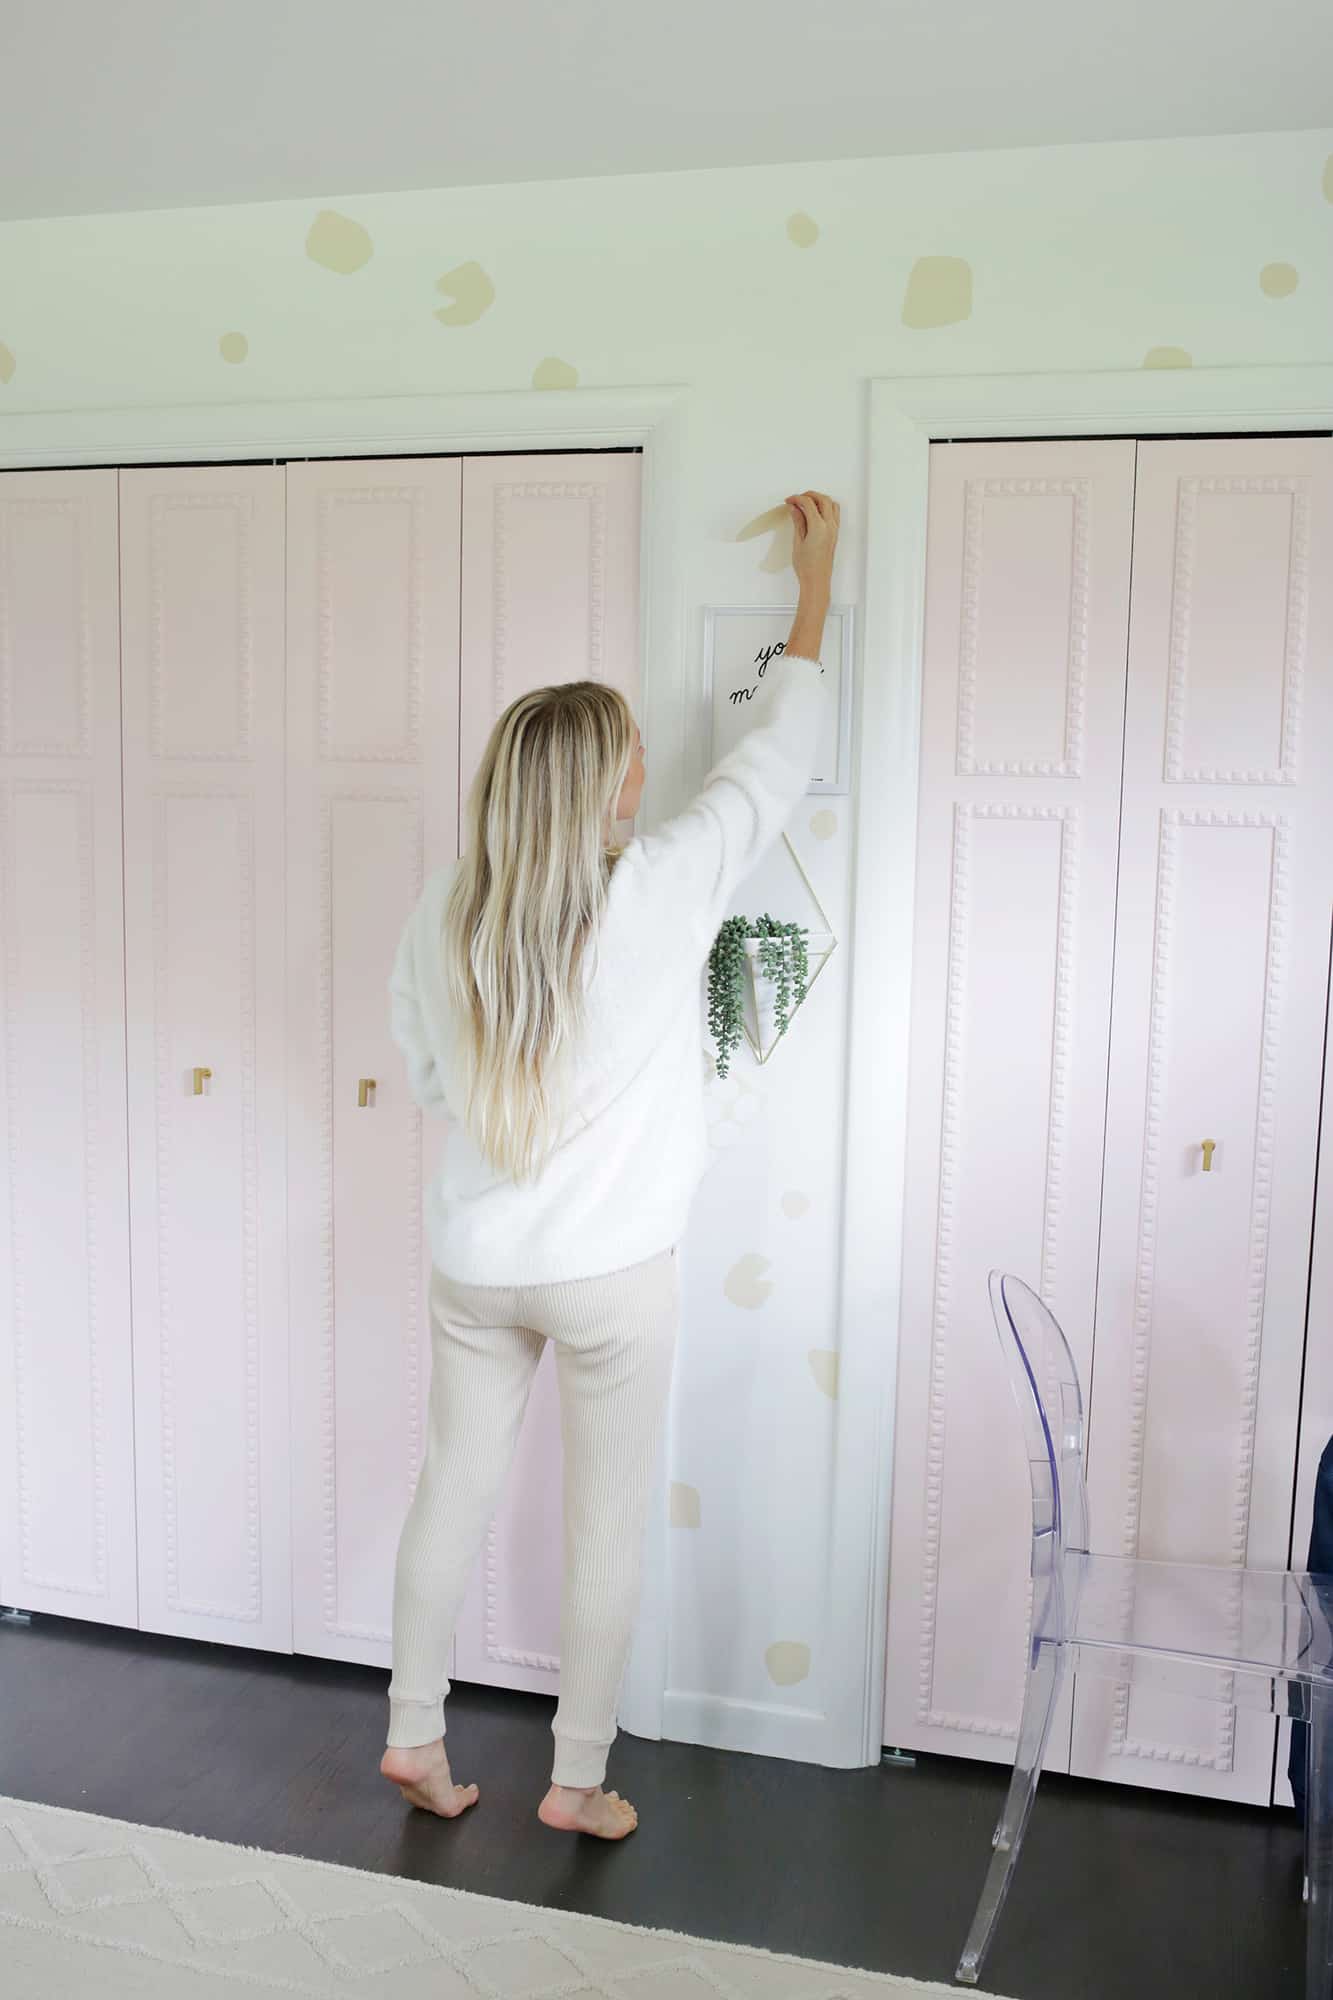
To create your leopard wall decals, you can either print out the templates and trace them onto the backside of your removable vinyl sheets to cut them all out (a good activity to do while you binge watch some TV at night or listen to a podcast) or if you have a cutter like a Cricut machine you can also cut them out with one of those to make it all go a lot faster. Once your shapes are cut, it’s time to simply peel and stick!
You can see that the pattern isn’t overwhelming but definitely adds some personality and texture to the room overall …
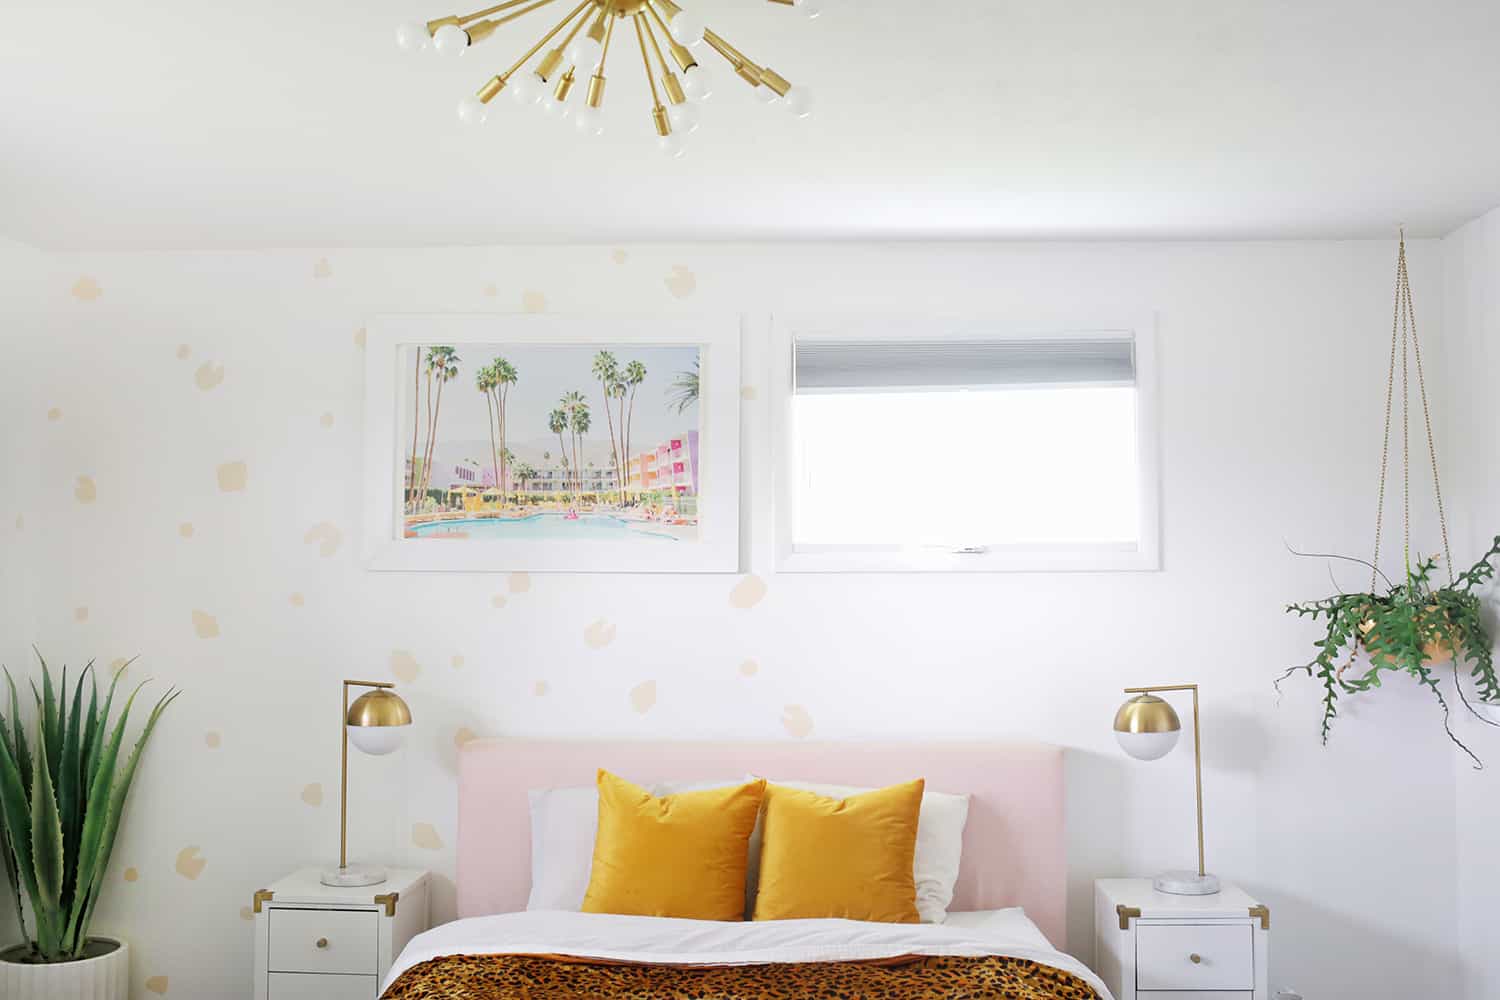
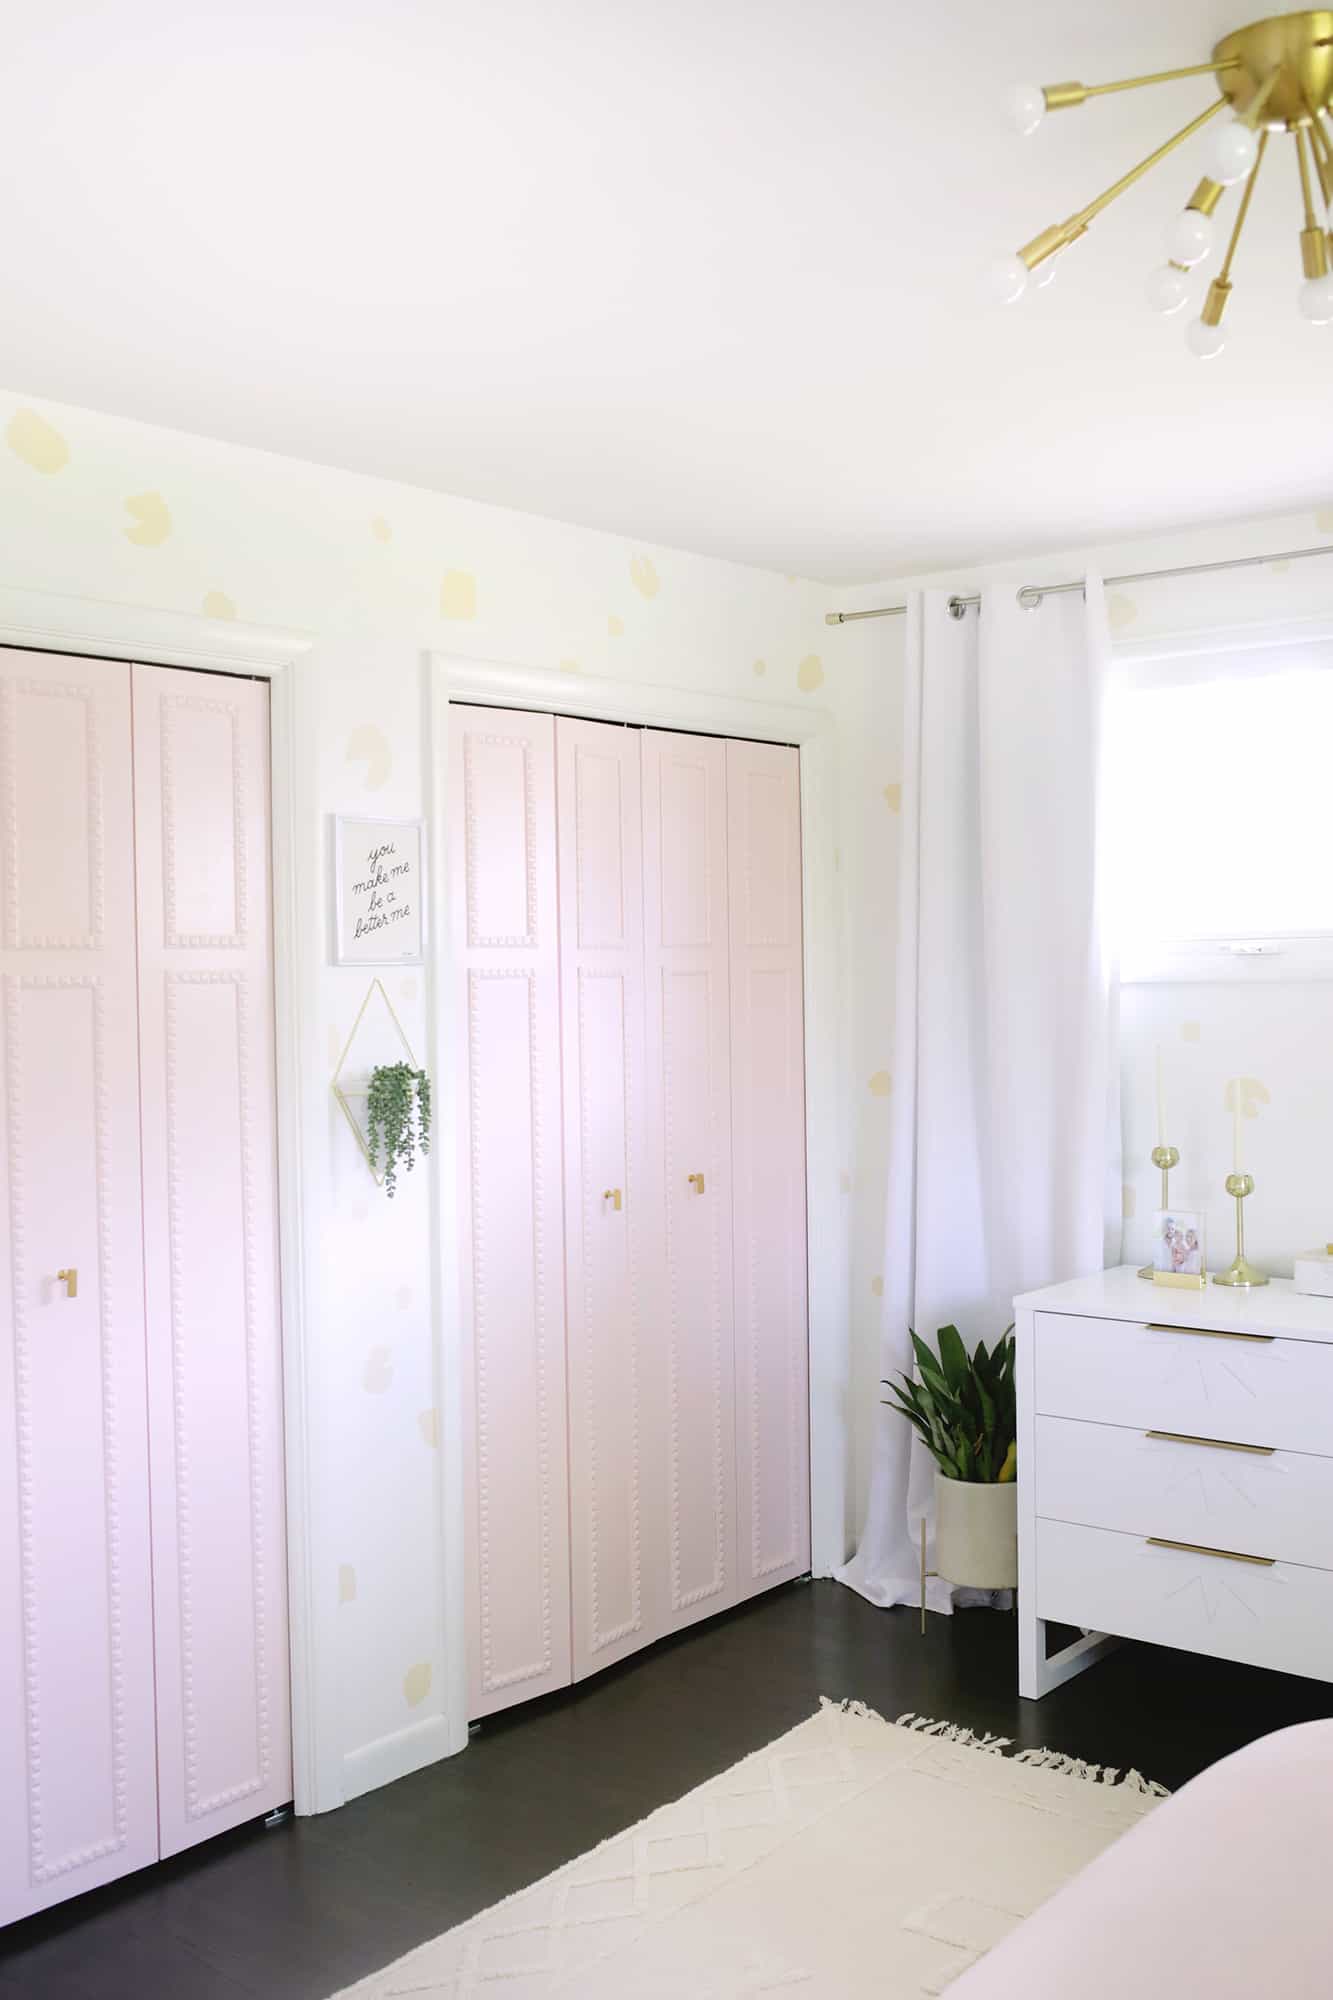
 For my placement method, I would take a bunch of the larger shapes and spread them out so they were balanced across an area, fill in with the medium-size shapes, and then fill in where needed with the smallest ones. Doing it in layers like that makes it feel like more of a thought out system so it stays balanced overall, but feel free to just wing it as well! This is the kind of pattern where you want it to feel random, so as long as you are careful to not put all the shapes perfectly in a row, you’ll be fine!
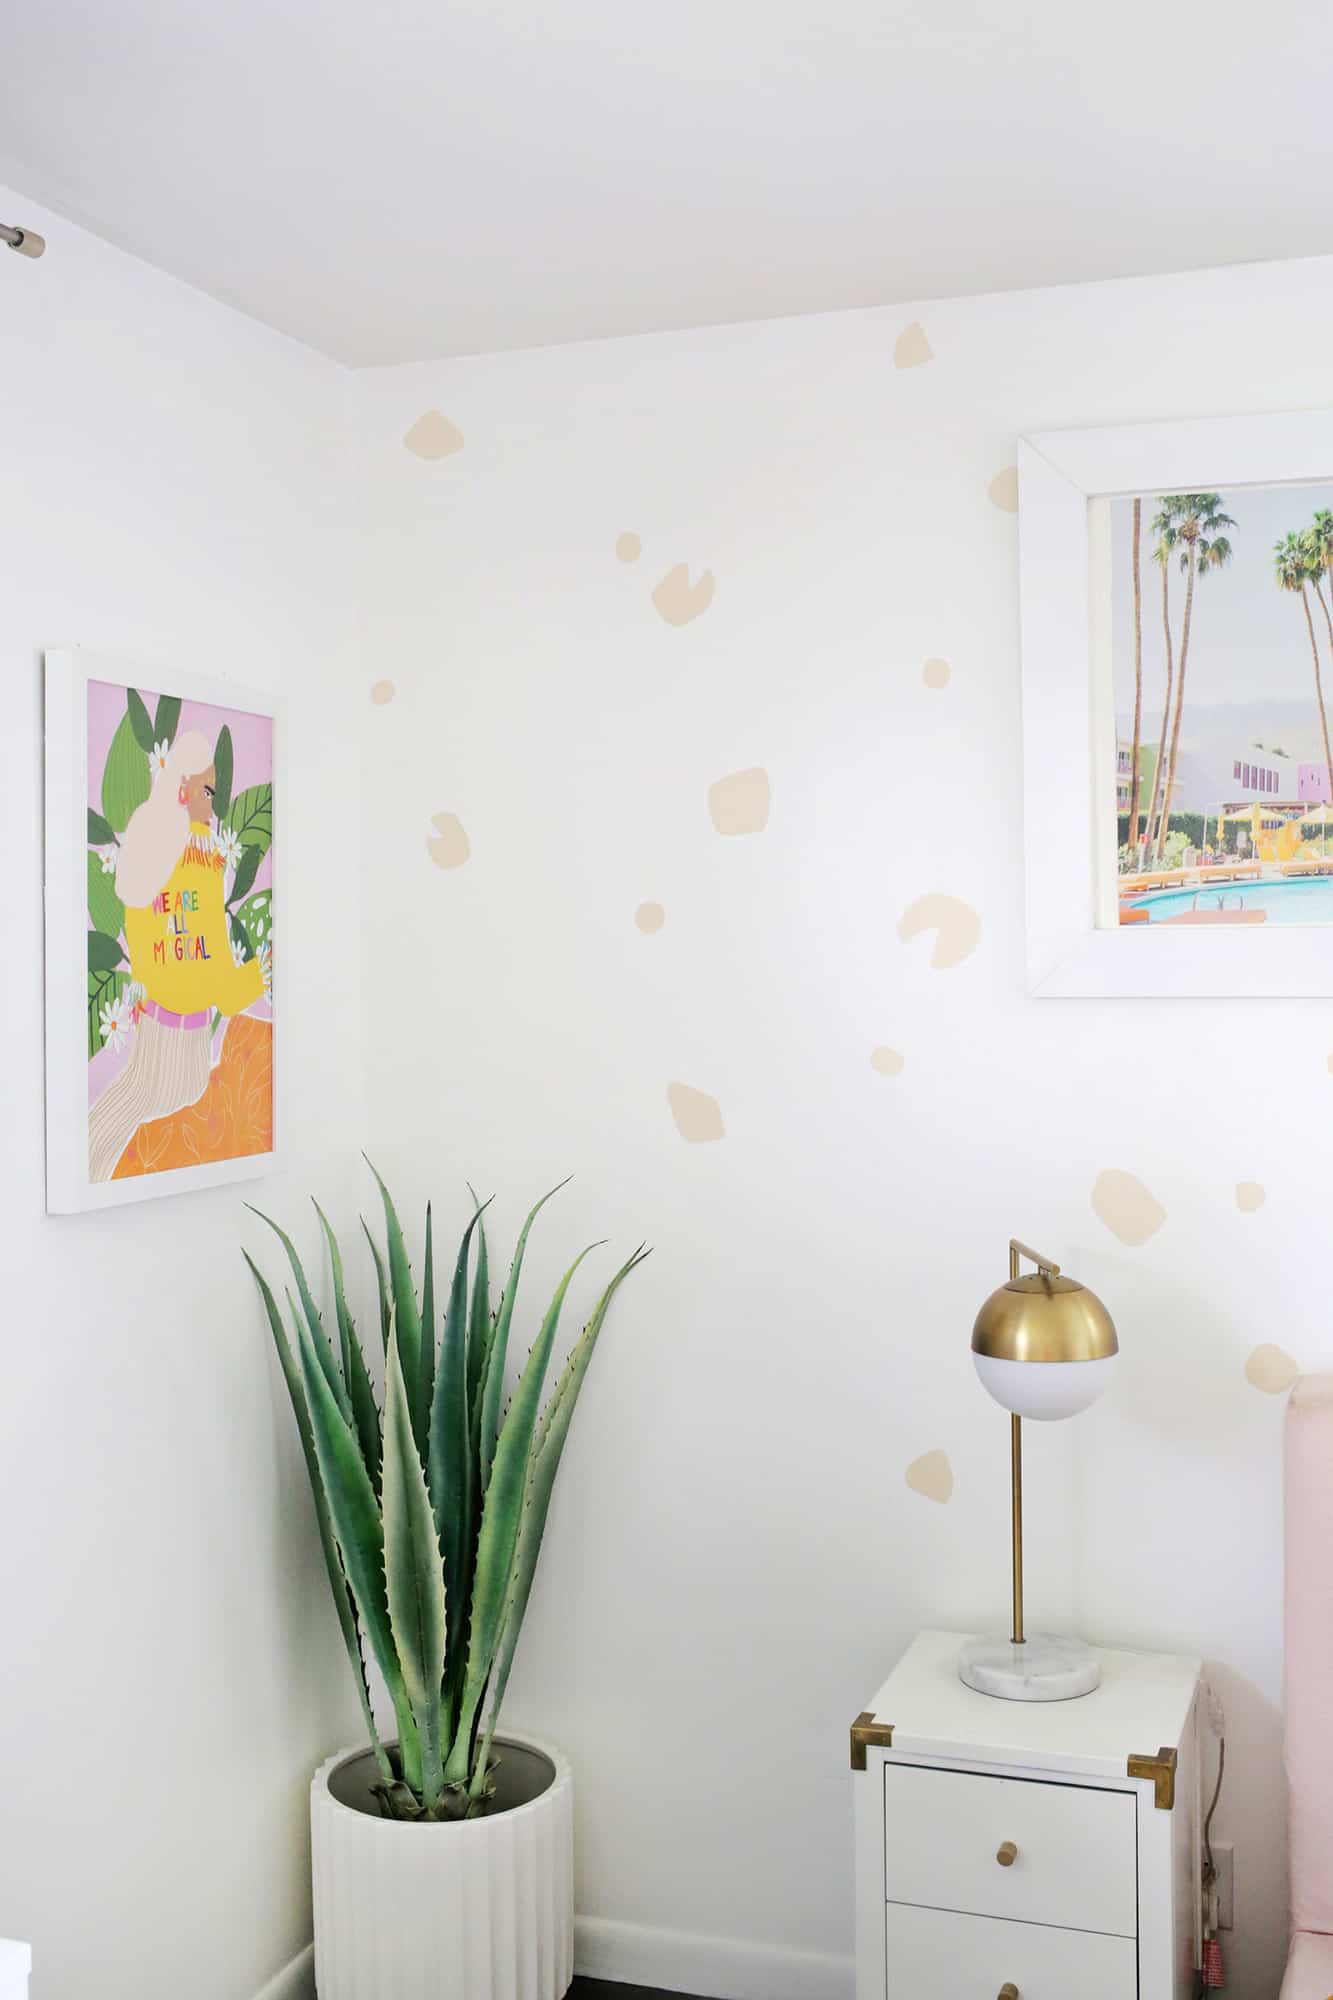
As you move around the space to place more, it’s a good idea to keep looking back at your first section that you are happy with to make sure you are keeping the same look as you go … you don’t want to have 50 shapes in the size of an area where you only put 20 on the wall next to it or it won’t read as an even pattern overall. You can also designate so many sheets or rolls to each wall so you know to keep a similar amount of shapes on each area and just subtract some shapes for areas like a door or window where you won’t need any in that spot.
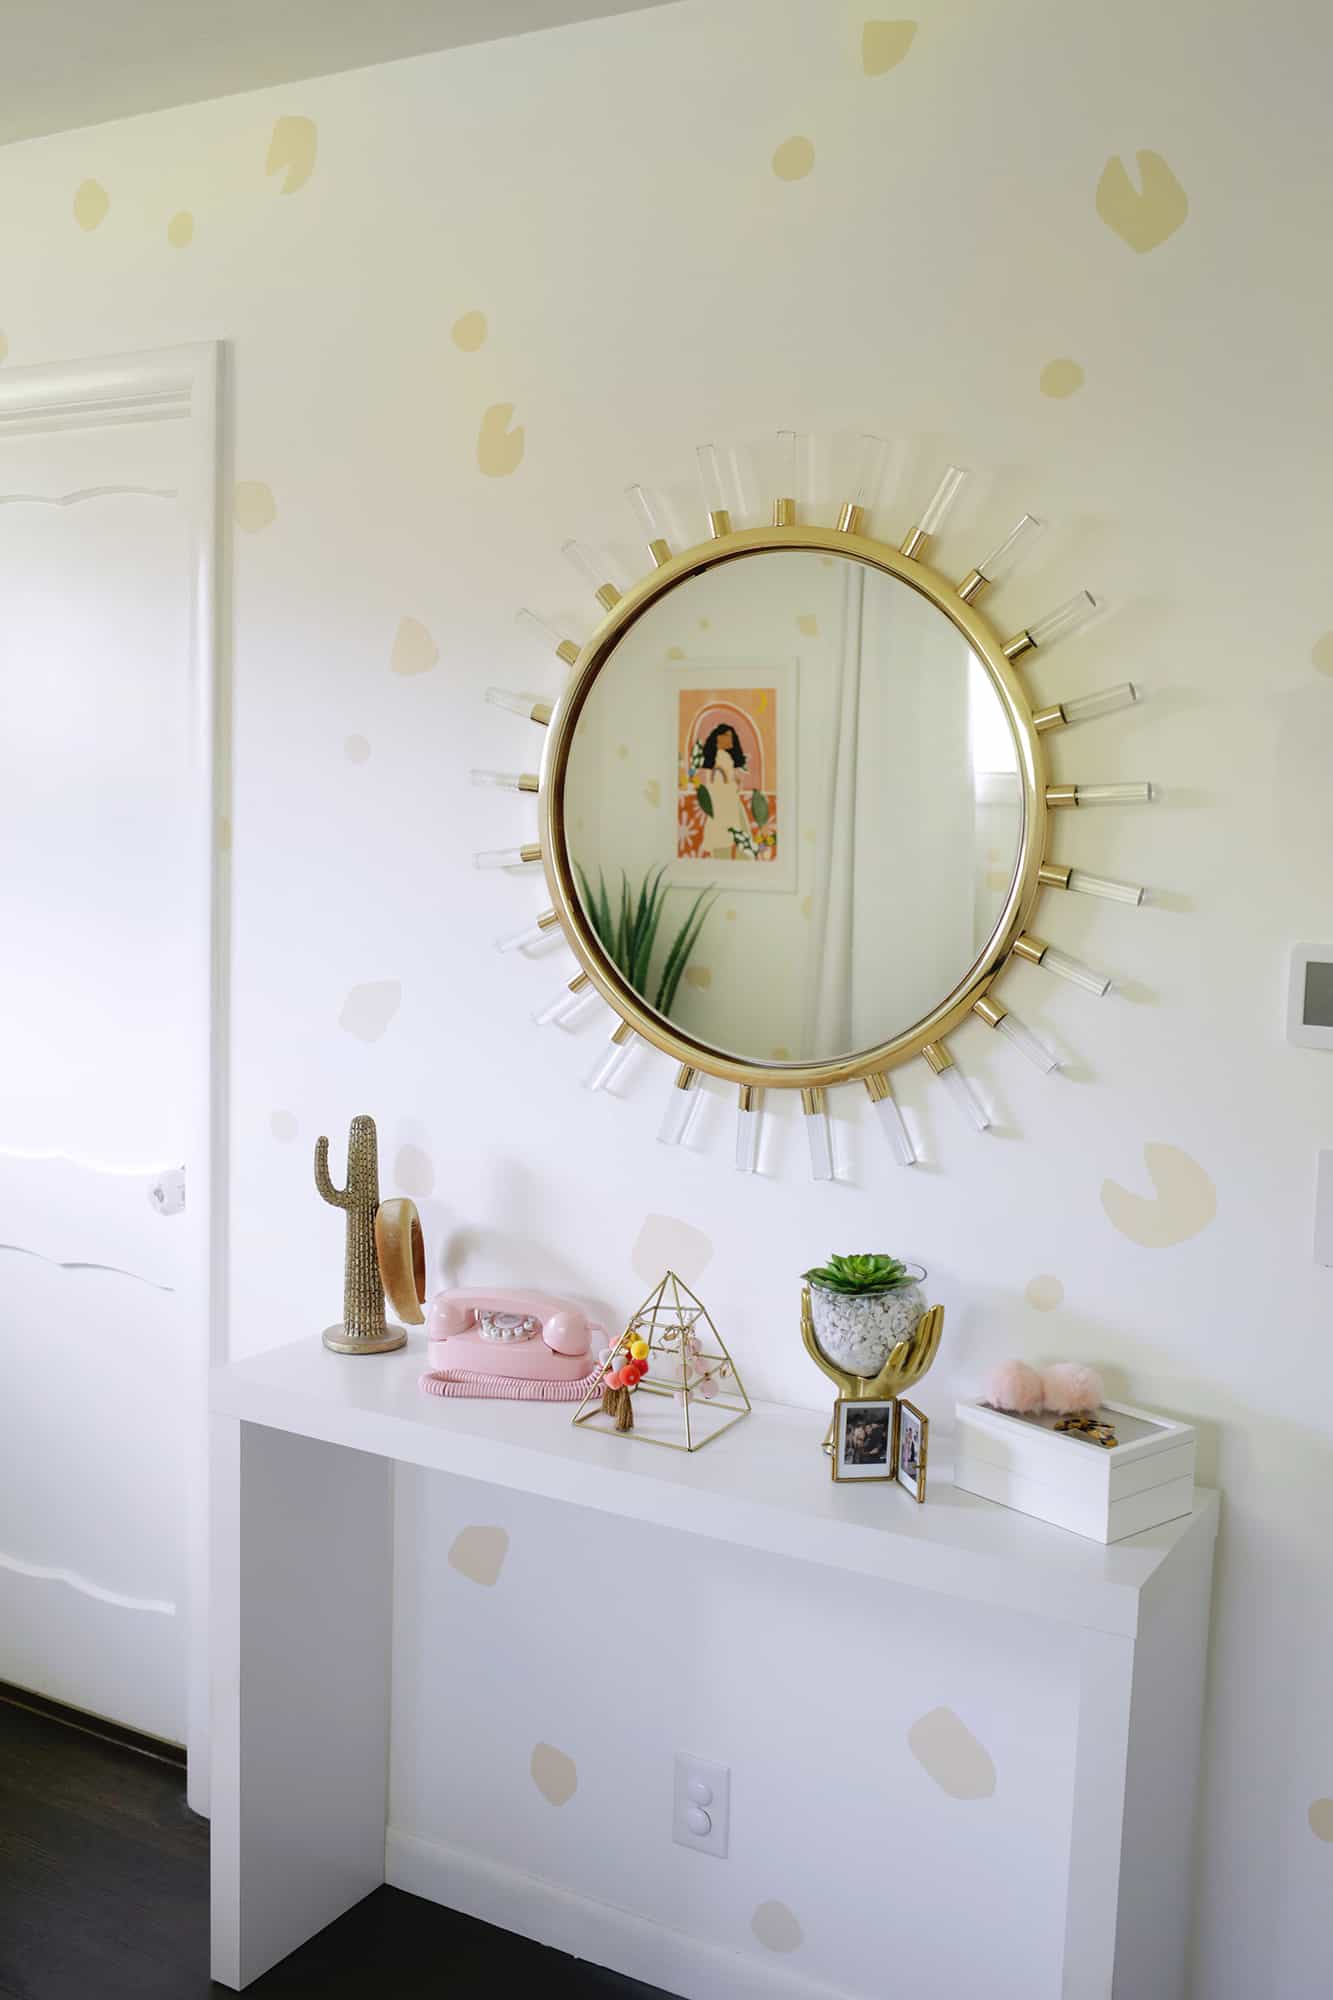


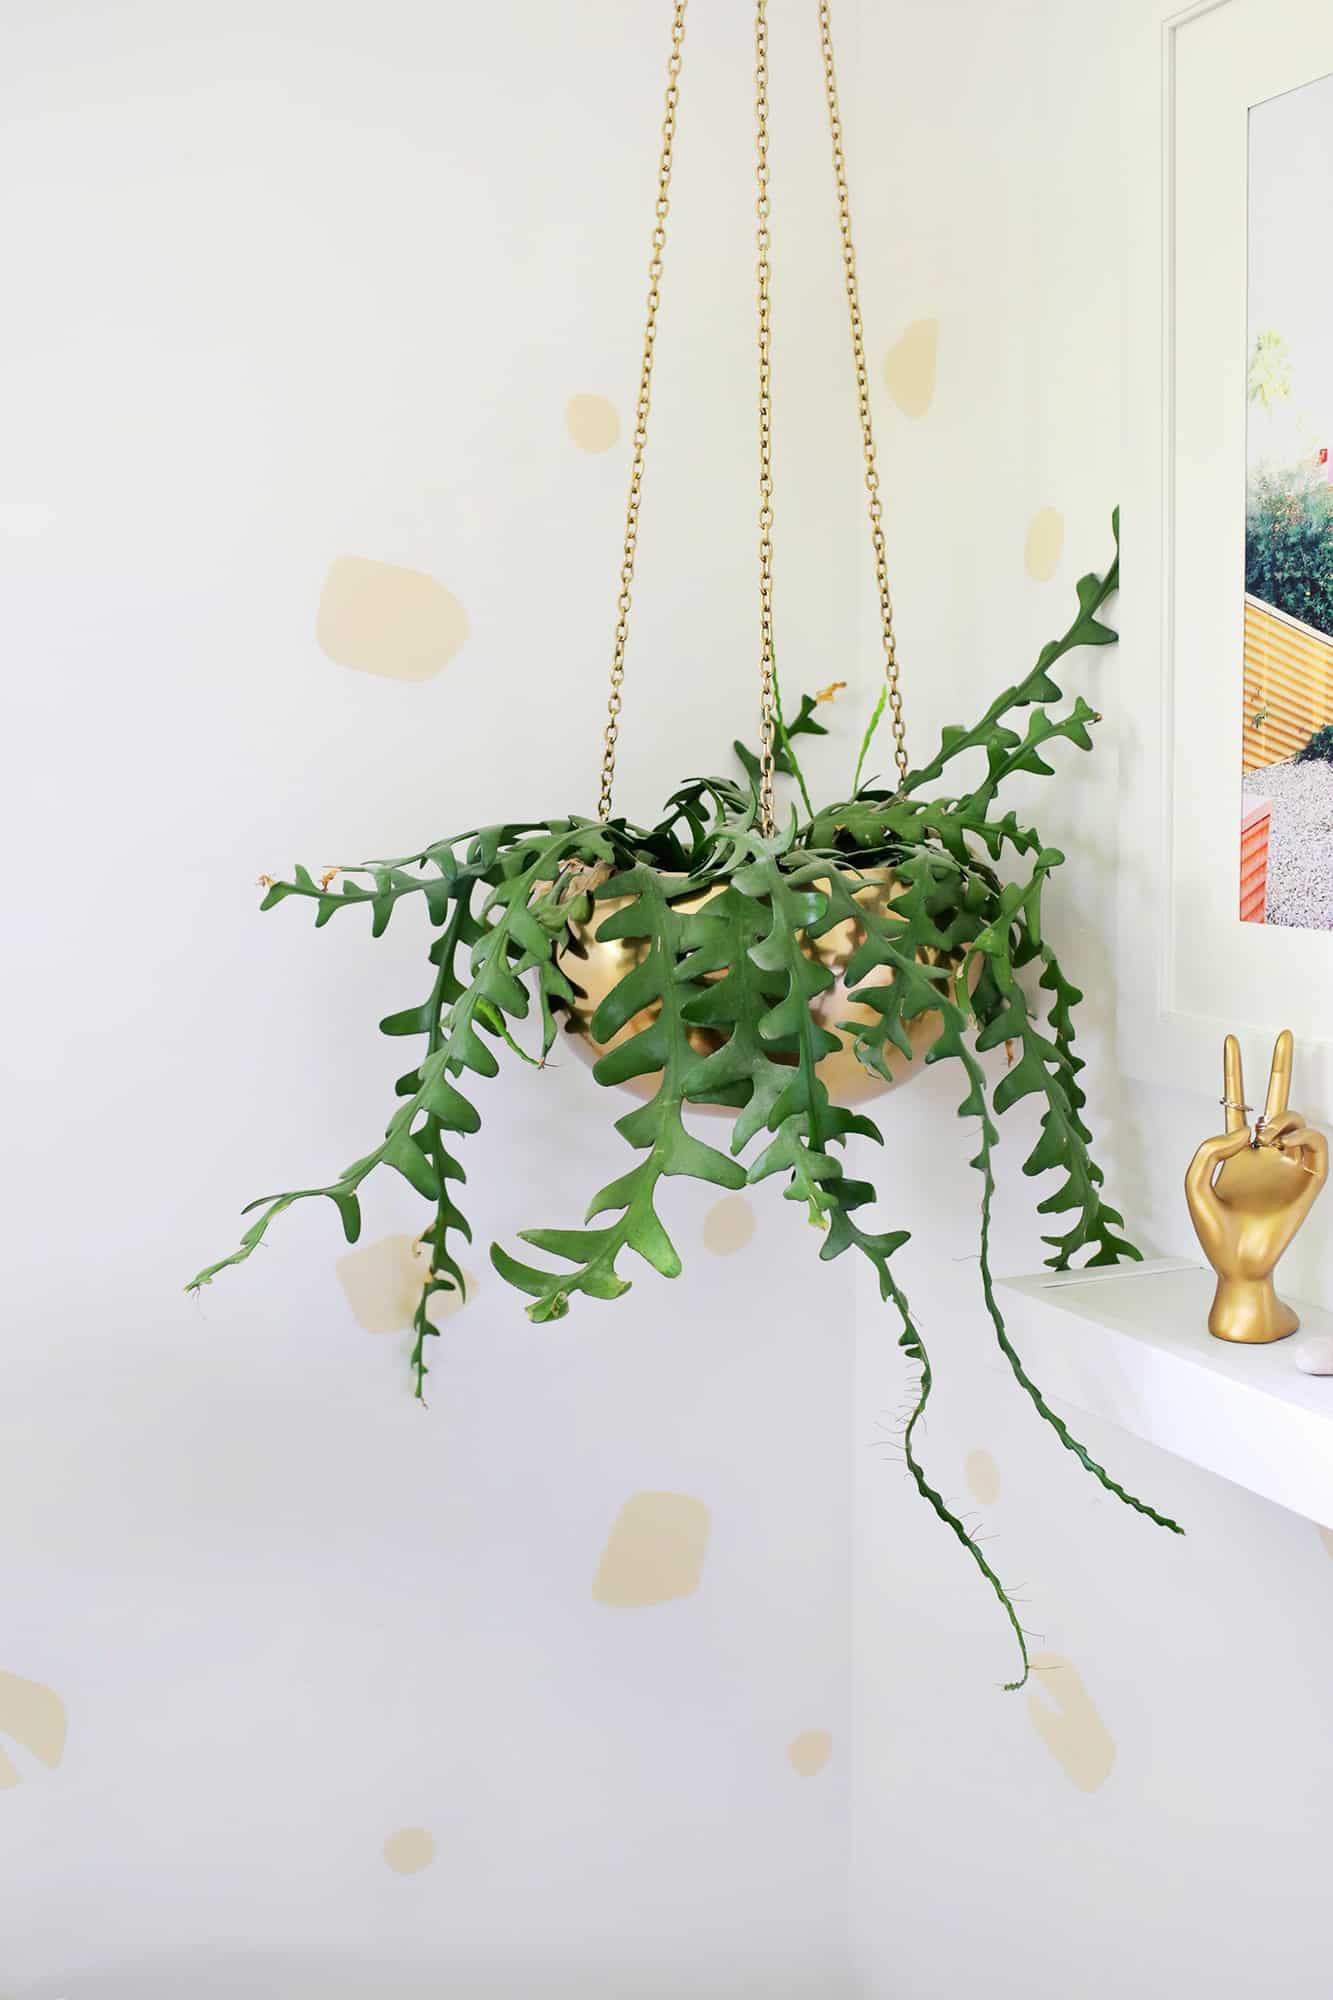
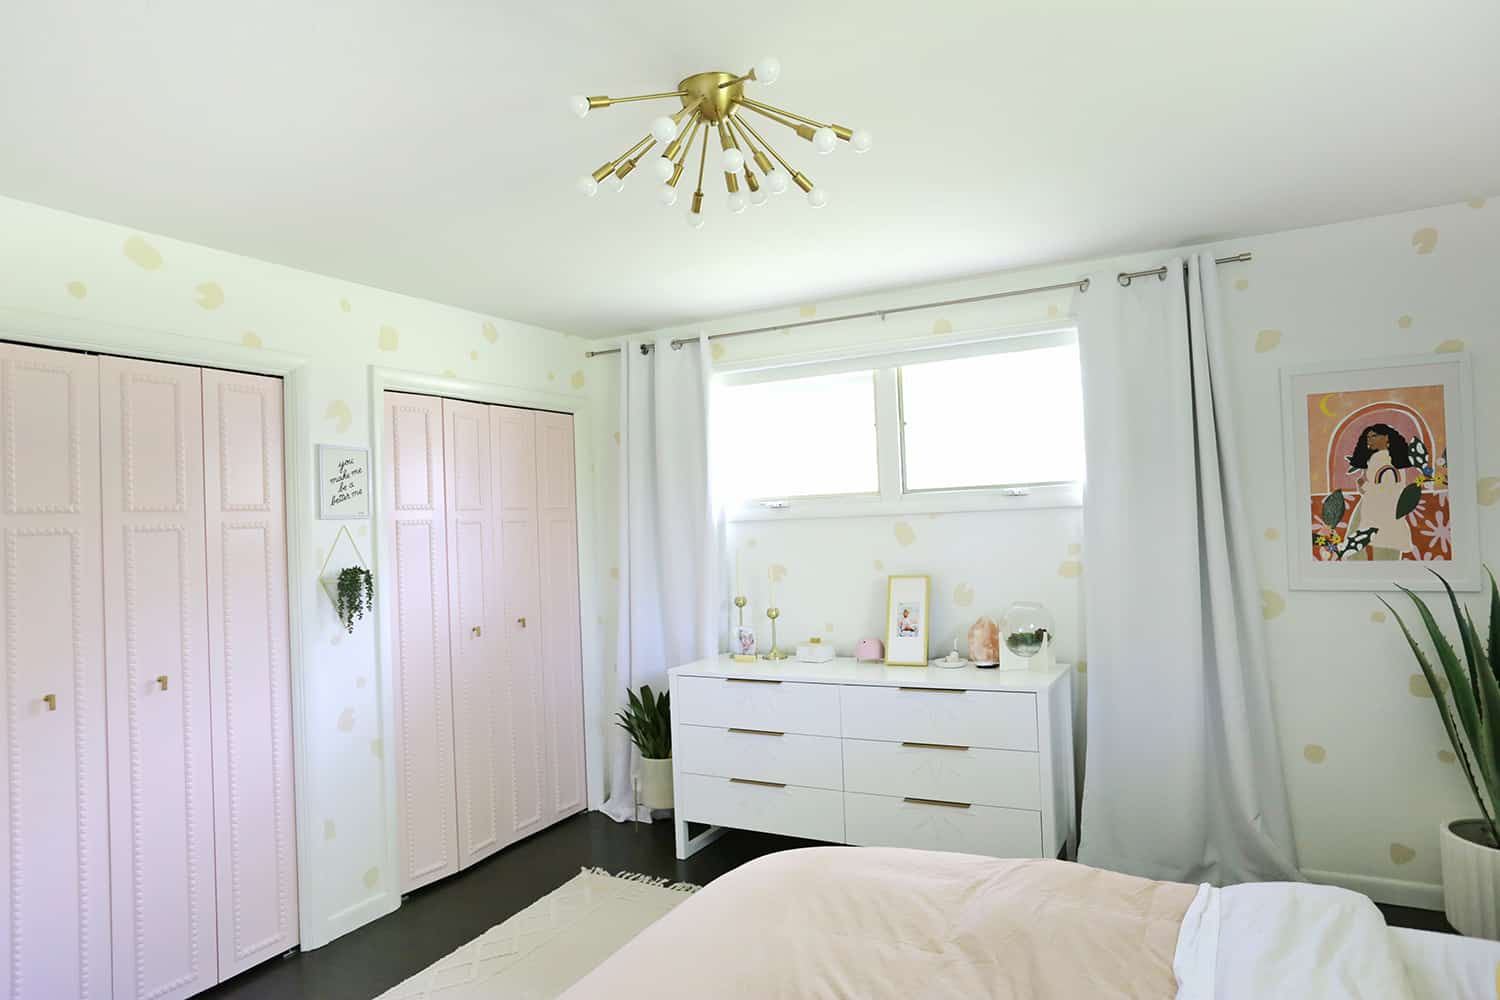
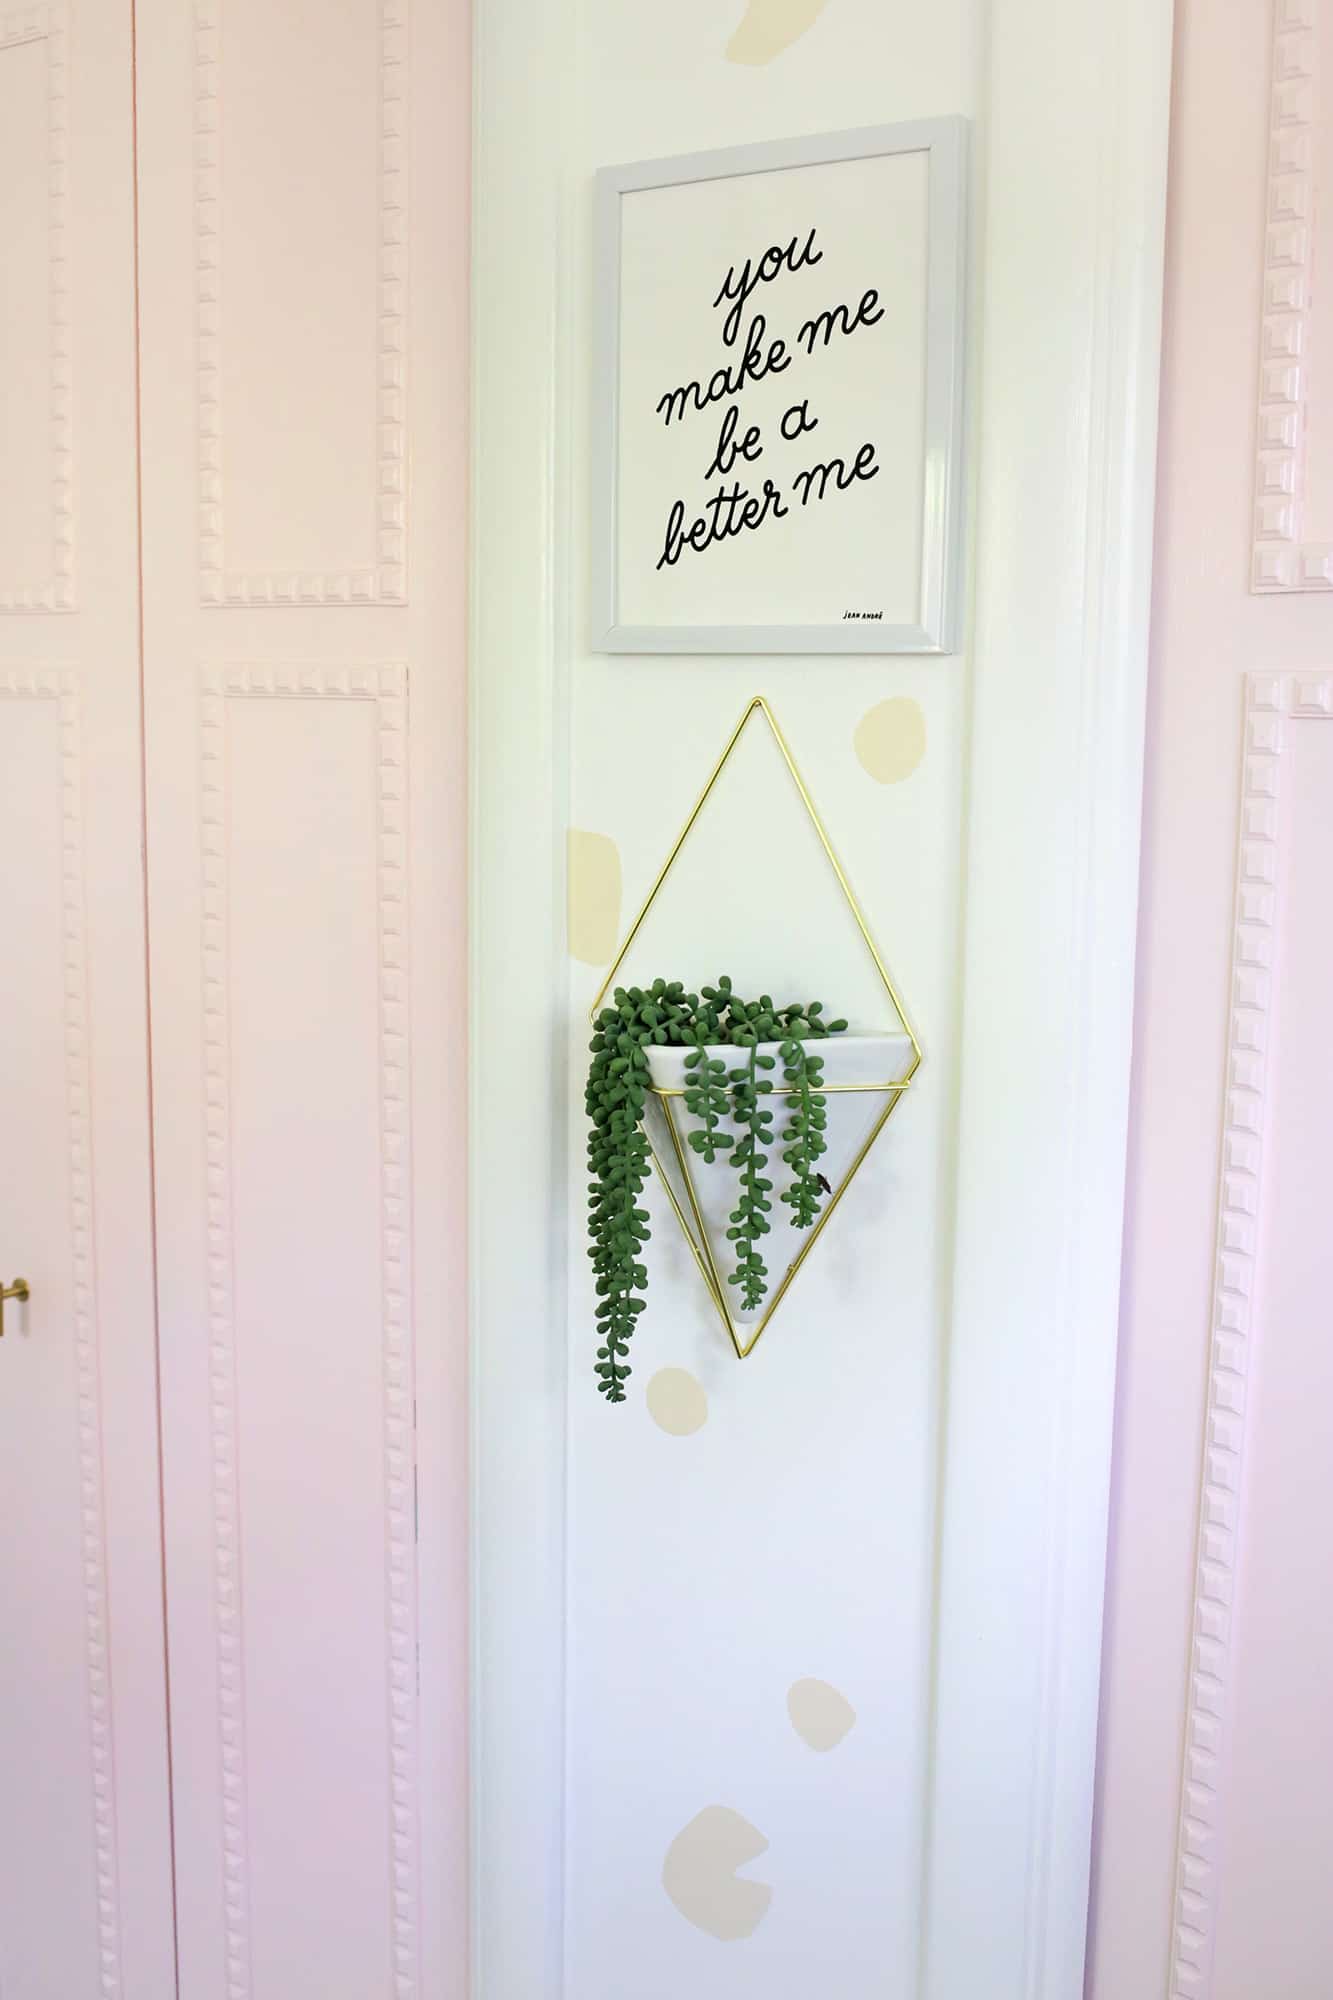
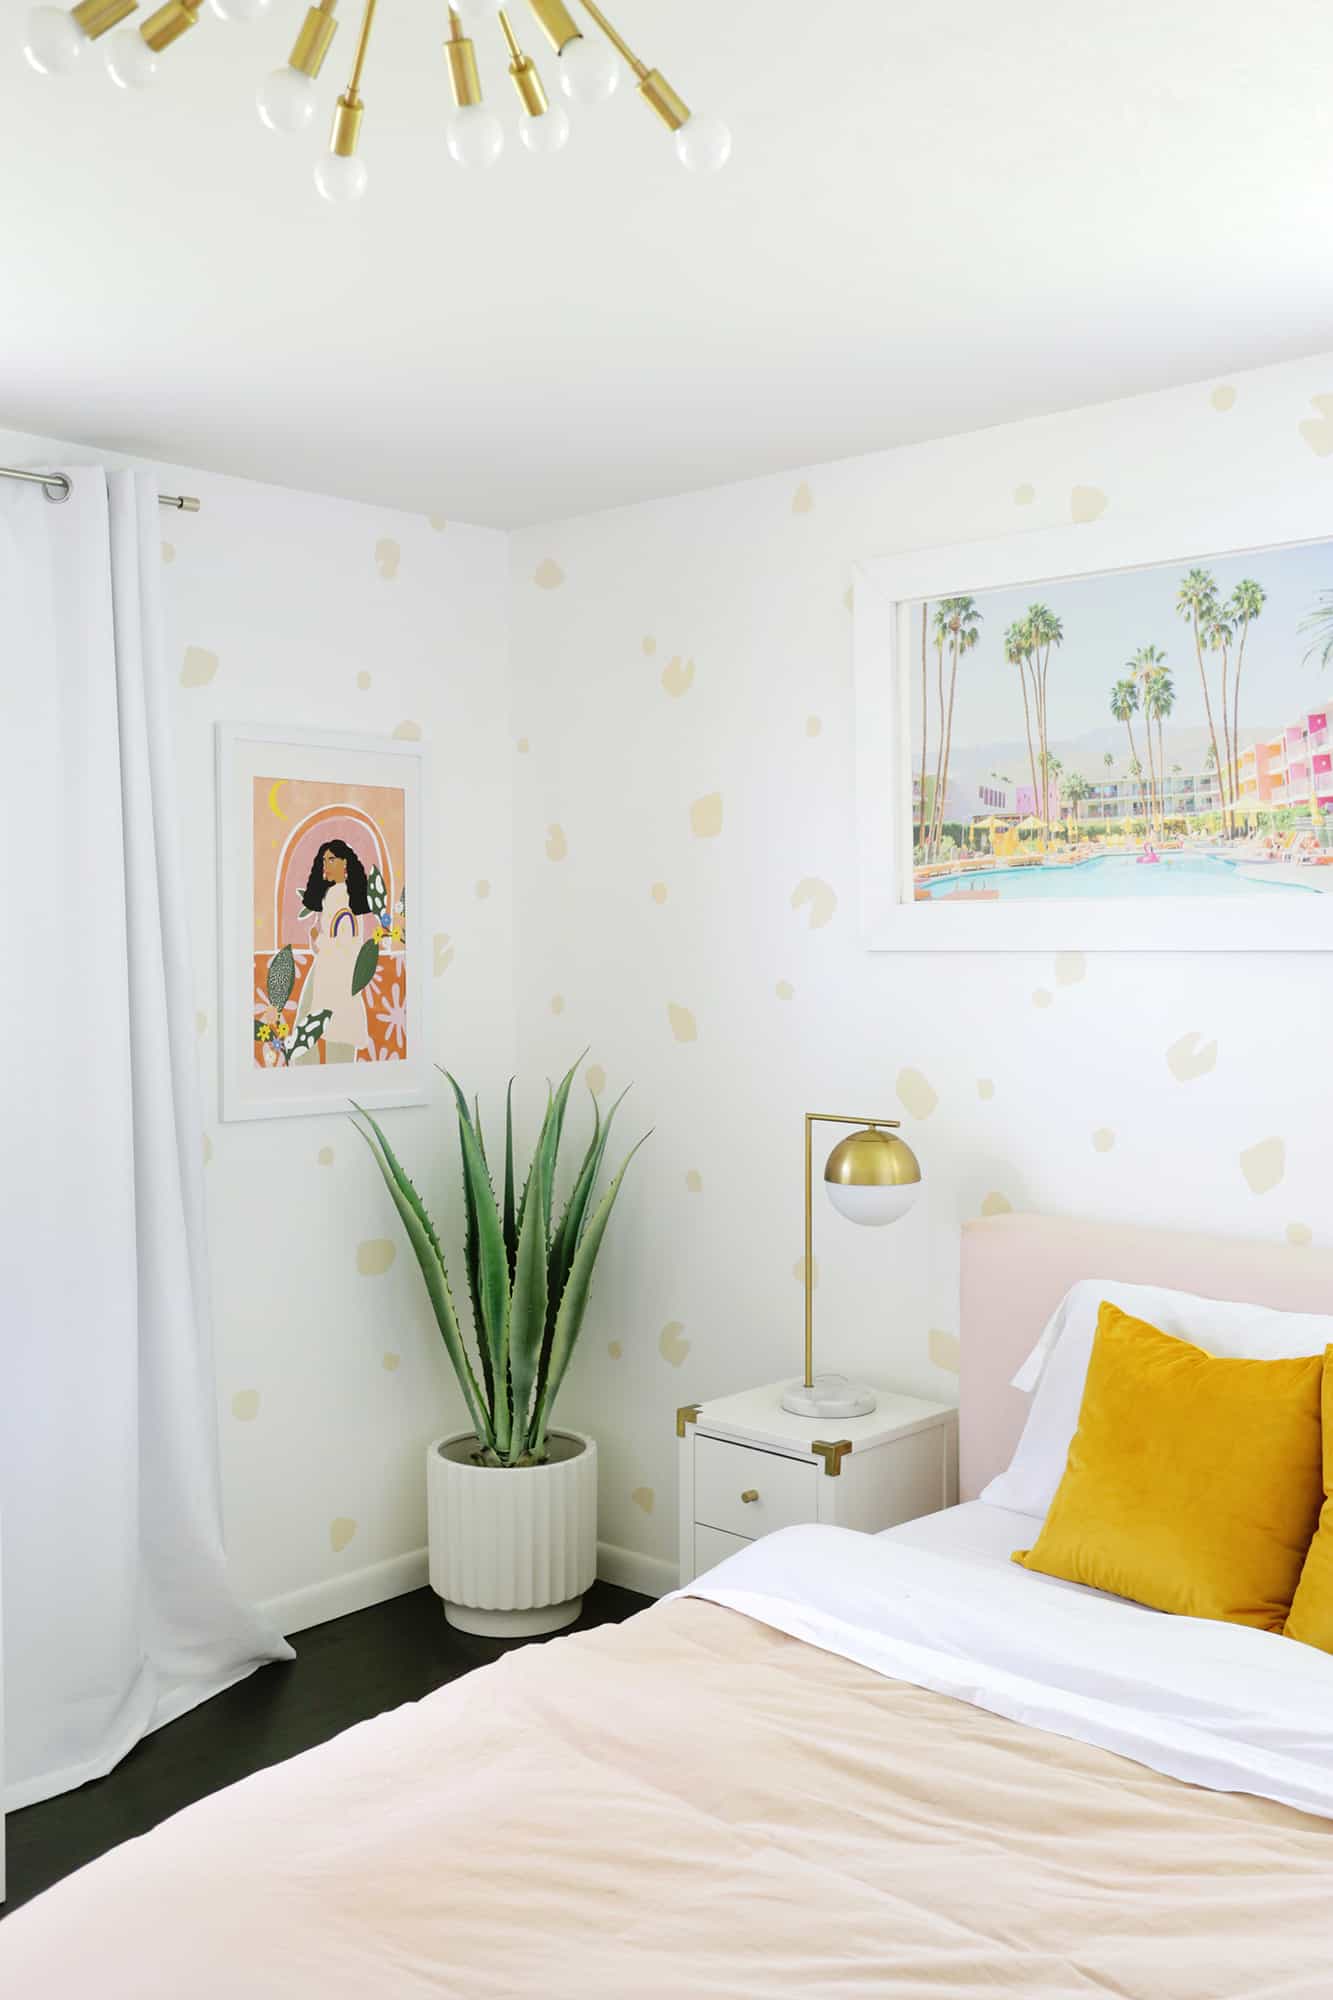
I also like to cut shapes in half or thirds so I can stick them right up against doorways/windows or at the very tops and bottoms of walls (like I did above next to the left of the planter), so it looks like real wallpaper that had to be trimmed to fit that area. It’s a small detail, but it always make it look a lot more “real.”

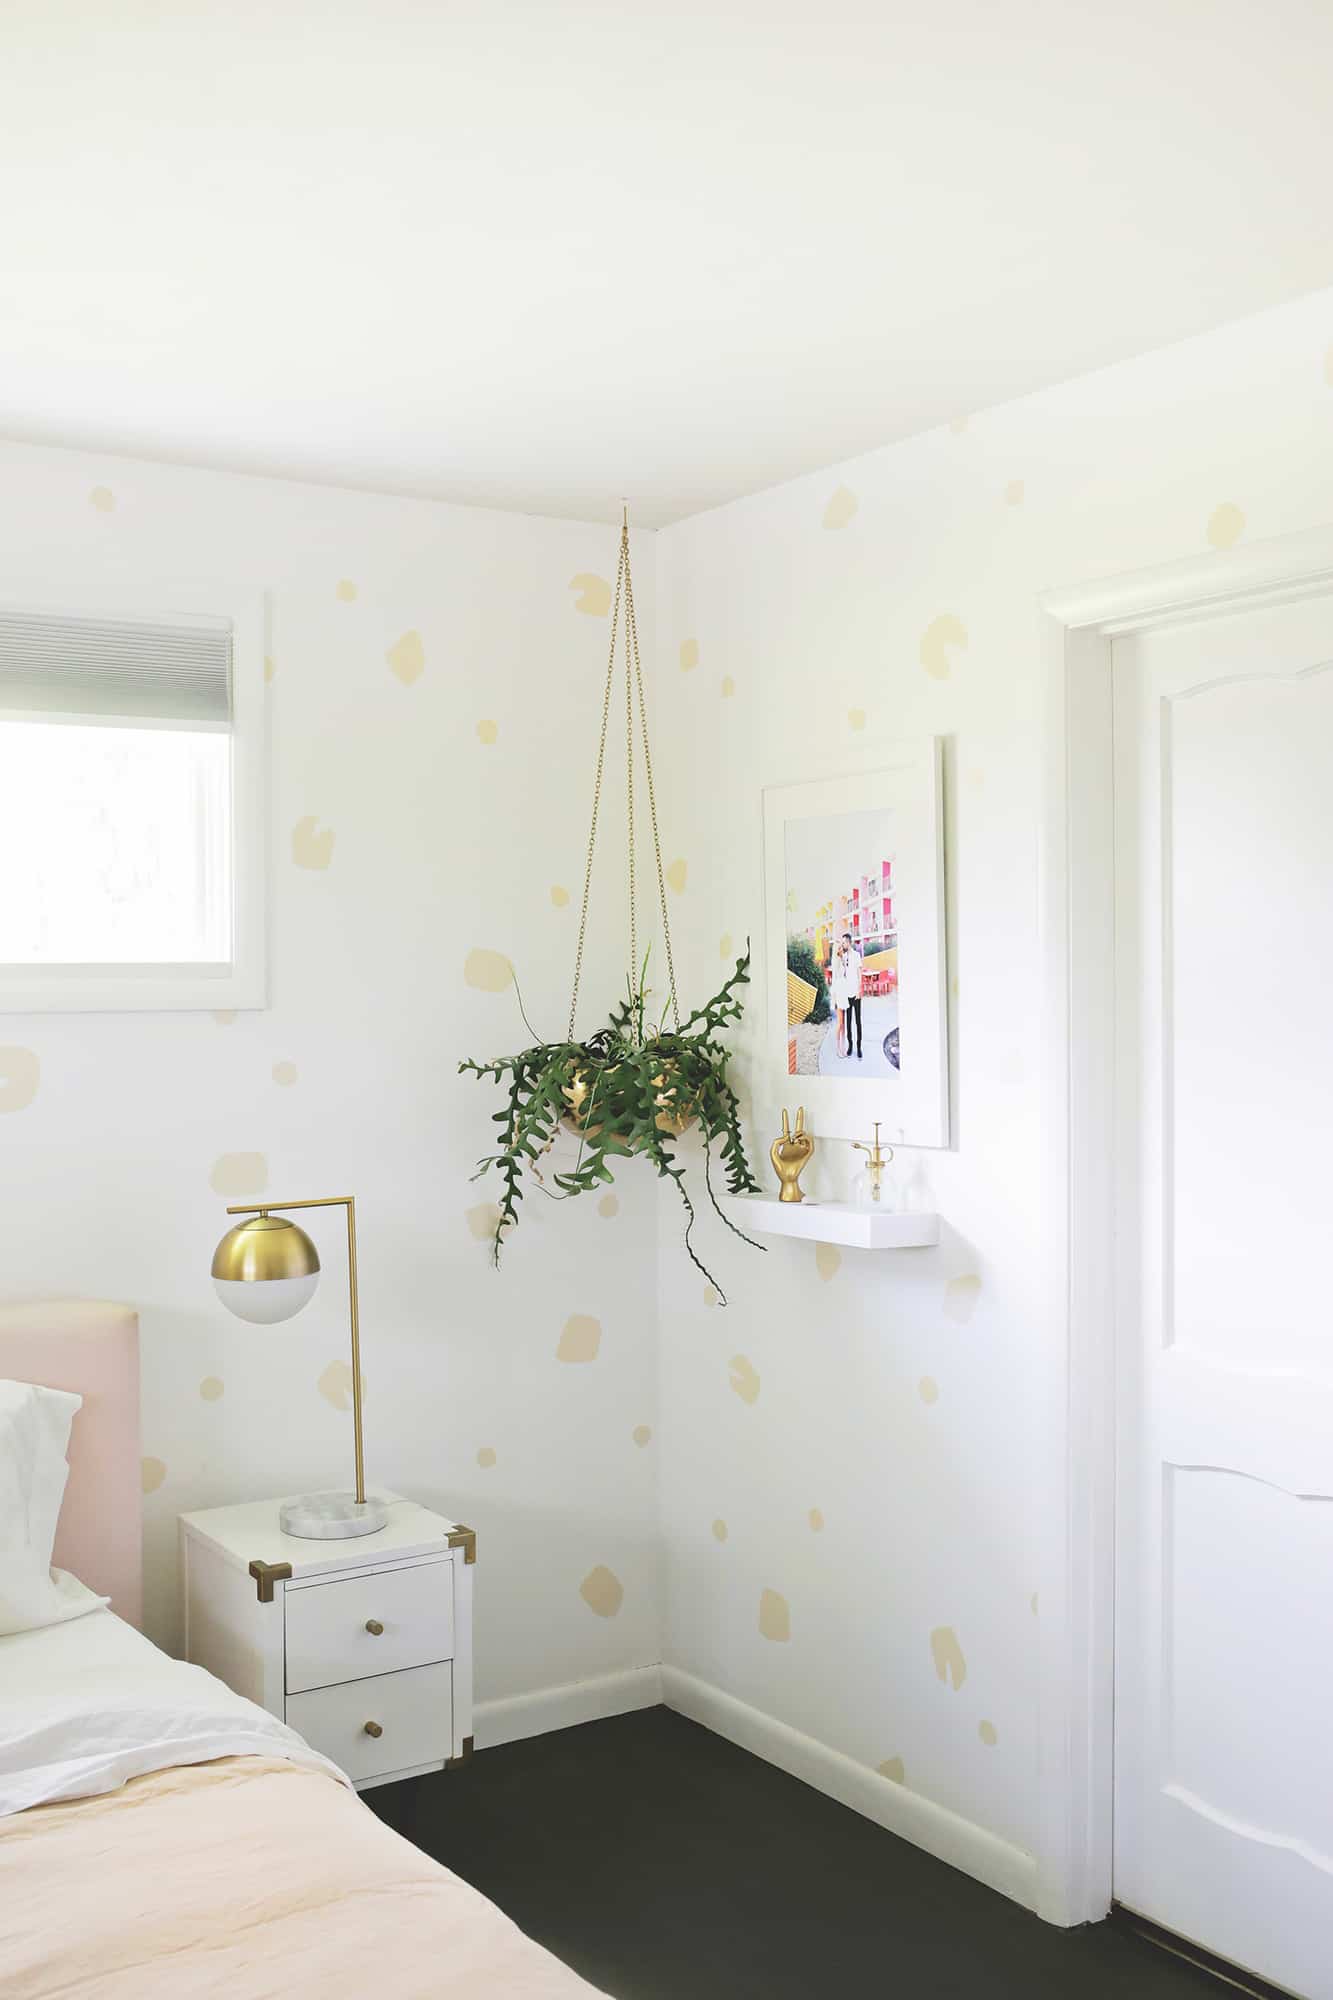
Isn’t that such a pretty print too? I thought it looked really good with the new pattern … it’s amazing how fast it goes once you start putting up the decals! It’s like a full room transformation in under an hour (maybe even 30 minutes) and it’s always fun to see things change so quickly. Doing removable decals for wallpaper is one of my favorite budget home tricks to use and I love how this one turned out too, so I’m sure I’ll keep using it in the future! Do you have a room that could use a little change as well? xo. Laura
Hi!! Where is the amazing picture from above your bed? Thank you!
Here’s a link! https://rstyle.me/+9UW_tsKdZJZrkZJUWofzdg 🙂
Thank you!