

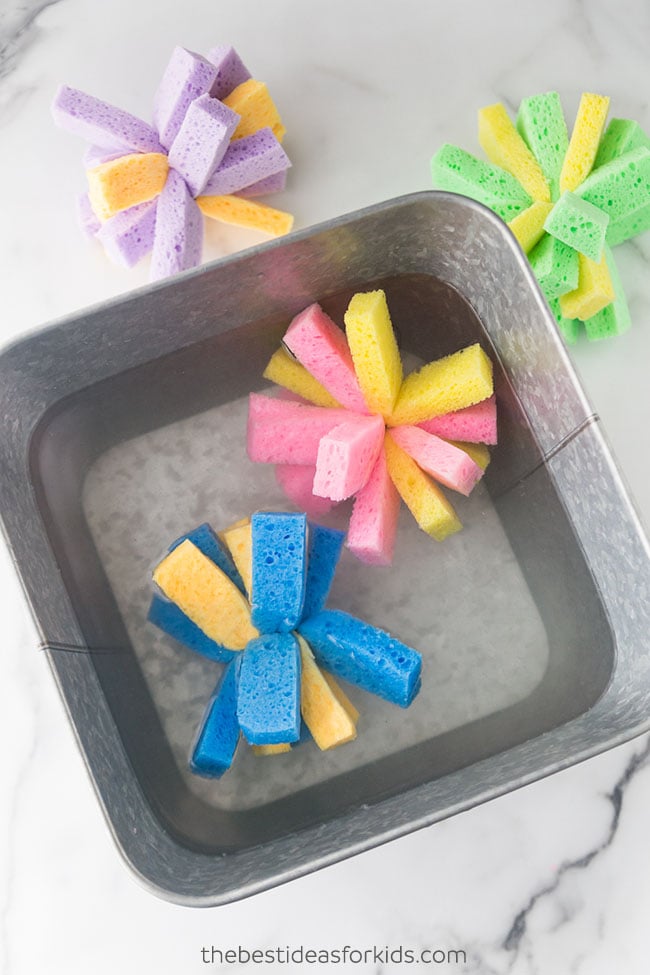
No need to buy water balloons when you can make your own sponge balls this summer! You just need sponges and string or elastic and you can easily make these. The best part is that they are reusable!
RELATED: Summer Crafts for Kids
DIY Sponge Ball Tutorial
These sponge balls surprisingly hold a lot of water. You can even call them super soaker sponge balls because you’re sure to be soaked!
Kids will love playing with these sponge balls and the best part is that they are reusable. Make sure to let them thoroughly dry out after you are done and you can use them over and over.
Here’s what you need to make these sponge balls:
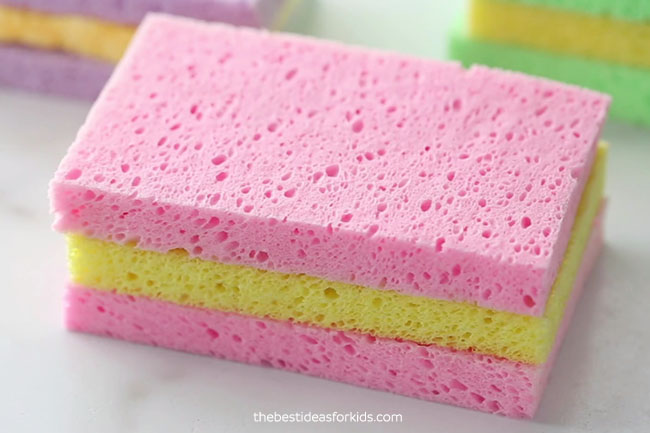
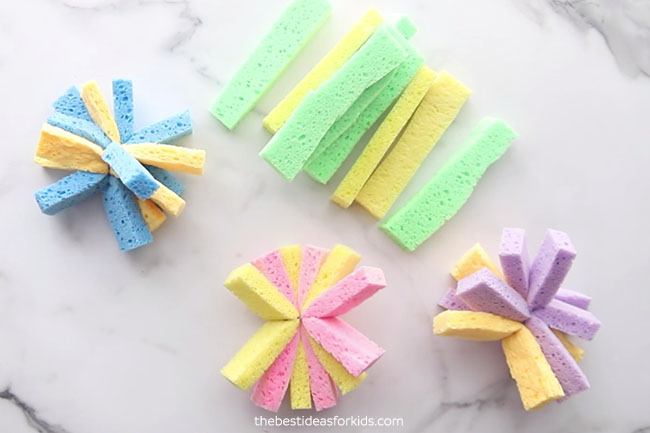
Sponges – you need 3 sponges per ball. You want plain sponges without any scrubber material on them. A pack like these has different colors you can choose from to mix and match.
Our sponges were 1.5 cm thick but you can go thicker. Just keep in mind the thicker the sponges, the harder they are to cut.
String or Elastic – string works but is harder to tie (see directions). For an elastic we recommend one like this.
Heavy Duty Scissors – we recommend using heavy duty scissors (adults only) to cut sponges as they can be a little more difficult to cut

Watch the Video Tutorial Here
How to Make a Sponge Ball
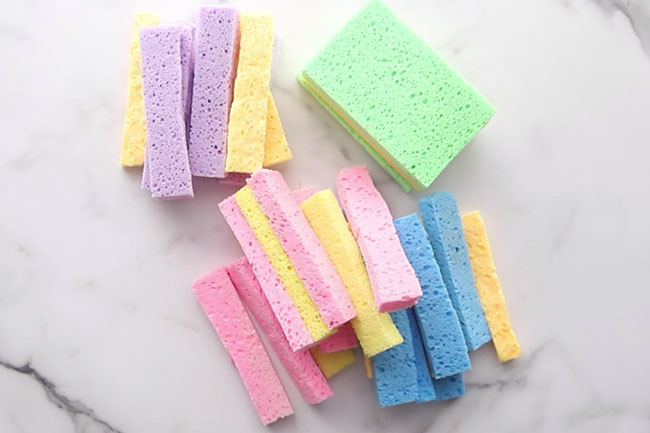
1. You need 9 strips per sponge ball (or 3 sponges per ball).
2. Start by cutting your sponges into strips. We were able to get 3 strips from each sponge.
3. If you are using string to tie: note that tying with string is a lot more difficult to get a tight tie for 9 strips together.
So you can stack 7 strips together and tie these first.
Then we added an additional 2 strips on their own with an extra string.
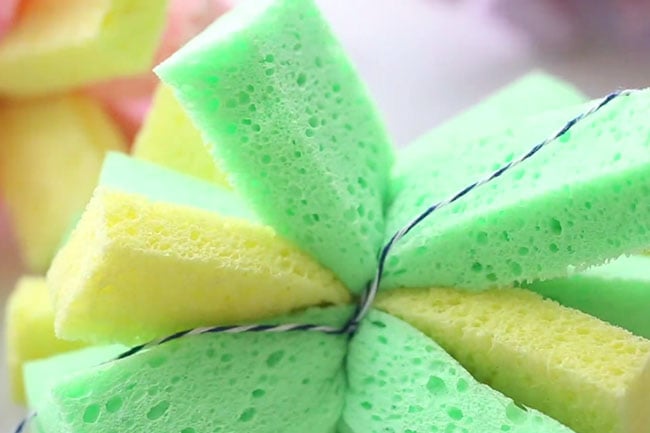
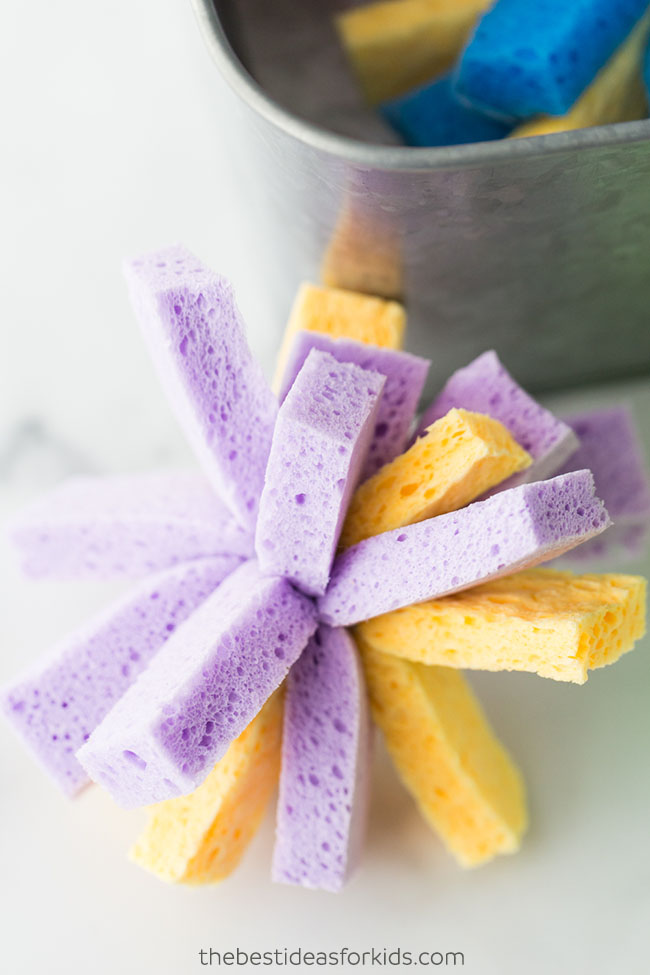
Tie as tightly as possible or the sponges will not stay in place. Pull as hard as you can and then tie a knot.
If you are using elastic to tie: you can tie all 9 strips together at the same time.
Thin elastic will have more stretch and will allow you to get a much tighter tie around the sponges. You can stack the strips 3 by 3 and then wrap the elastic around them.
4. Once you are done tying the sponges together, you can move and reposition the strips so that they are flared out evenly.
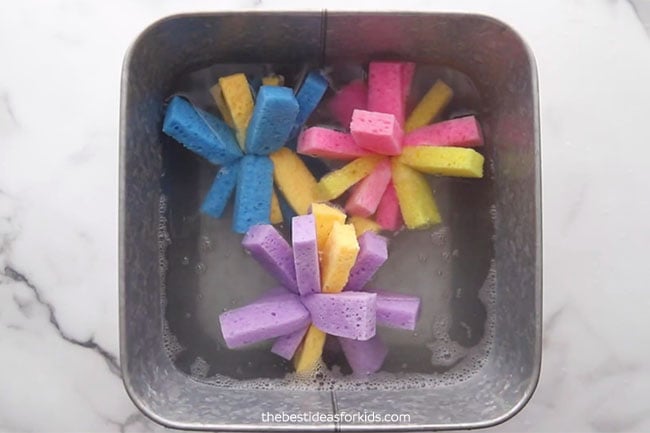
We hope you have fun making and playing with these sponge balls! Don’t forget to let them thoroughly dry after you’re done so you can reuse them again and again!
More Summer Ideas
Make sidewalk chalk paint for a fun twist on sidewalk chalk!
And for a 3D paint effect outside, try our puffy sidewalk chalk paint!


Share a Comment!
We LOVE hearing from you! Submit your question or comment here.
Your email address will not be published.
Required fields are marked *