

As the snow came down hard yesterday I found myself wishing for those hot summer beach days. Until then, gazing at my new calming ocean resin art will have to keep me content. And keep reading for other DIY resin art ideas.

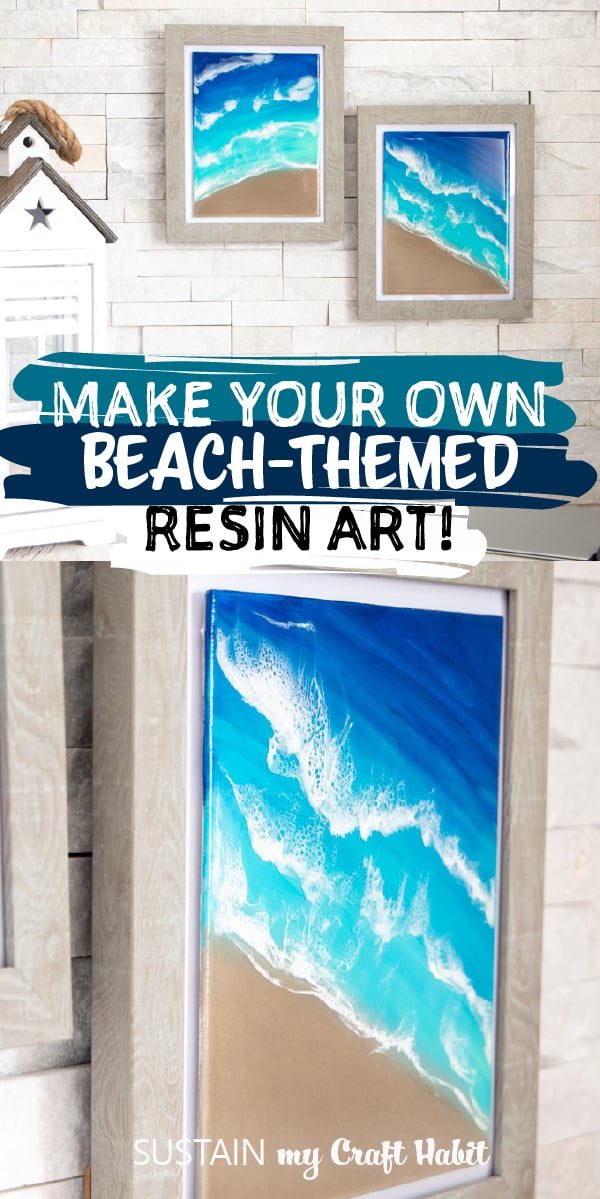
DIY Ocean Resin Artwork
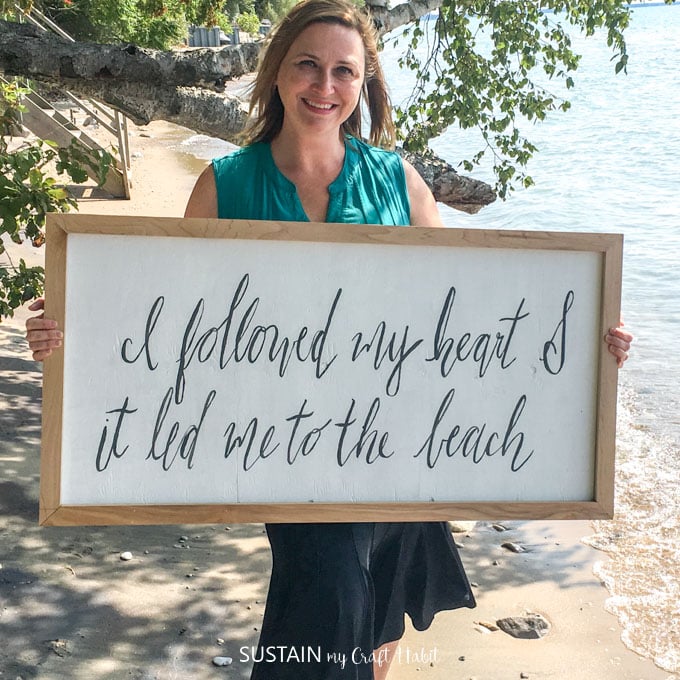
We are fortunate to be able to spend a lot of our summers at the cottage which is near Lake Huron. Cherishing those calming teals and blues and hot sand over those few summer weeks are what keep us going through our long Canadian winters.

This past summer I tried to capture a bit of the seashore magic by creating resin covered beach inspired serving boards. You can find the full tutorial for that particular project on the Resin Crafts Blog, as well as a step-by-step video on our YouTube channel.


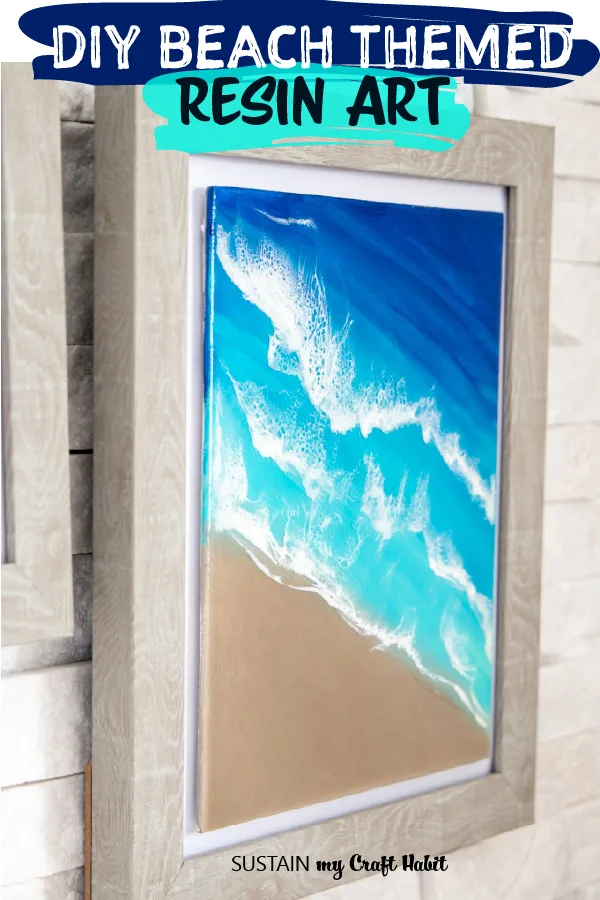
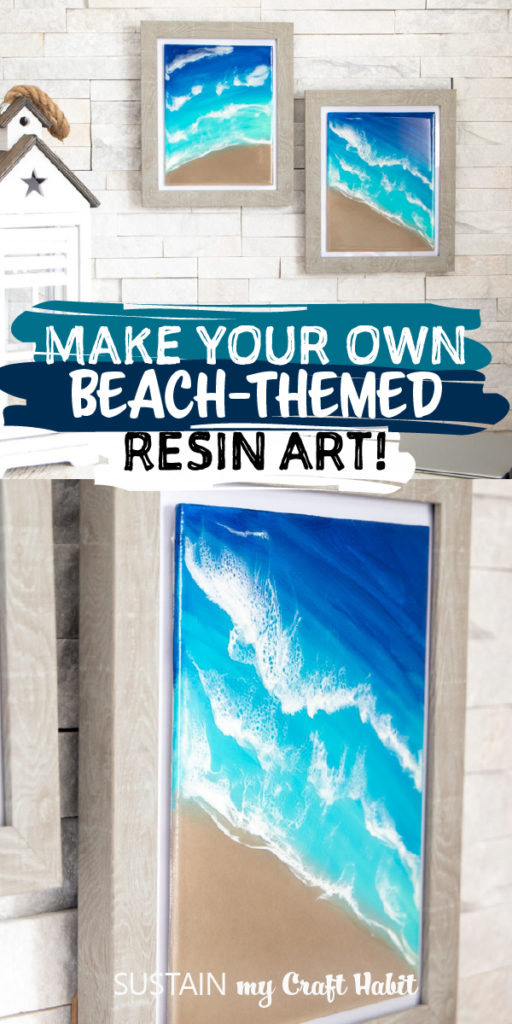
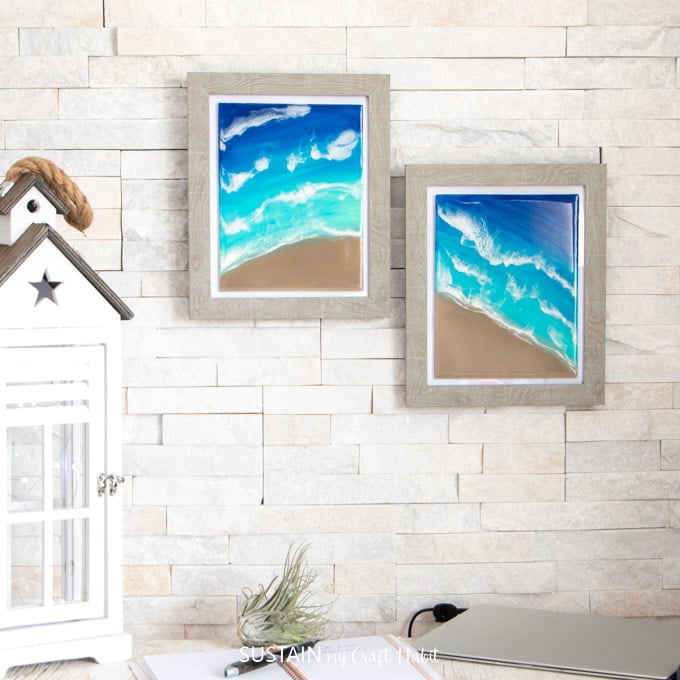
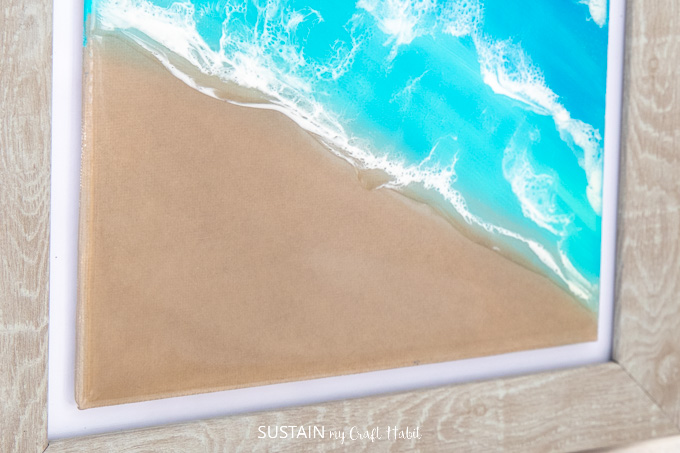
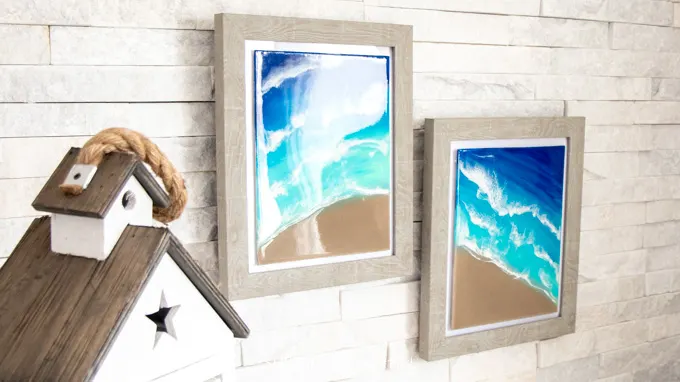
As a part of that project I tested the technique by painting some artwork at the same time on inexpensive dollar store canvases. In the end I absolutely loved how these beachy high-gloss ocean resin art panels turned out that I framed them and have them in my home office on display.

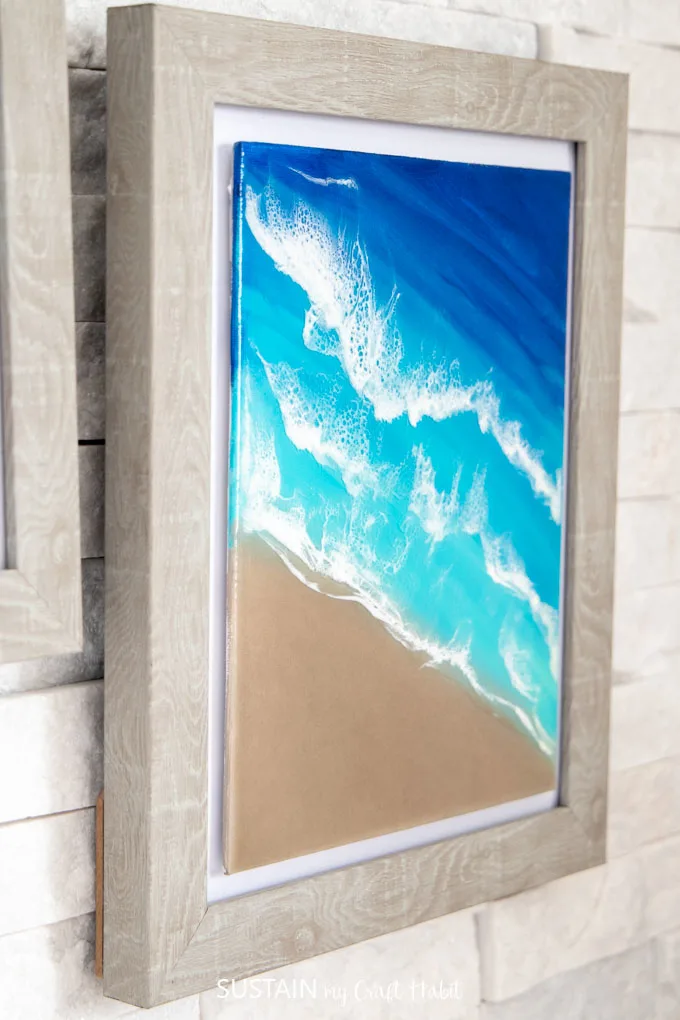
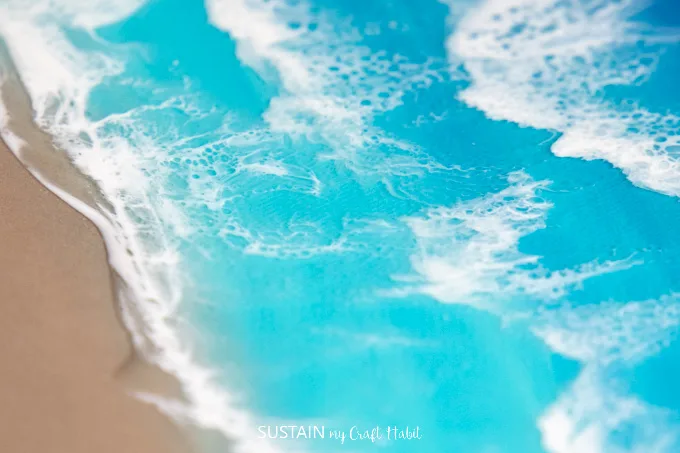
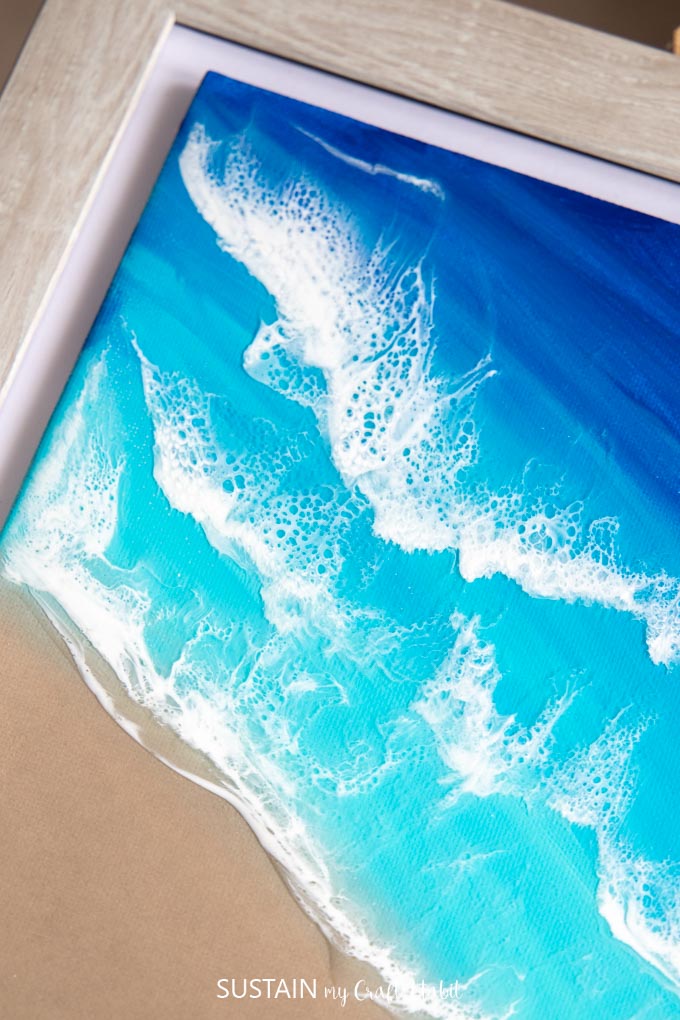
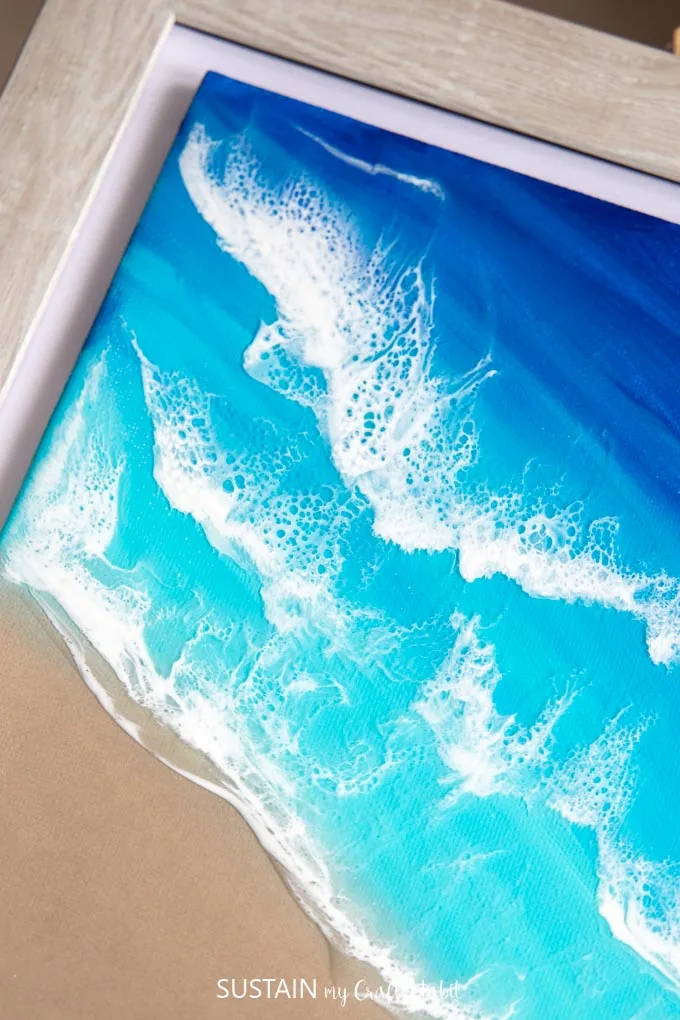
There’s just something about the vibrance of the blues and teals accentuated by the resin, as well as the beautiful white resin lacing for the waves.
Every time I catch a glimpse of them I feel like I’m transported back to the lakeside and summer.


You can use EnvirotexLite Pour-On Resin to really give any surface a super high gloss shine. It is meant to replace over 30 layers of any lacquer finish.
We’ve been fortunate over the past two years to use it on dozens of different resin art projects including:


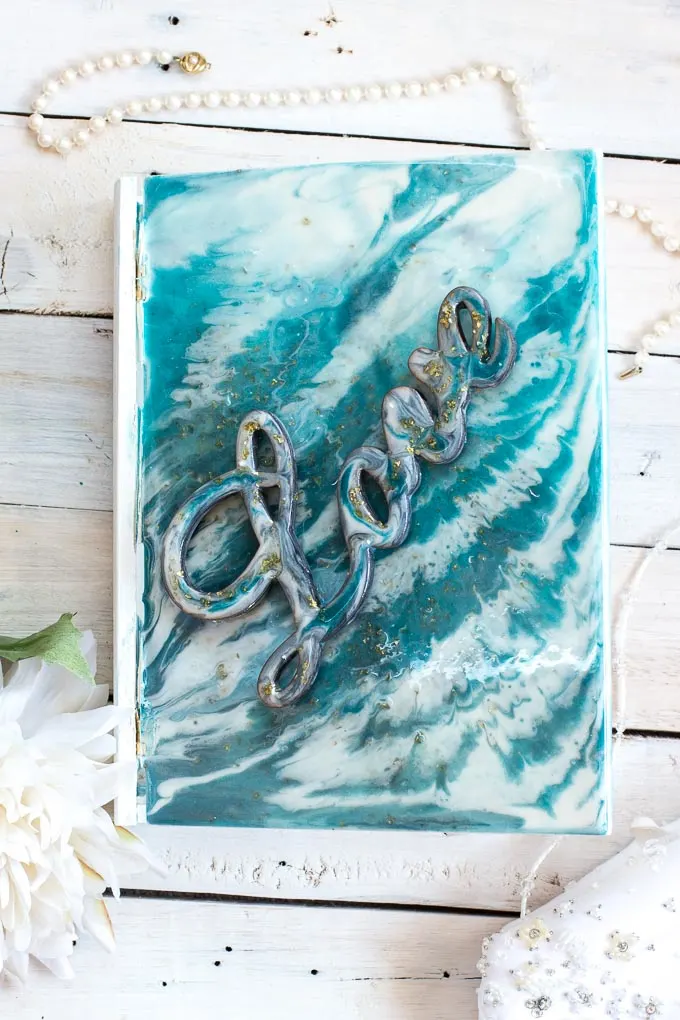
Resin Pour Memento Box 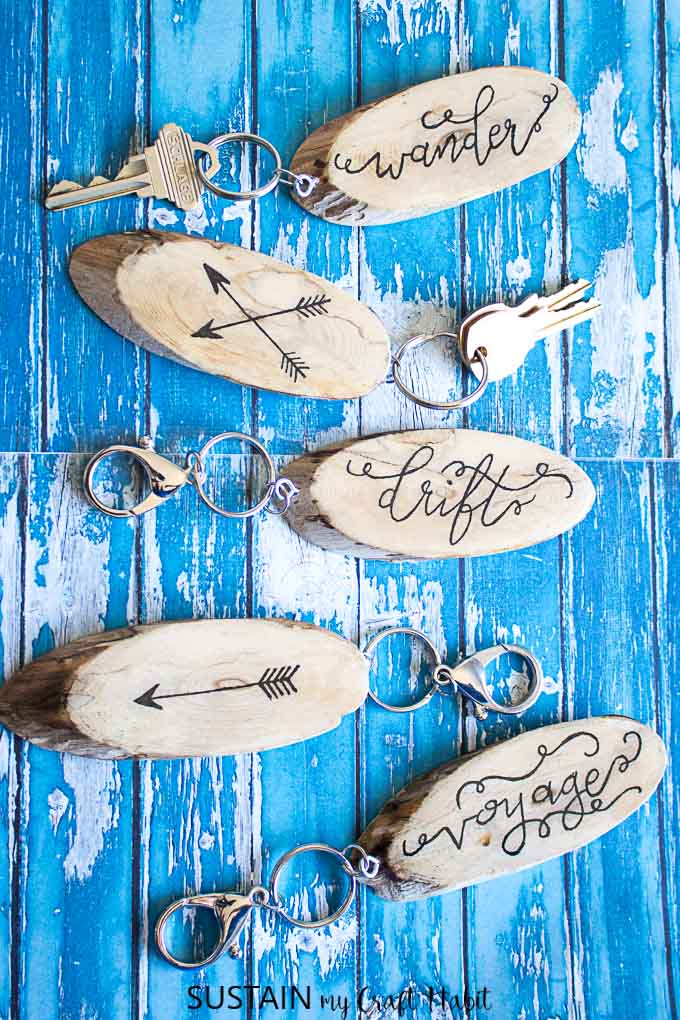
Hand Lettered Key Chains 

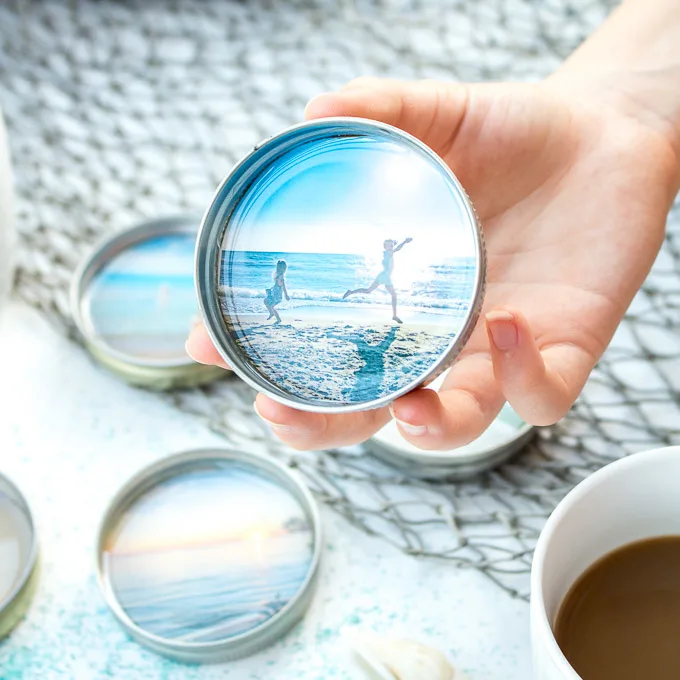
Photo Coasters

So don’t hesitate to give it a try with any artwork that you have. Next, I’d love to figure out how to make resin geode art.
The most important thing about working with resin is to make sure that you are not trying to coat a porous surface. For example if you are coating a watercolor painting you want to make sure to seal the piece with a sealer prior to pouring the resin.

Materials Needed to Make Two Resin Art Panels
- 2 small painting canvas panels
- Decoart Americana Acrylics Paint in ultra deep blue, ocean blue, bahama blue and desert sand
- Paintbrush
- Envirotex Lite Pour-On
- Castin’ Craft Opaque White Color Pigment
- Alcohol and dropper
- Small and large cups, wooden stir sticks, small kitchen torch
- Disposable work surface, disposable brush, gloves
- Heat source such as a hair dryer
How to Make High-Gloss Resin Art
This project takes several steps over a couple of days to complete, so make sure you give yourself enough time. As described in detail below you will need to:
- Paint the artwork with acrylic paints and let it fully dry;
- Pour a small amount of resin for the “beach” section of the art and let cure;
- Pour the “ocean” layer of resin and let cure.
Step 1: Painting the Scene
Painting the seashore scene is actually pretty simple. Using a combination of acrylic paint colors, brush on the paint in diagonal stripes working quickly. It’s important to do this before the paint dries so that each color blends together with the next.
Start at the top corner of the canvas with your darkest shade of blue and paint the “deepest” part of the water. Work side to side with diagonal strokes.

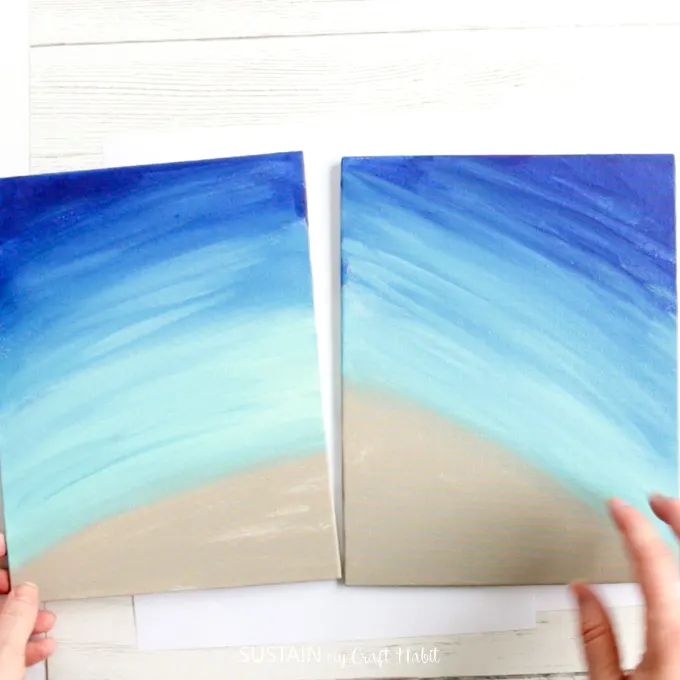
Next, moving closer to the shoreline, apply the ocean blue paint color in a diagonal direction, blending in with the dark blue paint a bit.
Follow that layer with the bahama blue paint color, blending in with the darker colors.
Lastly, paint the beach with the desert sand color. Let the paint dry completely before moving on to the resin pouring.
Step 2: Pouring the Resin for the Beach
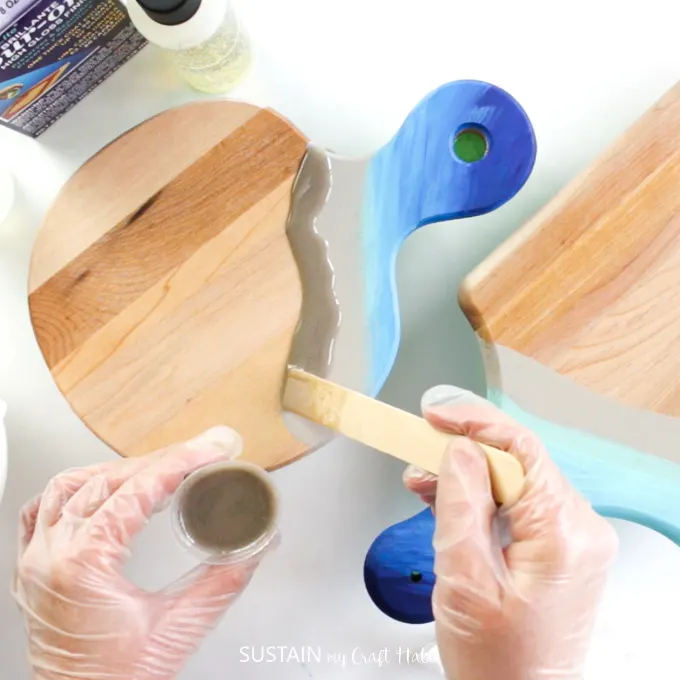
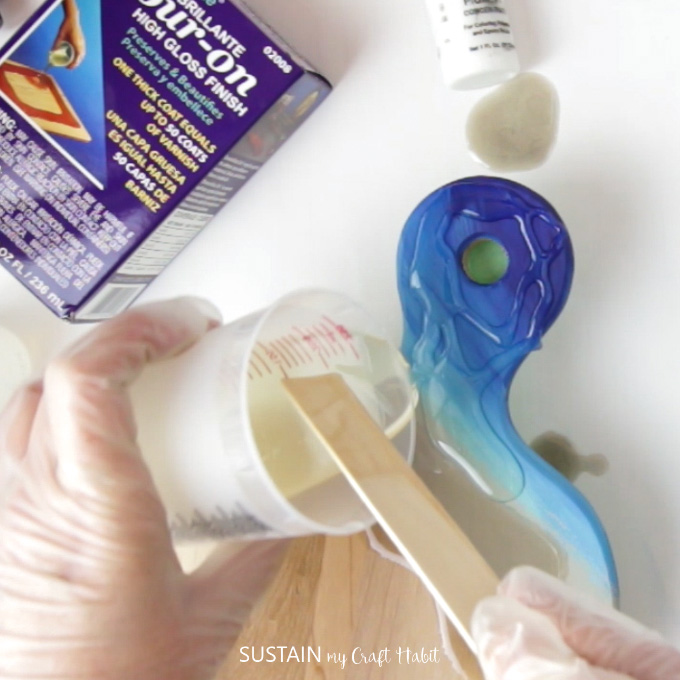
NOTE: We used the same process for these resin art piece as for our wooden serving boards. The photos are from the serving board project but the same steps apply.
Prior to starting be sure to raise the canvases off of your working surface by placing some mixing cups underneath.
Mix equal parts of resin and hardener in a clean measuring cup (about ½ oz each for this step of the project).
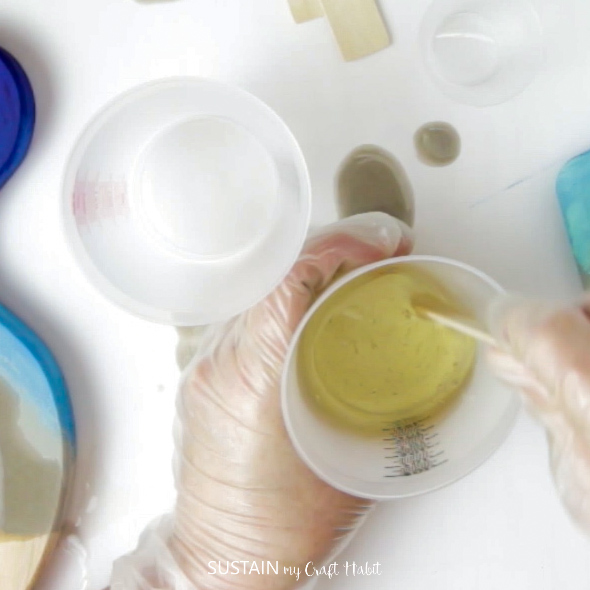

Stir for 2 minutes then transfer into a second clean measuring cup. Stir with a clean stir stick for another minute.
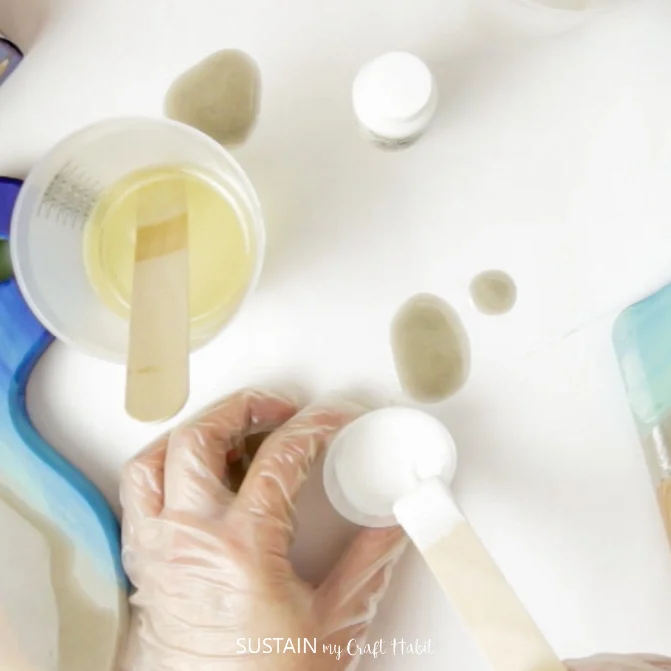
Add a few drops of the sand paint color to the resin and stir together.
Using the end of a wide mixing stick pour the mixture over the sand painted portion of the artwork.

After 10-15 minutes, blow off any air bubbles rising to the surface of the resin using a small kitchen torch or hair dryer. Repeat as necessary over the next 1-2 hours. Aim the direction of the torch or dryer towards the “water” area of the artwork.

Step 3: Pouring the Resin for the Ocean Water
Mix equal parts of resin and hardener in a clean measuring cup. You’ll need about 4 oz in total for this project. Stir for 2 minutes then transfer into a second clean measuring cup. Stir with a clean stir stick for another minute.
Set aside about 1 oz of the mixed resin into a smaller measuring cup for the “waves” (see Step 3).
Pour the clear resin over the remainder of the artwork, starting at the cured edge of the “sand” and working towards the top of the canvas.

Make sure the canvases are fully covered with the clear resin all the way over the sides of the canvases. Continue to the next step right away.
Step 4: Pouring the White Resin Waves
Add a few drops of the opaque white color pigment and alcohol to the resin and stir together.

With the end of the stir stick, apply the white resin mixture in uneven diagonal stripes over the canvas where the colors transition.
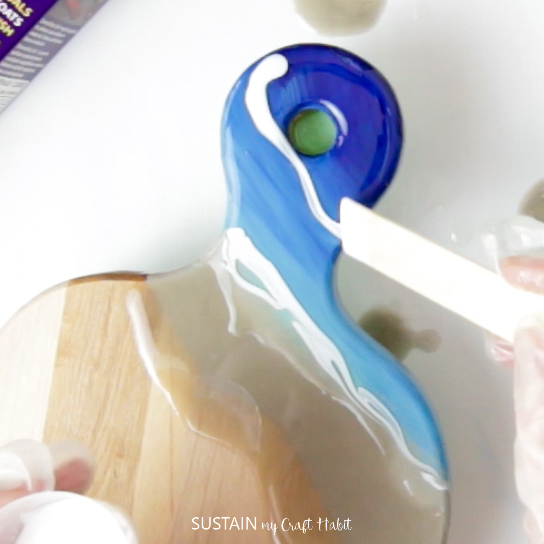

Immediately after pouring the white resin mixture, use the hair dryer or kitchen torch to blow the resin causing the white “crashing waves” to disperse and blend.


The heat and blowing air will create a pretty realistic wave-like effect. As mentioned before, ensure the direction of the torch or dryer is facing towards the top of the canvas.
After 10-15 minutes blow off any air bubbles rising to the surface of the resin using a small torch or hair dryer. Repeat as necessary over the next 1-2 hours.
Place the cutting boards on a level surface and cover to keep dust from settling in. Leave to cure overnight (24 hours for a soft cure, 72 hours for full cure).
There you go! Beautiful, detailed, one-of-a-kind ocean resin art to display or give as a gift.
I found a very simple frame to mount my canvases into (I removed the glass).
And I am completely in love with how they turned out. Not only do I love to stare at them but to touch the smoothness of the high gloss surface.

I hope this DIY resin art idea and tutorial brought a little bit of summer to you. Do you have a way you like to channel those hot beach days?
Be sure to visit the Resin Crafts Blog for hundreds of inspiring resin art ideas. And SUBSCRIBE for new resin crafts and DIY projects straight to your inbox.
Like it? Pin it for later!

Allison Murray
Monday 2nd of March 2020
These are amazing! I love them so much!
Jane and Sonja
Tuesday 3rd of March 2020
Thank you so much Allison! I love them too- will definitely be making more :D So happy you stopped by, Jane