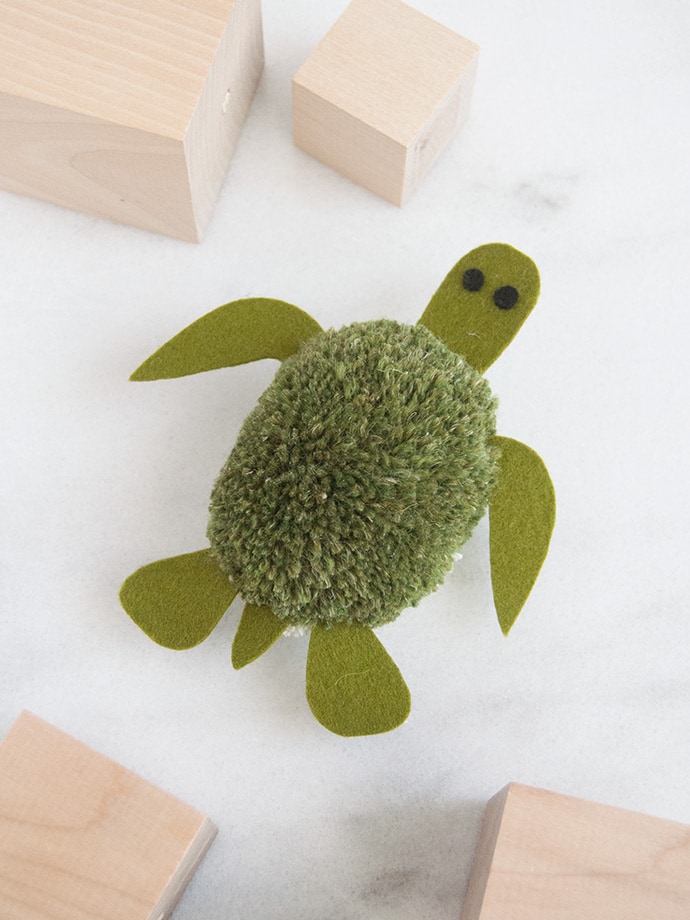
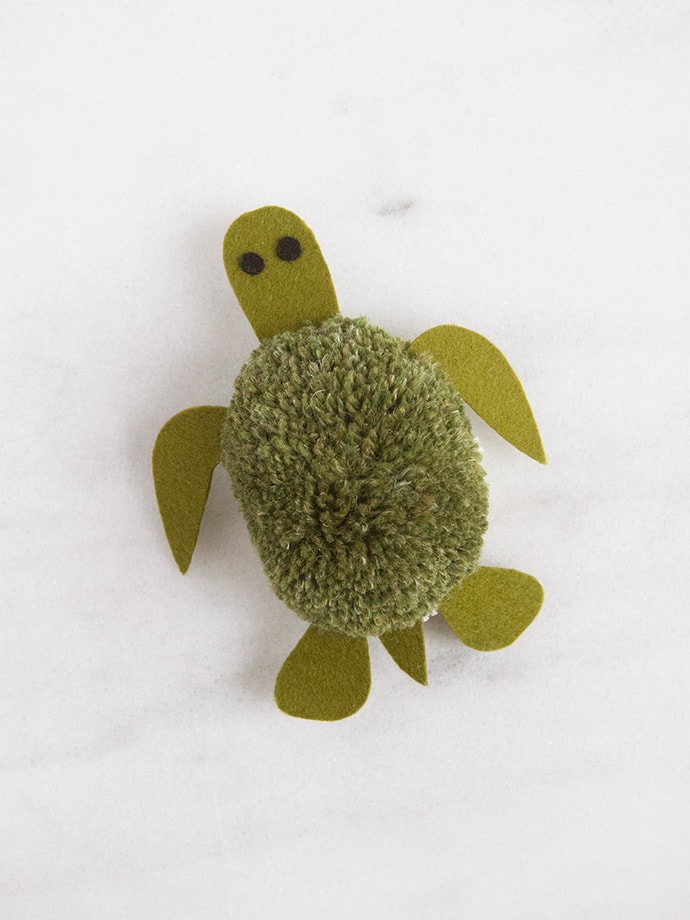
Have you been keeping up with our fun new pom pom series? In collaboration with our friends over at Purl Soho, we’ve been sharing pom pom tutorials inspired by endangered animals! Today’s post is all about the green turtle, and the first pom pom in our series that we’ll be crafting a whole body for instead of just the head alone. Keep reading to learn how to make your own.
what you need:
- Pom Pom Maker Set (small + large)
- Linen Quill in fresh pickle
- Burnish in pale celery
- Wool felt (moss and black)
- Embroidery floss (ecru)
- Scissors
- Tacky glue
- Printable green turtle tag
how-to:
Step 1
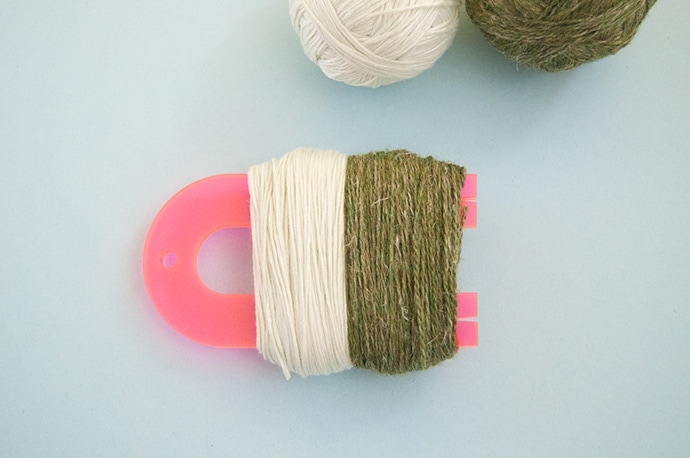
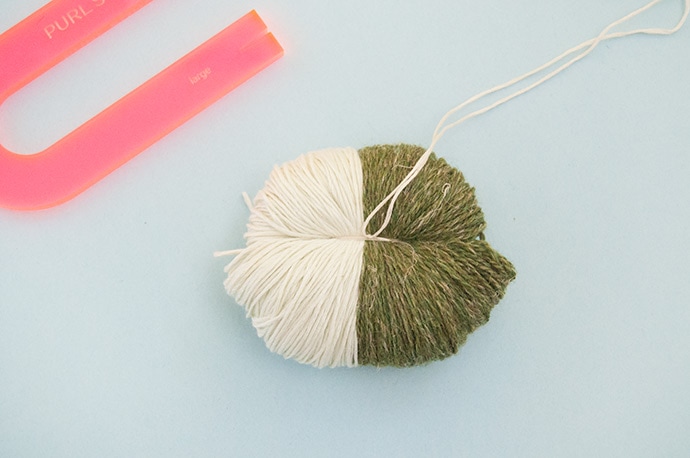
Begin by winding your skeins of Linen Quill and Burnish into balls. If you’ve never done this before, take a look at Purl Soho’s tutorial on how best to do this – it’s easy! You won’t need the whole skeins for this one pom, so save any leftovers for another project. Once you have your balls of yarn, first wrap one color around the large pink pom pom maker that comes in the set about 350 rotations. Repeat for the second color, wrapping right next to it, again about 350 rotations. This color separation will form the turtle’s shell and underbelly.
Step 2
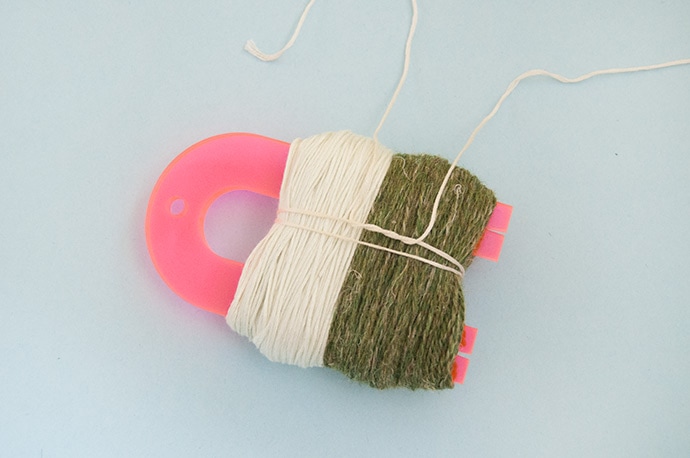
Once you’ve wrapped all your yarn, cut an 18″ piece of embroidery thread. Thread one end through the U-shaped gap between the wrapped yarn and the pom pom maker. Bring that same end up and over the wrapped yarn and then back through that same U-shaped gap again. Bring the two end of the embroidery floss together and make sure that the horizontal threads are nice and centered on the yarn wrap. Tie a surgeon’s knot but wrap the end through the loop twice. Pull the knot together but don’t pull tight yet.
Step 3
Gently slide the yarn wrap off the end of the pom pom maker. Pull the embroidery floss knot as tightly as you can. Use a finger to hold the surgeon’s knot tight in place and then tie a half granny knot on top to secure. Bring both ends of the floss to the other side of the wrap (make sure to do this so that you don’t catch any loops of yarn along the sides) and then tie another tight surgeon’s knot, followed by another granny knot to secure. Make sure that these knots feel secure and very tight – a loose center may cause your pom pom to fall apart later.
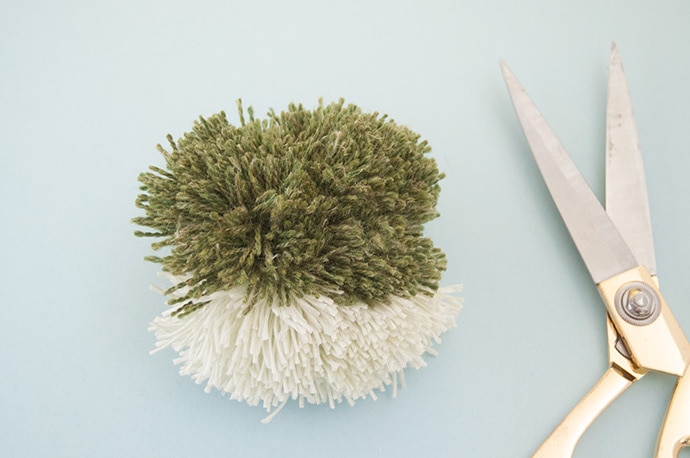
Step 4
Use sharp scissors to cut all the yarn loops. You’ll now have a large and slightly shaggy looking pom pom like this.
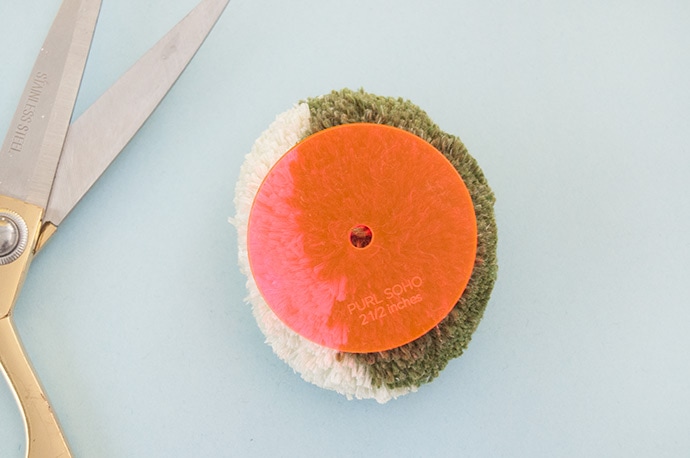
Step 5
Use your matching large pom pom guide to trim the excess yarn, but instead of forming a perfectly round pom pom, aim for an even oval, like a turtle shell. As you trim, fluff up the pom pom and reposition the guide on different sizes to make sure you’re happy with the shape from all sides.
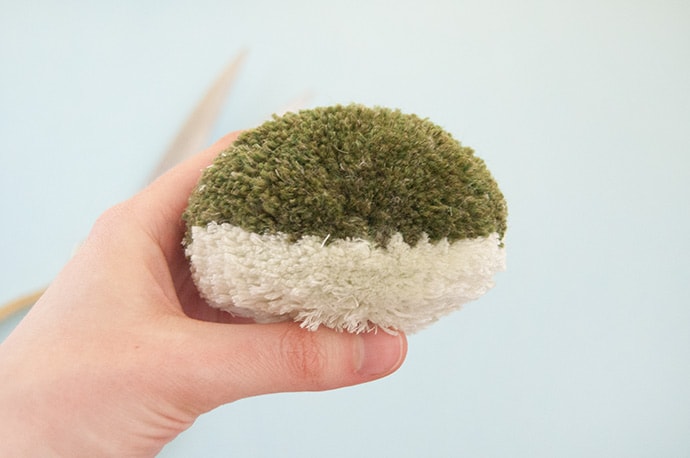
When done trimming, your pom pom should look something like this!
Step 6
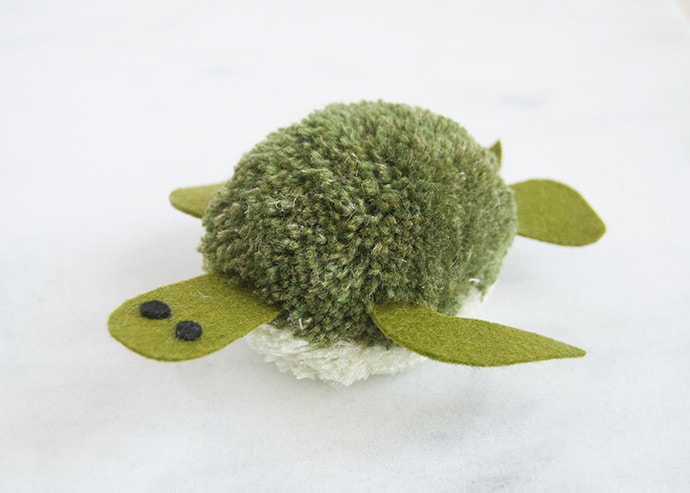
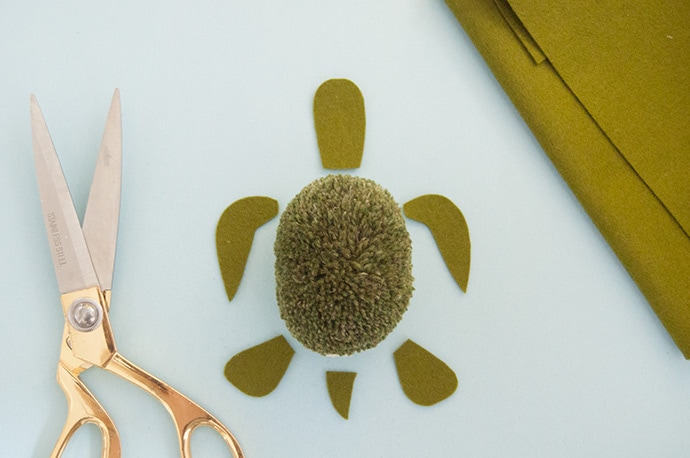
Time to make the turtle’s head and limbs! We used moss felt for all these pieces. For the head, cut an oblong teardrop shape but without the pointed tip. For the tail, cut a small triangle. For the front flippers, we cut two shapes almost like commas. For the back flippers, make them instead more like the shape of a spatula.
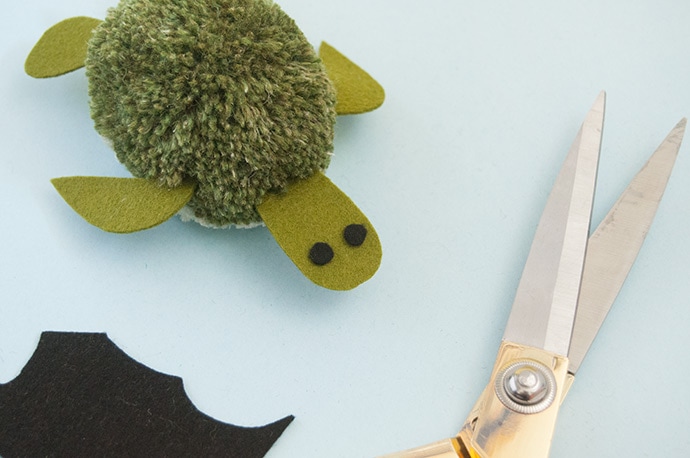
Step 7
Apply a line of glue onto the end of each limb and carefully insert into the pom pom along the line where the dark green changes to light green. Cut two small black felt circles for the eyes and glue onto the face. Set aside to dry completely.

Learn more about the green turtle and what you can do to help here. And stay tuned for our next pom pom animal in the series soon!