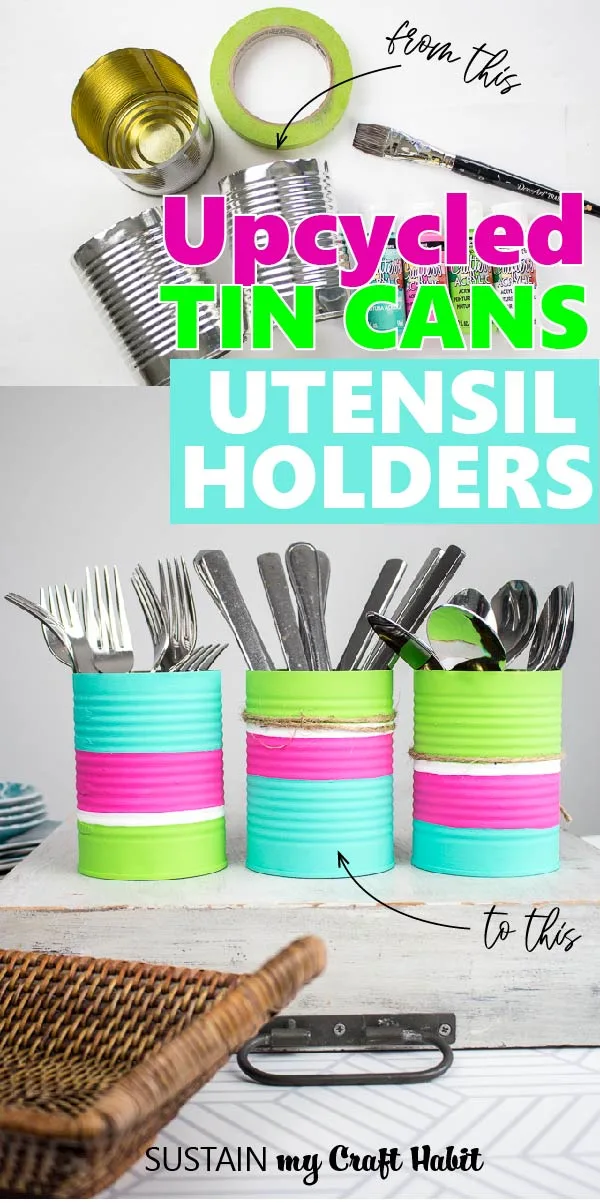
You’ll want to turn to your recycling bin for this cute and simple craft idea! Add style and fun to your kitchen or outdoor patio space by upcycling tin cans into a colorful DIY utensil holder. Read on below for our tips for painting aluminum cans with ease.
Colorful Painted Tin Can Utensil Holders
Creating home decor using materials from around the house is a great way to keep busy and stay on budget.
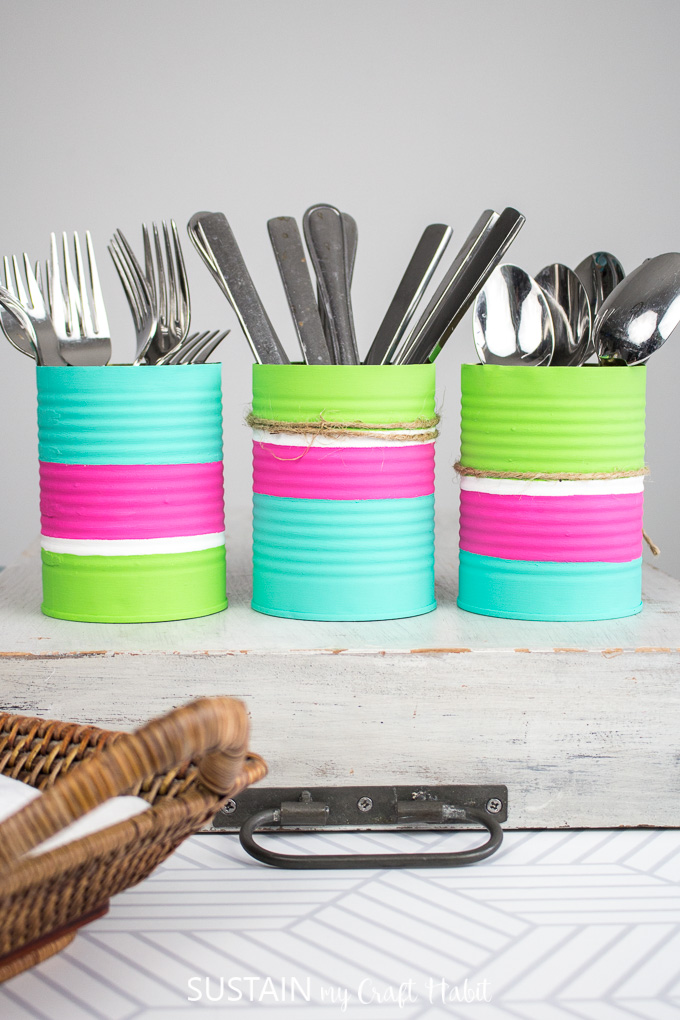
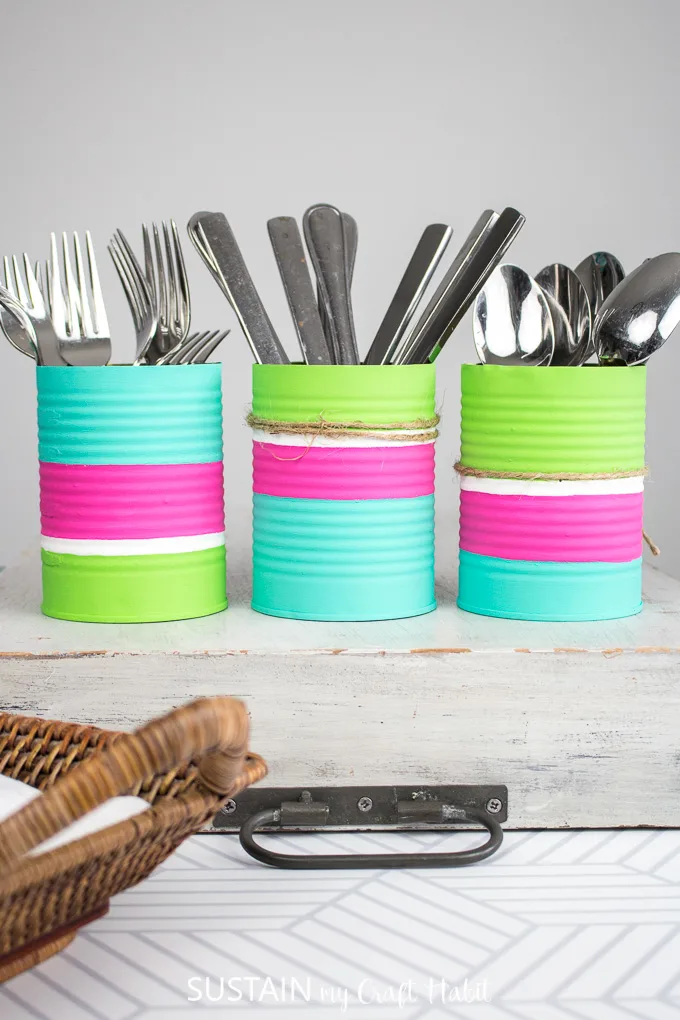
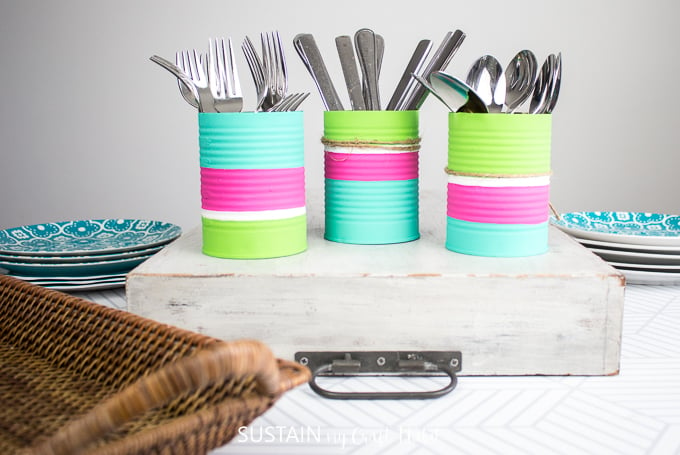
We painted a set of tin cans in bright, bold colors to hold our utensils for our Summer BBQ’s on our outdoor patio. We transfer the utensil holders from the kitchen to the backyard on a tray along with the condiments. So it’s not only pretty to look at but practical too.
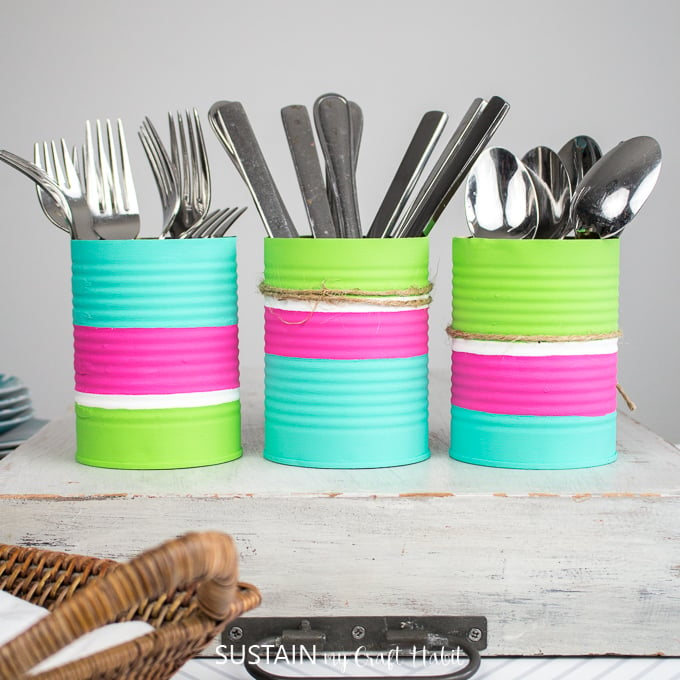
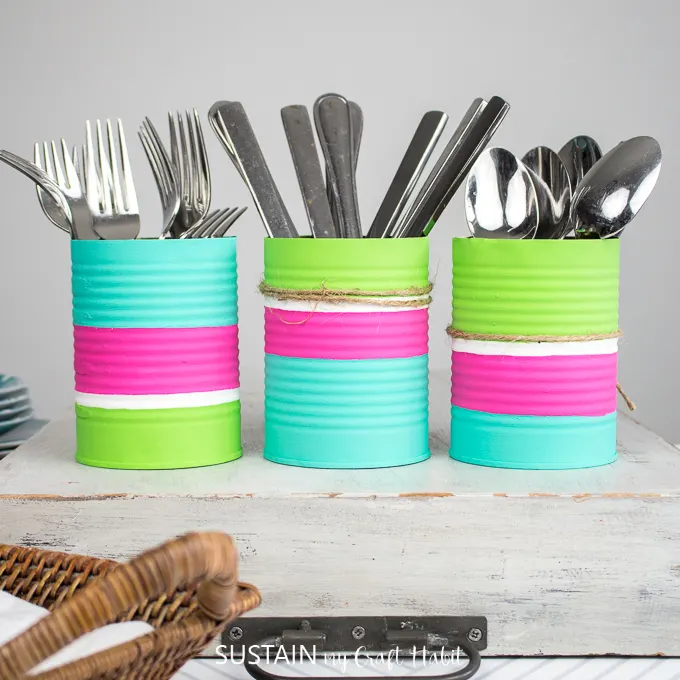
You can obviously use colors to match your decor, but we just wanted a splash of bright and bold colors for this utensil holder diy.
And if you have extra food or coffee cans, try out some of these fun DIY upcycling projects:
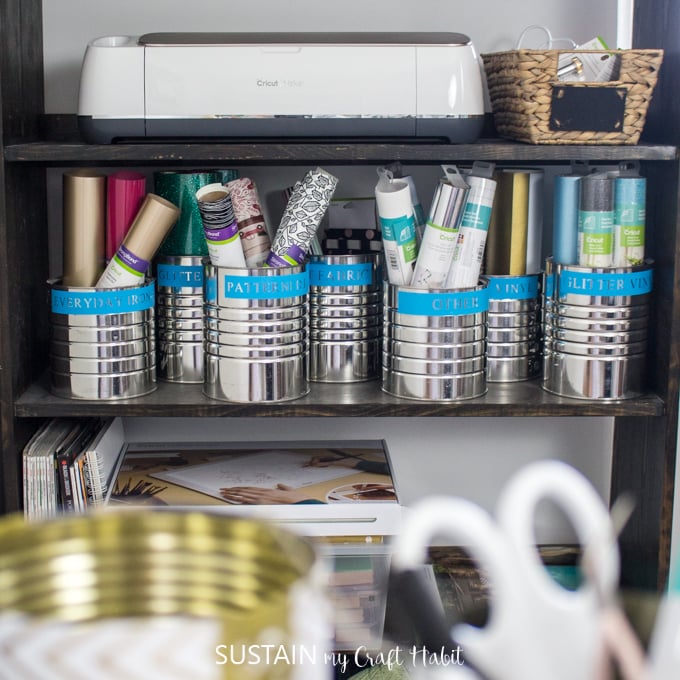
- Upcycled tin can storage containers
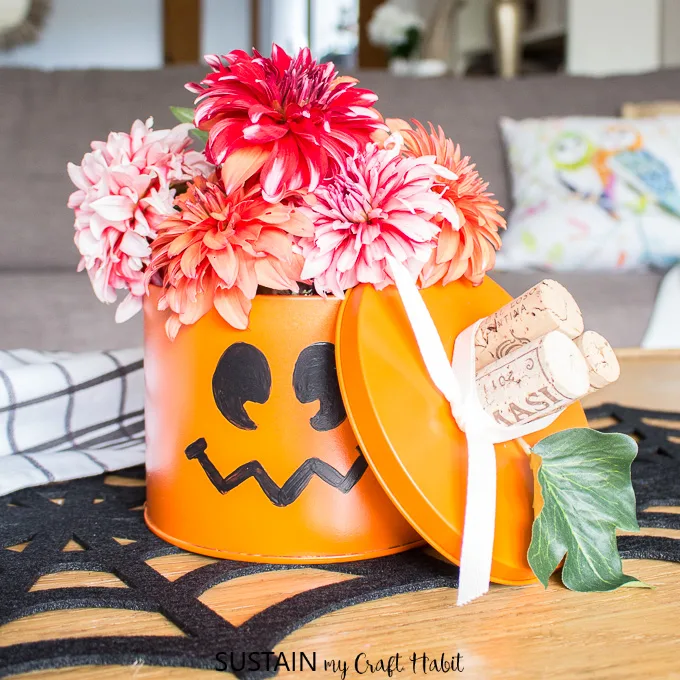
- Painted candy tin pumpkin decor
- Upcycled tin can winter centerpiece
- 50 upcycled tin can crafts
- Shabby chic planter

Upcycled Coffee Tin Storage Containers 
Upcycled Candy Tin Pumpkin Decor 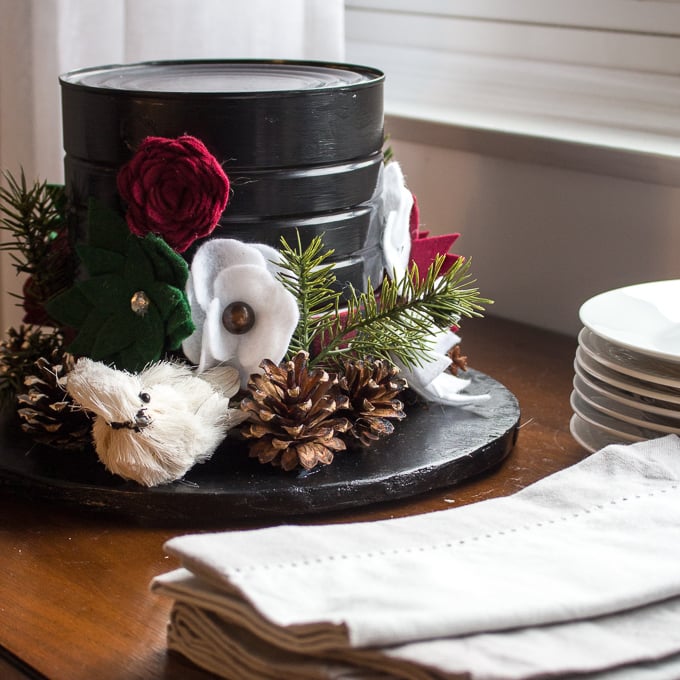
Upcycled Coffee Tin Winter Centerpiece 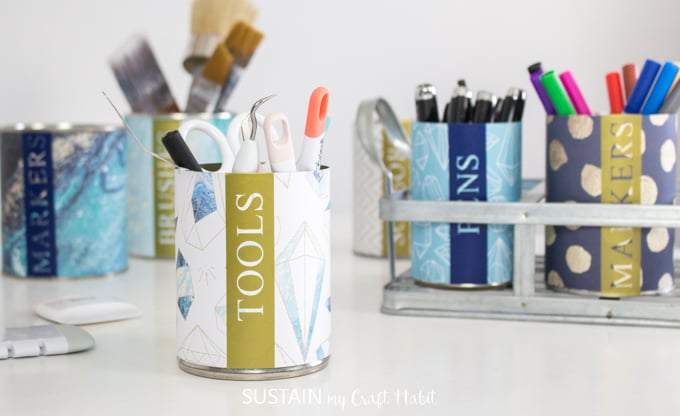

Upcycled Tin Can Storage COntainers 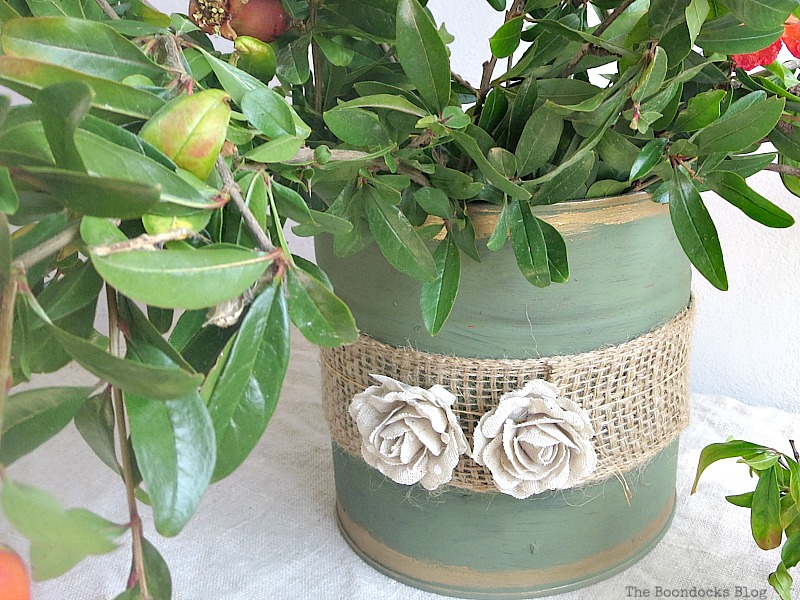

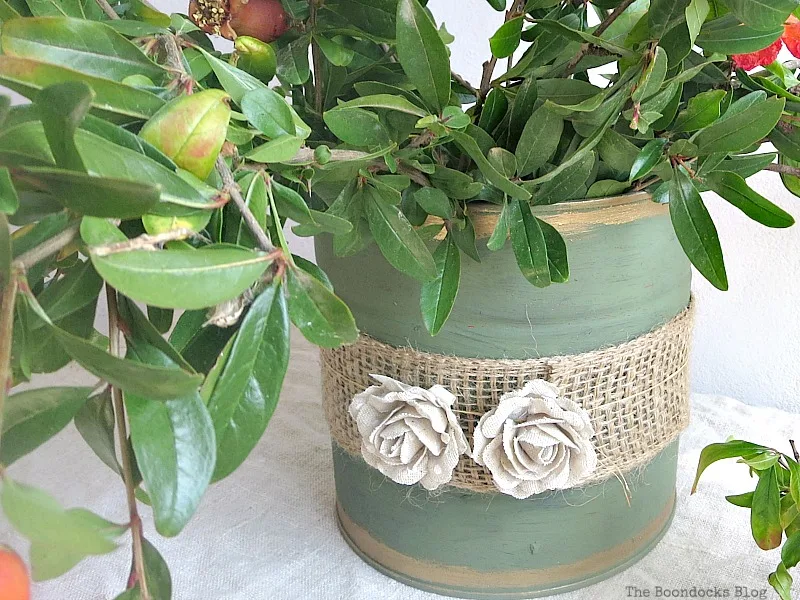
Coffee Tin Planter


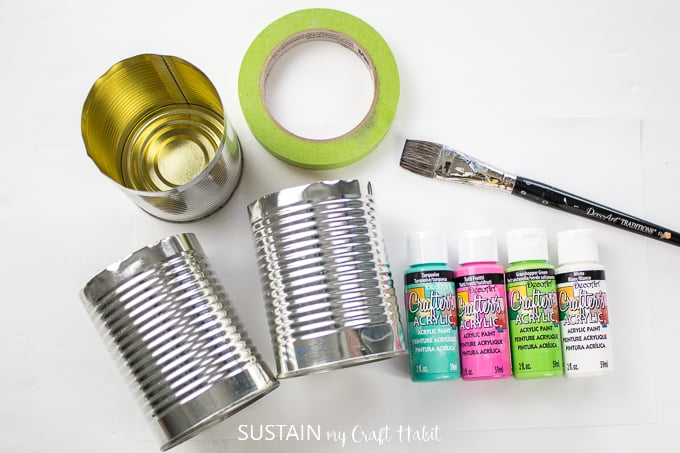
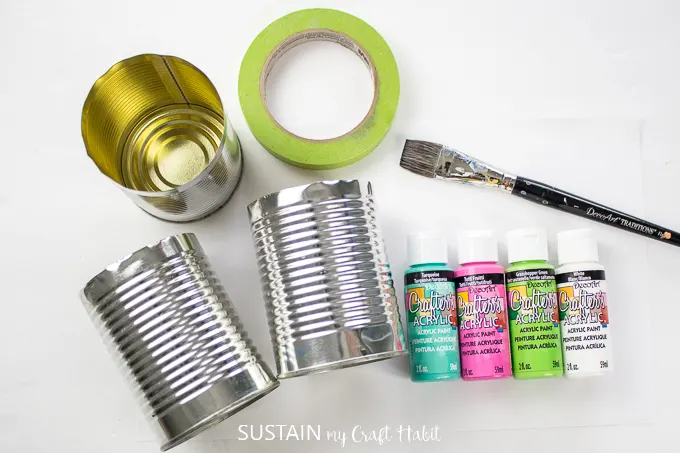
Materials Need to Make Colorful DIY Utensil Holders:
Disclosure: This post contains affiliate links for your shopping convenience. Should you choose to purchase through them, we will make a small commission at no extra cost to you. You can read our full disclosure policy here.
- Crafter’s Acrylics in
- 3 Tin Cans
- Paint brush
- Painter’s tape, ½” to ¾” thickness
- Spray paint (white)
- Twine (optional)
- Decoart Americana Decoupage Sealer in matte (optional)
A Few Tips for Painting Tin Cans
- Protect your work surface from paint using a sheet of parchment paper.
- Wash and dry each can thoroughly with soap and water before painting.
- Be sure to file the edges of the tin can using a metal filer to eliminate any rough or sharp edges.
- Apply a thin coat of spray paint to the surface of the tin cans prior to painting with Crafters Acrylics to help paint adhere better.
- Allow paint to dry fully before adding another coat of paint or changing colors.
How to Make a Creative DIY Utensil Holder:
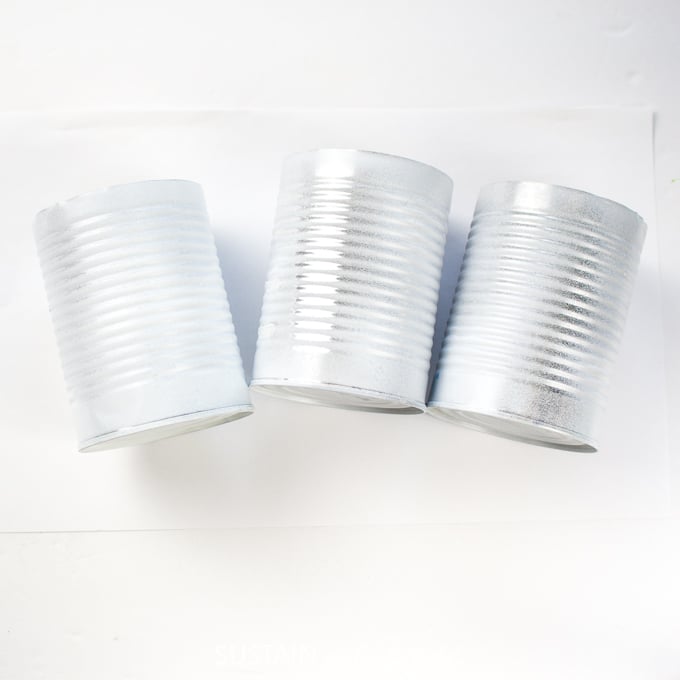
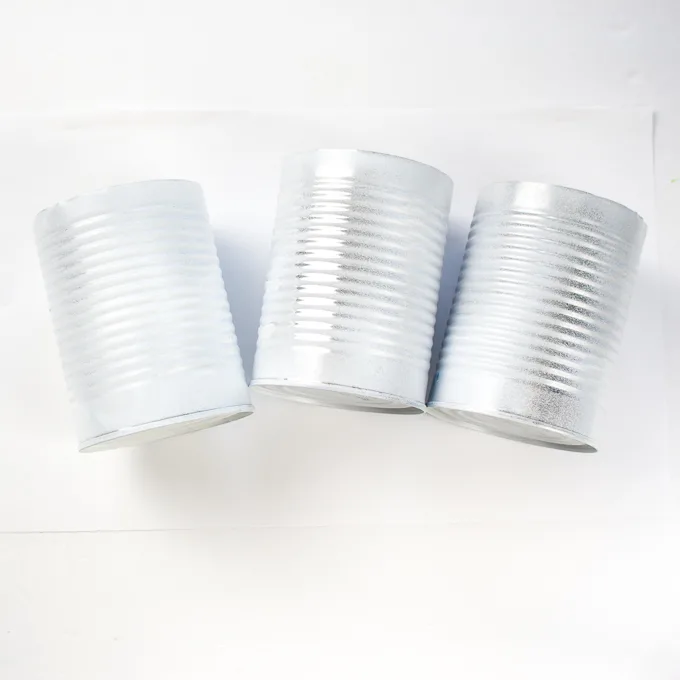
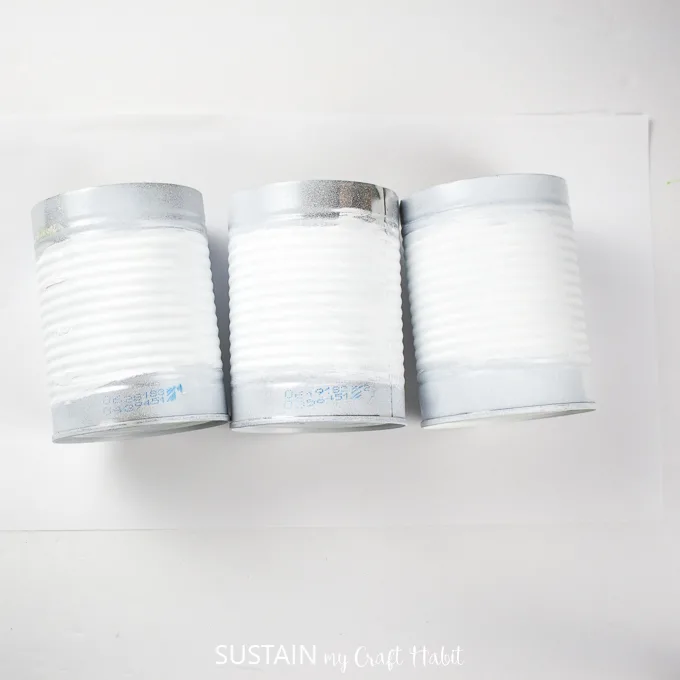
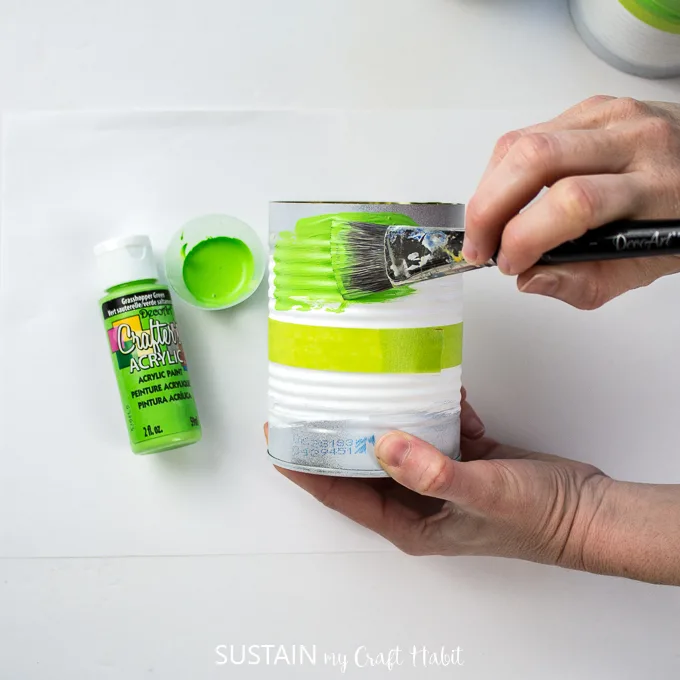
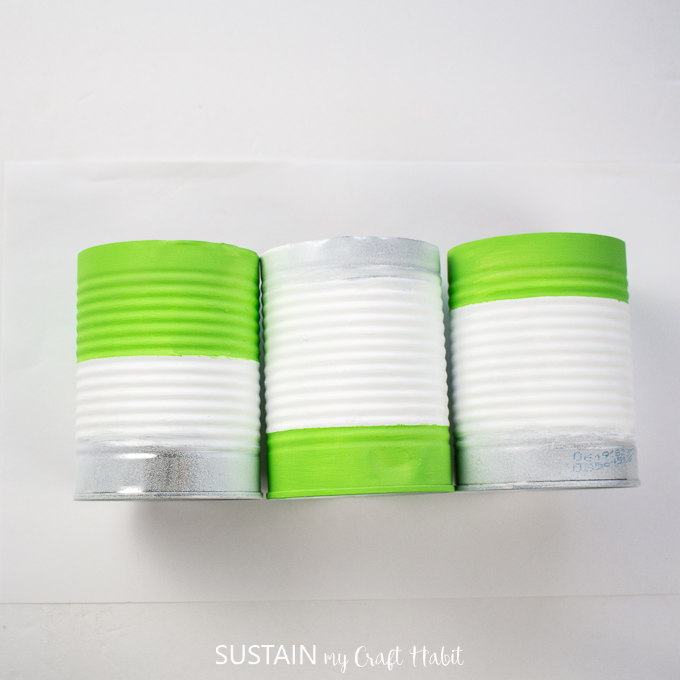
Apply a thin coat of the white spray paint to the surface of the tin cans. This will help make the acrylic paint stick to the tin cans. Allow the spray paint to dry fully before proceeding with the next step.
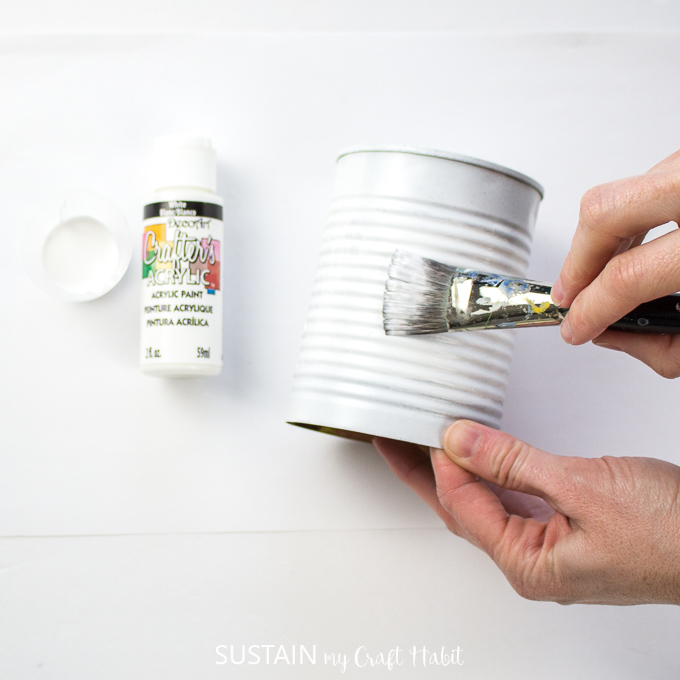
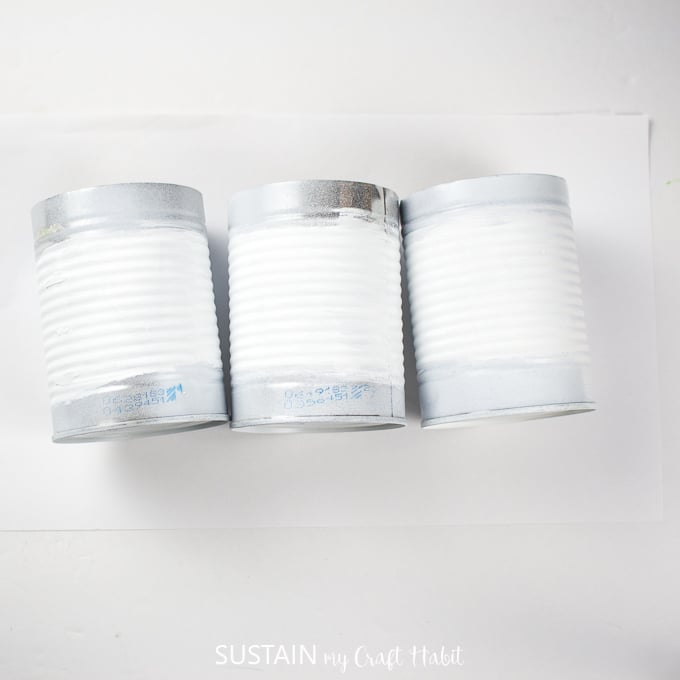
Using a paintbrush, paint the majority of the middle section of each can in Crafter’s Acrylics white.

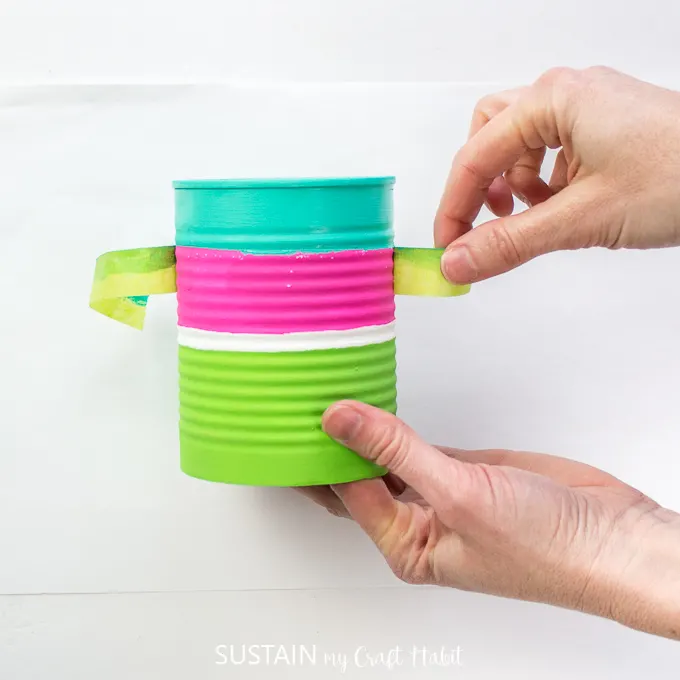
Once dry, apply painter’s tape to each of the tin cans in a varying stripe pattern (as shown).
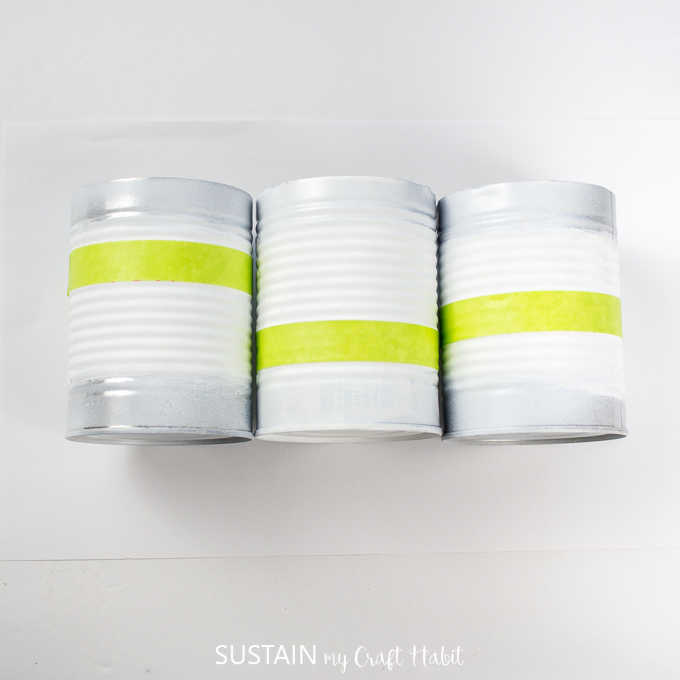
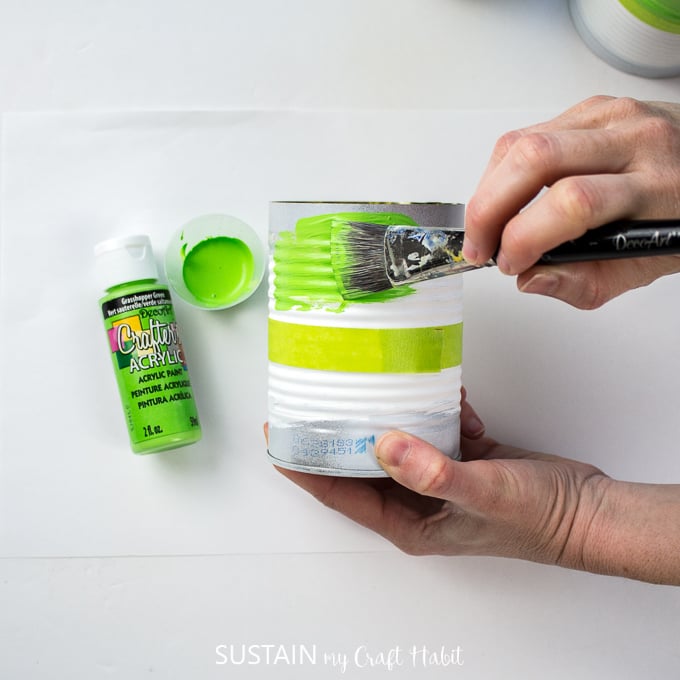
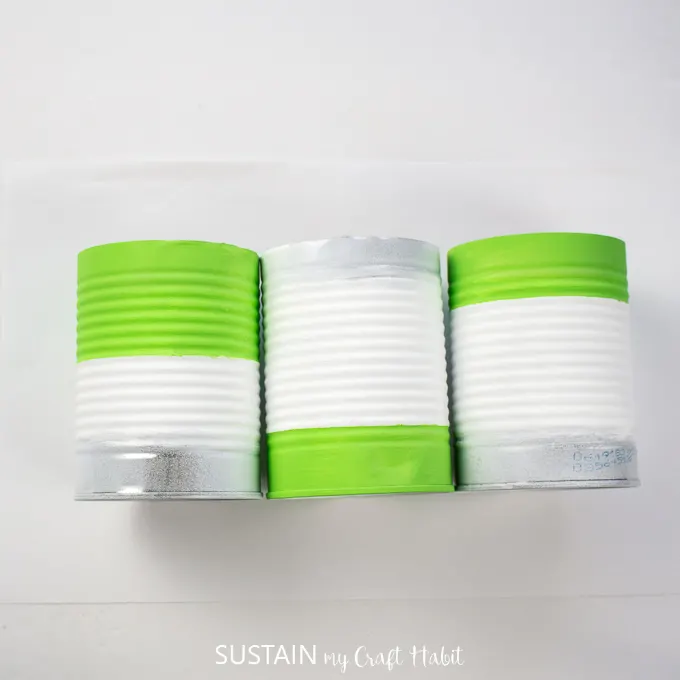
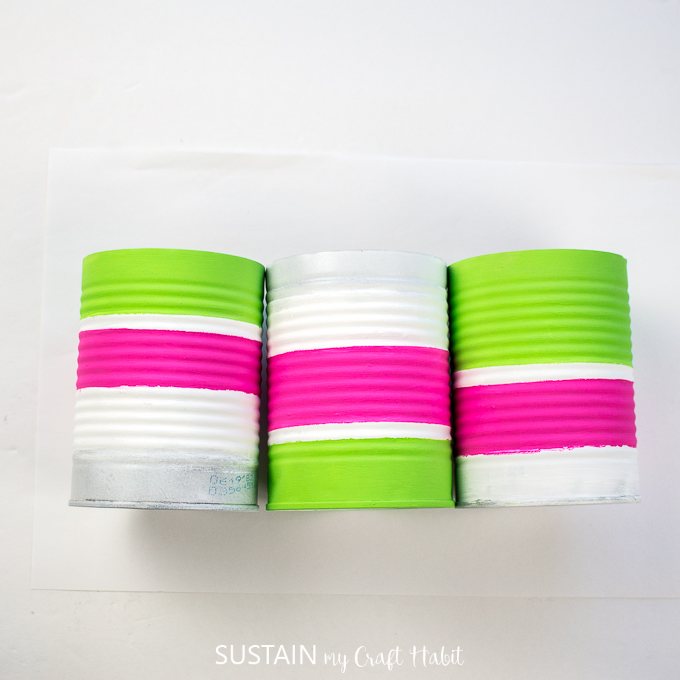
Paint one of the taped off sections in Crafter’s Acrylics Grasshopper Green. Repeat as needed for more coverage.
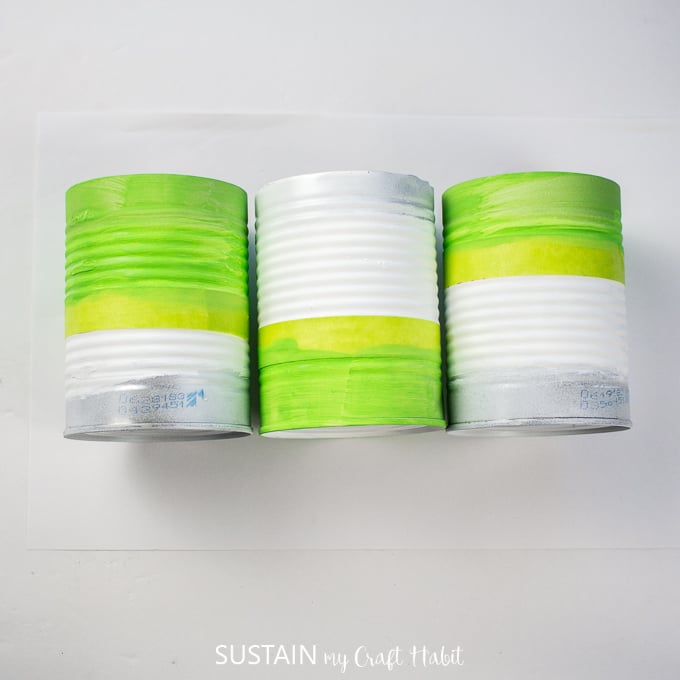
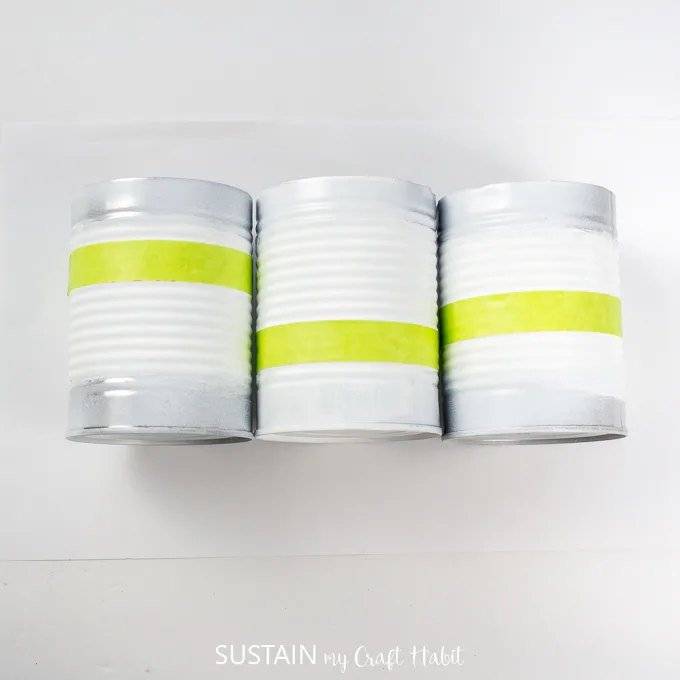
Peel off the painter’s tape.

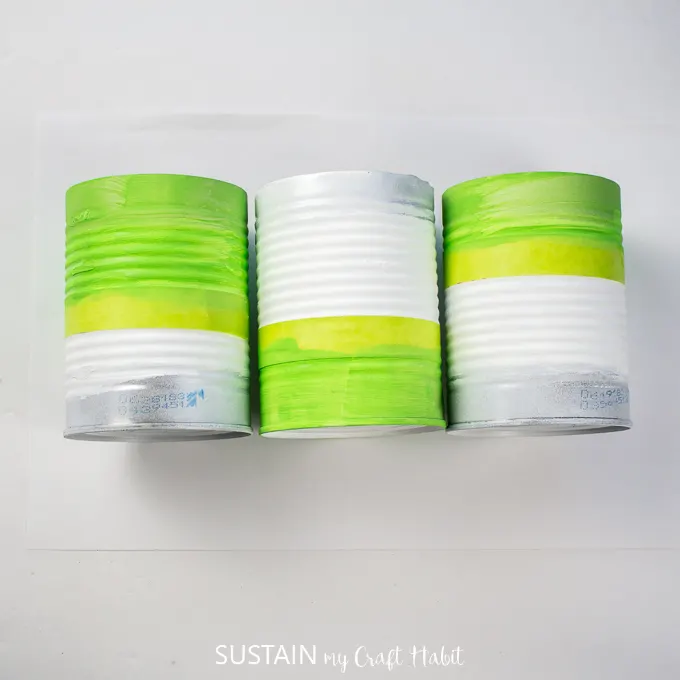
Add painter’s tape to the tin cans for the next striped color. Leave ¼” spacing below the green area for a thin white stripe.
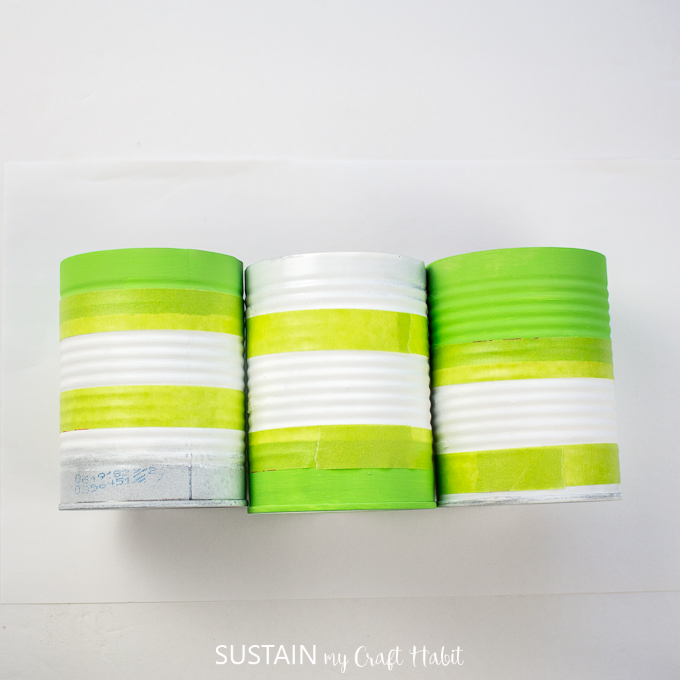

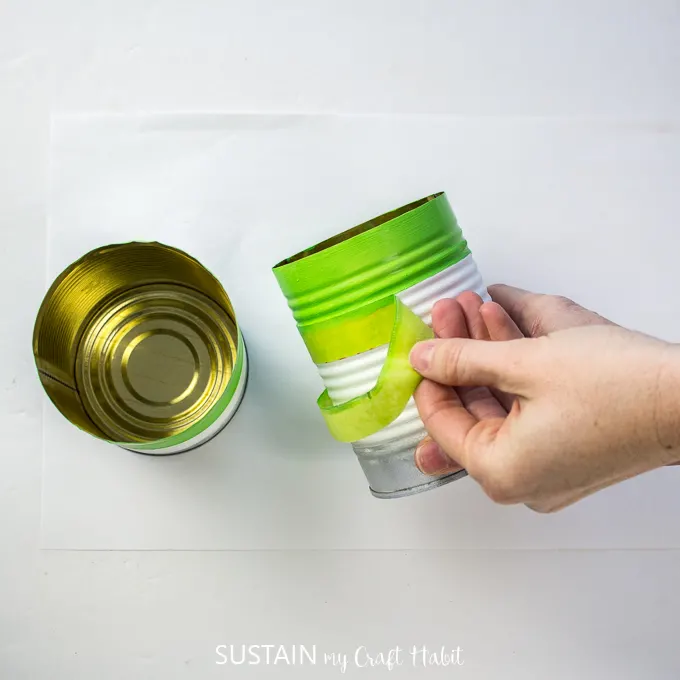
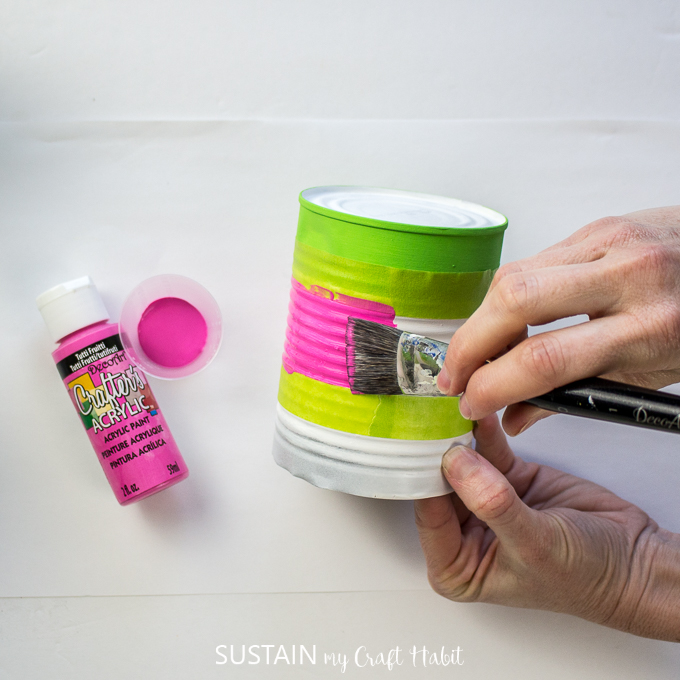
Paint the taped off sections in Crafter’s Acrylics Tutti Fruitti. Repeat as needed for more coverage.
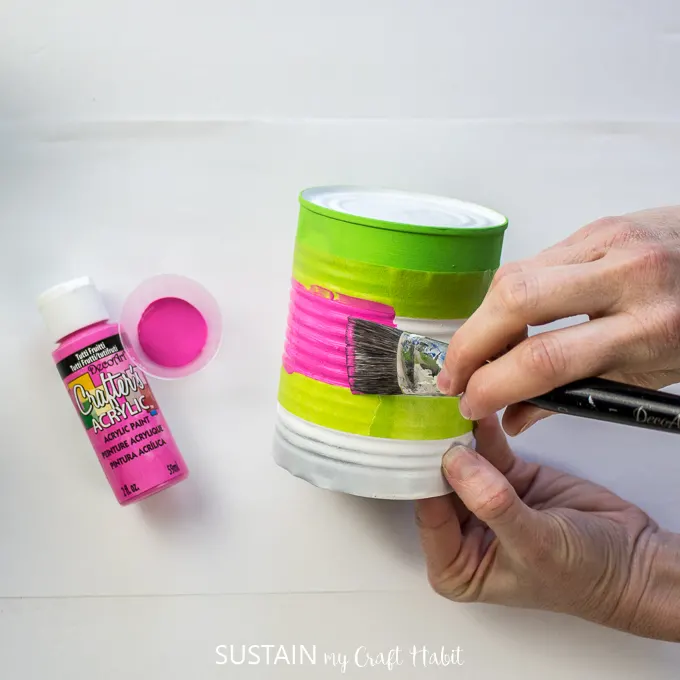
Peel off the painter’s tape.

Add painter’s tape to the tin cans for the next striped color.

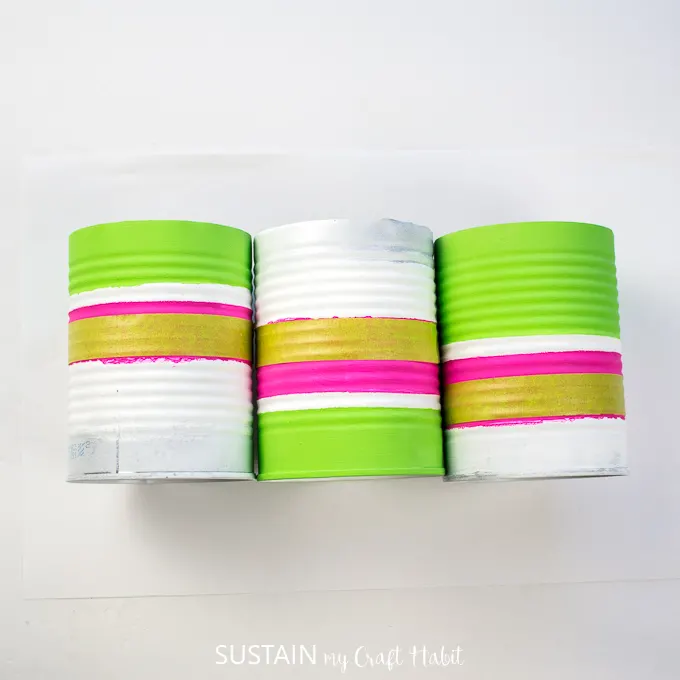
Paint the taped off sections in Crafter’s Acrylics Turquoise. Repeat as needed for more coverage.
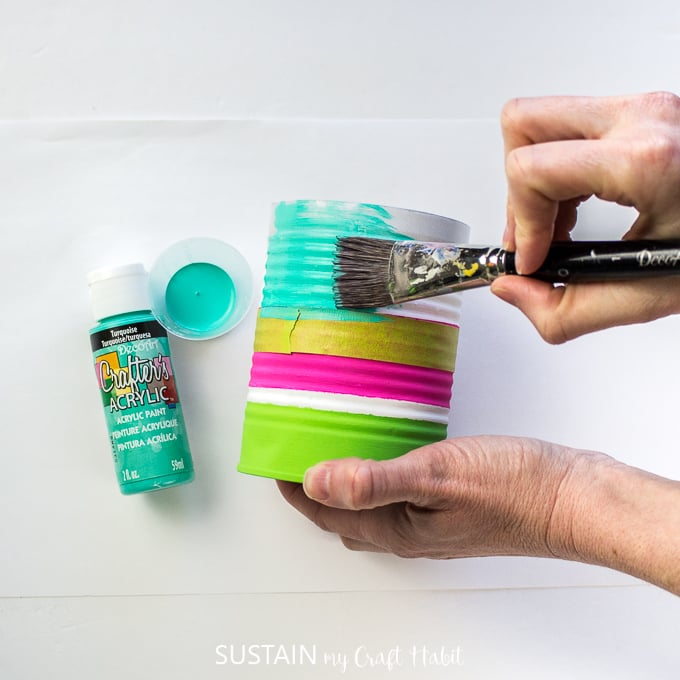

Peel off the painter’s tape. Use a fine tip paint brush to touch up any rough edges or peeled off paint from the tape.

Tie a piece of twine around each of the painted tin cans.
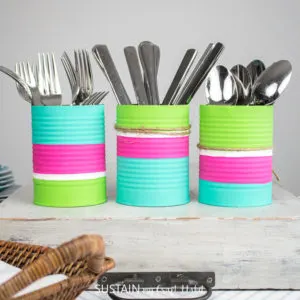
You’re all done! Fill your new creative DIY utensil holders with forks, knives and spoons for easy access. Enjoy!

This originally appeared on DecoArt’s Project Gallery.
Like it? Pin it for later!


Upcycled DIY Utensil Holders with Tin Cans
Materials
- Crafter’s Acrylics in White, Grasshopper Green, Tutti Fruitti, Turquoise
- 3 Tin Cans
- Paint brush
- Painter’s tape ½” to ¾” thickness
- Spray paint white
- Twine optional
- Decoart Americana Decoupage Sealer in matte optional
Instructions
- Apply a thin coat of the white spray paint to the base of the tin cans.
- Using a paintbrush, paint the majority of the middle section in Crafter’s Acrylics white.
- Once dry, apply painter’s tape to each of the tin cans in a varying stripe pattern.
- Paint one of the taped off sections in Crater’s Acrylics Grasshopper Green. Peel off the painter’s tape.
- Add painter’s tape to the tin cans for the next striped color. Leave ¼” spacing below the green area for a thin white stripe.
- Paint the taped off sections in Crafter’s Acrylics Tutti Fruitti. Peel off the painter’s tape.
- Add painter’s tape to the tin cans for the next striped color.
- Paint the taped off sections in Crafter’s Acrylics Turquoise. Peel off the painter's tape.
- Tie a piece of twine around each of the painted tin cans.
- Style with kitchen utensils and enjoy!