Recycled and repurposed craft projects are always our most favorite ones and today’s project is no exception! We’re SO excited to be sharing this amazing upcycled project from our friend Eleanor at Mini Mad Things!
At Mini Mad Things we love creating crafts using upcycled materials. We aim to encourage the creative use of recycled materials giving them a new life and making something fun. Encouraging our little ones to repurpose what they already have is not only great for our planet, it also requires creative thinking to see new possibilities beyond the original purpose, helping our children become the resourceful inventors of the future.
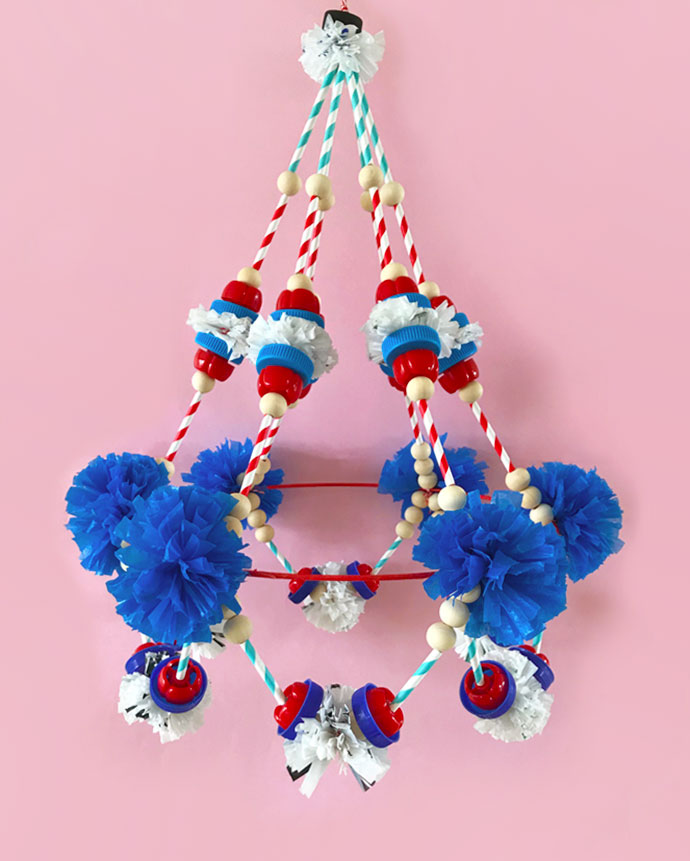
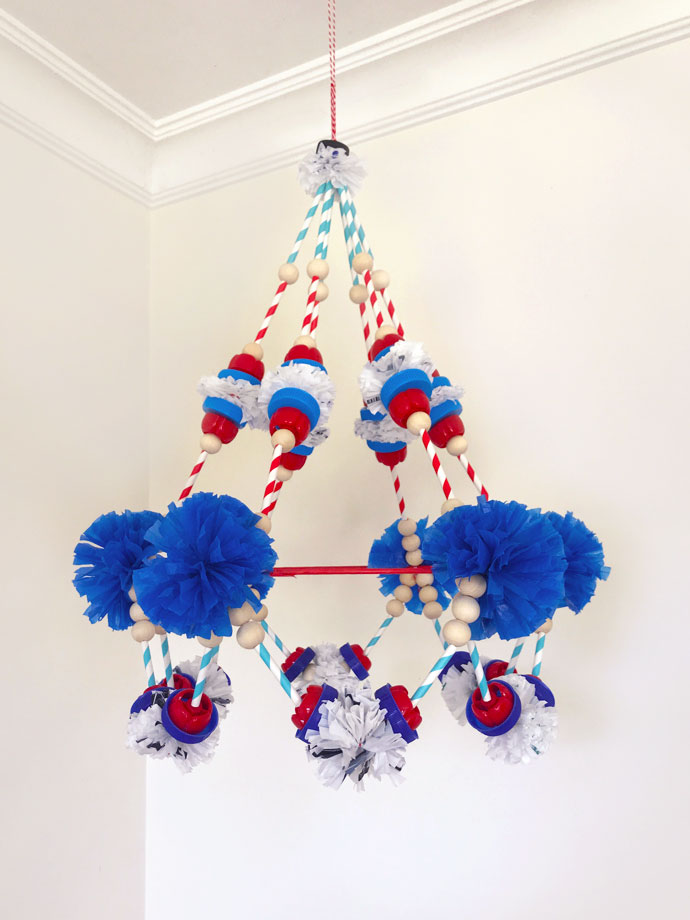
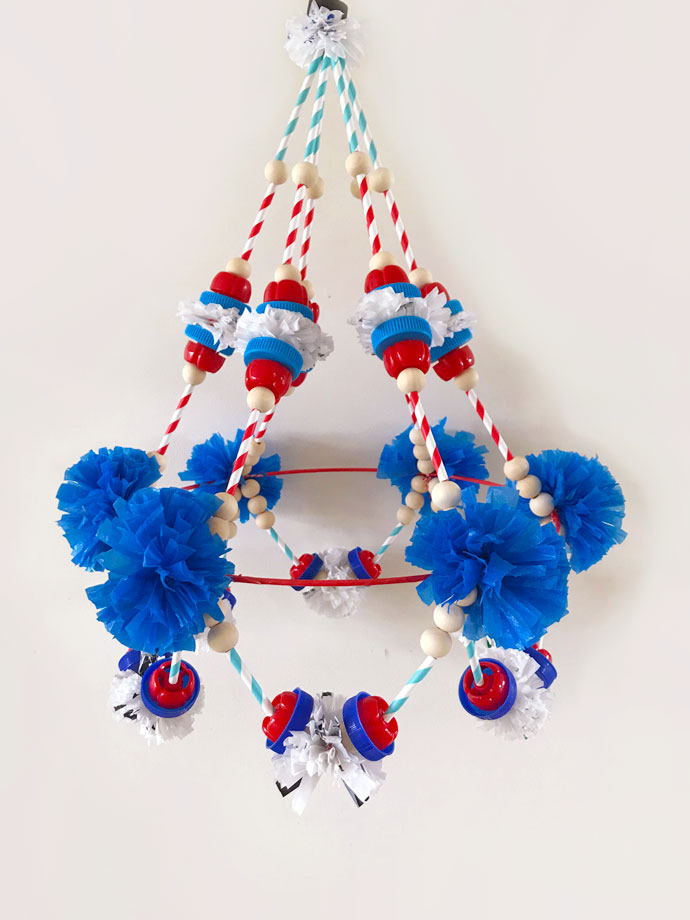
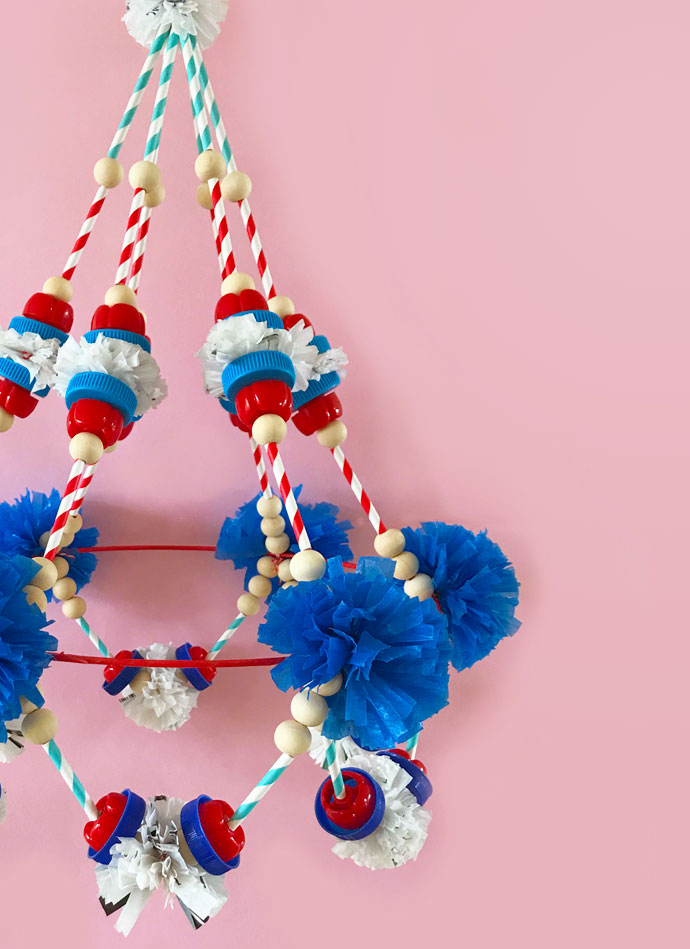
I have long coveted Polish pajaki chandelier decorations so I though we would make one! Traditionally they are made using paper and straw but we decided to make an upcycled version using plastic bottle tops, plastic bags and paper straws.
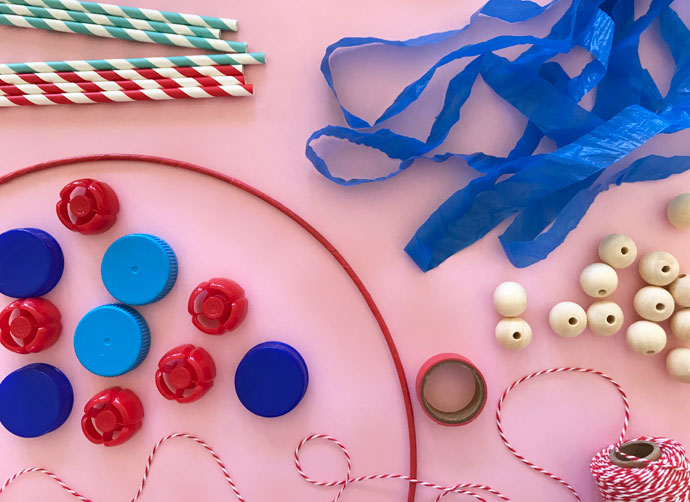
what you need:
- Large brass or plastic hoop (ours was 30cm in diameter)
- Cotton cord or string
- Paper straws
- Plastic bags (cut into long strips)
- Various coloured bottle tops
- Wooden beads
- Scissors
- Coloured washi tape
how-to:
Step 1
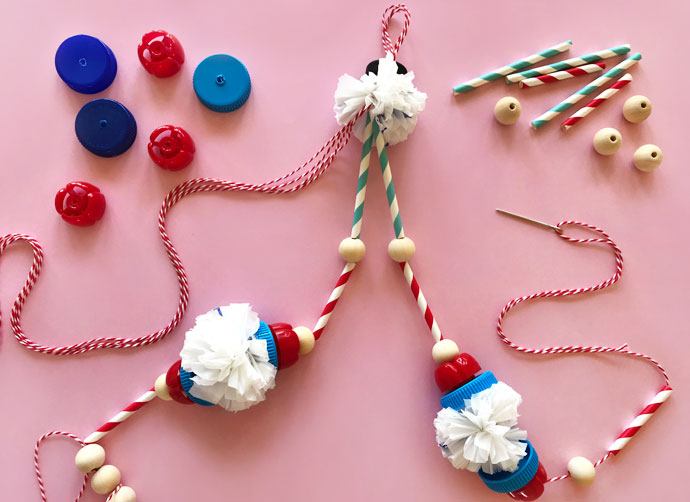
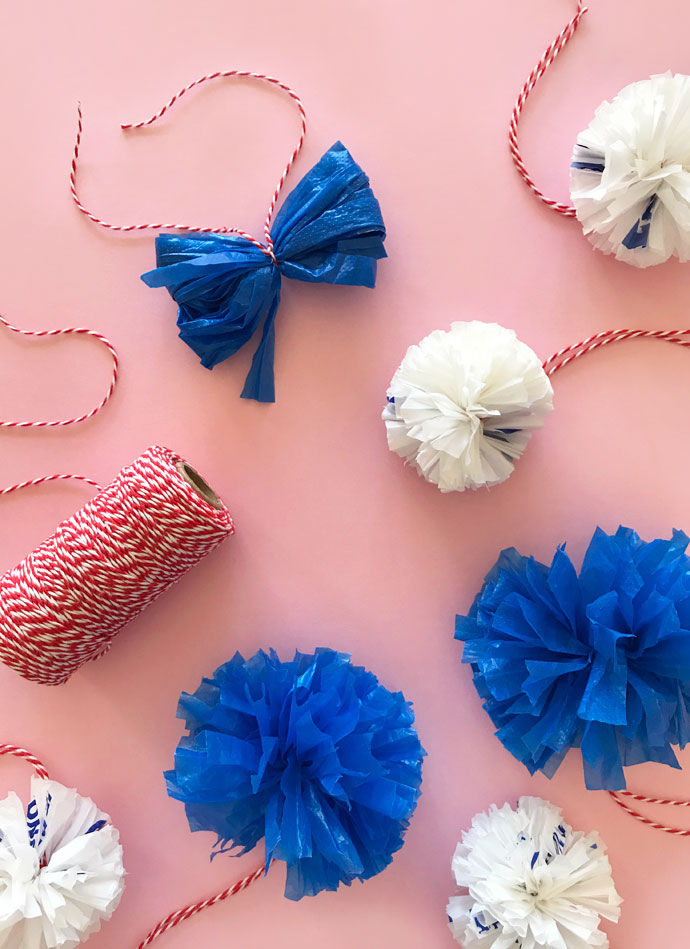
Begin by cutting the plastic bags into long strips. To do this cut off the bottom of the bag off creating a tube, then starting at the bottom cut a strip of plastic approximately 1.5cm wide. Continue cutting the plastic going round and round so that you have one long continuous strip.
Cover the brass hoop with washi tape to decorate it. If you don’t have washi tape you could glue on ribbon or a strip of the plastic bag to cover the hoop.
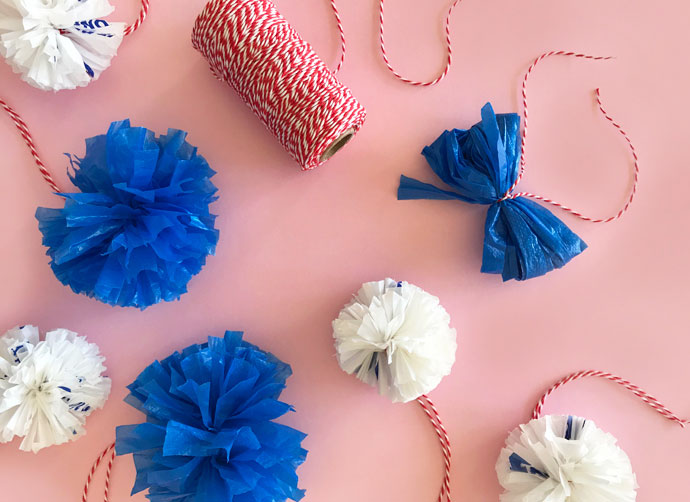
Step 2
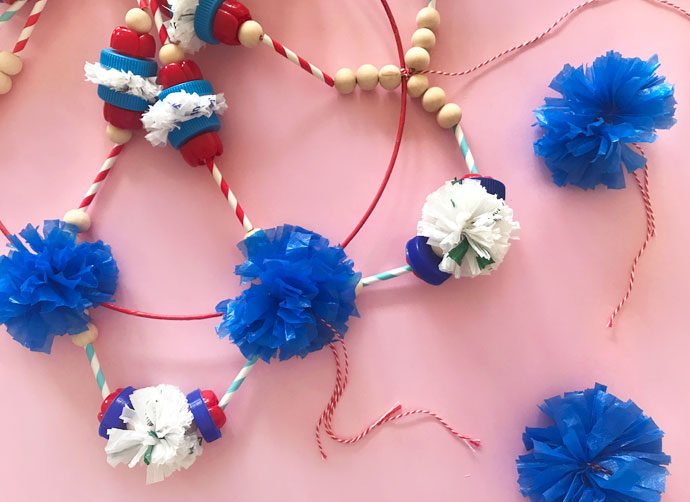
Now to make some pom poms. Wrap a long strip of plastic bag around your hand or a piece of cardboard several times making a thick bunch. Remove the wrapped plastic from your hand or the cardboard and tie a knot in the middle with string. Cut the looped ends and fluff out the plastic making a pom pom. Trim any longer pieces making a nice neat pom pom decoration. I made 6 larger blue pom poms and 12 smaller white ones.
Step 3
Now we begin work on building the chandelier. Cut 3 lengths of string each 2 meters long, lay the strings together and fold them in half. Tie a knot about 4 cm from the end making a loop. You will now have 6 strings hanging from a loop at the top, this will be where you hang the chandelier from.
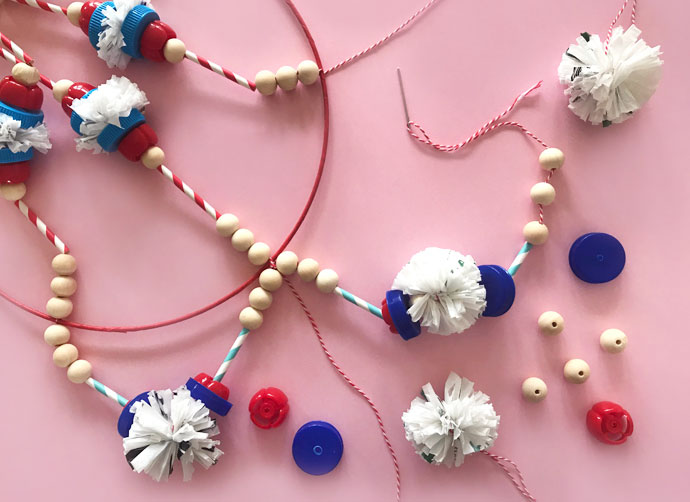
Using a large embroidery needle, begin threading beads, bottle tops, straws and pom poms onto each of the 6 strings. Repeat the same pattern on each string.

Step 4
Next make 6 marks around the edge of the hoop equal distance apart. Tie on each of the strings just below you last bead. This will form the top part of the chandelier.
Step 5
After tying the 6 strings onto the hoop you will be left with a length of string hanging from each section, these will be used to make the bottom loops of the chandelier. Using the needle again, thread more beads, straws, bottle tops and pom poms onto each of the 6 strings. Tie the end of each string to the next section of the chandelier making loops around the bottom.
Step 6
Your chandelier is almost finished, just tie on the 6 larger blue pom poms onto the metal hoop and cut off any excess string.
A big thank you to Mini Mad Things for sharing this project with us!