
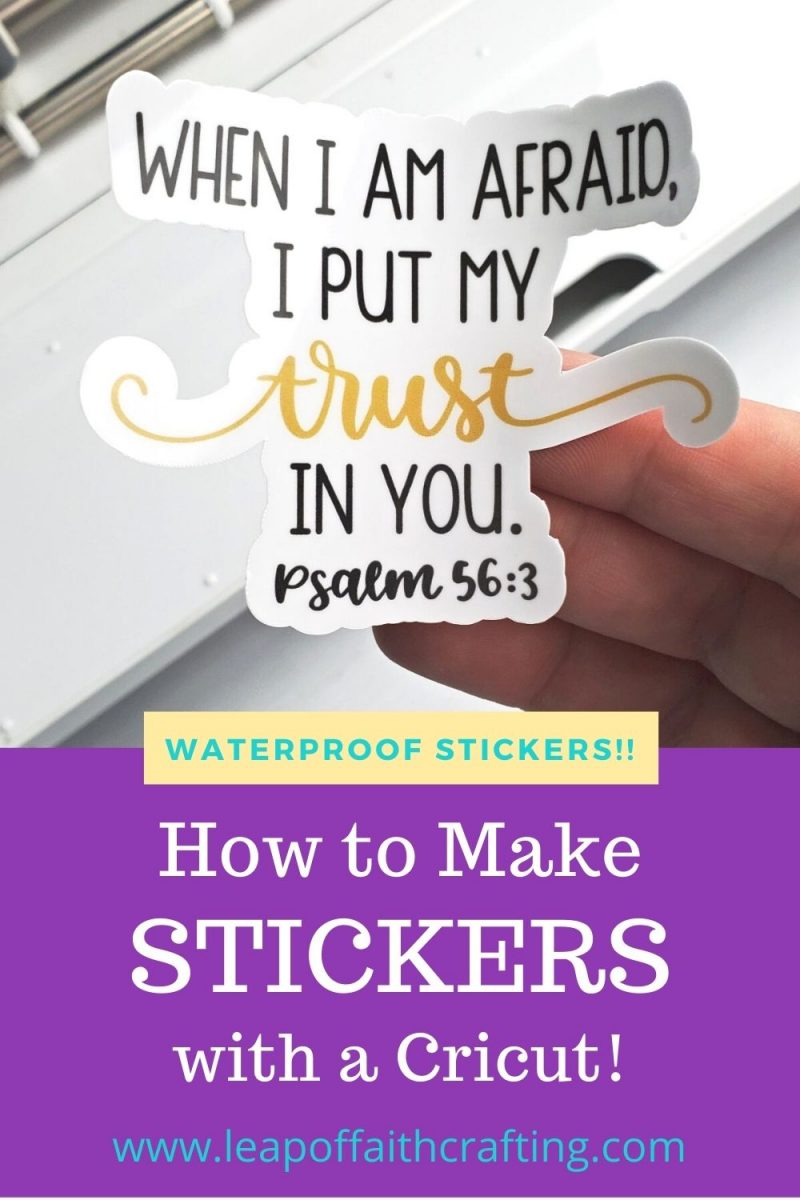
Learn how to make stickers with Cricut including waterproof stickers. Plus grab an instant download of a FREE sticker sheet PNG file to use to make your own stickers in no time!
When you own a Cricut cutting machine, you can do so much more with it than cutting vinyl or heat transfer vinyl!
Don’t get me wrong, making cute DIY personalized gifts and Cricut shirts are some of my favorite things to make, but sometimes we need to try something different.
And for me, I’ve been having fun making and printing stickers! In a previous post, I told you all about Cricut’s print and cut function and also the difference between printable vinyl and sticker paper. But today, we are concentrating solely on how to make stickers with Cricut.
I also have a different way of making waterproof stickers that is much quicker than using Mod Podge (which I mentioned before!). For this tutorial, I will only be using printable vinyl since I think it’s the best sticker paper when compared to actual printable sticker paper and so does my home printer!
Plus I have a free sticker design sheet for you!

Materials Needed for Cricut Stickers
Disclosure: This post contains affiliate links from Shareasale, Cricut, Awin, CreativeFabrica, and Amazon.com. I receive a small commission at no cost to you when you make a purchase using my links (purple text). As an Amazon Associate, I earn from qualifying purchases.
- Cricut Explore Air 2 or Cricut Maker or Cricut Joy Xtra
- printable vinyl
- self laminating sheets (for waterproof stickers)
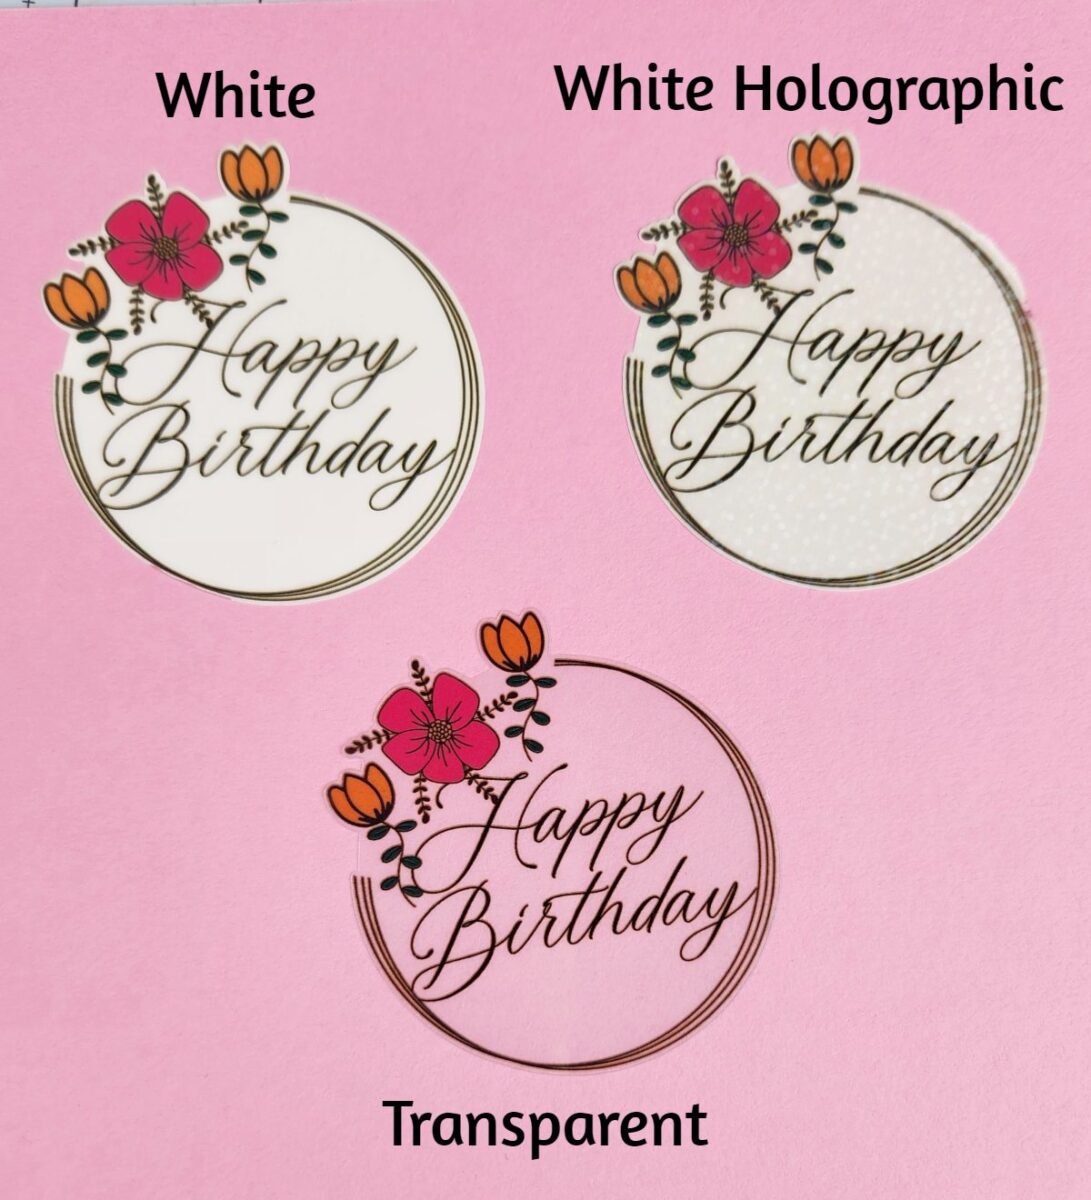
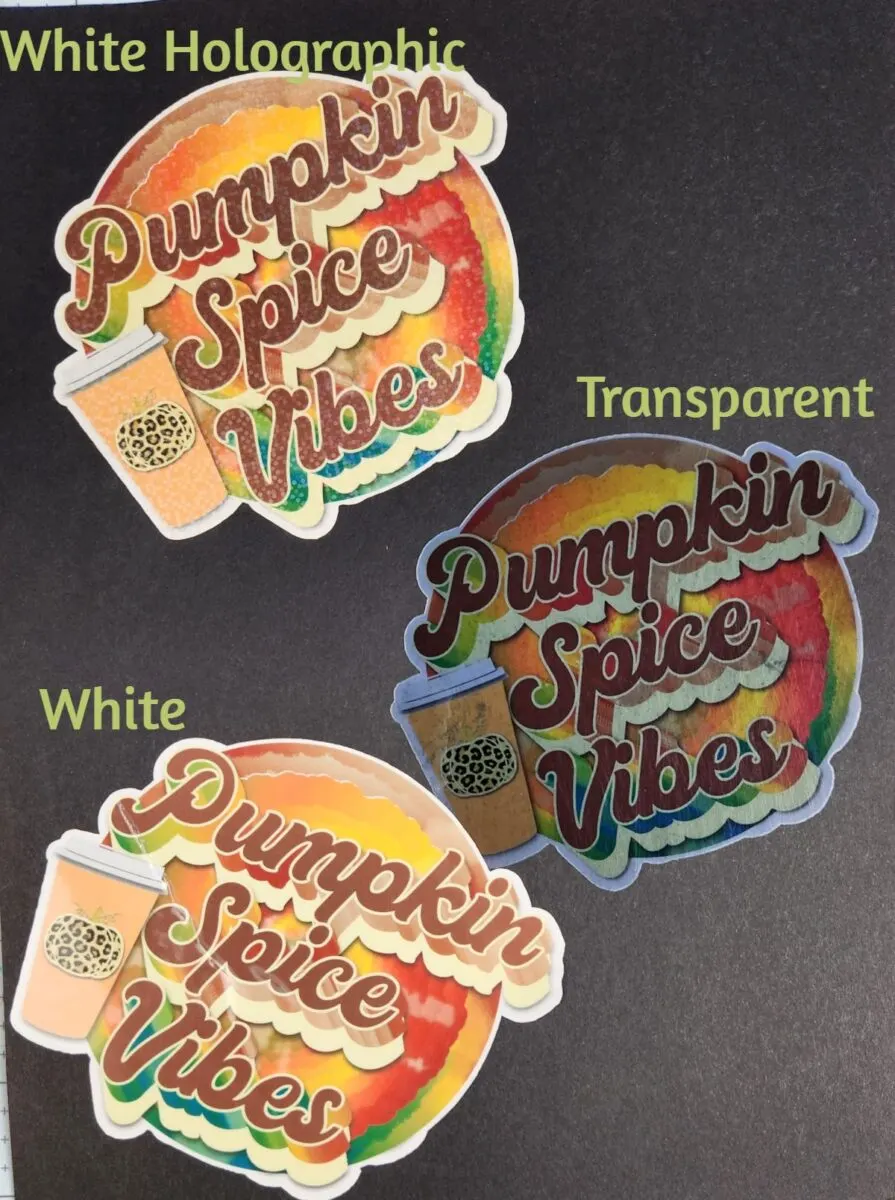
- or Cricut waterproof sticker sheet set (in white, transparent, holographic white, o
- printer

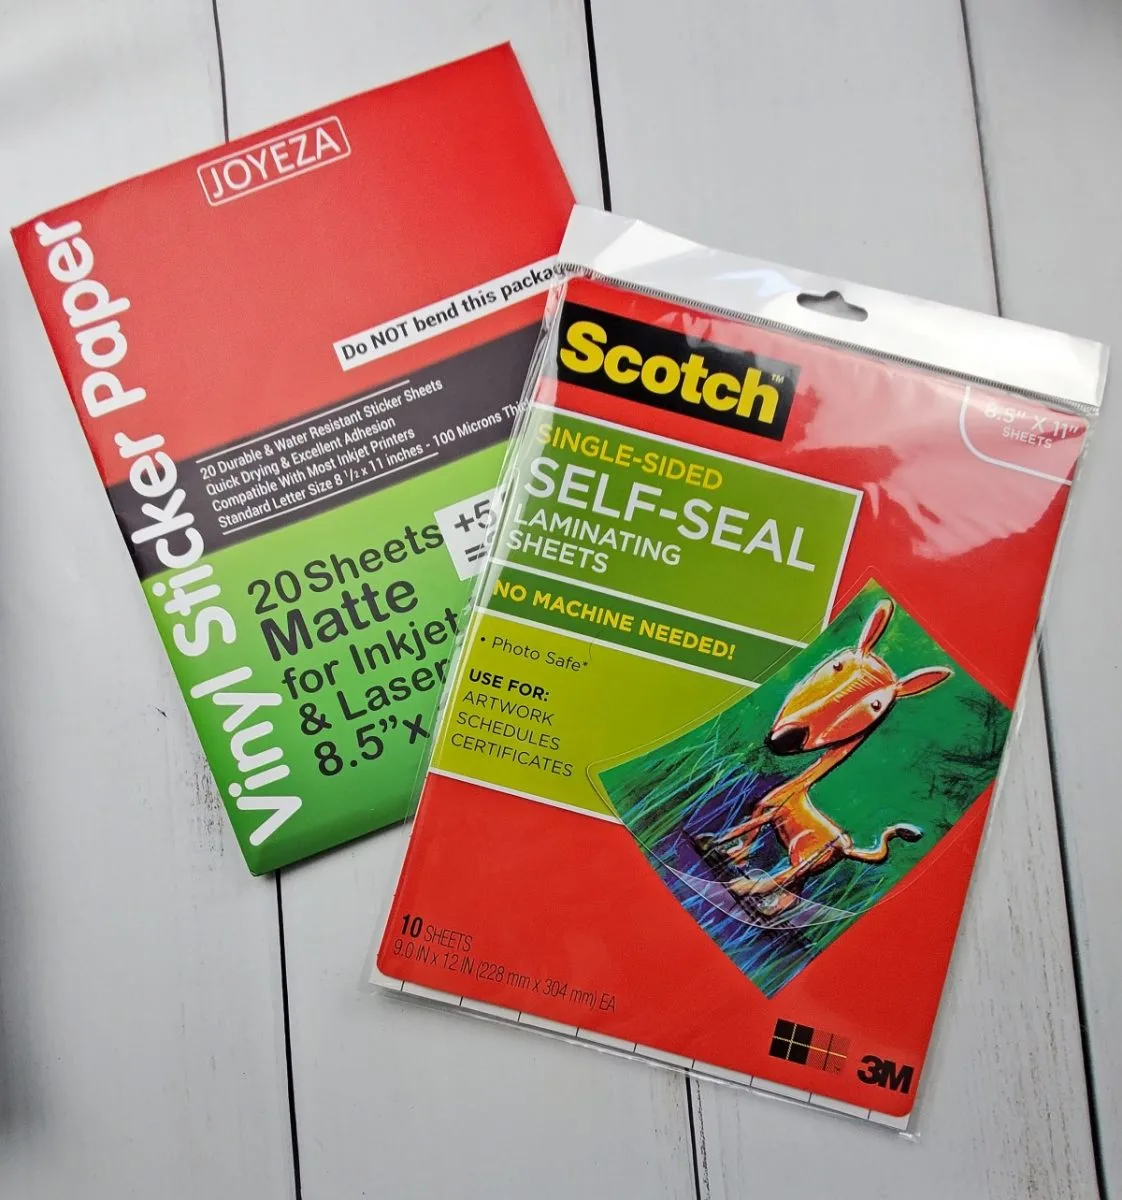
Or Cricut has now released printable waterproof sticker sets that contain both printable vinyl and the laminate sheet in one pack! Always make sure to check prices between Amazon and Cricut.com for sales!
- White Waterproof Sticker Set
- Transparent Waterproof Sticker Set
- White Holographic printable sticker set
- Transparent Holographic


How to Design Stickers in Cricut Design Space
With the release of the new offset feature, making custom stickers in Cricut Design Space is quick and easy! You can add a white background or any other color for your background color in two steps.
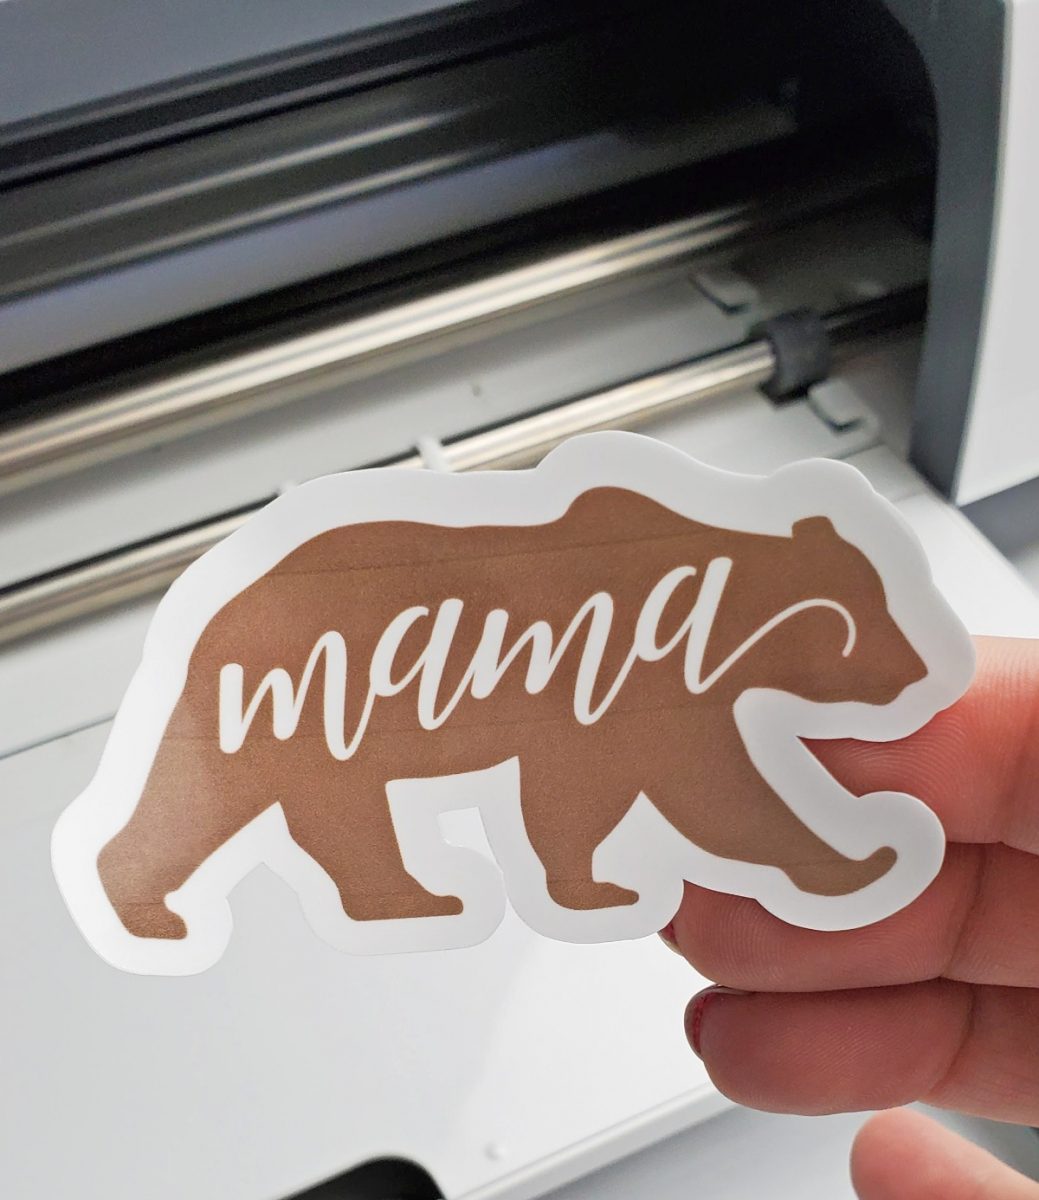
For my first sheet of Cricut stickers I am using images I found in Cricut Access. First, open Cricut Design Space and start a new canvas.
Find anything you’d like to make a sticker of and insert images on your canvas.
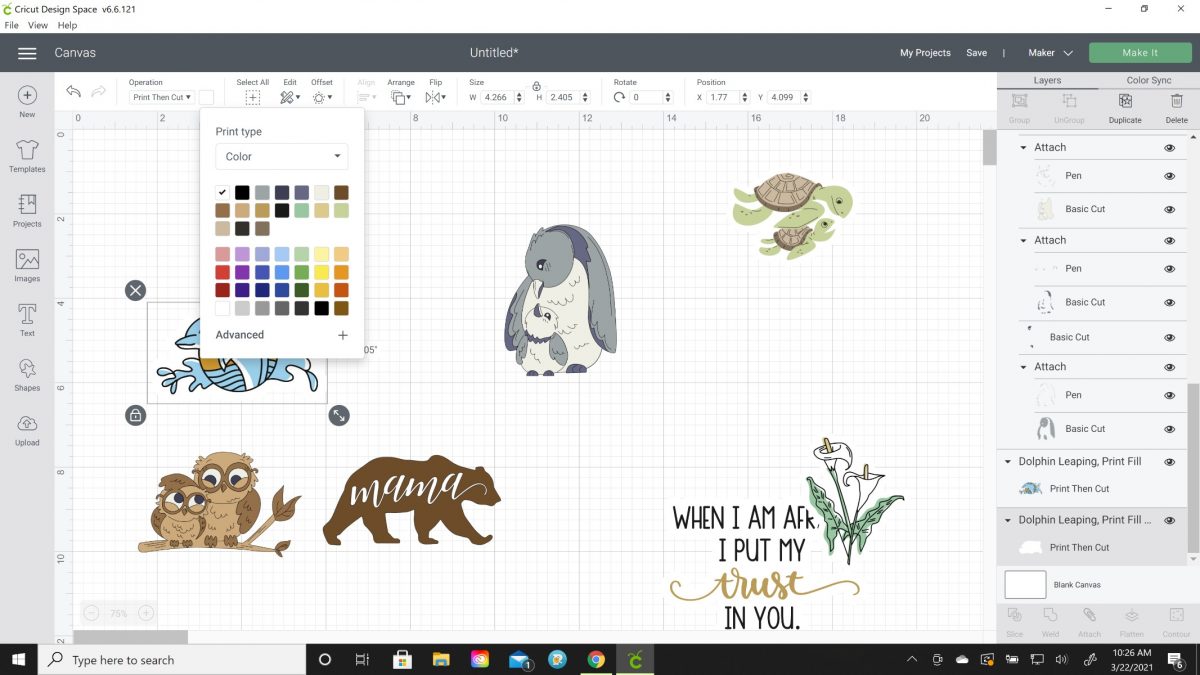
Then with the cut image selected, click on the Offset tool on the top to add a white outline. I decreased the distance a bit and kept it on rounded corners.
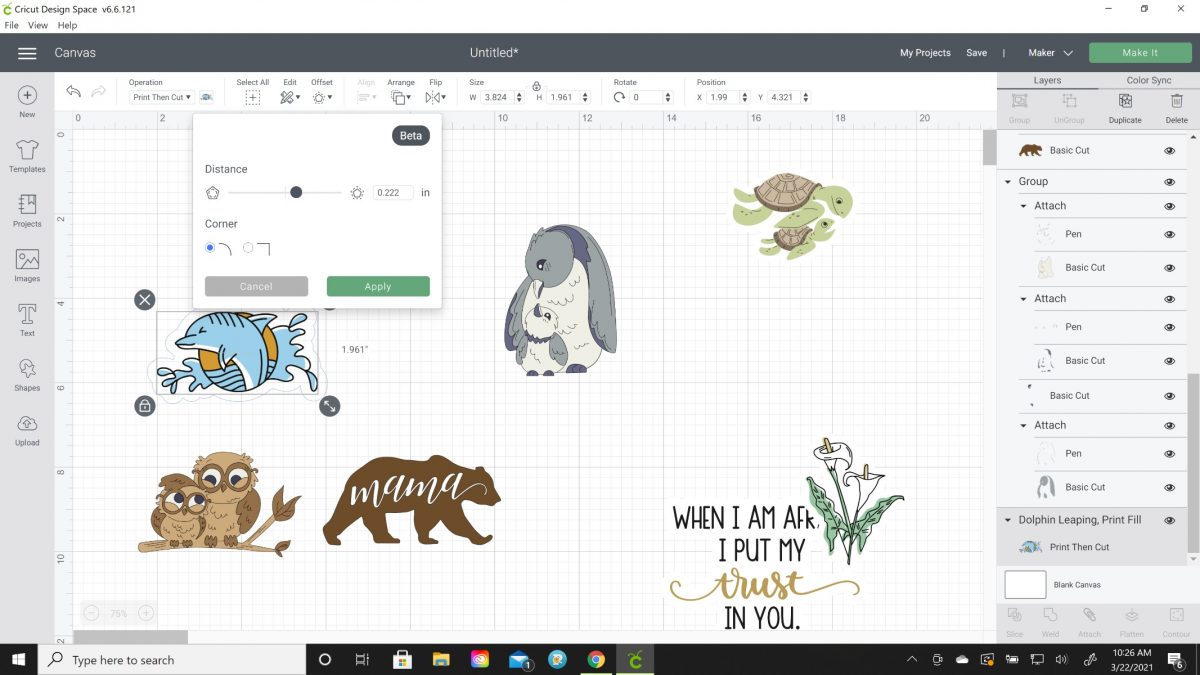
The default offset layer is black so I clicked on that shadow layer and changed the color to white by clicking on the color square next to the Operation drop down menu. Now I will have a white border.

Then in order for the shadow and the image to print I need to flatten them. Select both the offset layer and image top layer and click on the Flatten tool on the bottom right.

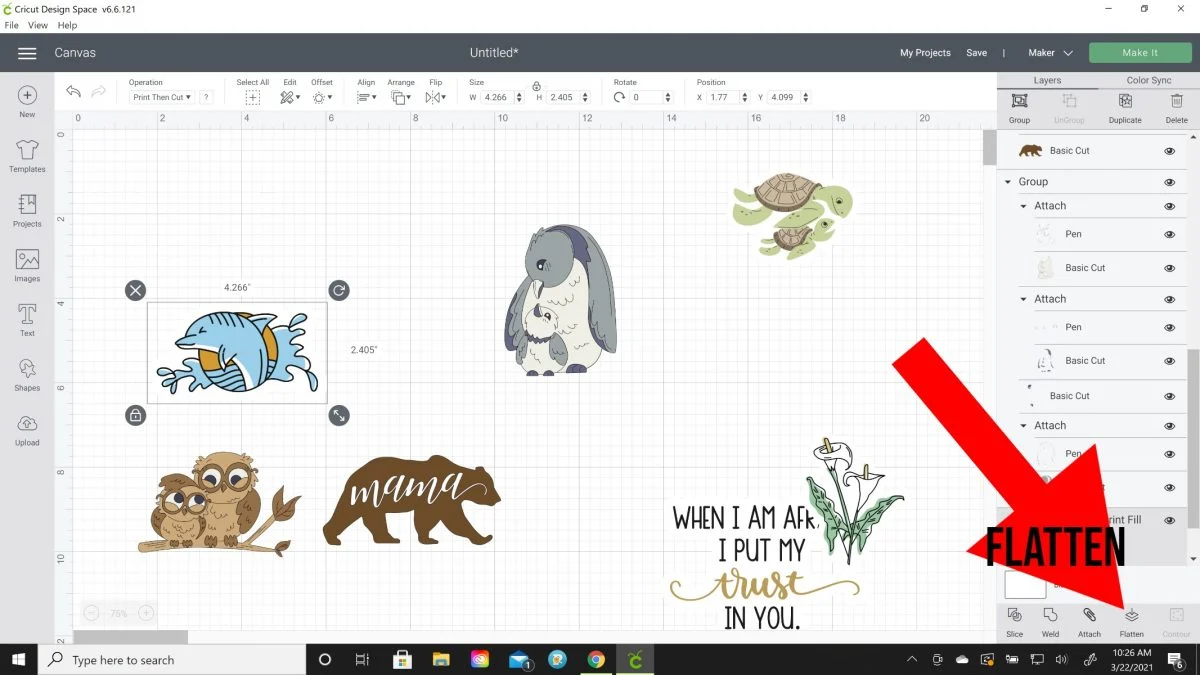
I repeated all the above steps for all of my remaining images. You’ll notice on the layers panel on the right side, that every image now is a Print Then Cut layer.

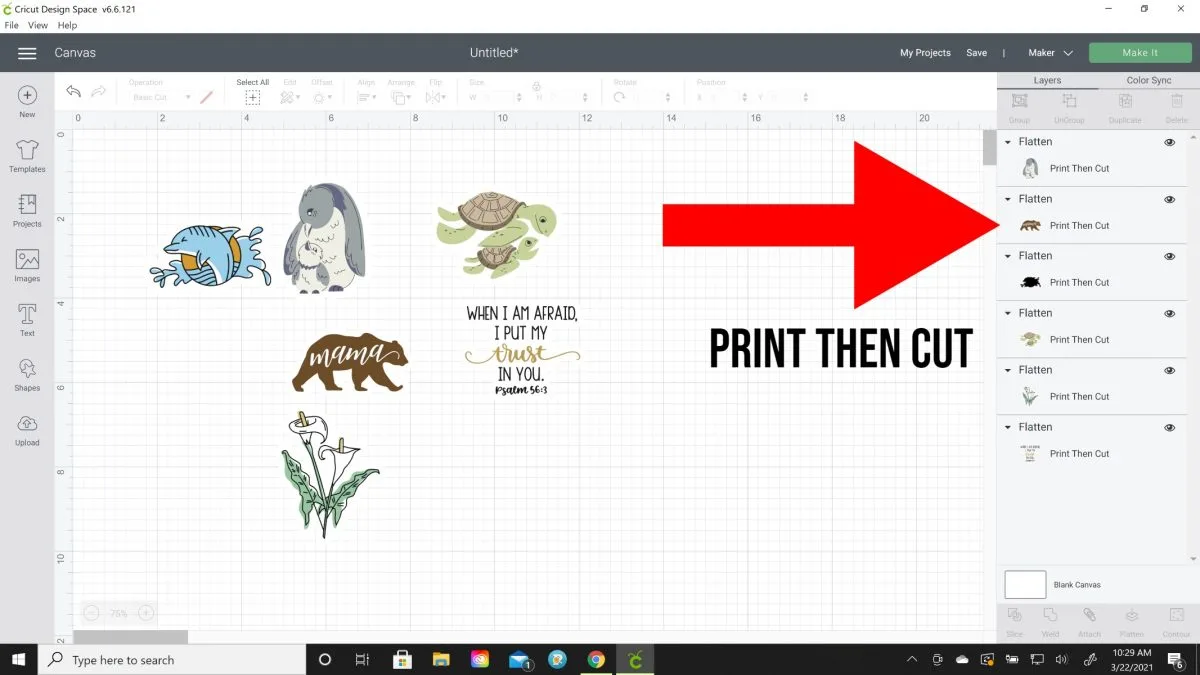
Size them to how big you want them. I’m going to be adding mine to a personalized tumbler, so I made them all less than three inches wide.
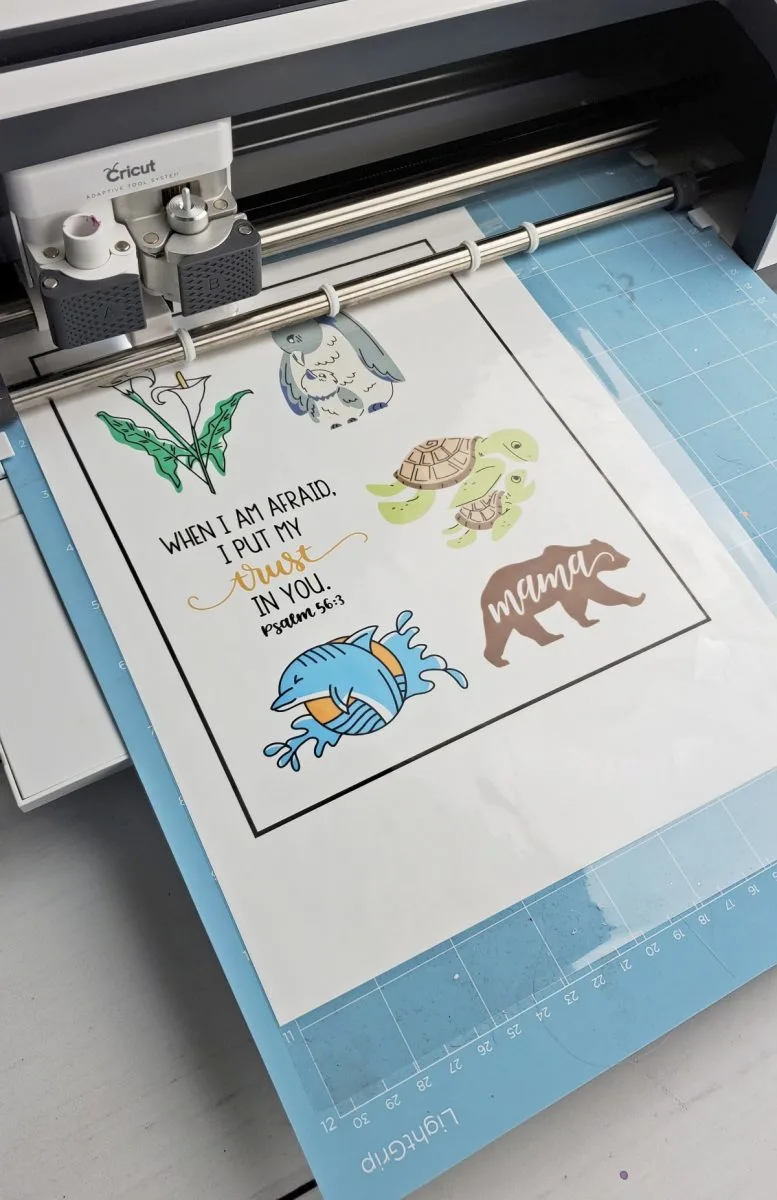
Click on Make it and on the next screen you’ll see all the sticker images on an 8.5×11 inch sheet.


Click continue and then select send to Printer. I am using an inkjet printer which is usually recommended for printable vinyl so it doesn’t get too hot.
Use the drop down menu to select the printer you want to print the stickers on and leave the Add Bleed button on (so that it’s green). You can use System Dialog to change the print quality to best or high.

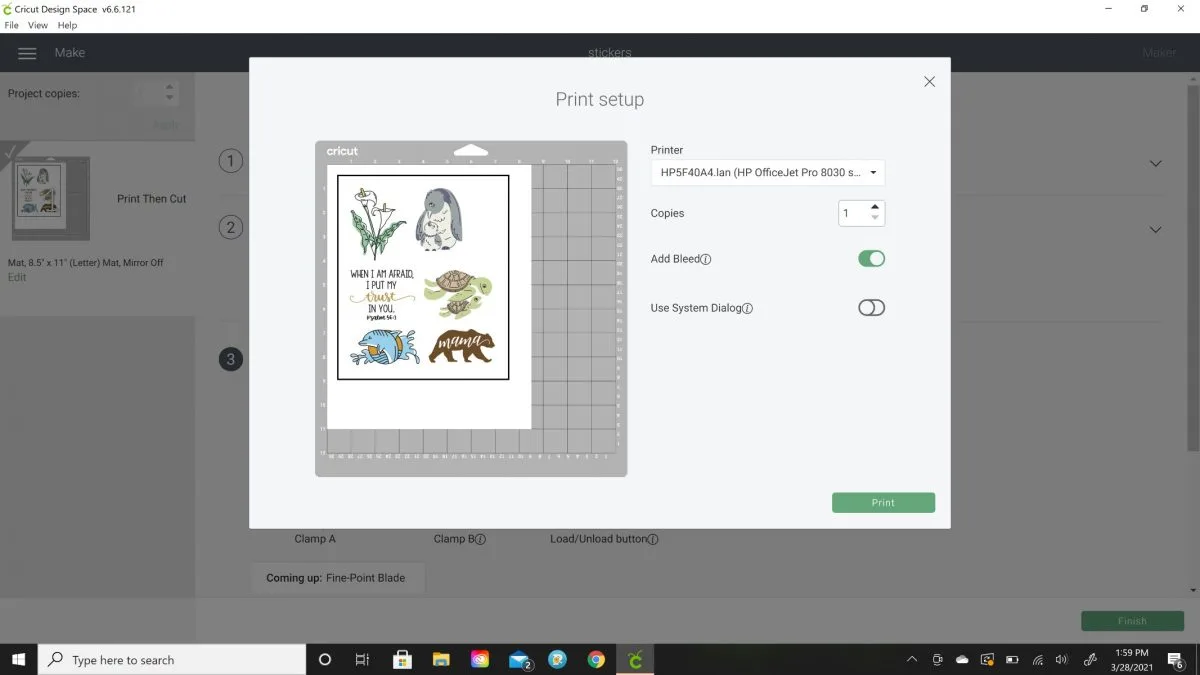
The stickers will print with black registration marks at every corner (this is so Cricut print then cut can read where to cut).

You can also make an entire kiss cut sticker sheet (tutorial here).
How to Make Stickers with a Cricut Waterproof
For this sheet of stickers, I am going to make them waterproof by adding a clear self laminating sheet to the top so the setting needs to account for both thicknesses. You could also use clear adhesive vinyl.
We want a kiss cut which means the cut doesn’t go all the way through the back layer.
You might need to play with your Cricut settings a bit to figure out what works for you. On my Cricut Maker, I have found that Medium Cardstock gives me the best results when cutting a piece of printable vinyl with a self laminating sheet on it.
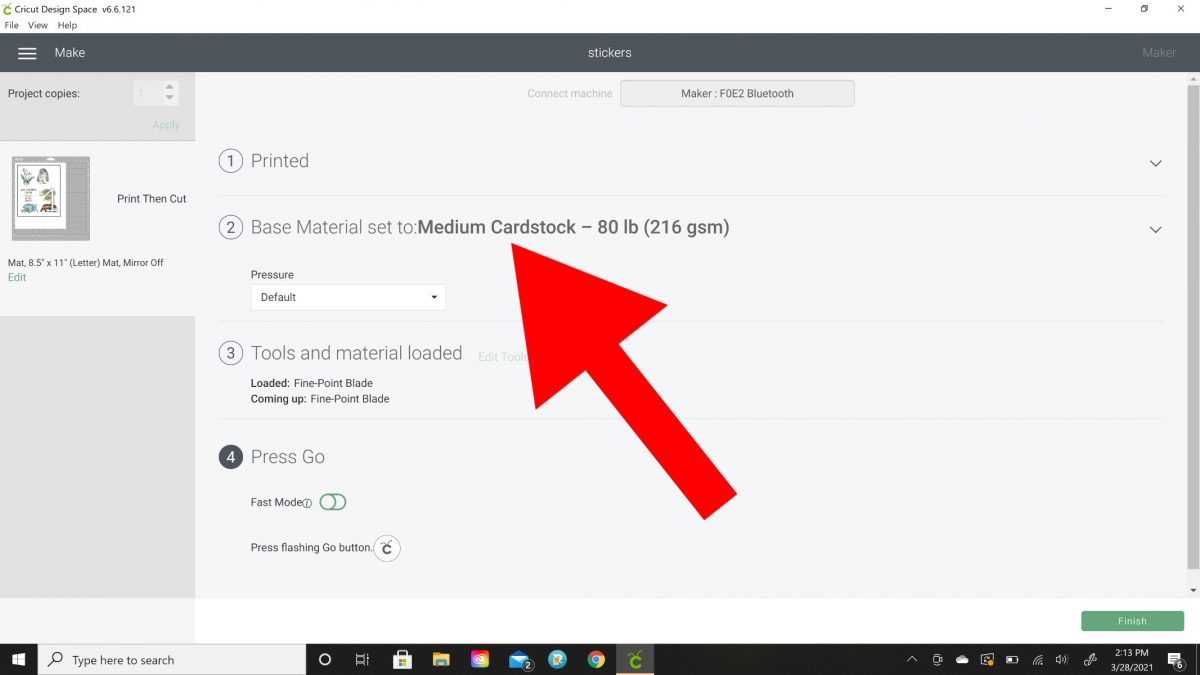
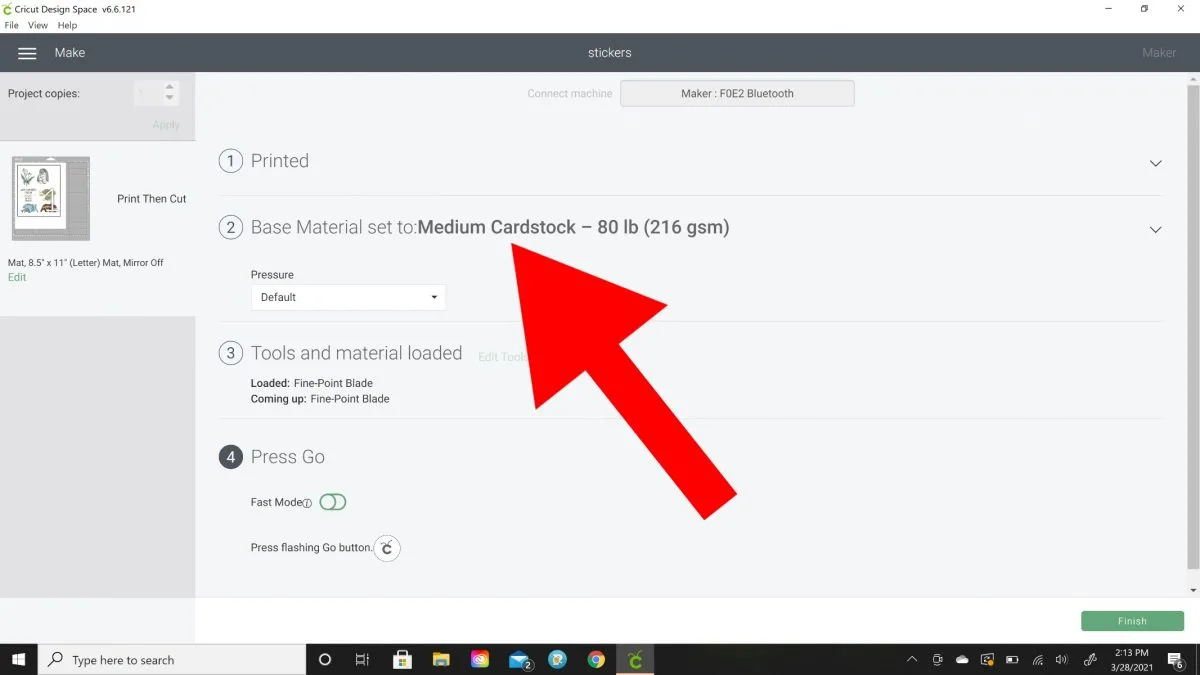
The new Cricut sticker sets have their own cut settings! Find the exact printable sticker sheet material setting you are using in the drop down menu.
If there’s an option on the printable vinyl, make sure to choose green liner for the new and improved printable vinyl (grey liner is the old setting).
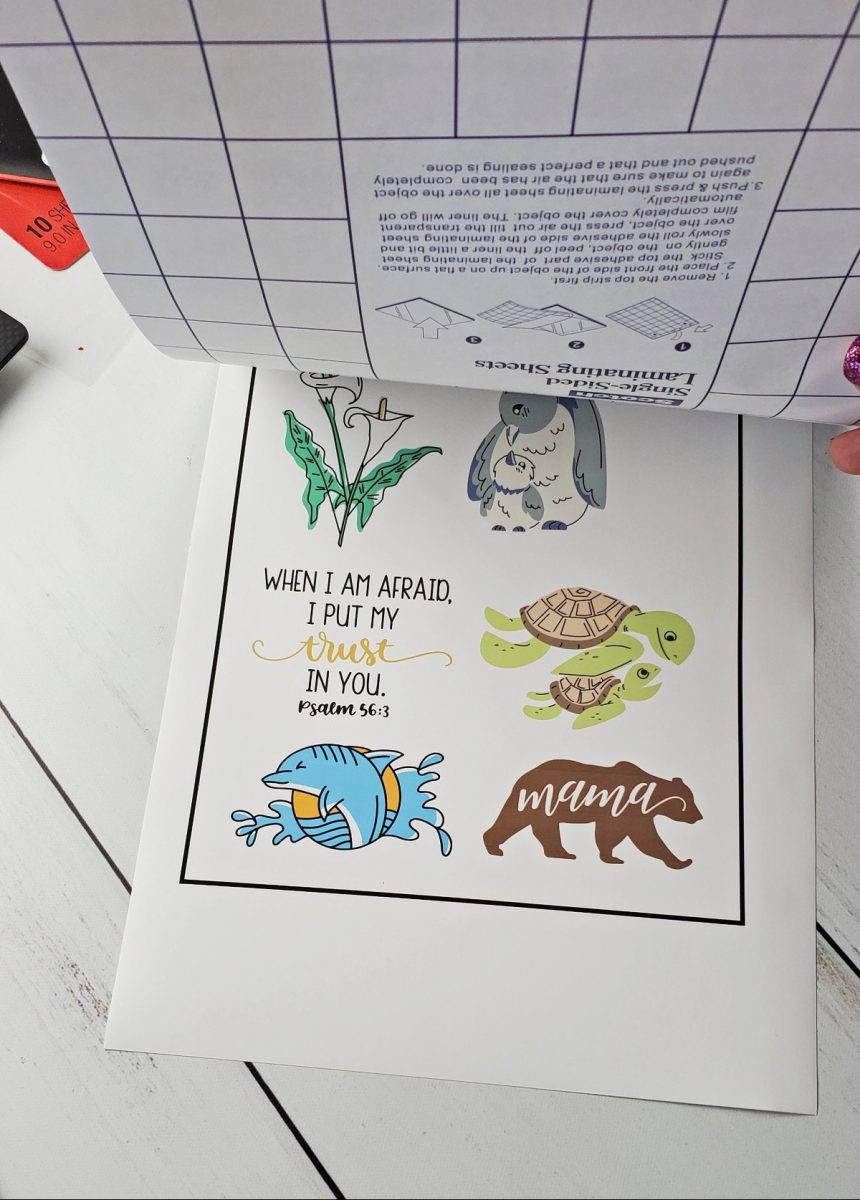
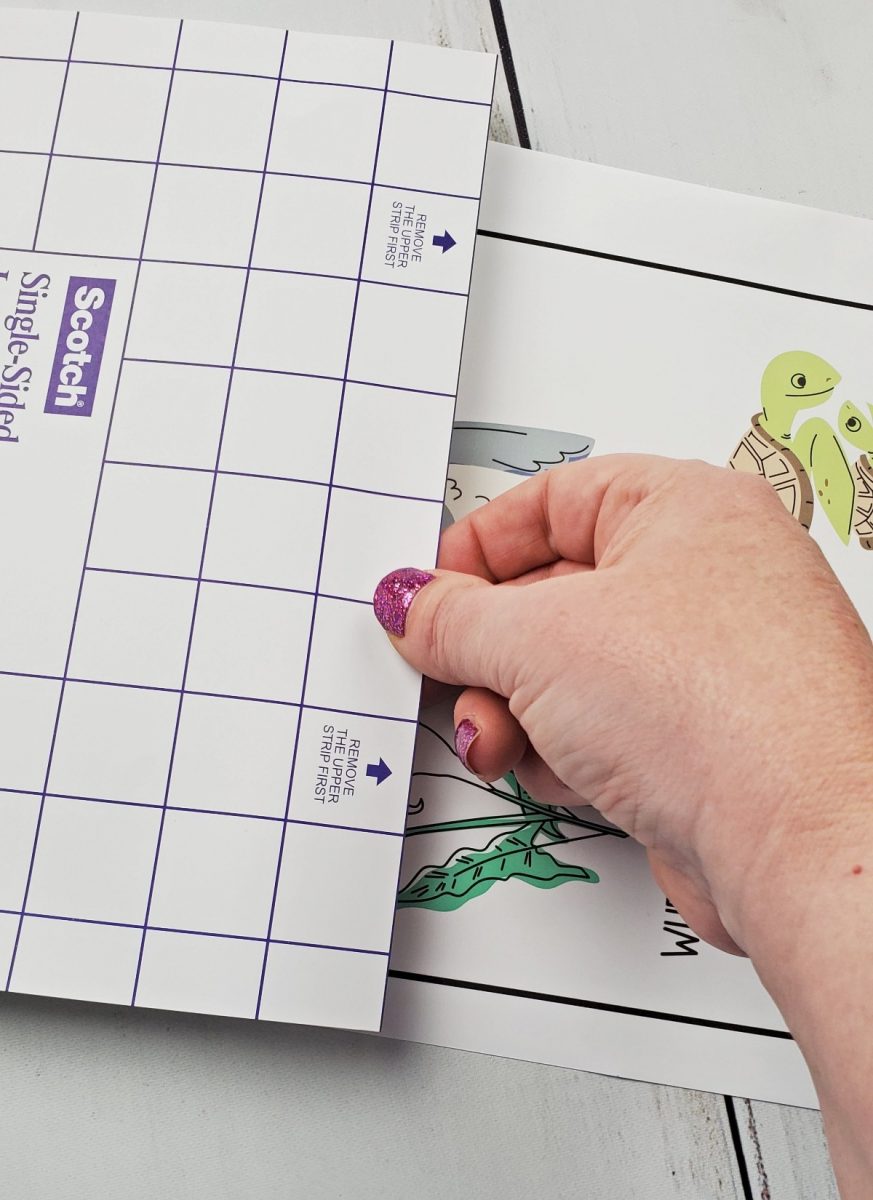
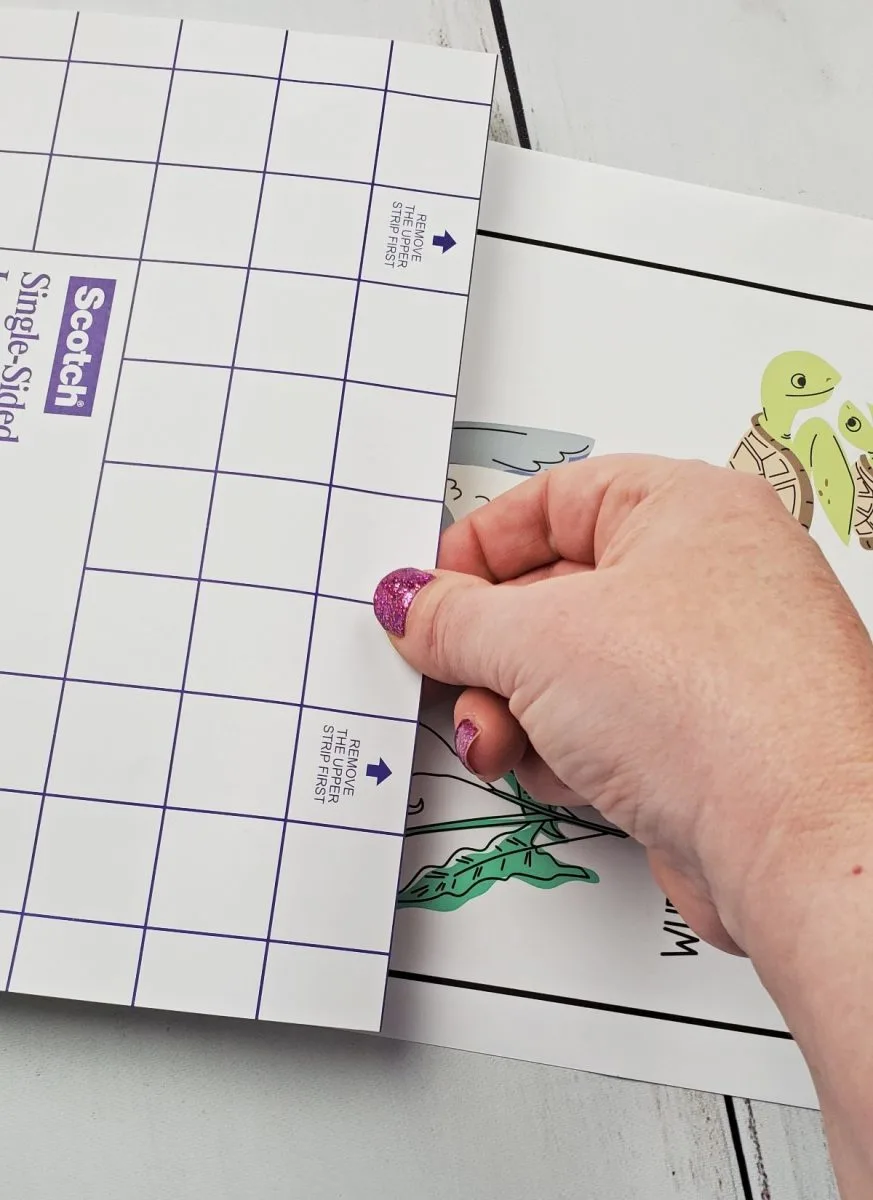
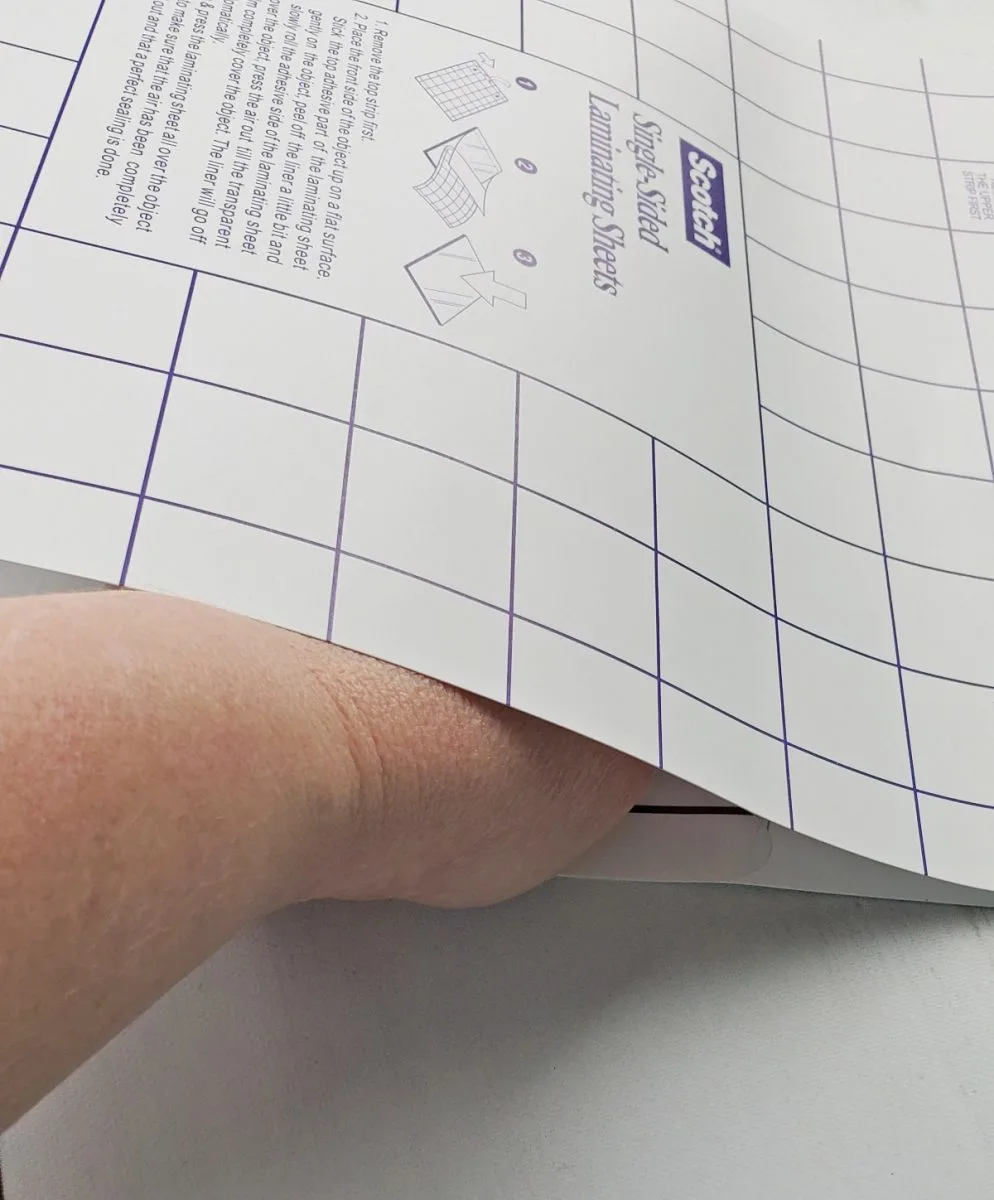
The single laminating sheets have a grid on the backside and it’s clear on the front. Peel off the top strip first.
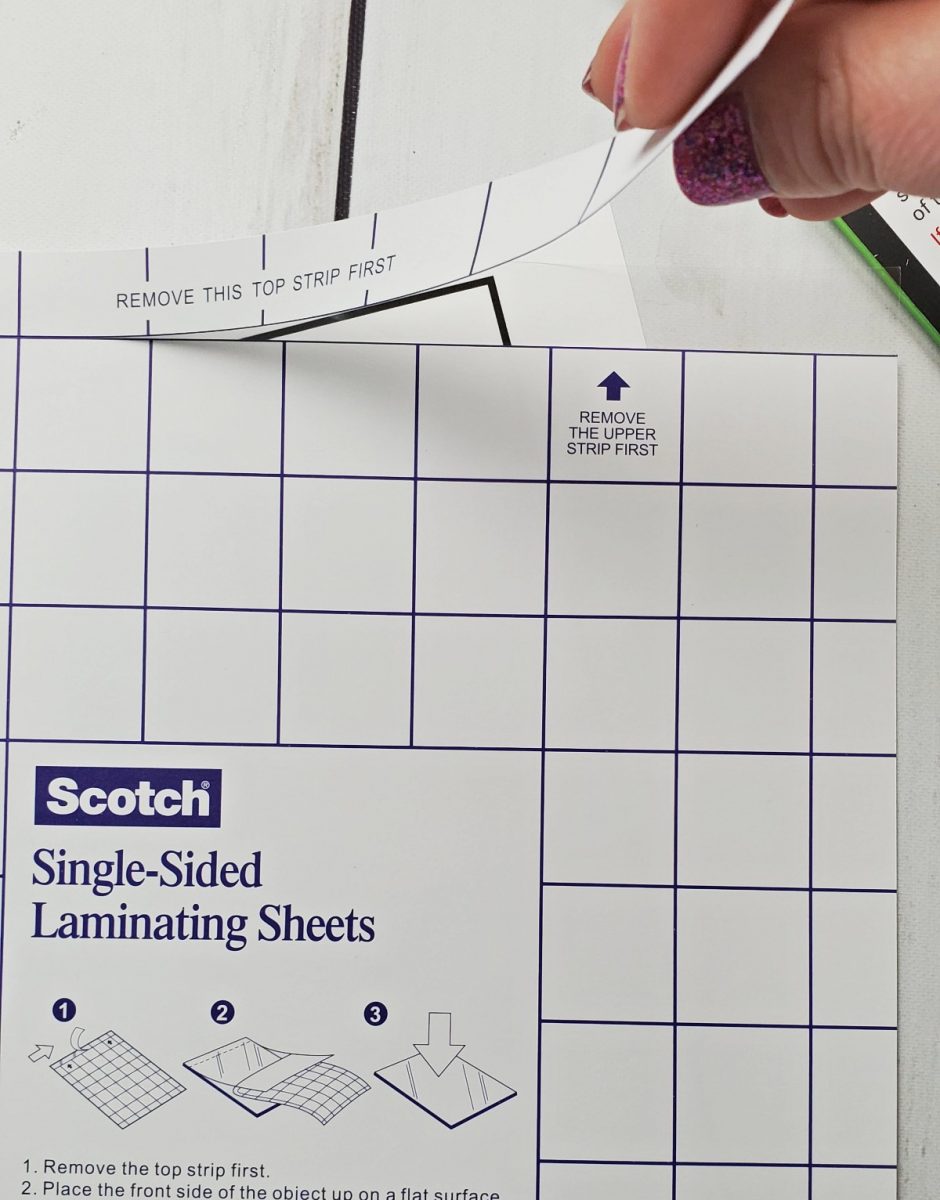

Then you are going to stick the top of single-sided laminating sheets to the top of the printed sticker sheet.


Then you are going to flip the laminating sheet over so the grid size is facing up and then start pulling the grid backing off as the laminating sheet lays down flat on the printable vinyl.
(Make sure to watch the video for this part, because it’s hard to explain! I have a short video on this page and also a link to the full YouTube video at the bottom.)
Try to use your hand or a scraper to flatten the laminating sheet on the stickers as you pull off the sheet. It’s a little hard to see because my hand is actually underneath the sheet.
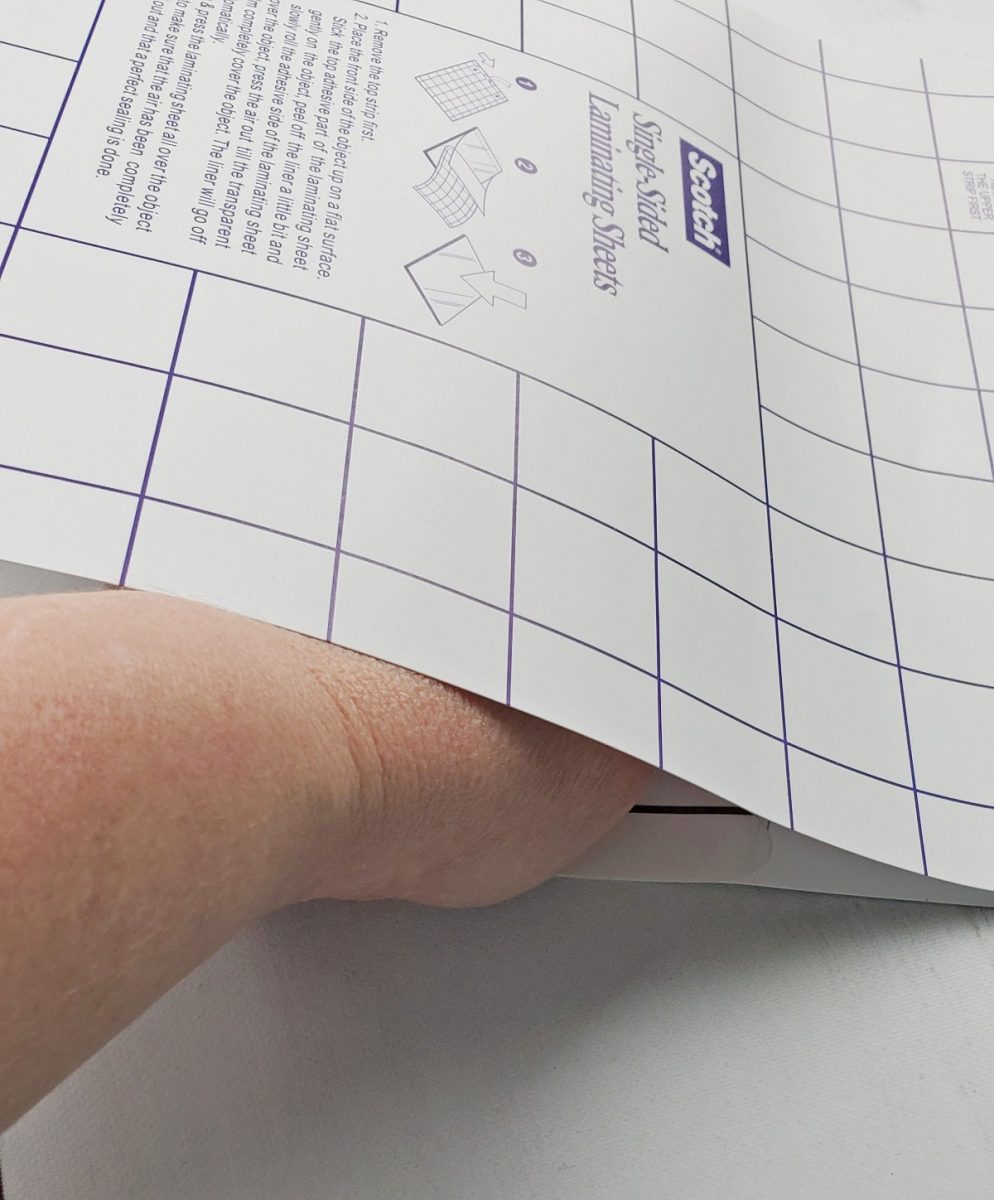
Once you have pulled all the way to the end the grid paper will release from the self laminating sheet and it will be fully over the sticker sheet.

The Cricut sticker sheets work the same way! Cover up the entire printable image with the laminate.

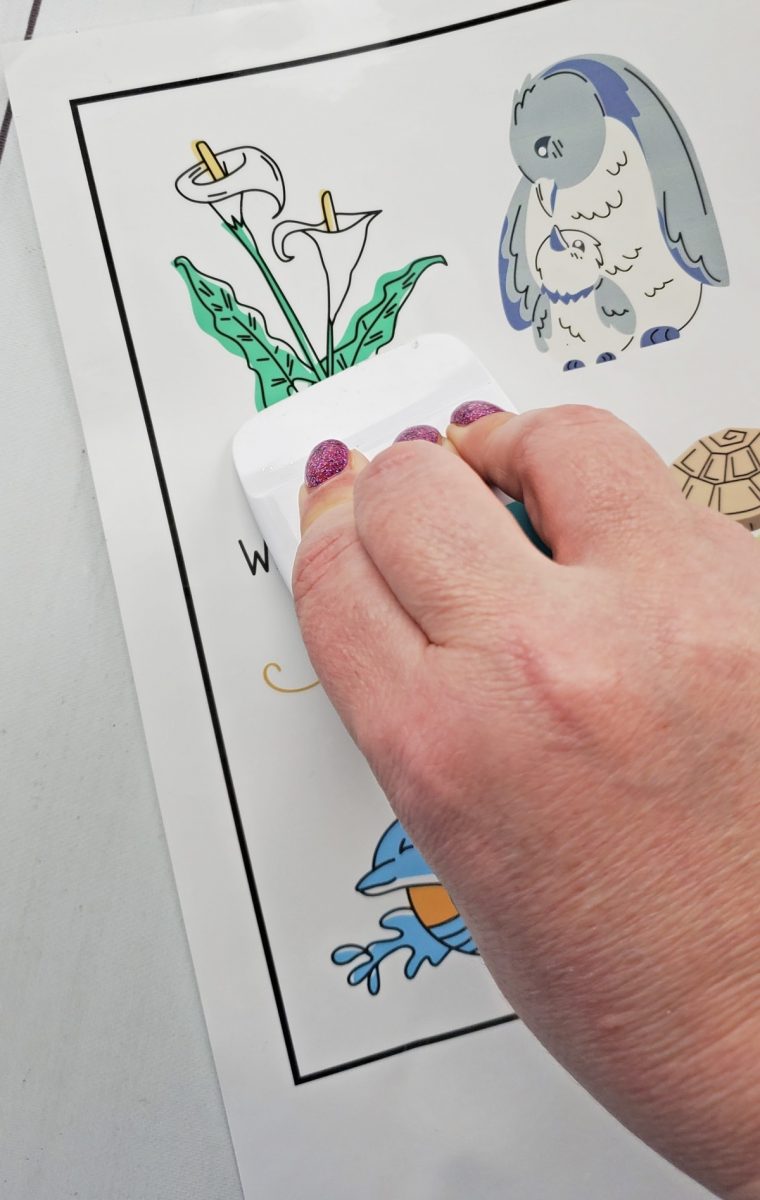
Scrape it down well trying to remove any bubbles that may have formed. Scrape towards the edge of the sheet so the bubbles can escape.

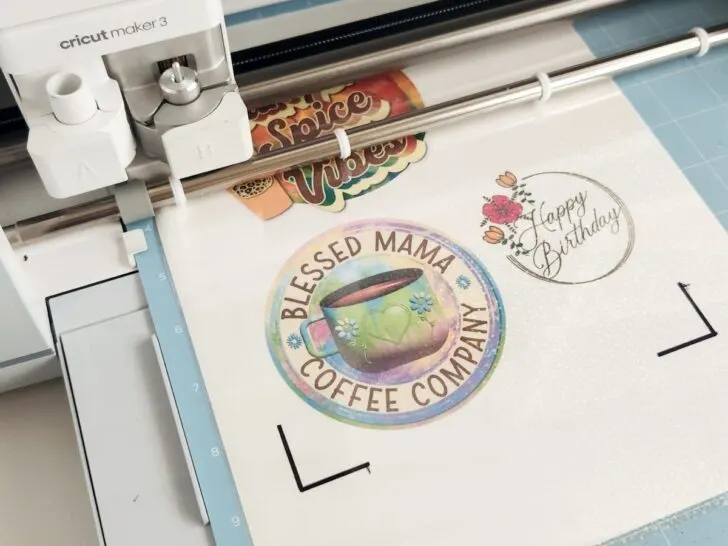
Now put the sticker sheet with the laminating sheet on a clean cutting mat and load it into your Cricut. The laminating sheet will be larger than the printable vinyl sheet!
The Cricut machine will read the black box or registration marks around the sticker image to know exactly where to make the cut line.

Pro Tip: When cutting the holographic waterproof sticker set, use dim lighting around the machine so the machine can really see the sensor lights. Or trace the registration lines with a Sharpie on top of the holographic laminate sheet.

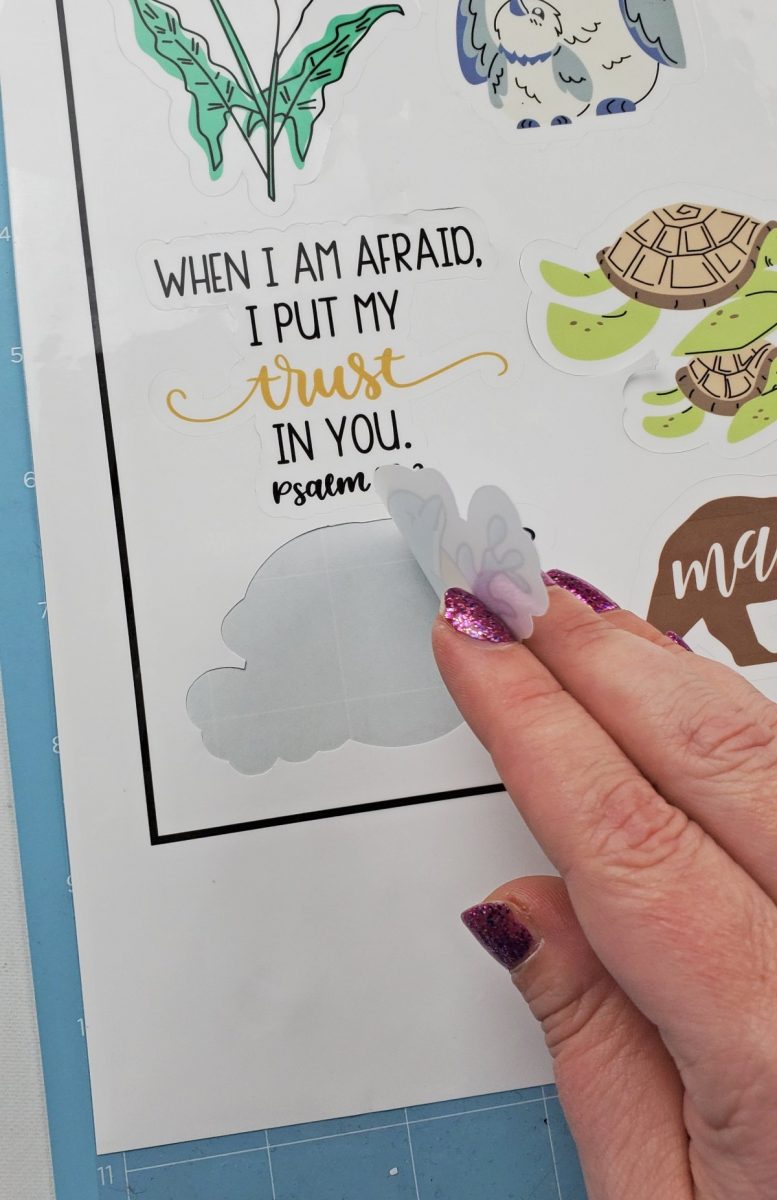
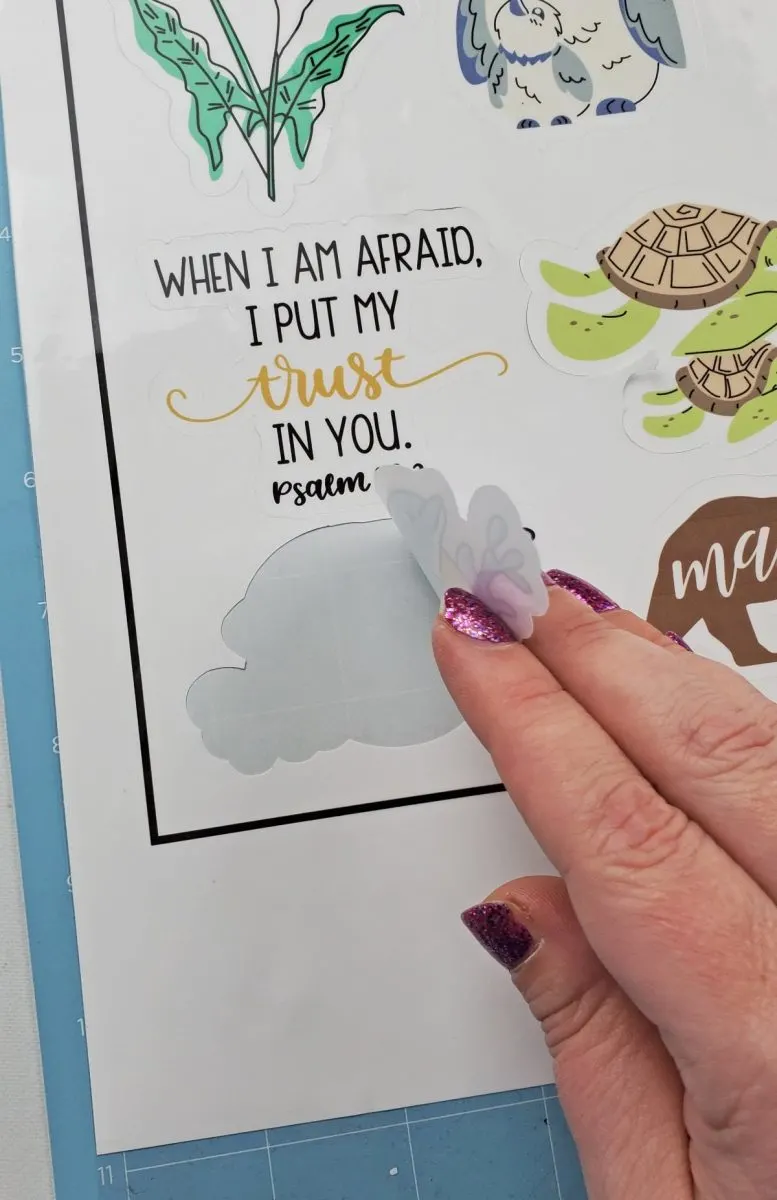
After the Cricut has done its thing, unload the mat and then peel off the waterproof stickers!

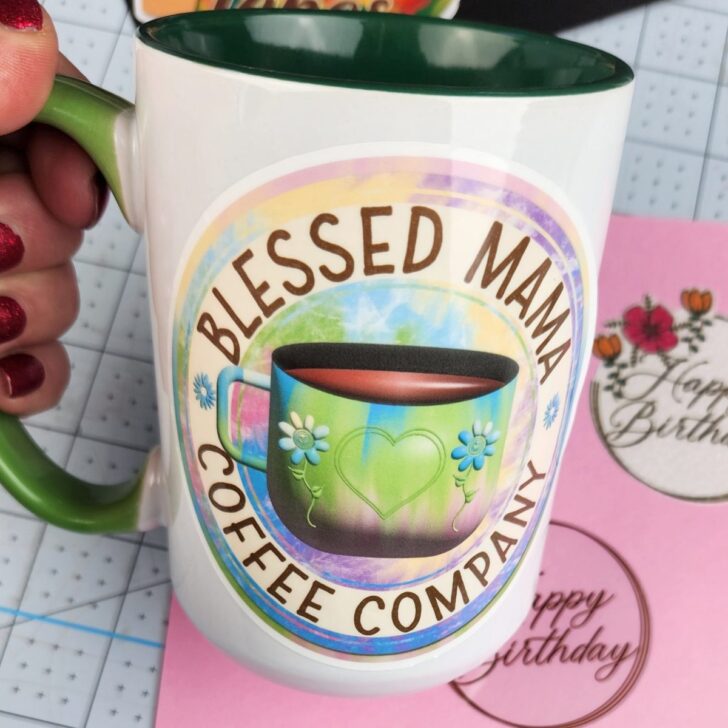
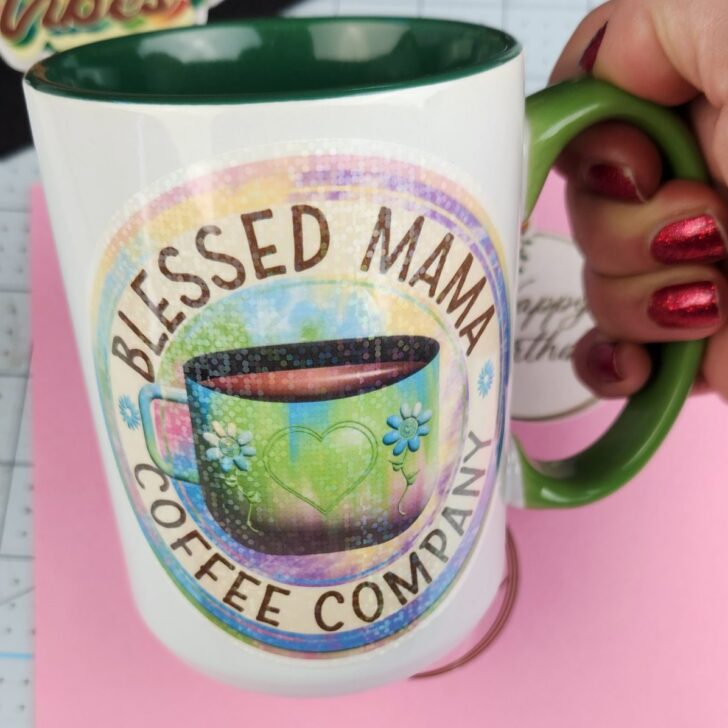
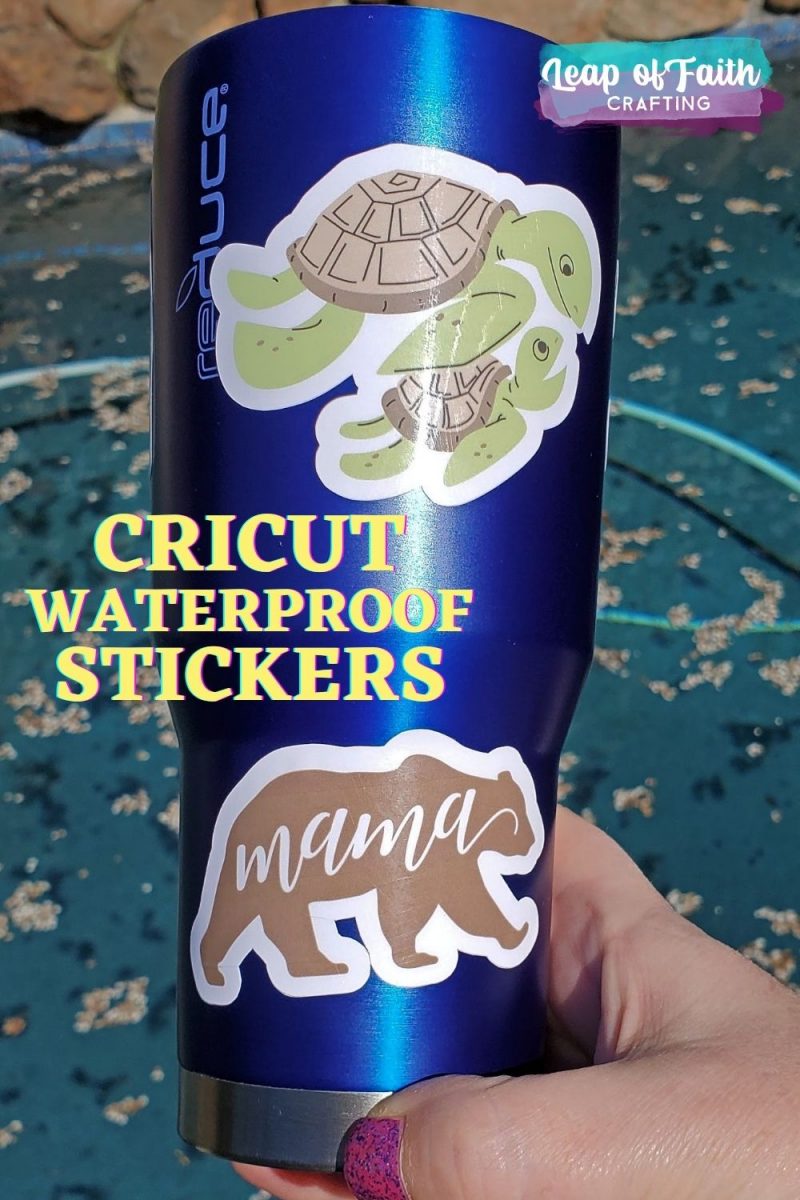
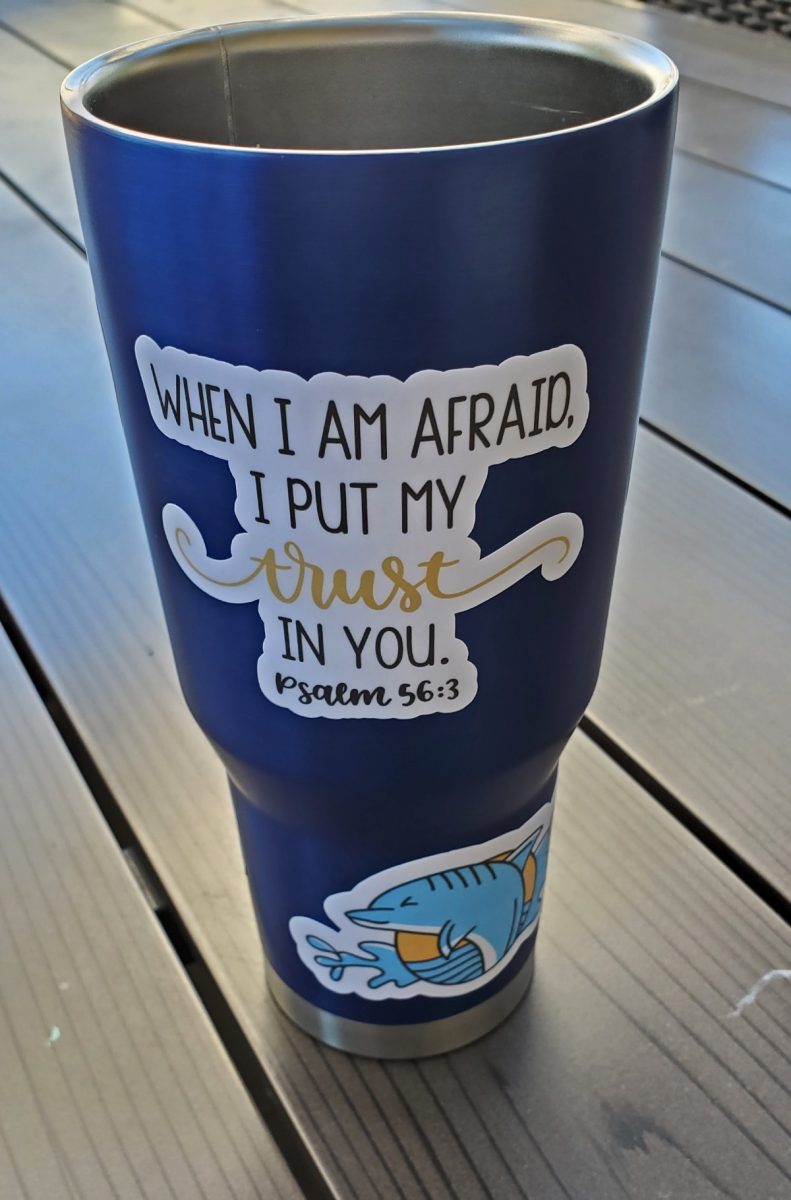
They are now ready to apply to a tumbler, mug, water bottles, or anything that might get wet. Make sure to let the vinyl sit on the tumbler for 72 hours before you get it wet so that it seals well!

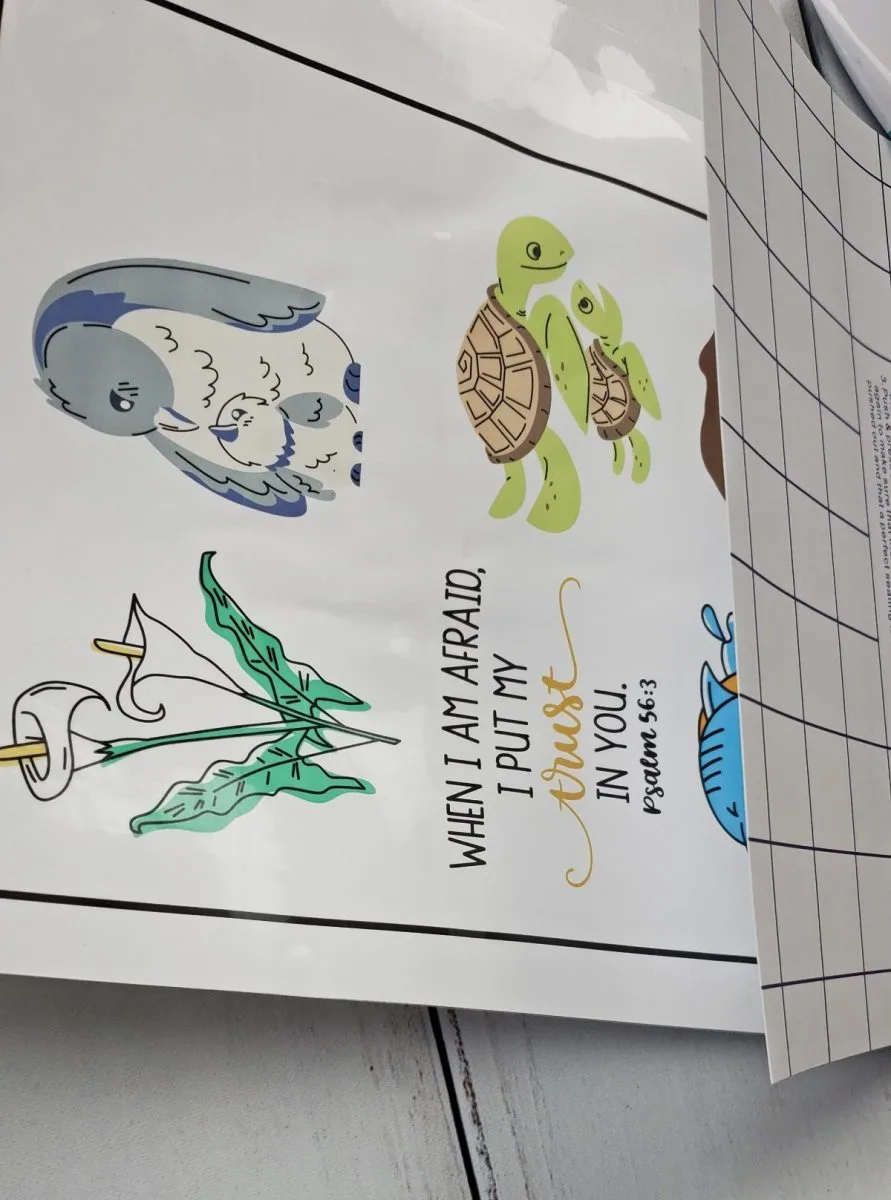
I printed out a few of the new Cricut brand waterproof paper and here is the difference between the different sticker papers.
Using white or transparent will really depend on what you are putting the stickers on. Here’s with a lighter colored background.

And now with a black background.

The holographic adds some sparkle and different colors as you can tell on this mug!

I do have a new video on my YouTube channel that goes over using the Cricut printable waterproof sticker sets!

These are similar steps to making magnets with a Cricut!

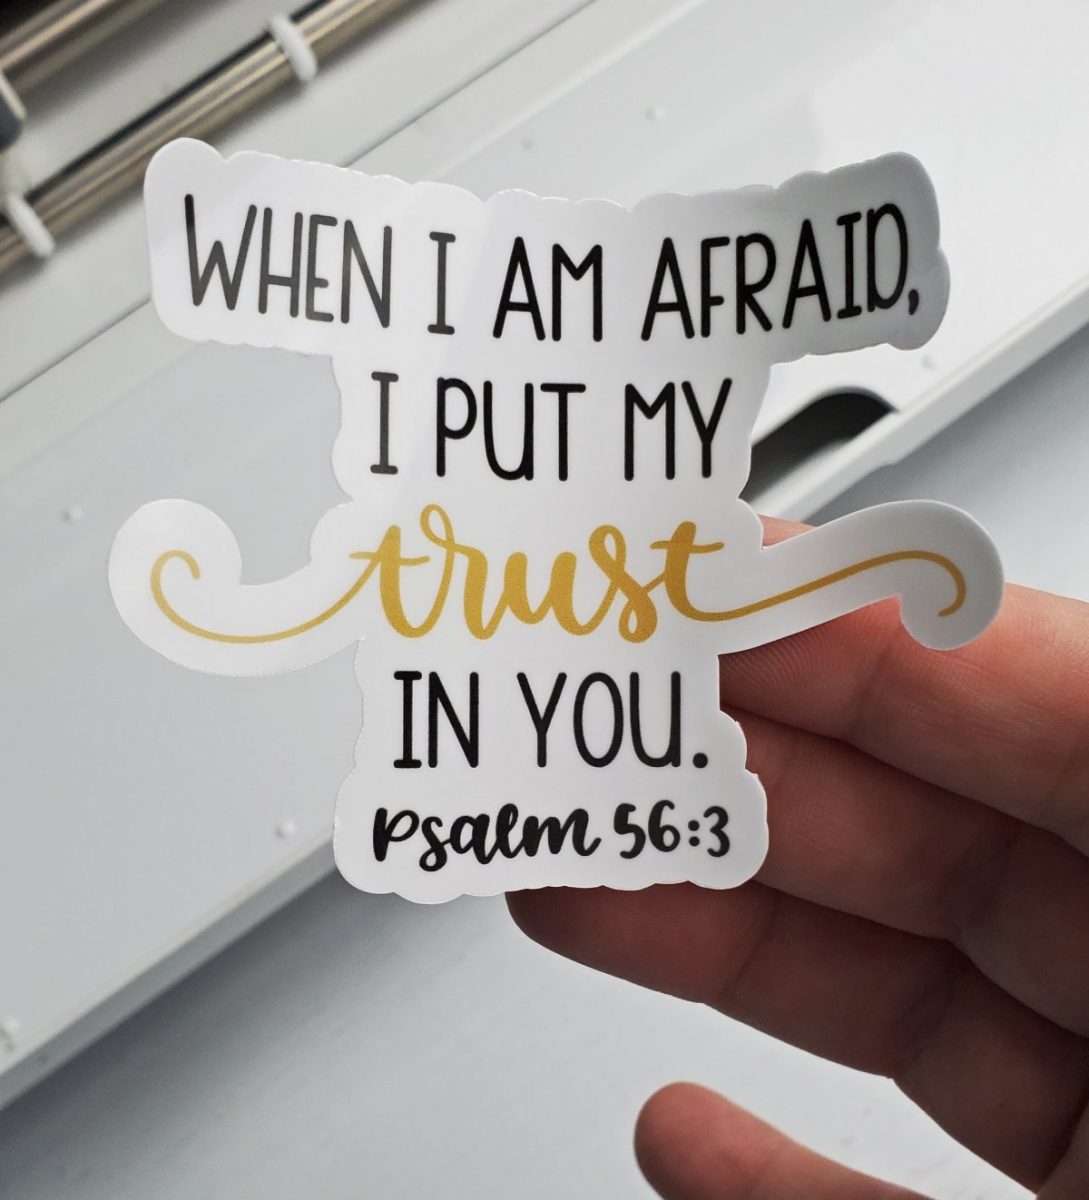
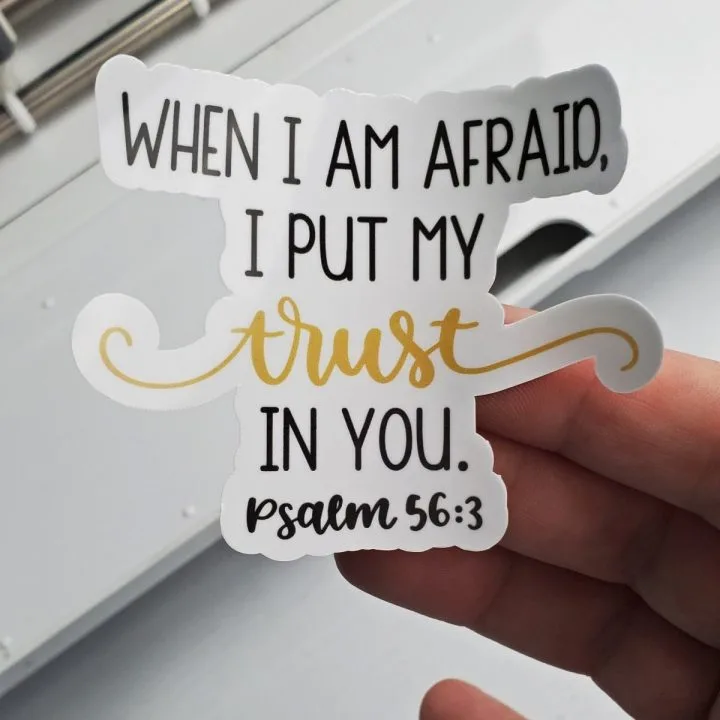
Our free Faith SVG files would also make great stickers!

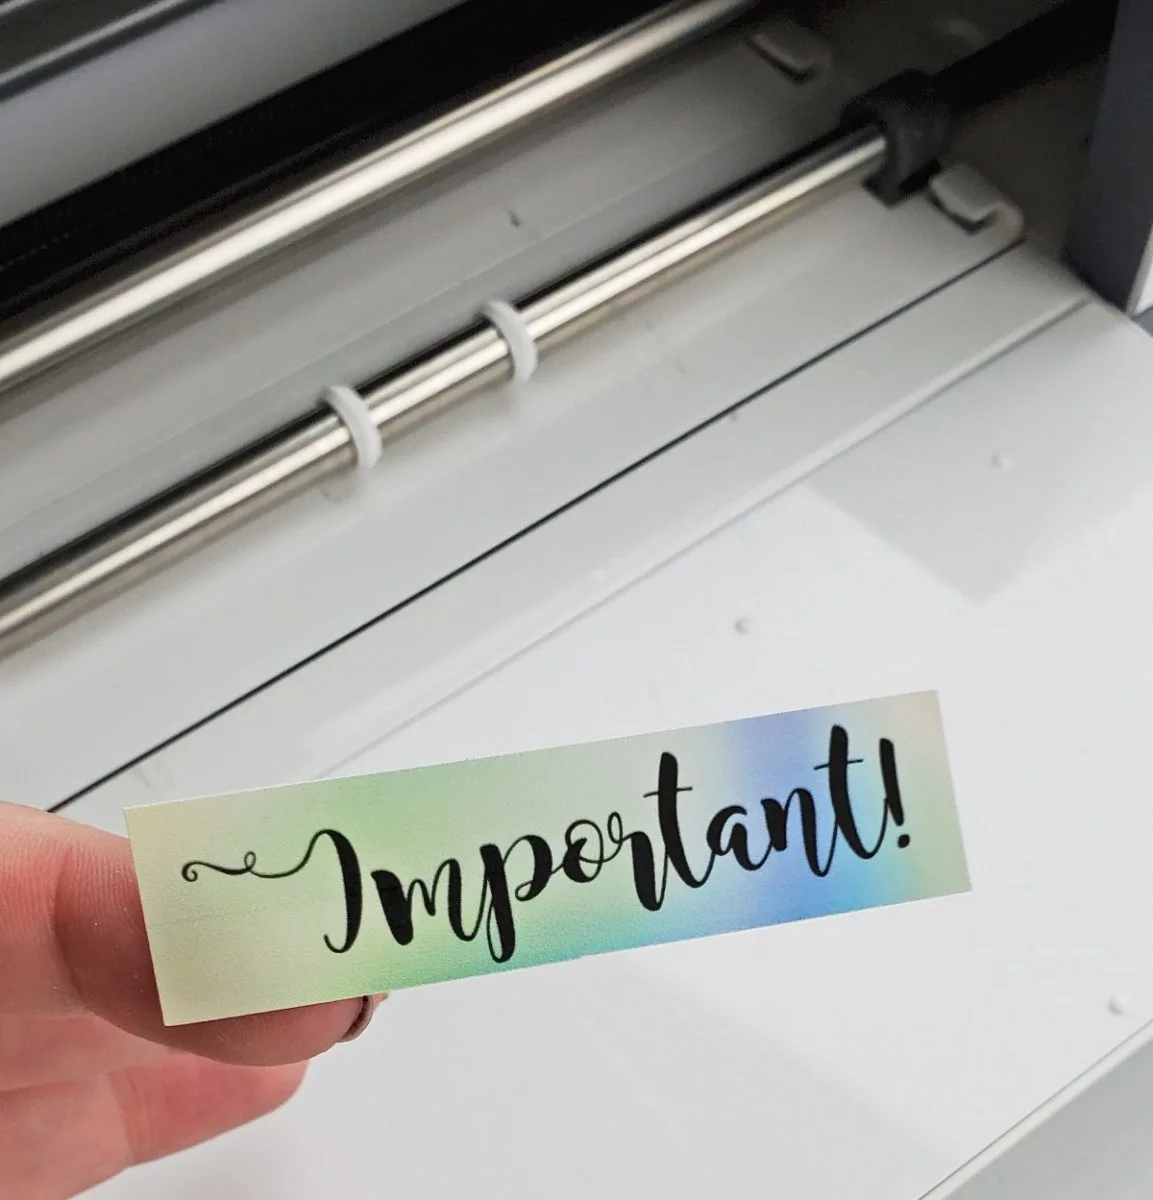
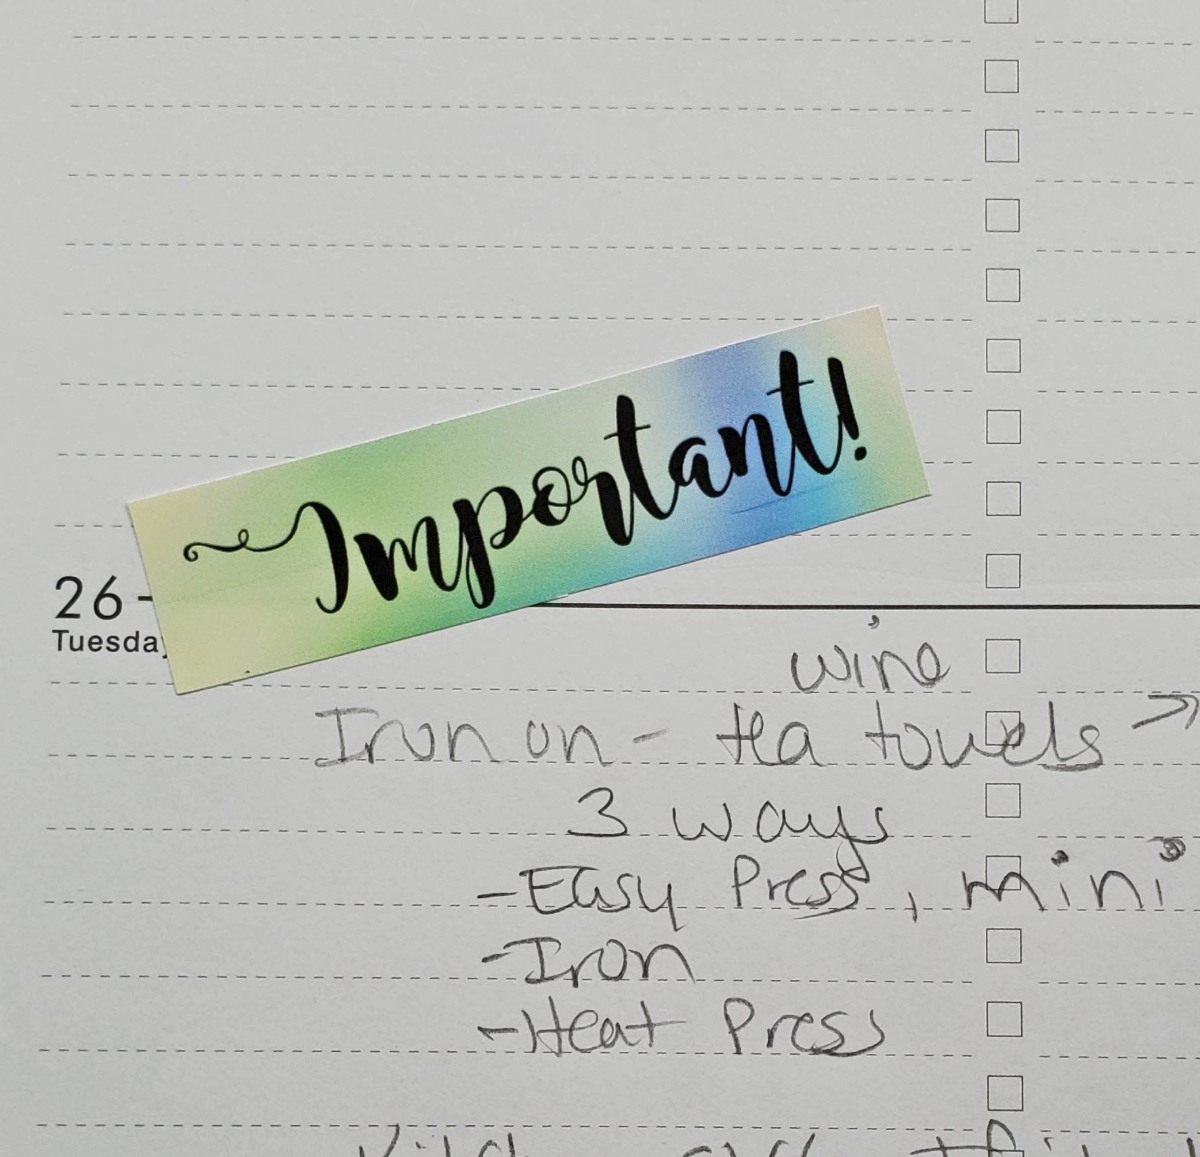
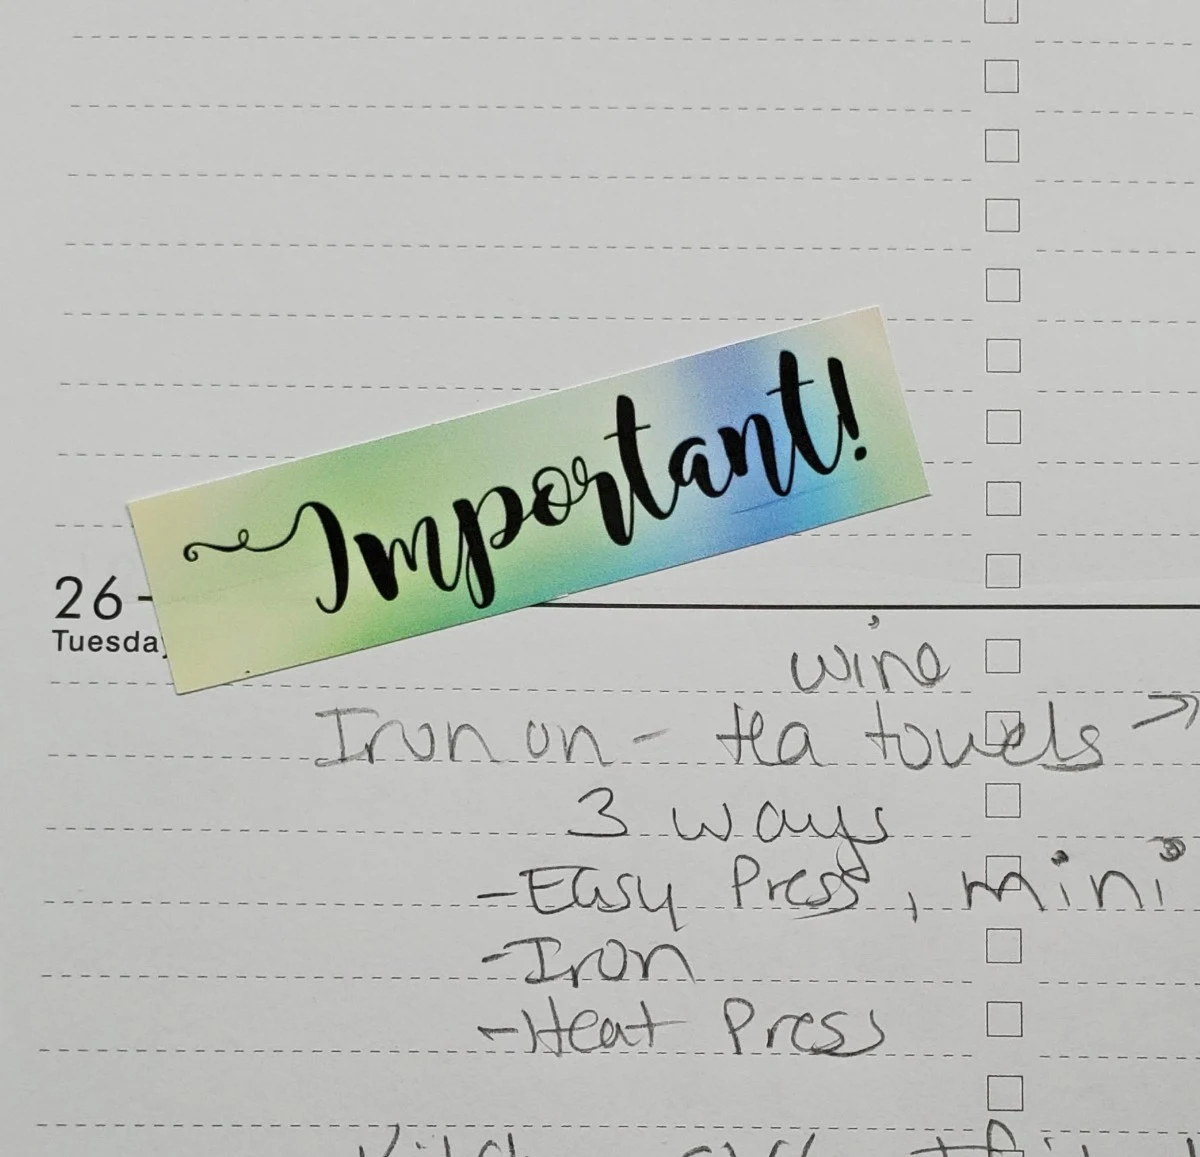
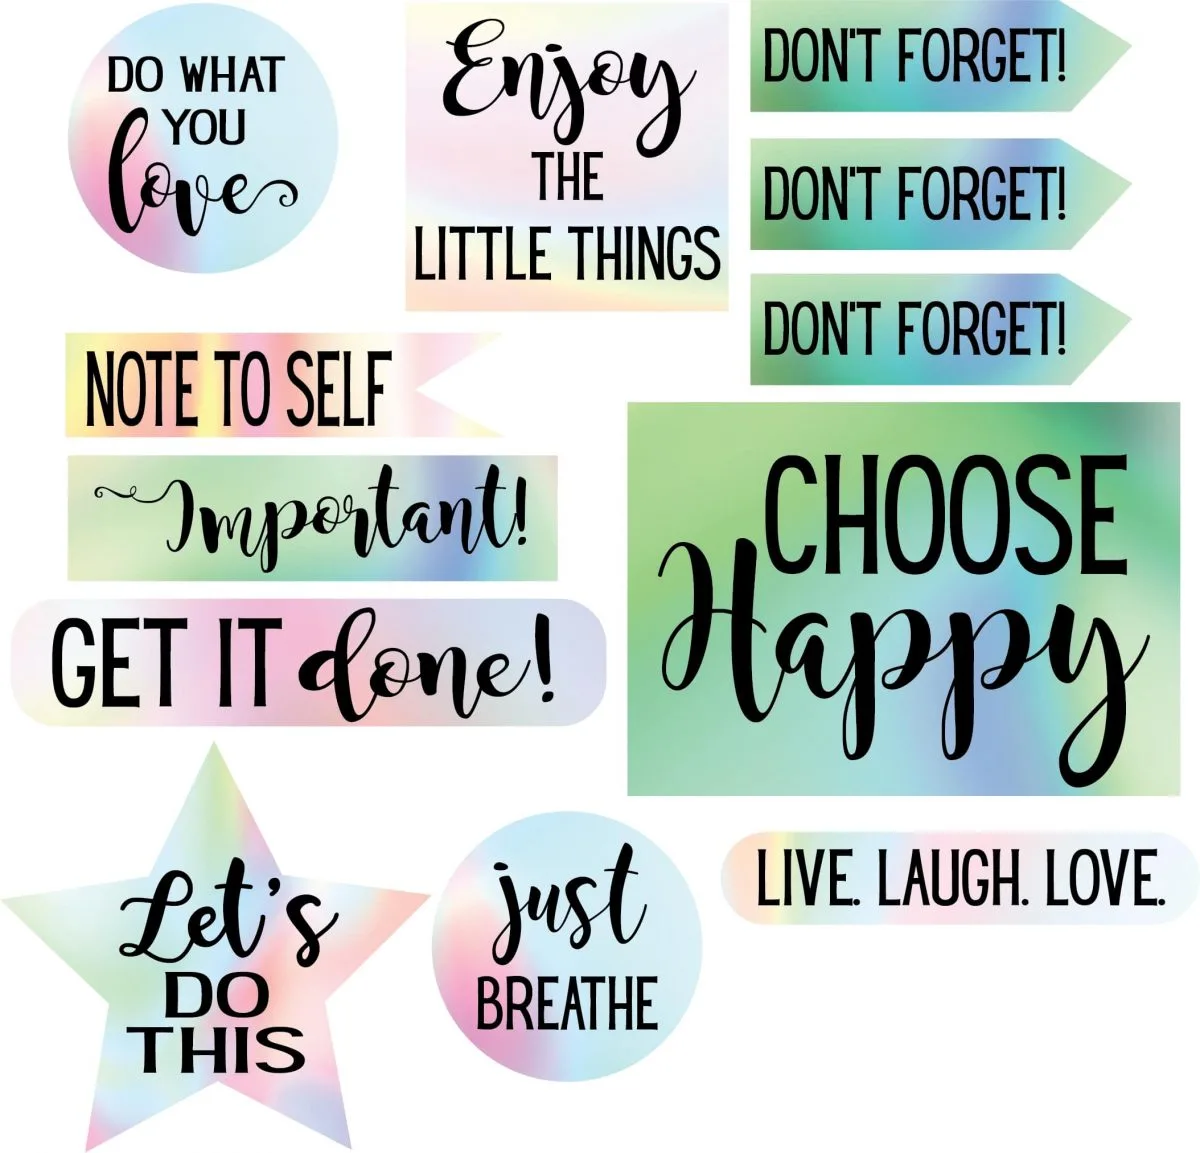
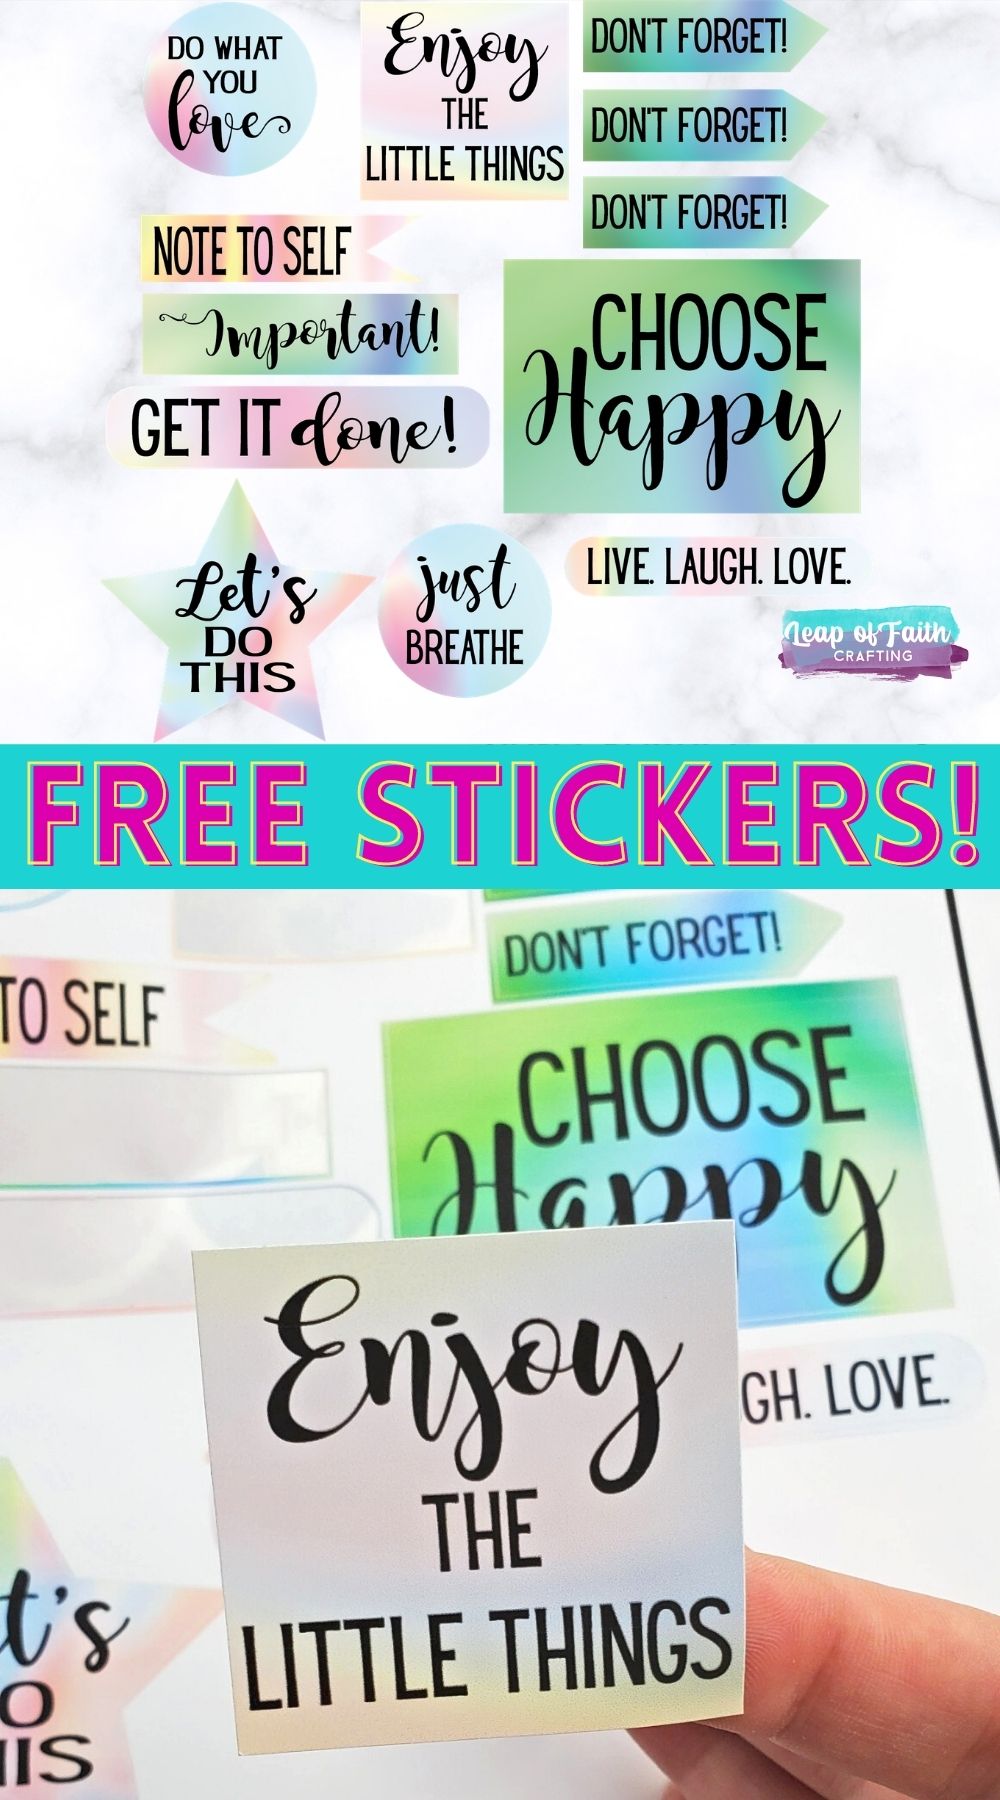
How to Make Planner or Inspirational Stickers
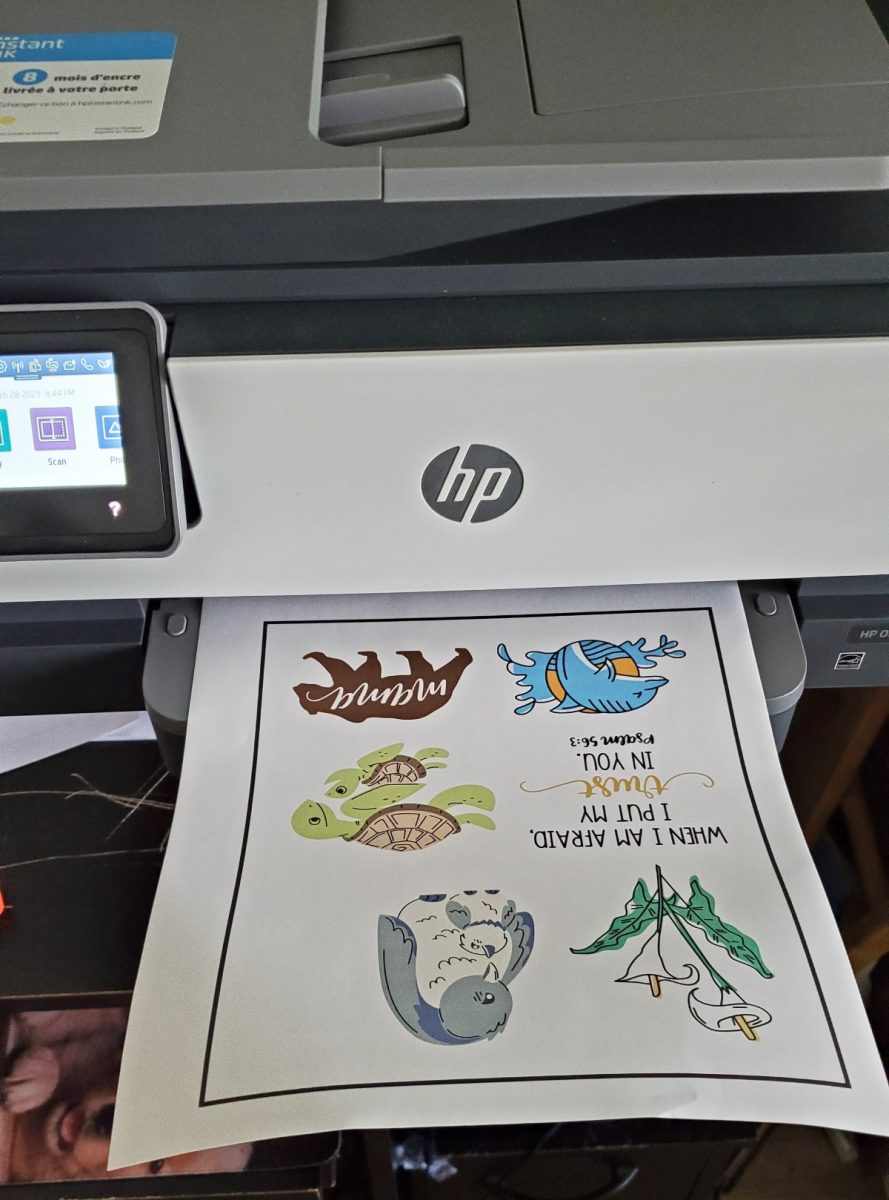
At the bottom of this post, there is a FREE sticker PNG cut file sheet for you to make your own printable stickers with.
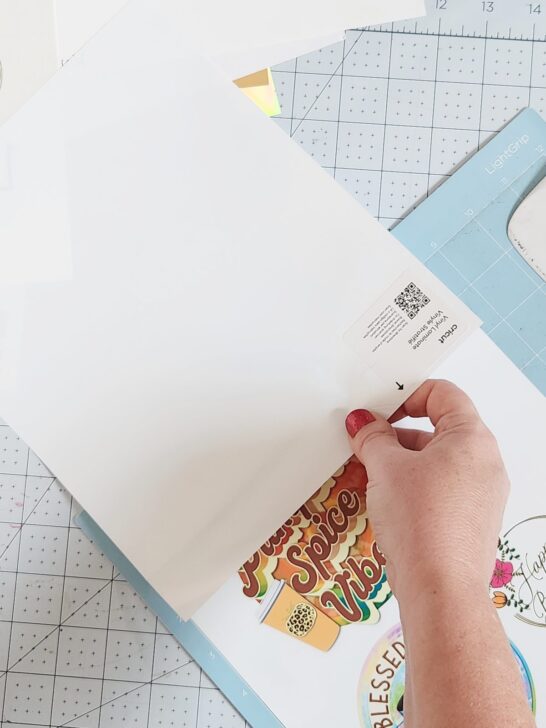
Simply download the PNG file, click on the Upload button, and then upload image into Cricut Design Space. It will come in as one single image. If you want to break it apart, you’ll have to use the slice function.
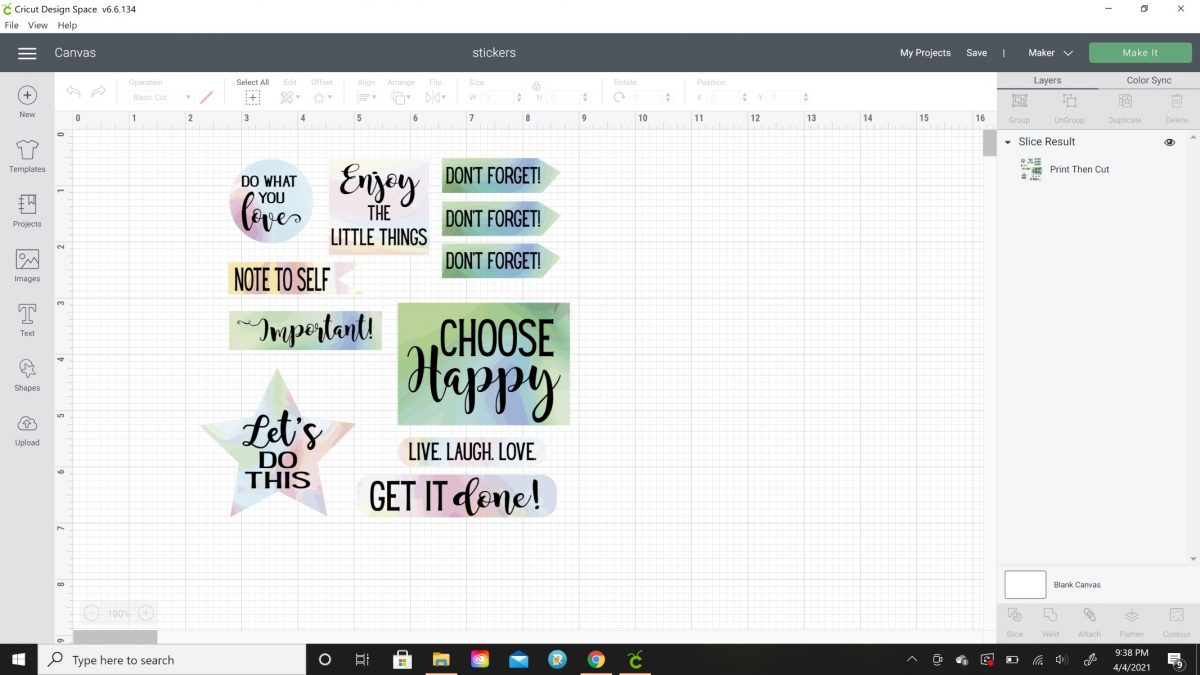

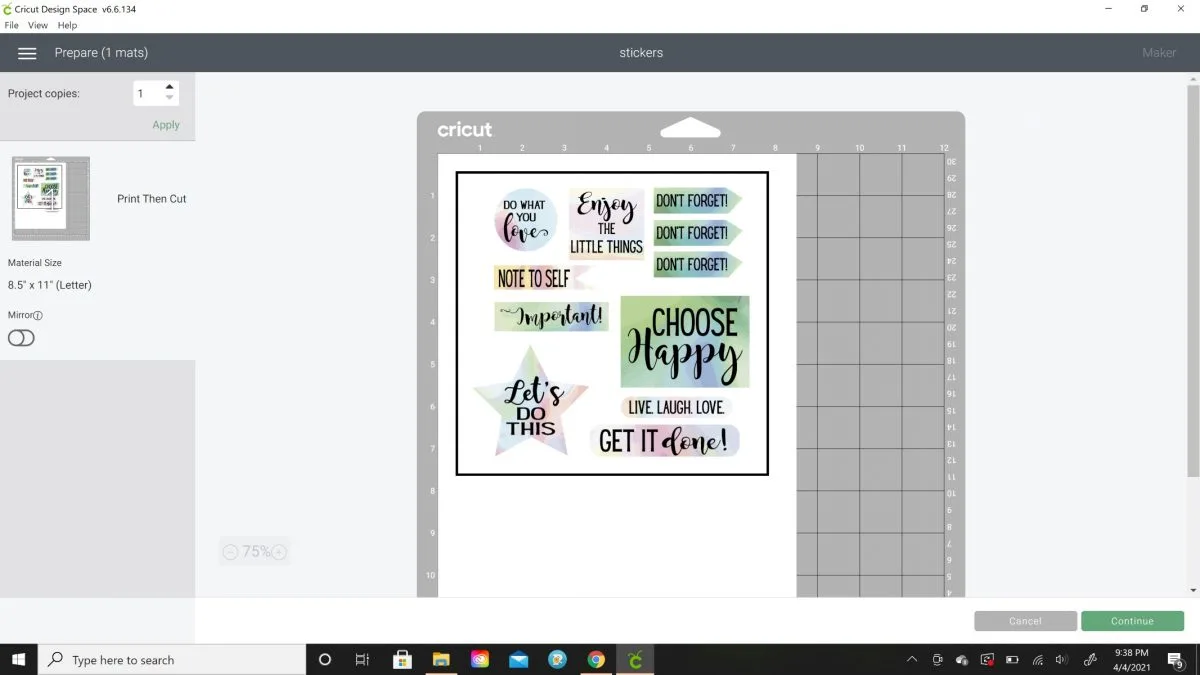
Click on Make It and you’ll see it all fits on one 8.5 x 11 sheet.

For these planner stickers, I am not going to make them waterproof since they don’t need to be. So I just used the printable vinyl setting on the drop down menu.


Send the sticker sheet to your printer again and then place the printed sheet on a blue mat and let the Cricut read the black rectangle and cut around each sticker with the fine point blade. These ones won’t have a shadow or background layer, it is just the sticker.
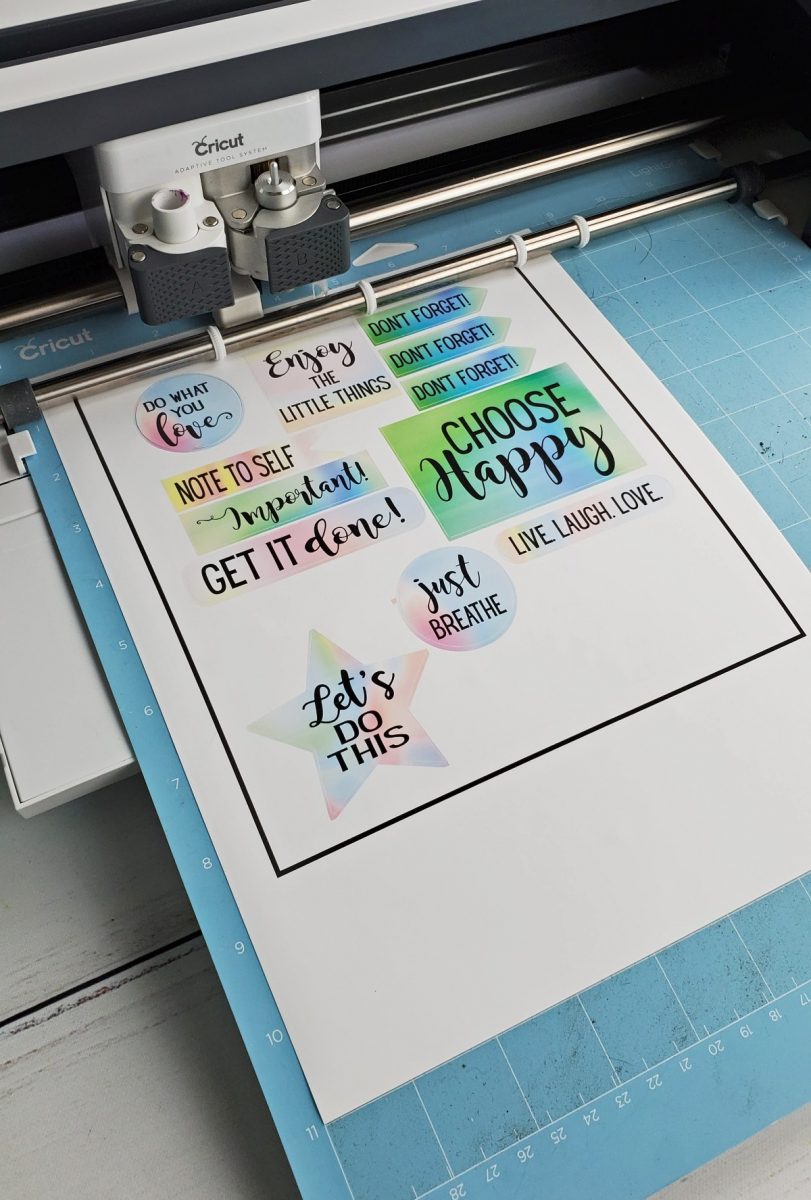

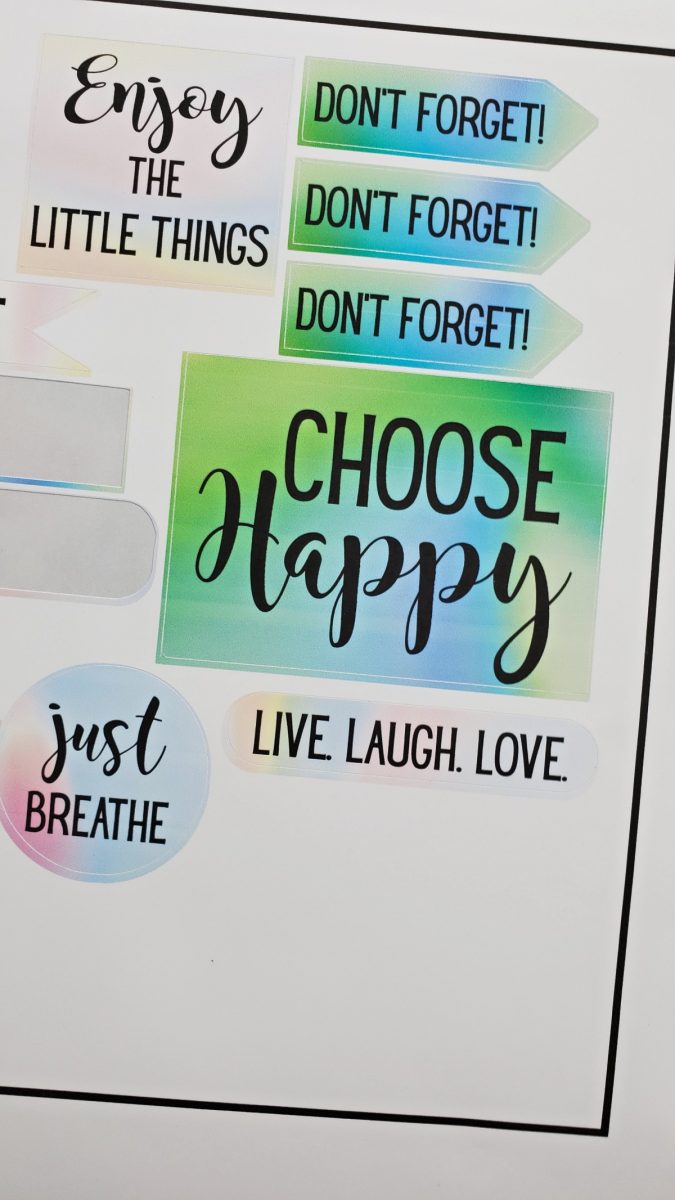

Peel them off the sheet and add them to planners, journals, kids lunches, sticky notes, notebooks, etc.


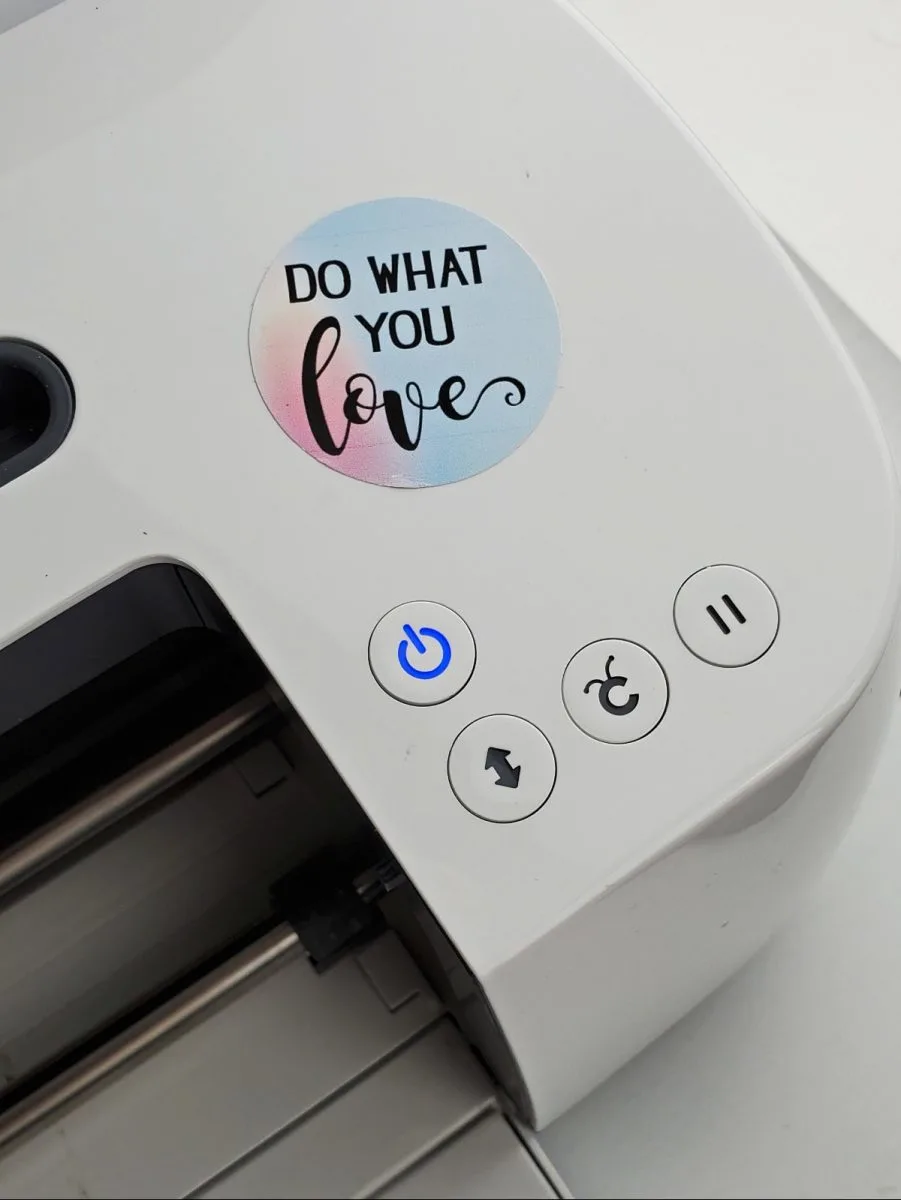
I even added one of the fun stickers to my Cricut since I get to do what I love!

Cricut Print and Cut Stickers Video Tutorial
If you’d like a longer step by step video on making stickers, check out my YouTube video here.
FREE Cricut Stickers Download
As a reminder, all of my FREE SVG files are for personal use only and not for commercial use. Please click here to purchase a commercial license if you want to use the files for commercial purposes such as to sell items for your small business.
Sometimes the file will look blurry when you first open it, but once you download it, the SVG will open up clearly.
If it doesn’t automatically download, you might need to right-click on it and Save As. If you need additional help, make sure to check out my post on how to download and upload files to CDS.
Or check out my Cricut Design Space 101 series for even more tutorials.

Or if you don’t have a Cricut and wish to print out a PDF sheet and then cut them out with scissors, click the link below.
Click here to download the sticker sheet PDF
If you’d like to save this tutorial on how to make stickers with Cricut for later or share you can PIN It now! If you are on a desktop hover over the top left of the image below and if you are on a phone simply tap on the image and a PIN It button will pop up to click on!


How to Make Stickers with a Cricut
Maker your own waterproof stickers with a Cricut, printable vinyl, and a single sided self laminating sheet.
Materials
Tools
- Cricut
Instructions
- Design stickers in Cricut Design Space using images from Cricut Access or uploaded images. Use the offset tool to add a shadow layer.
- Turn the shadow/offset layer to white. Select both the image and offset layer and Flatten.
- Send to printer and print on printable vinyl.
- For waterproof stickers, select Medium cardstock as the cut setting.
- Apply a single sided self laminating sheet to the printed vinyl. Take the strip off the top and place it on the top of the printed sheet.
- Press down the backside as you pull the laminating sheet forward.
- Scrape down well with a scraper to remove any bubbles.
- Place on a Cricut mat and load. Let the Cricut cut out the stickers.
- Apply to tumblers, mugs, or anything that gets wet! Let it cure for 72 hours before getting the sticker wet.
Notes
See blog post for full detailed tutorial and link to YouTube video.
Thanks for stopping by and have a creative day!


")
")


Stephanie
Friday 10th of December 2021
Hi there! Great tutorial. I am brand new to this & mainly trying to find a gift for my boyfriend who is interested in creating his own stickers. Do you know if the smallest model, the Cricut Joy can bring stickers like this? Just not as wide, as far as a I understand it?
I’m having a hard time finding a concrete answer on that online. Thank you!
Leap of Faith Crafting
Monday 13th of December 2021
No, unfortunately, the Cricut Joy does not have the print then cut function.